

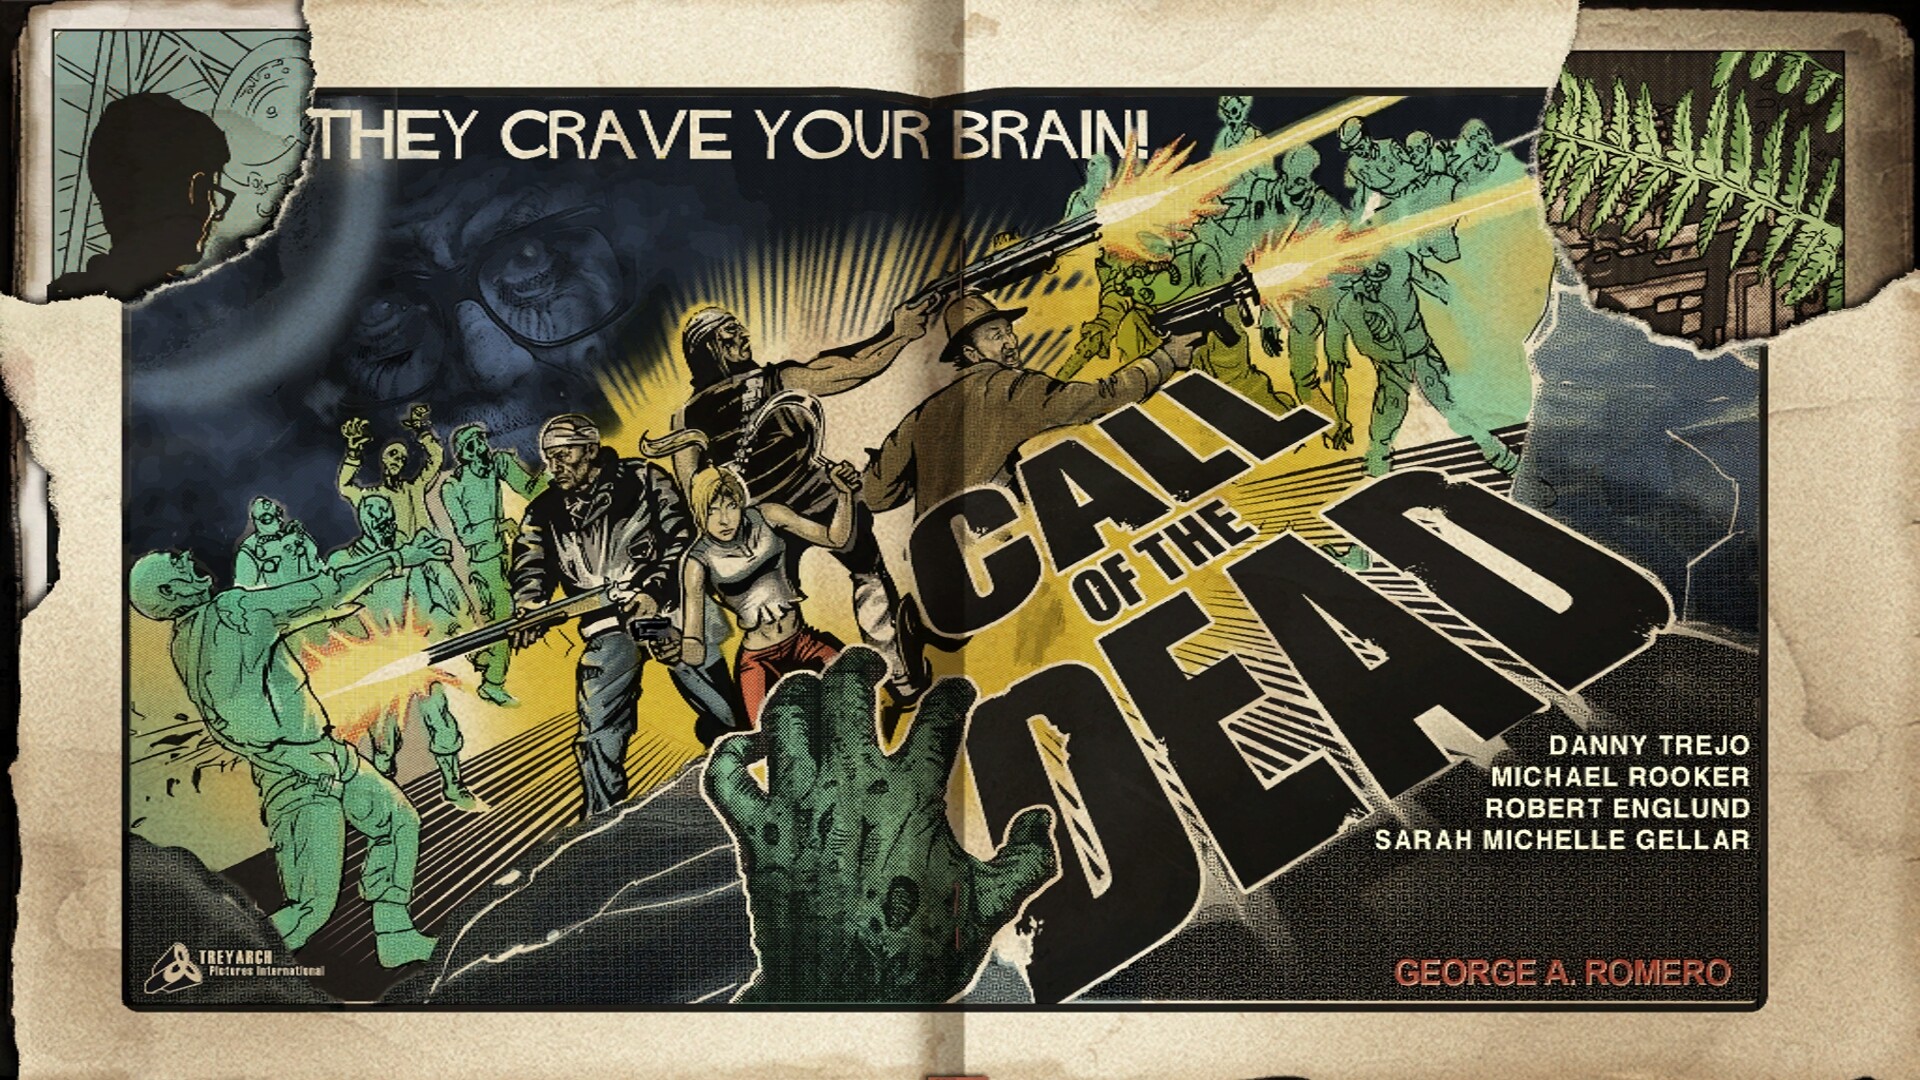
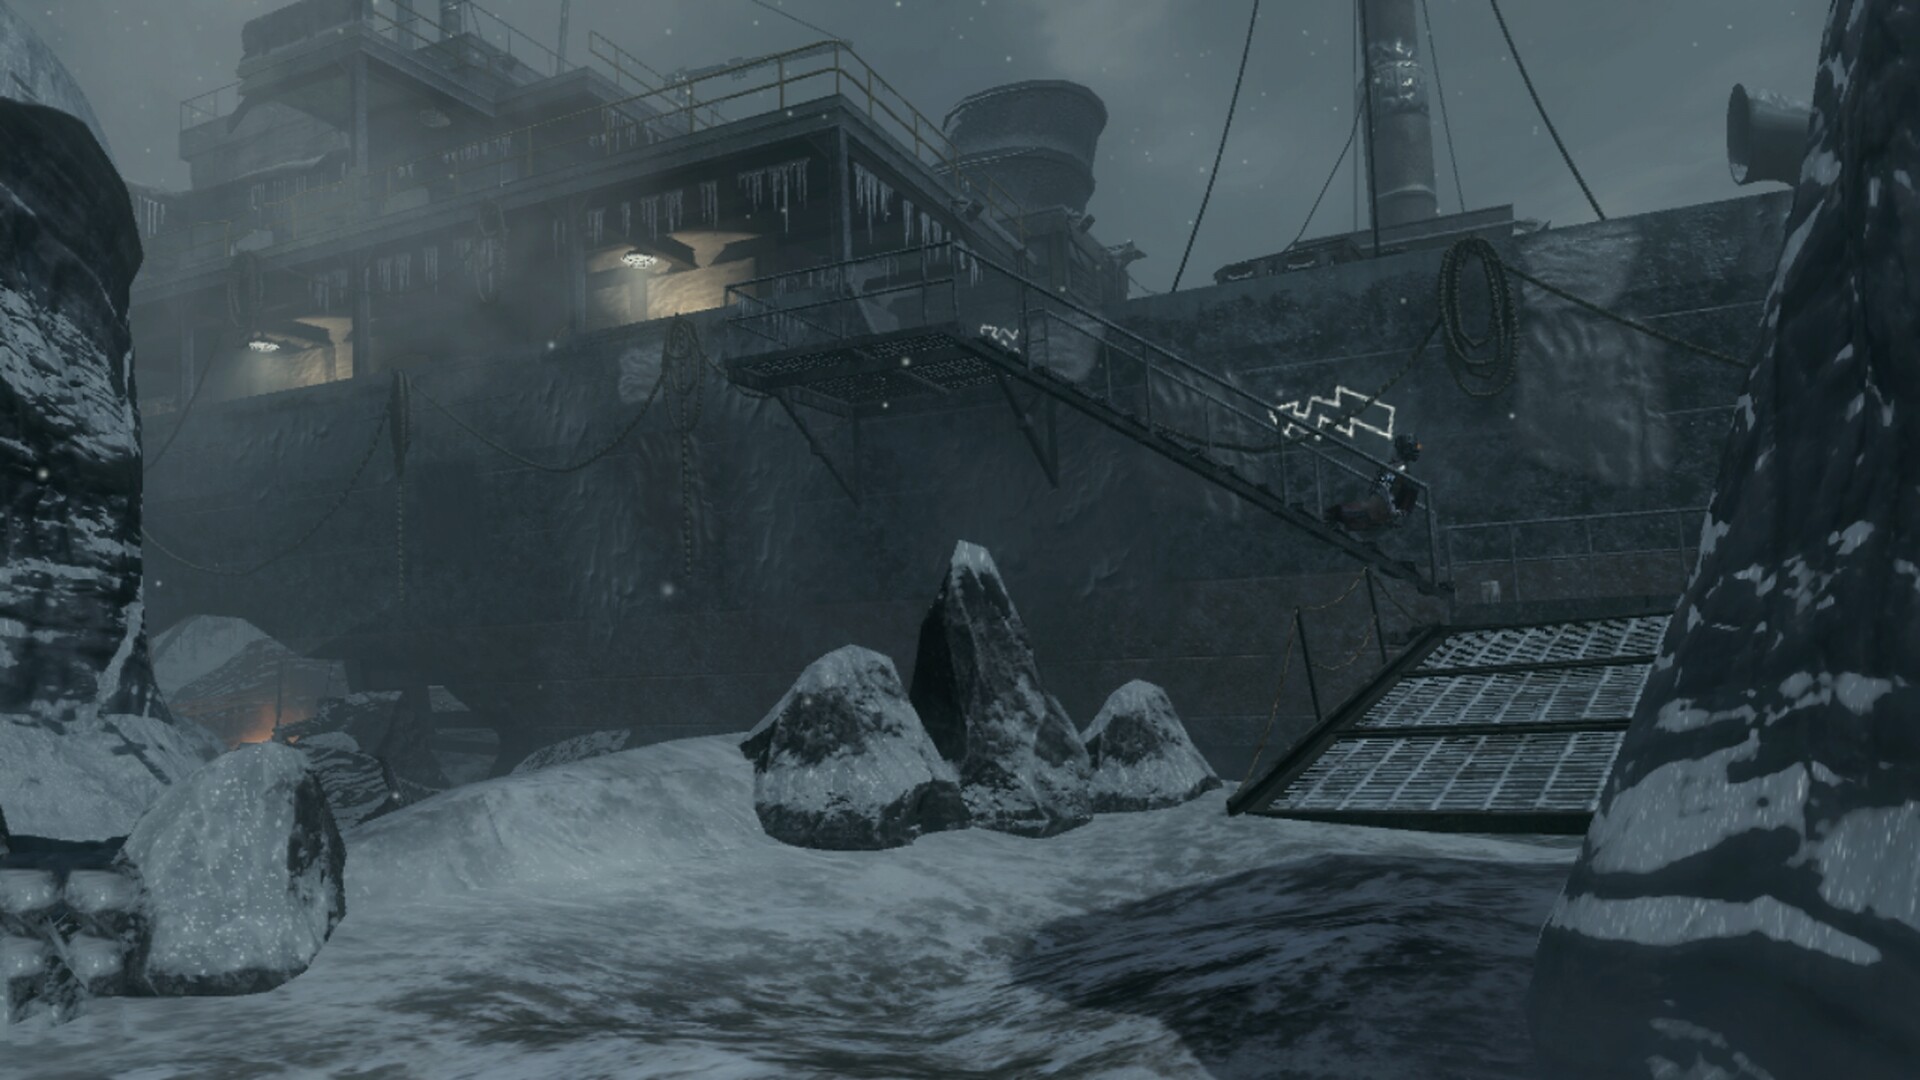
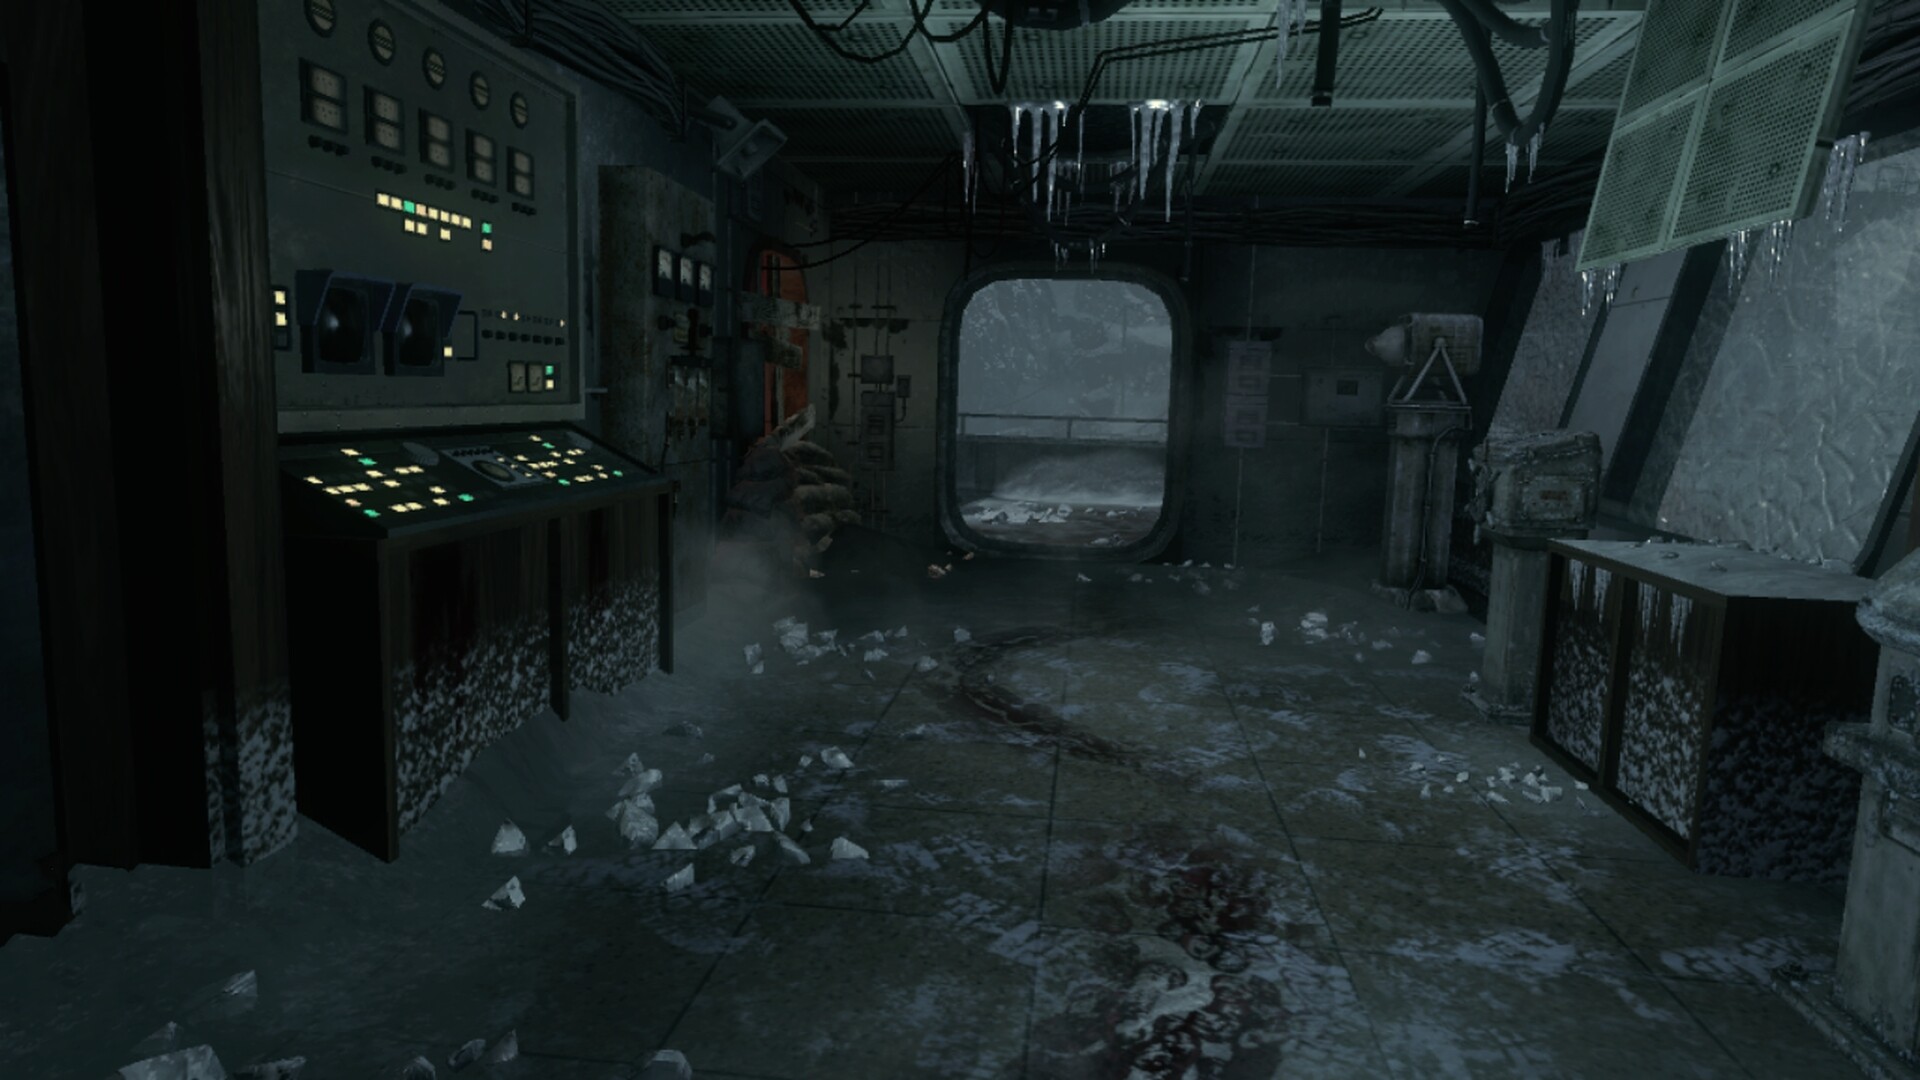
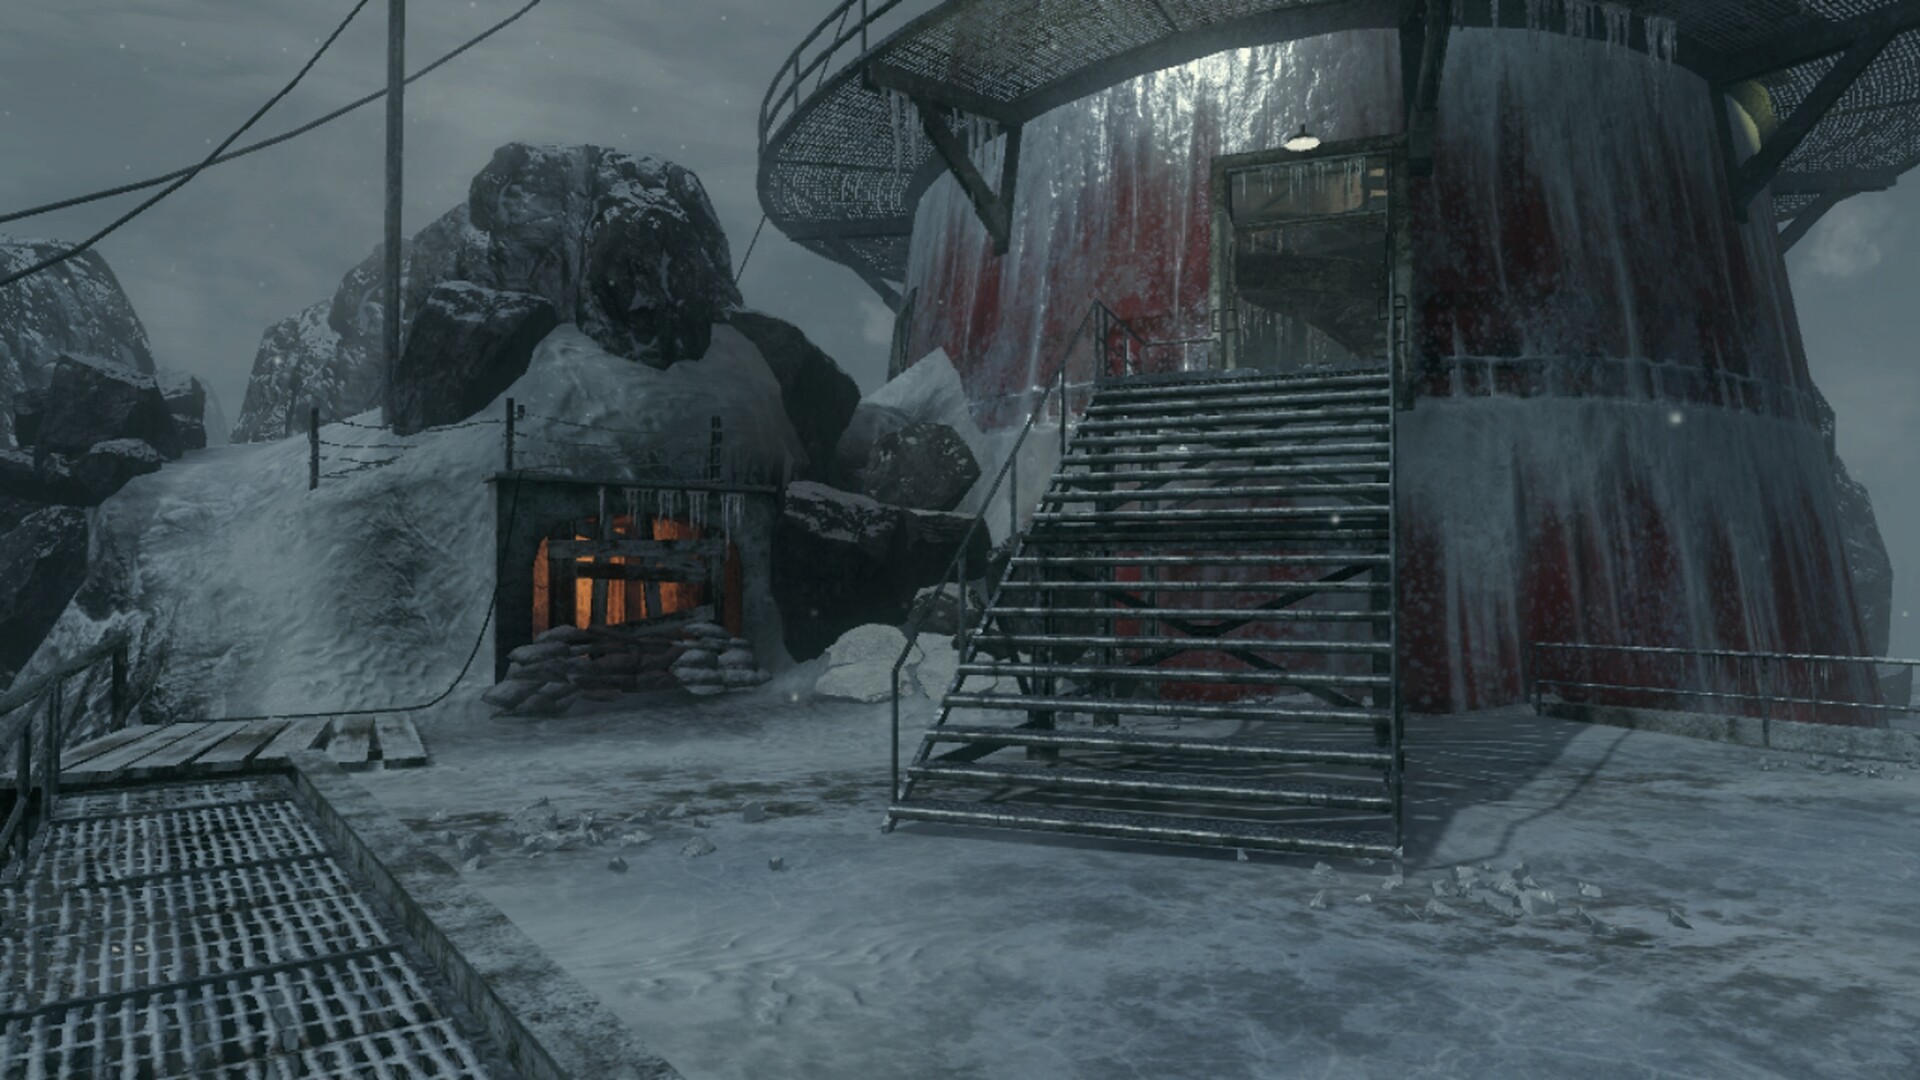
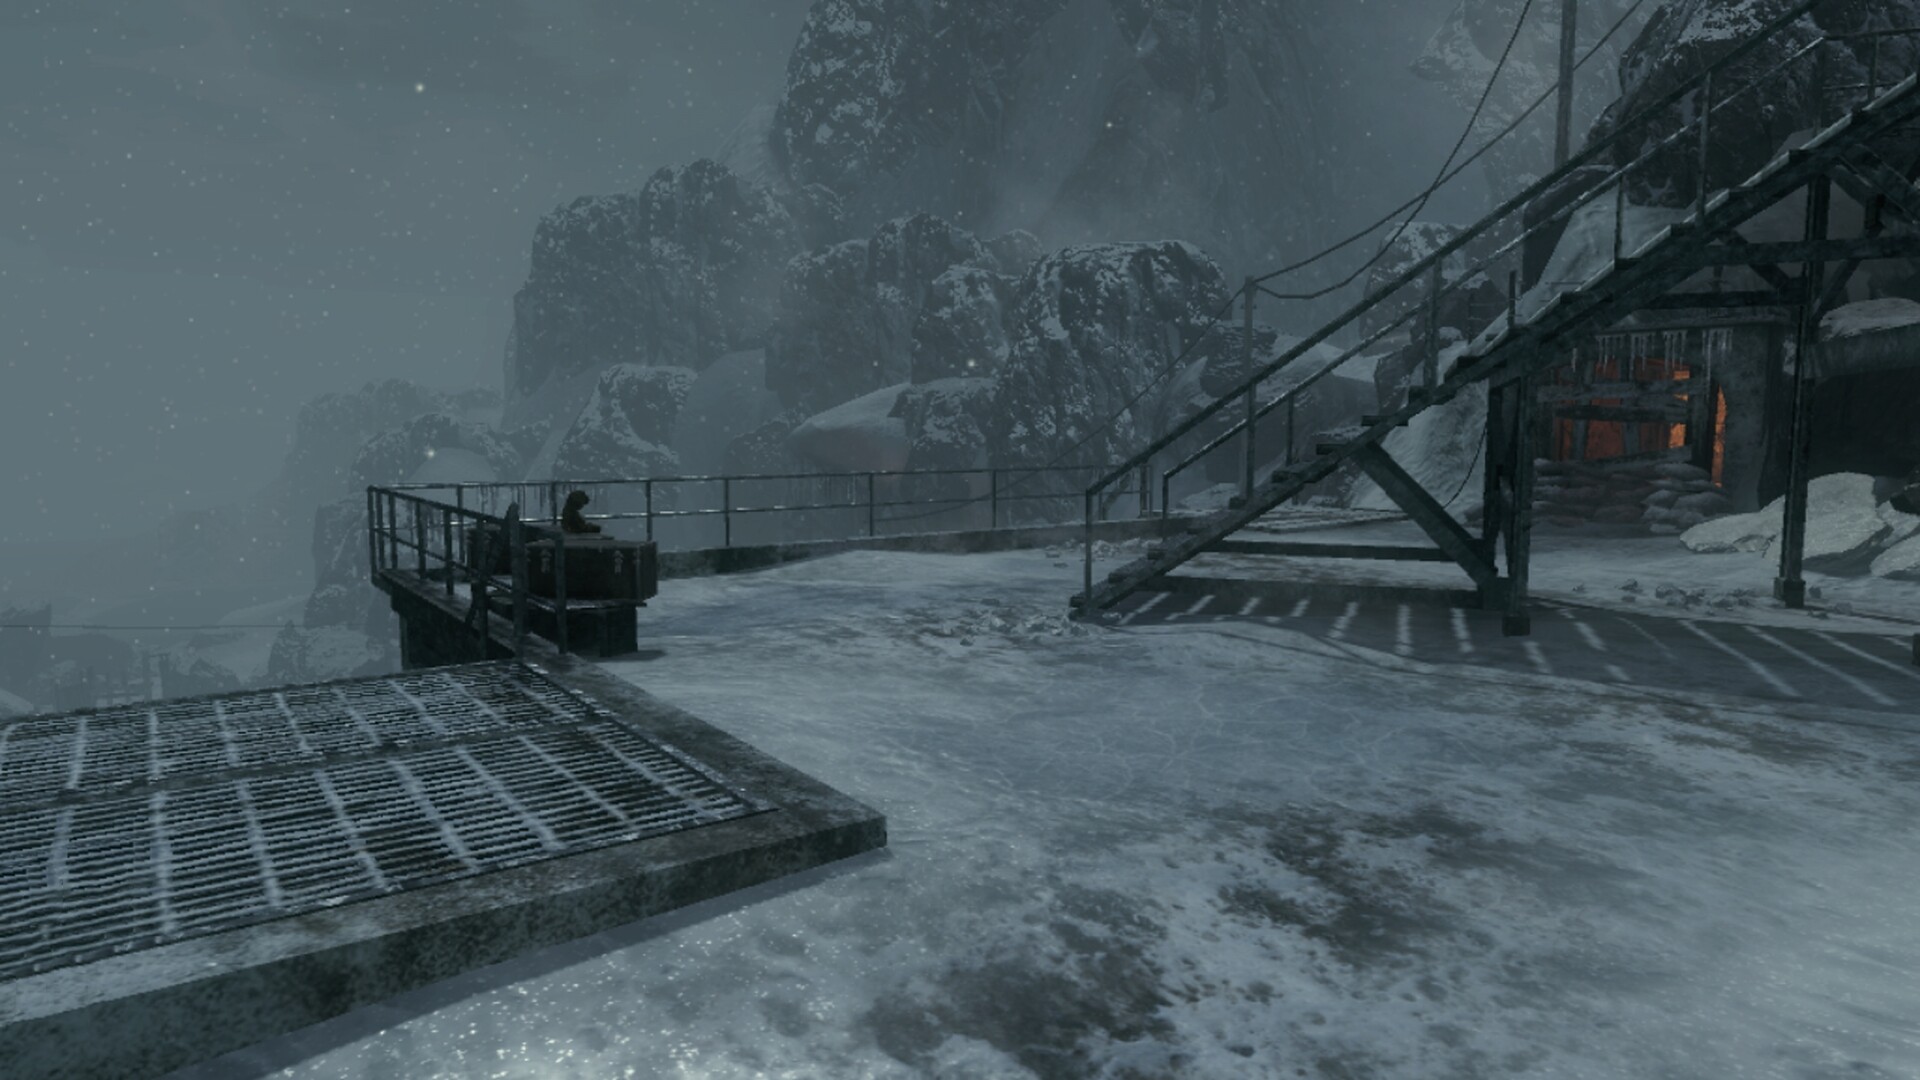
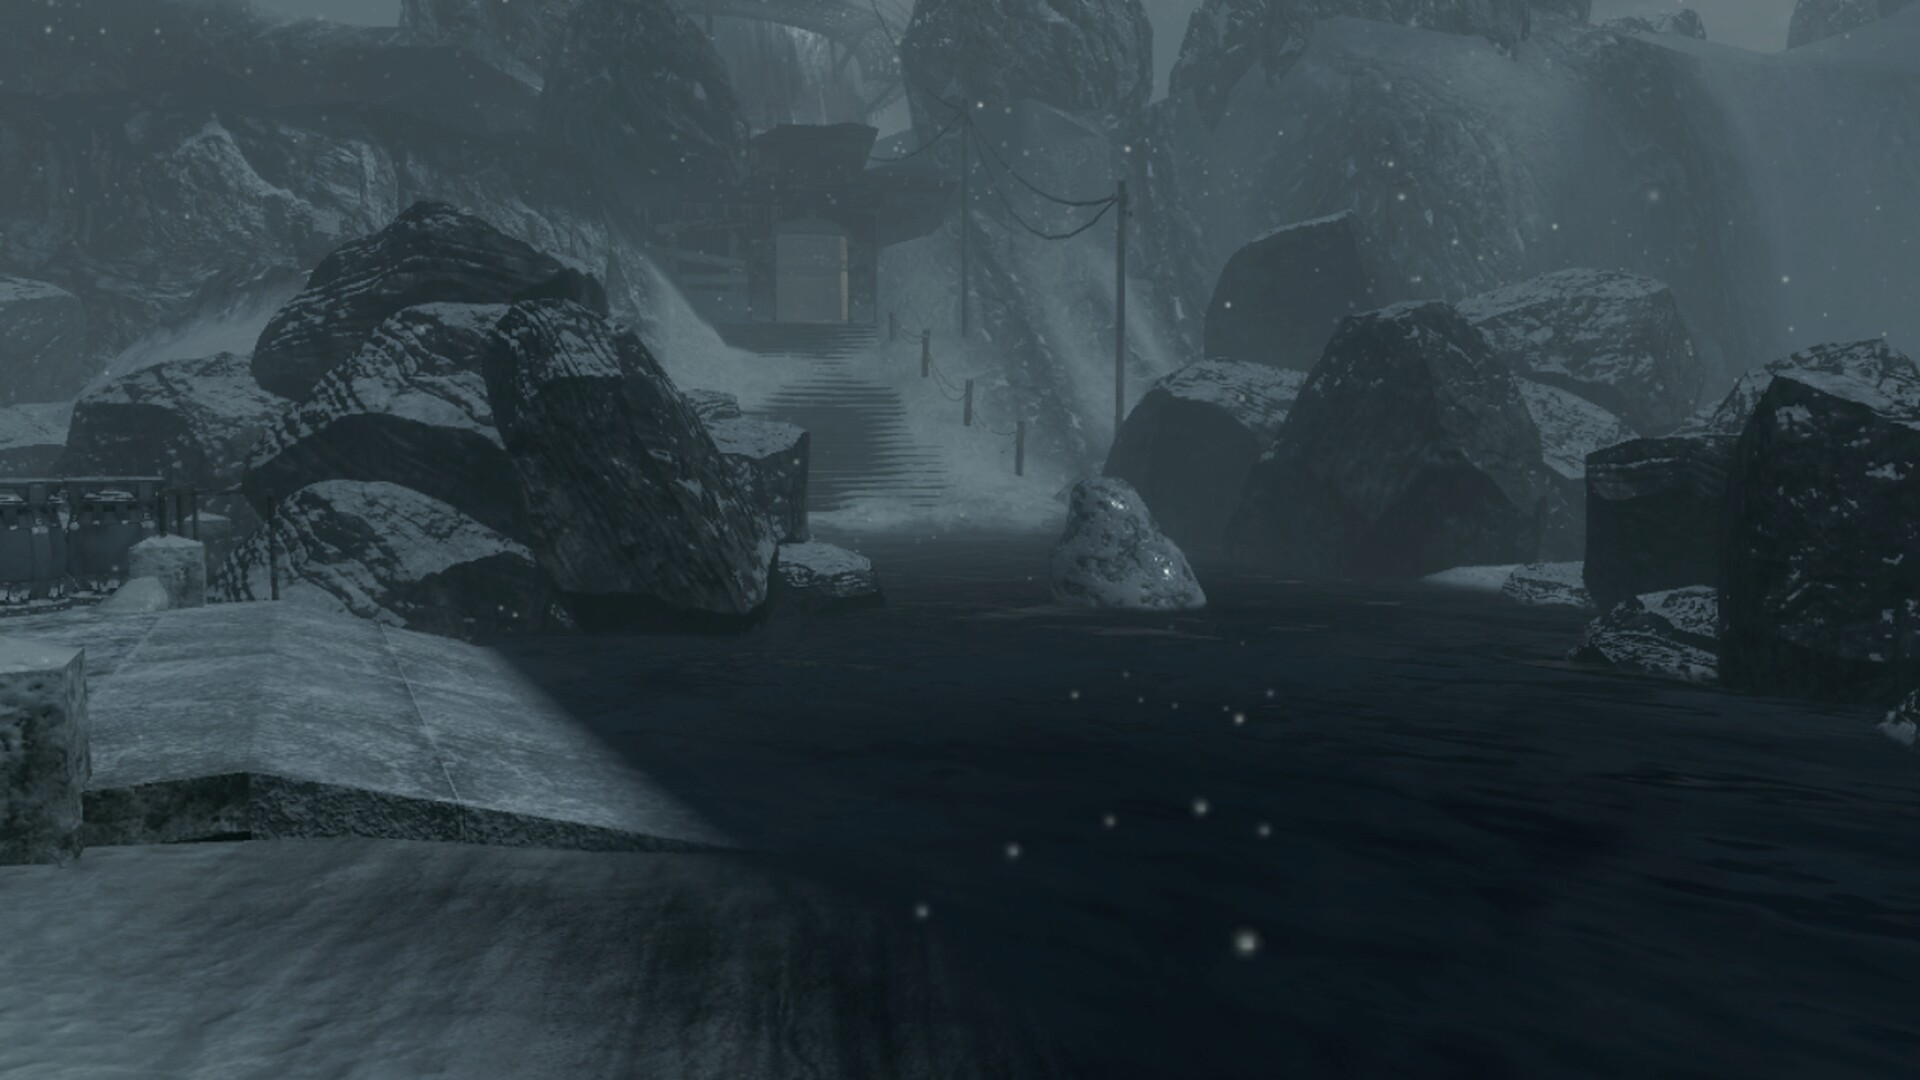
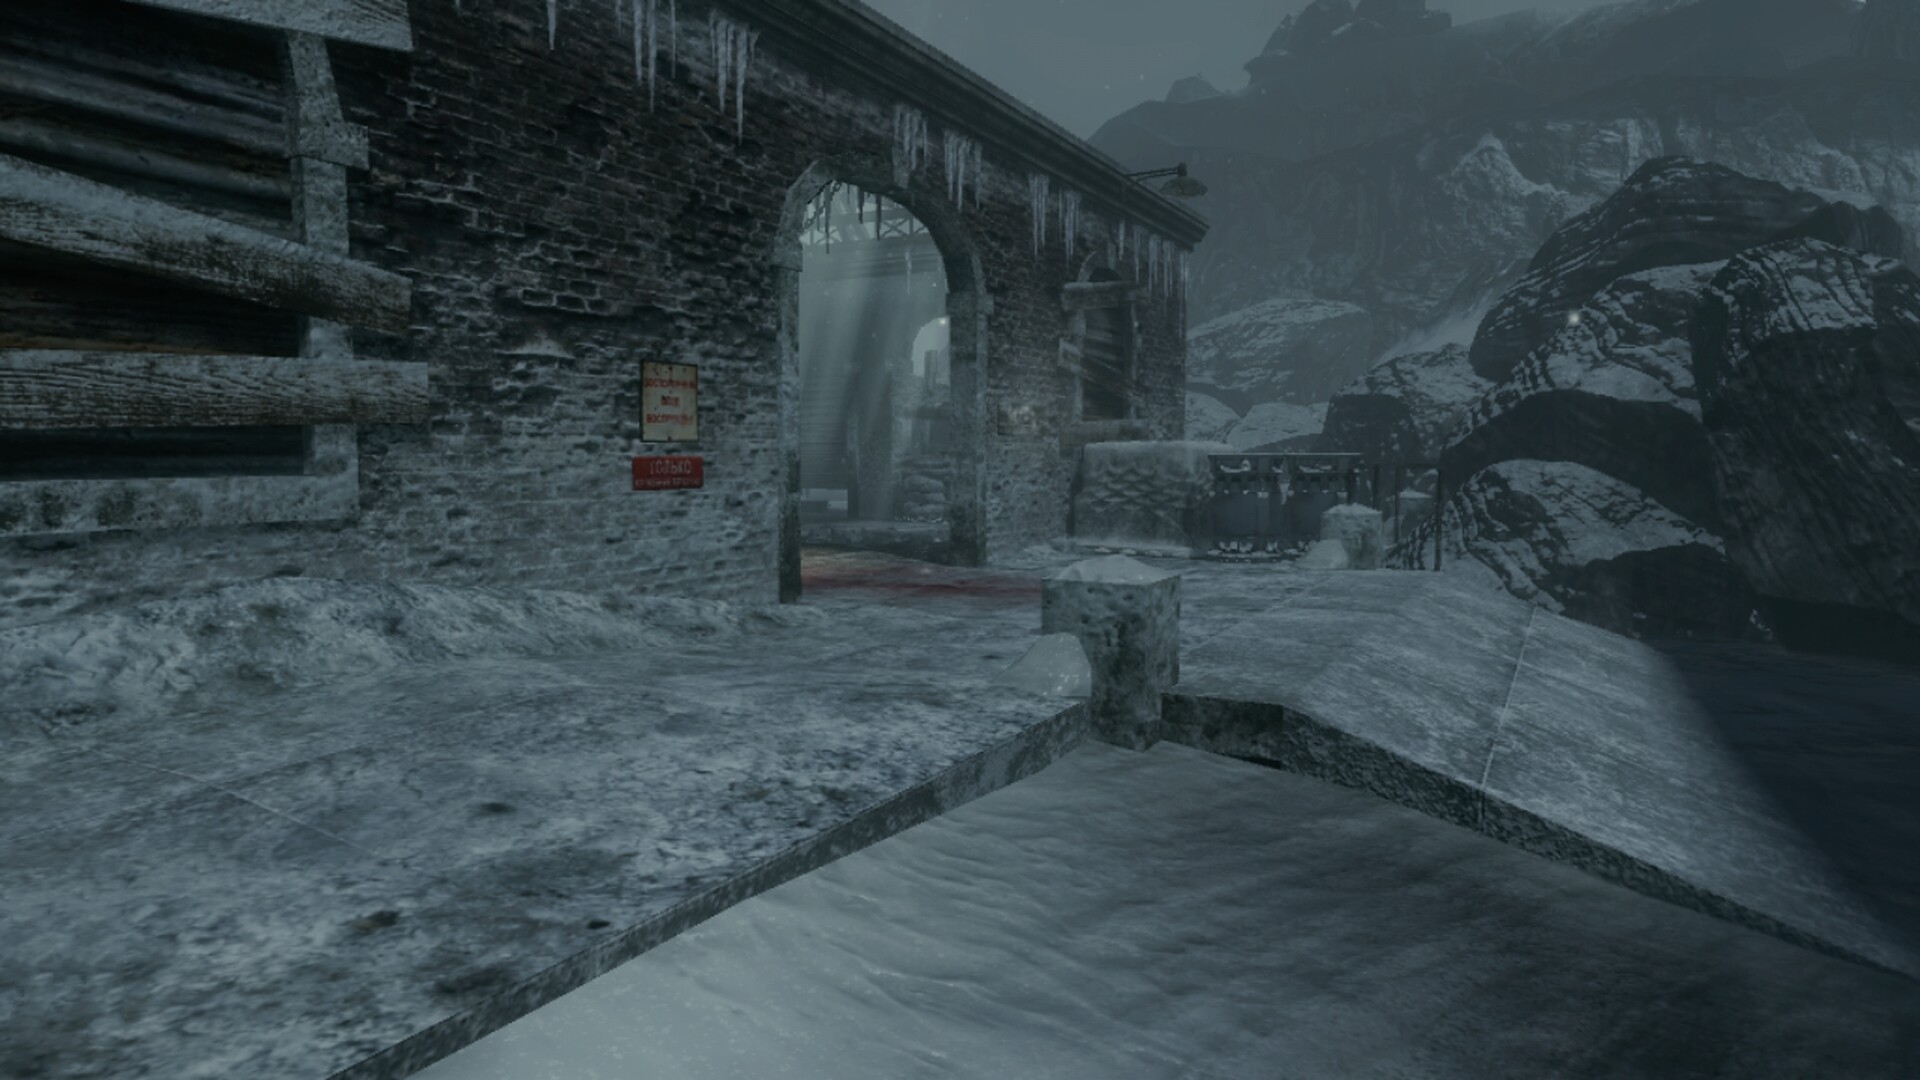
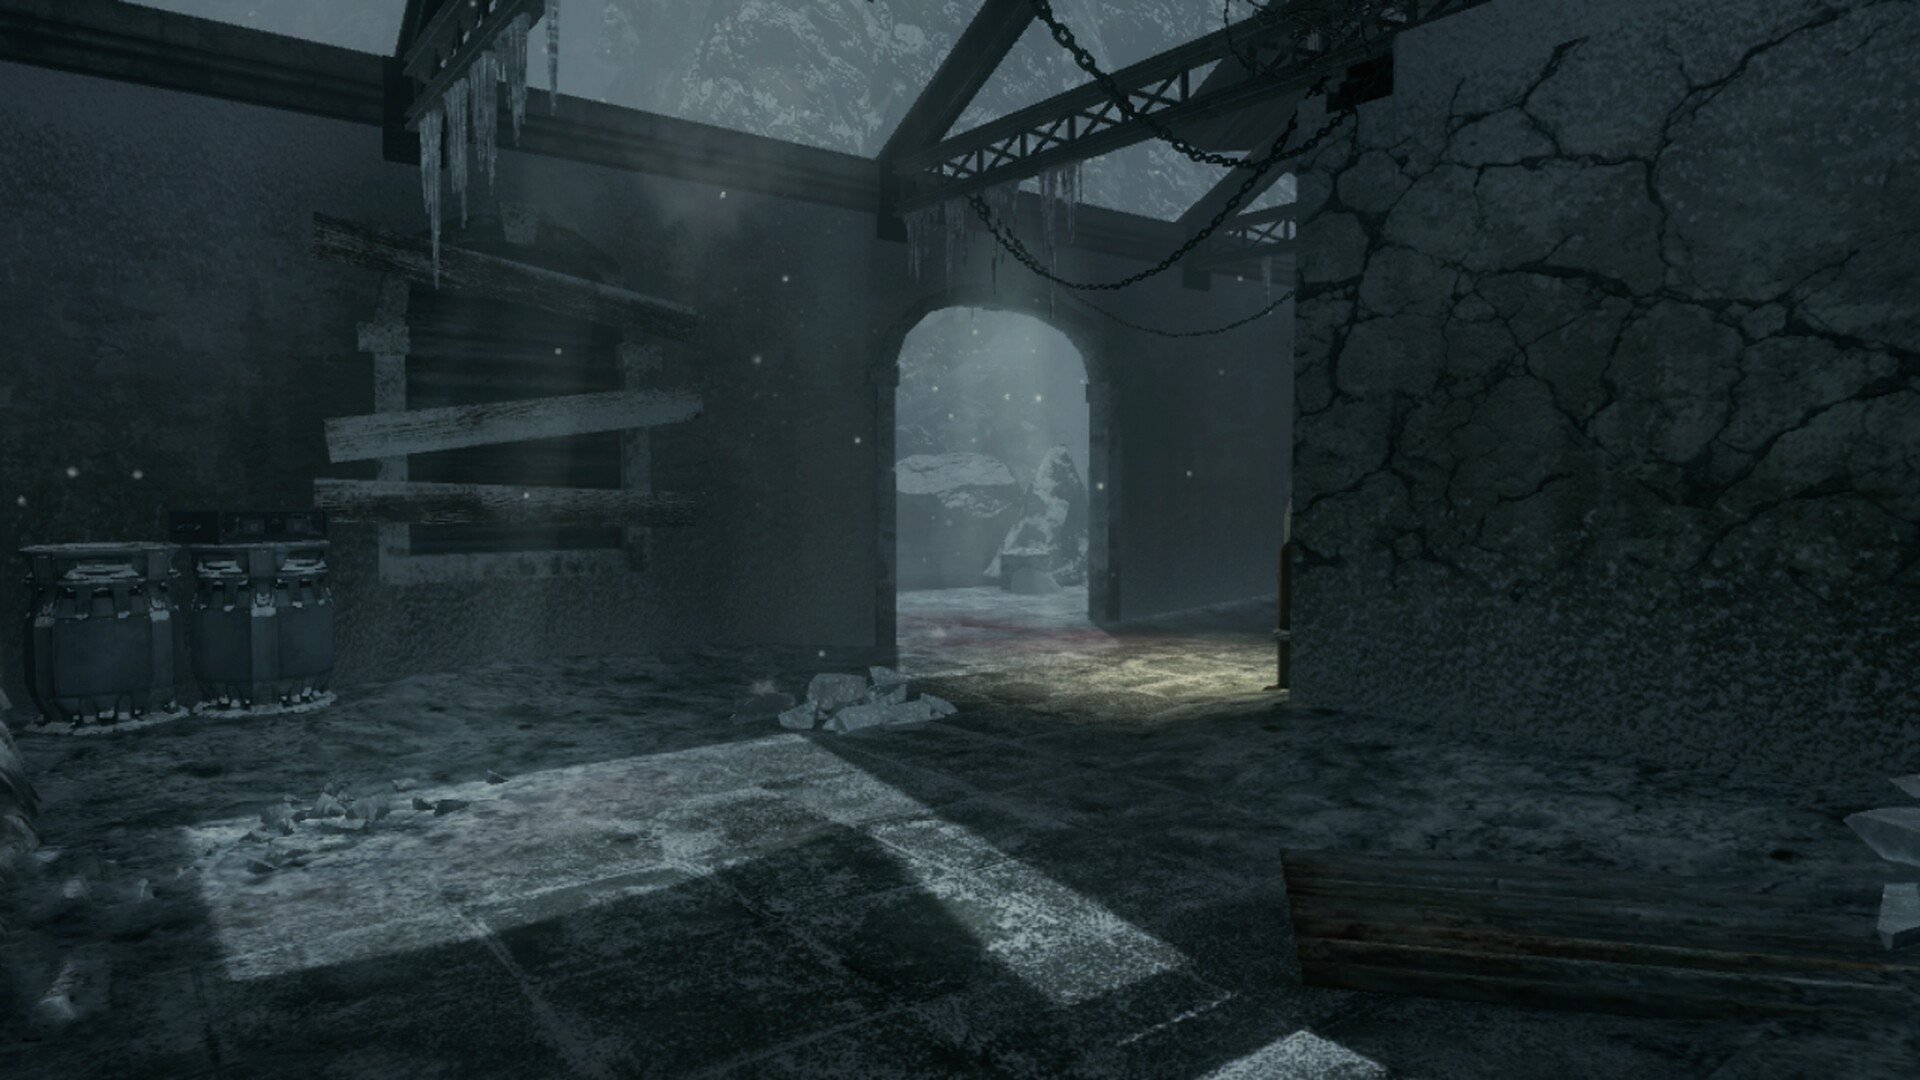
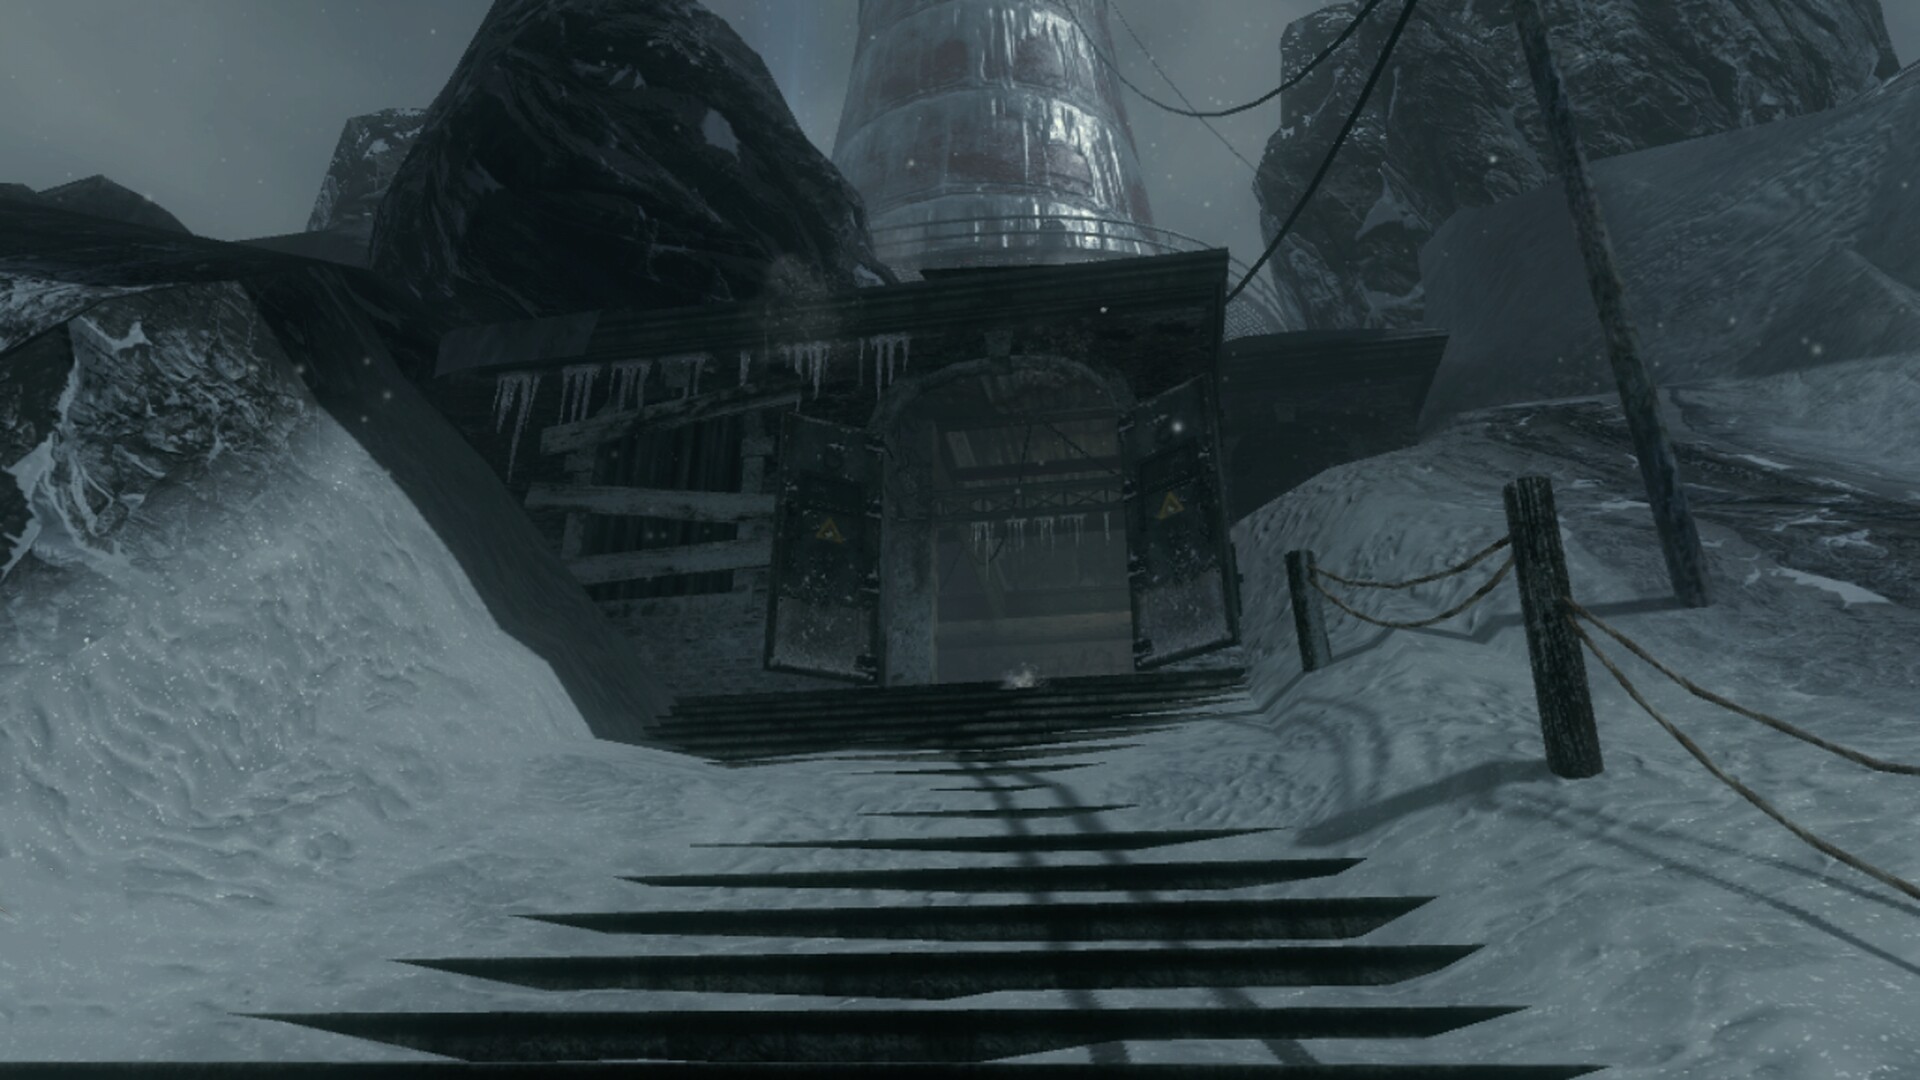
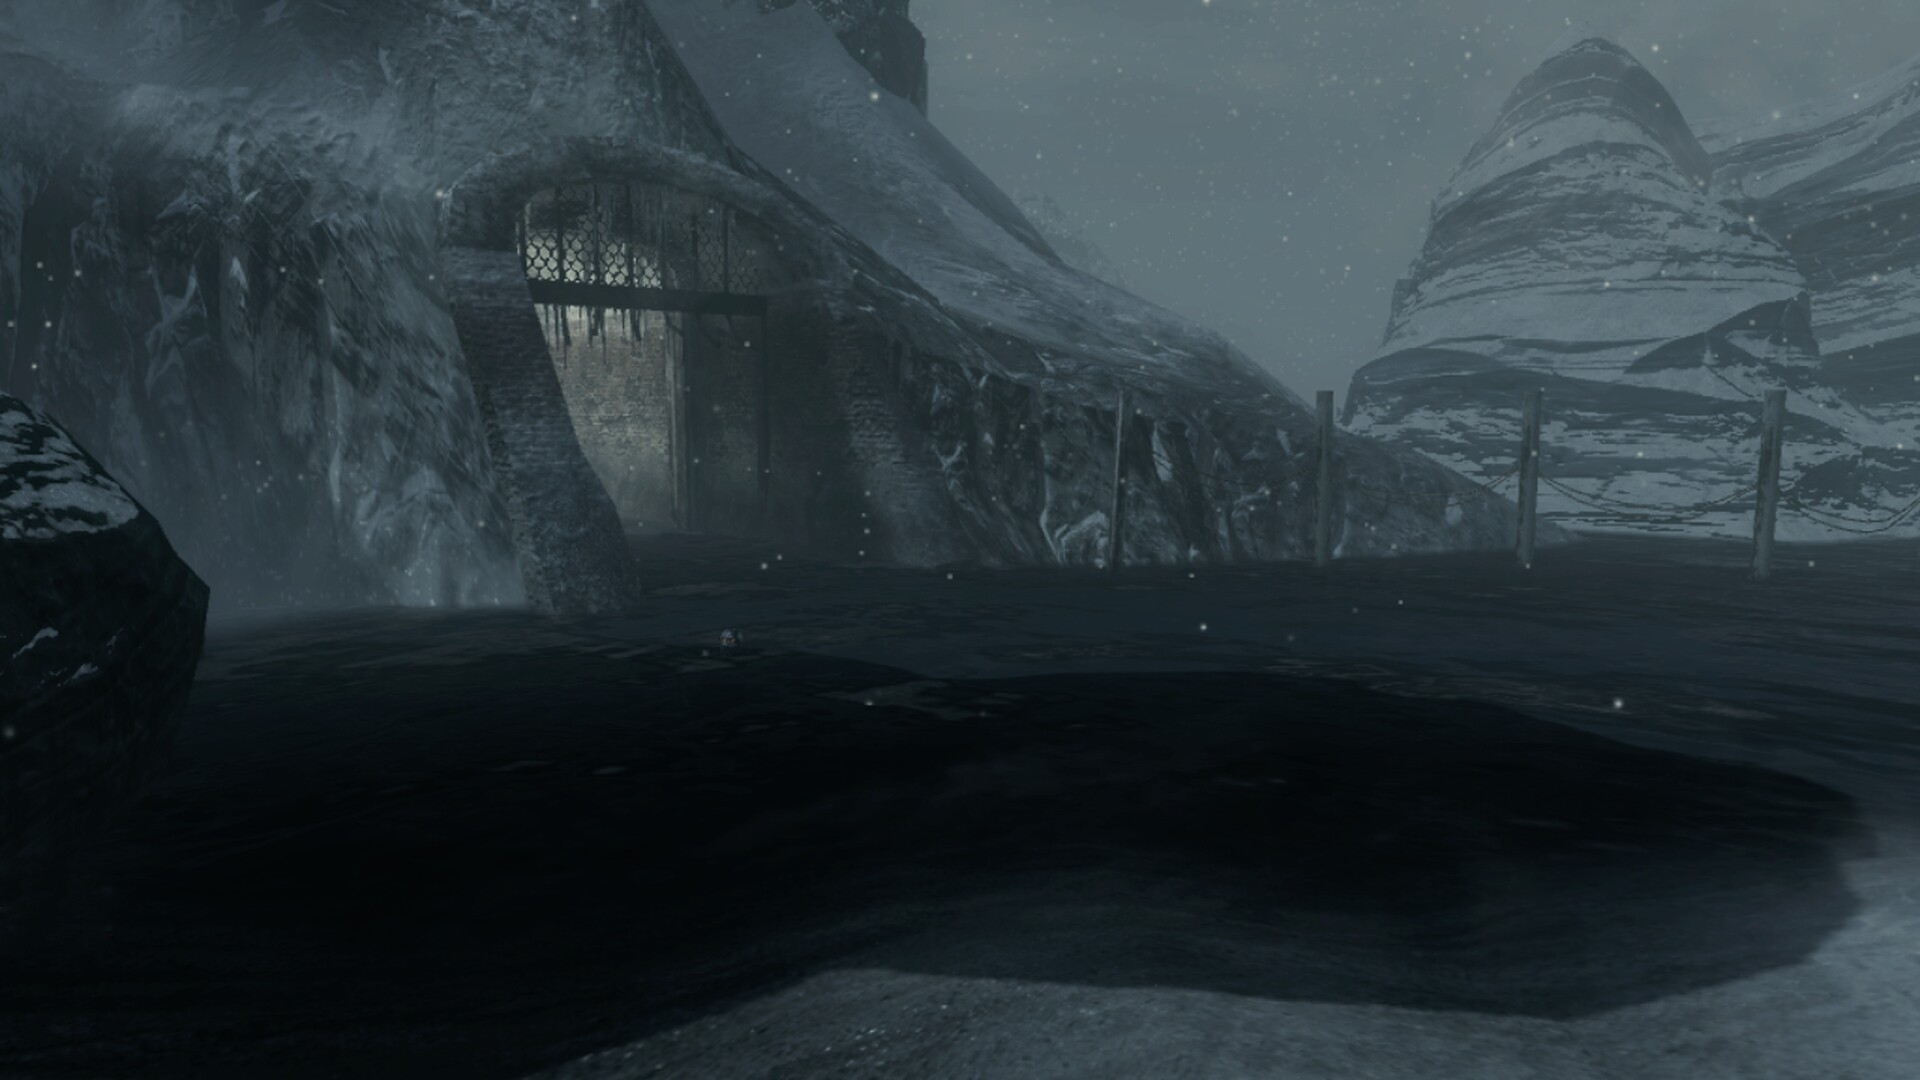
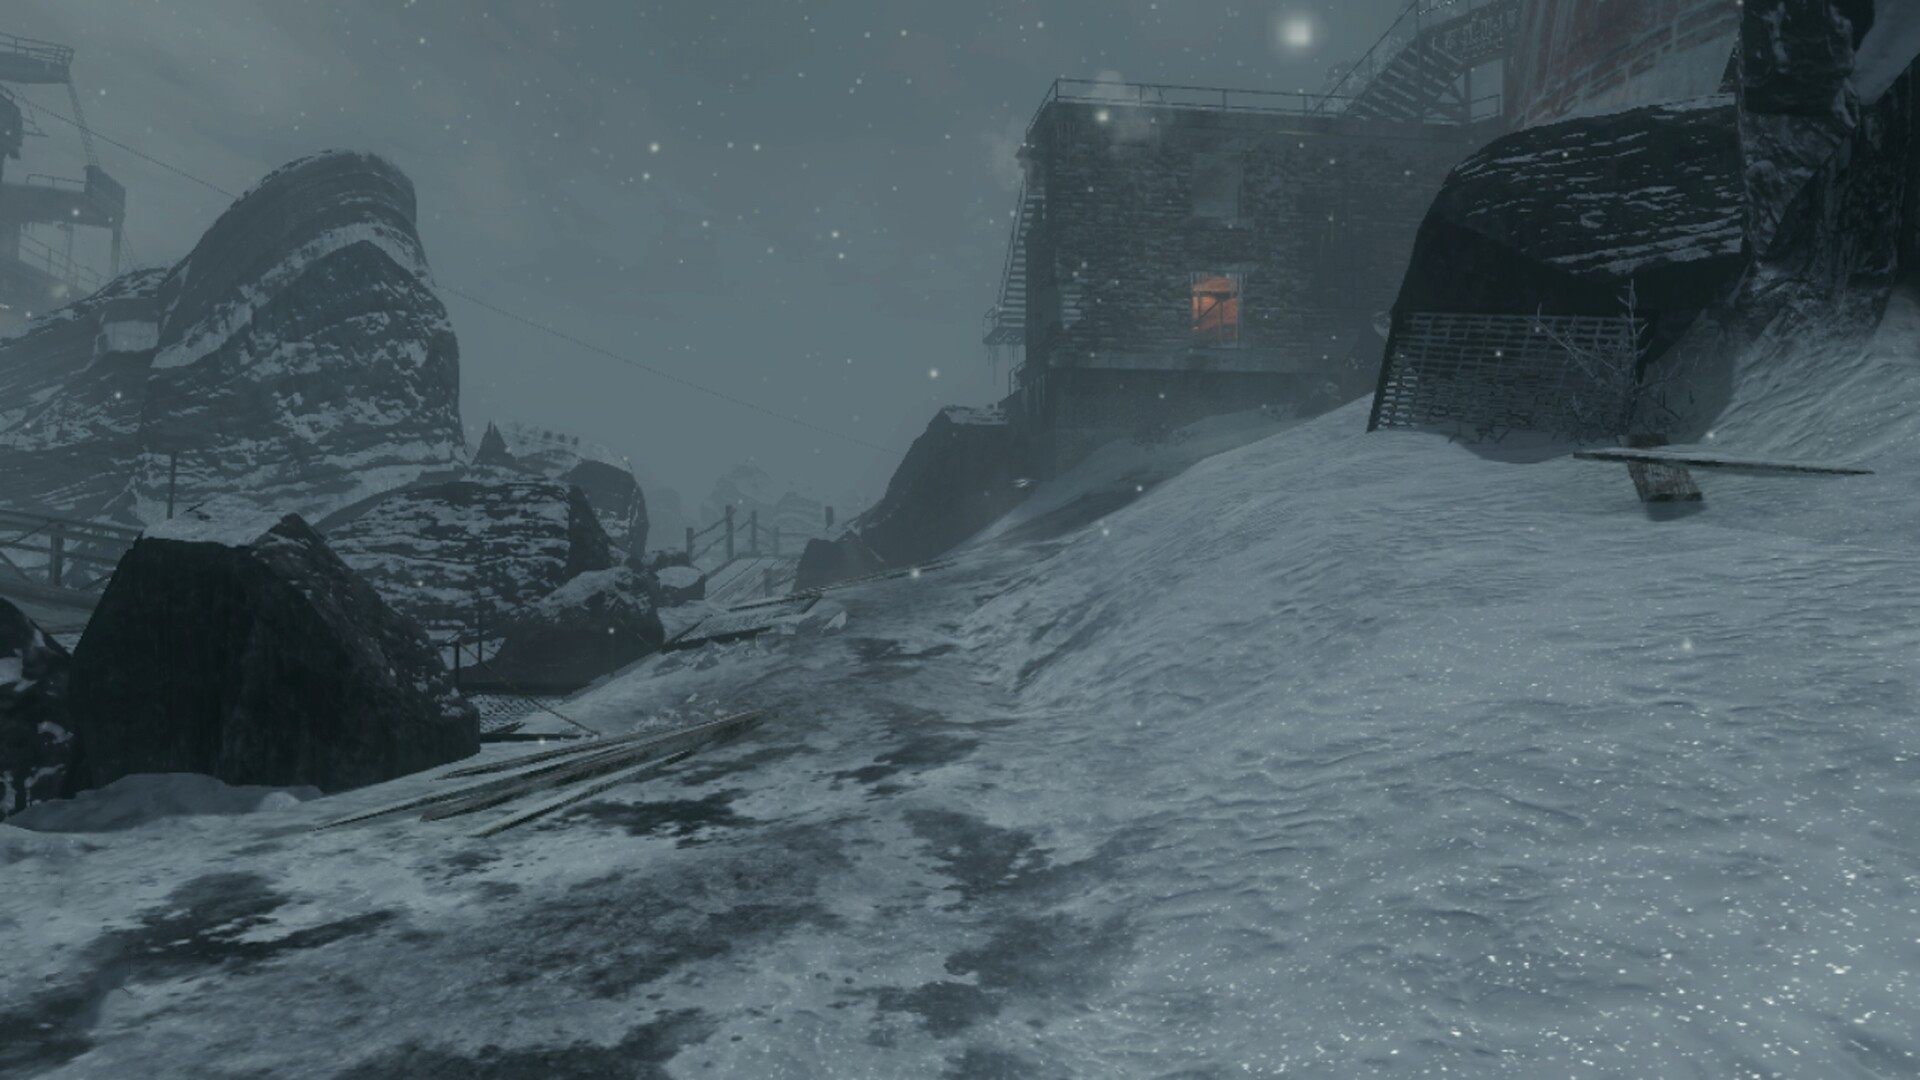
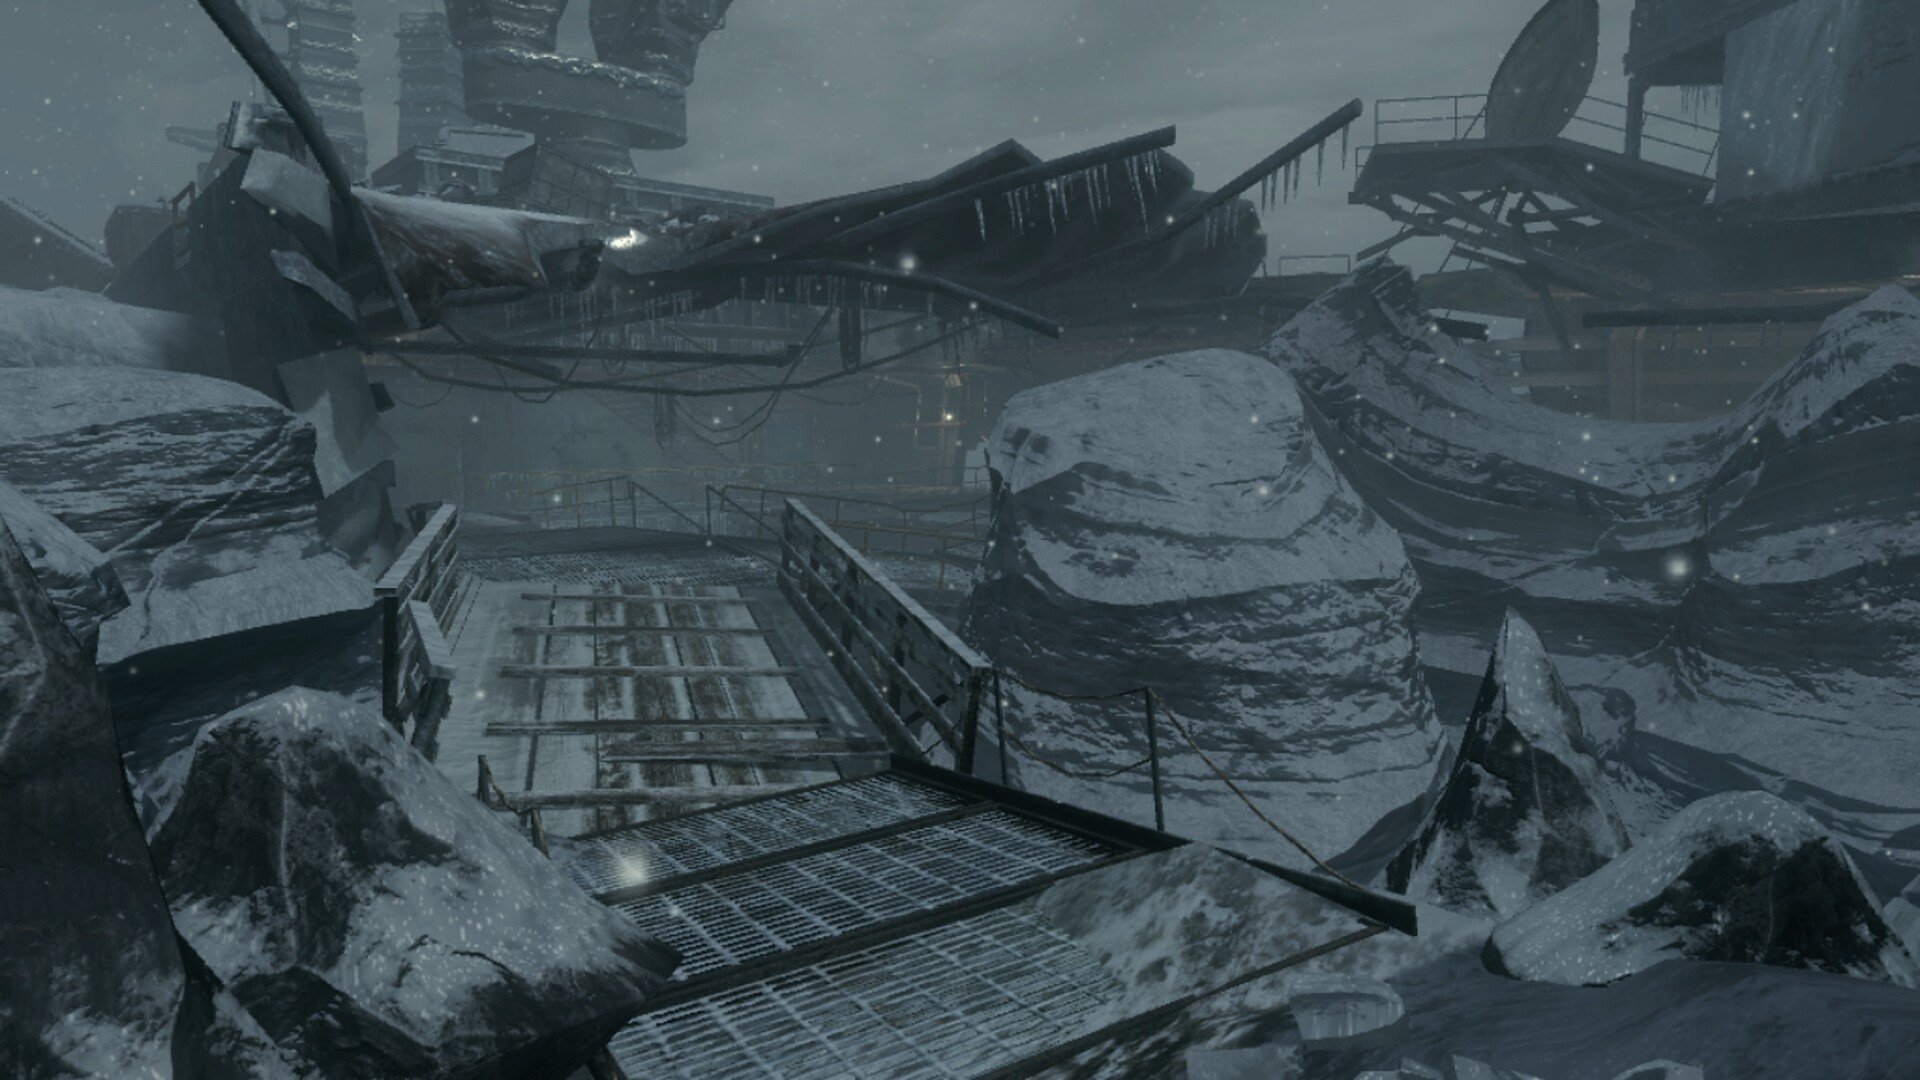
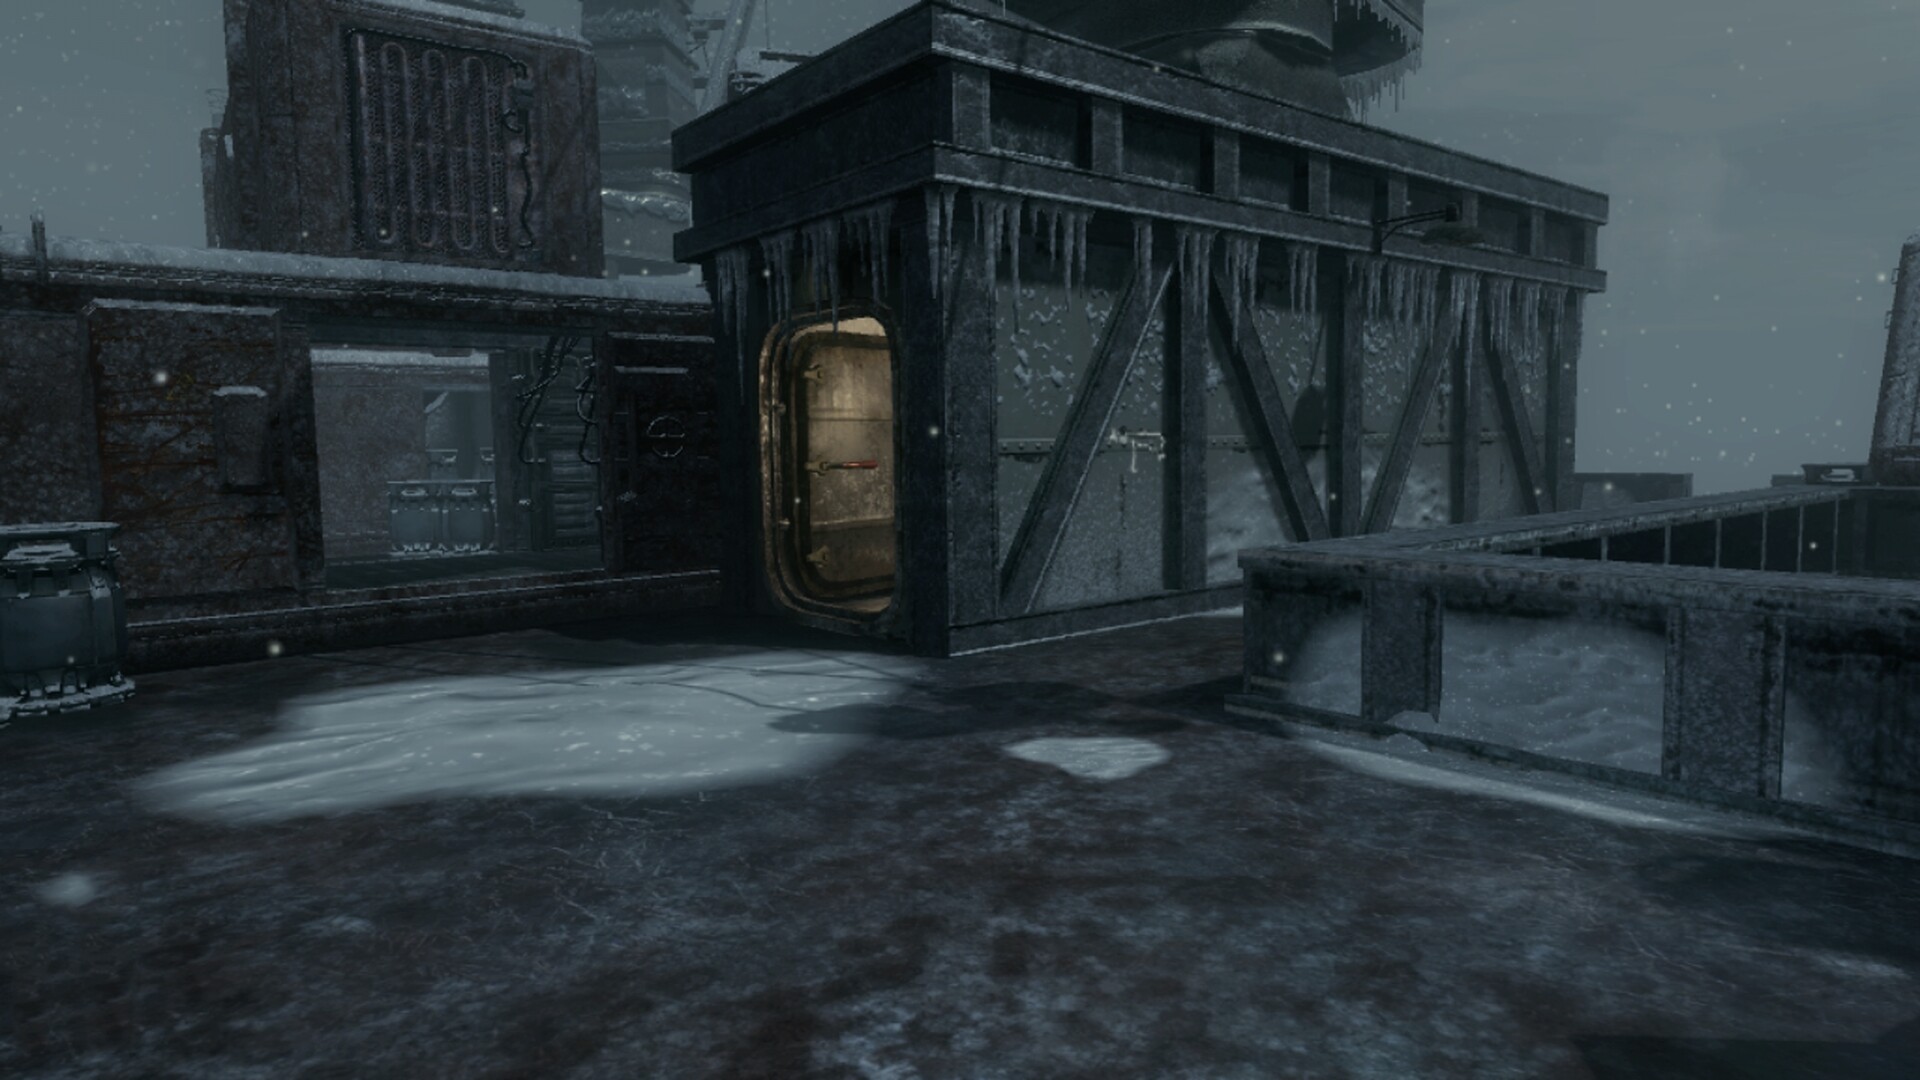
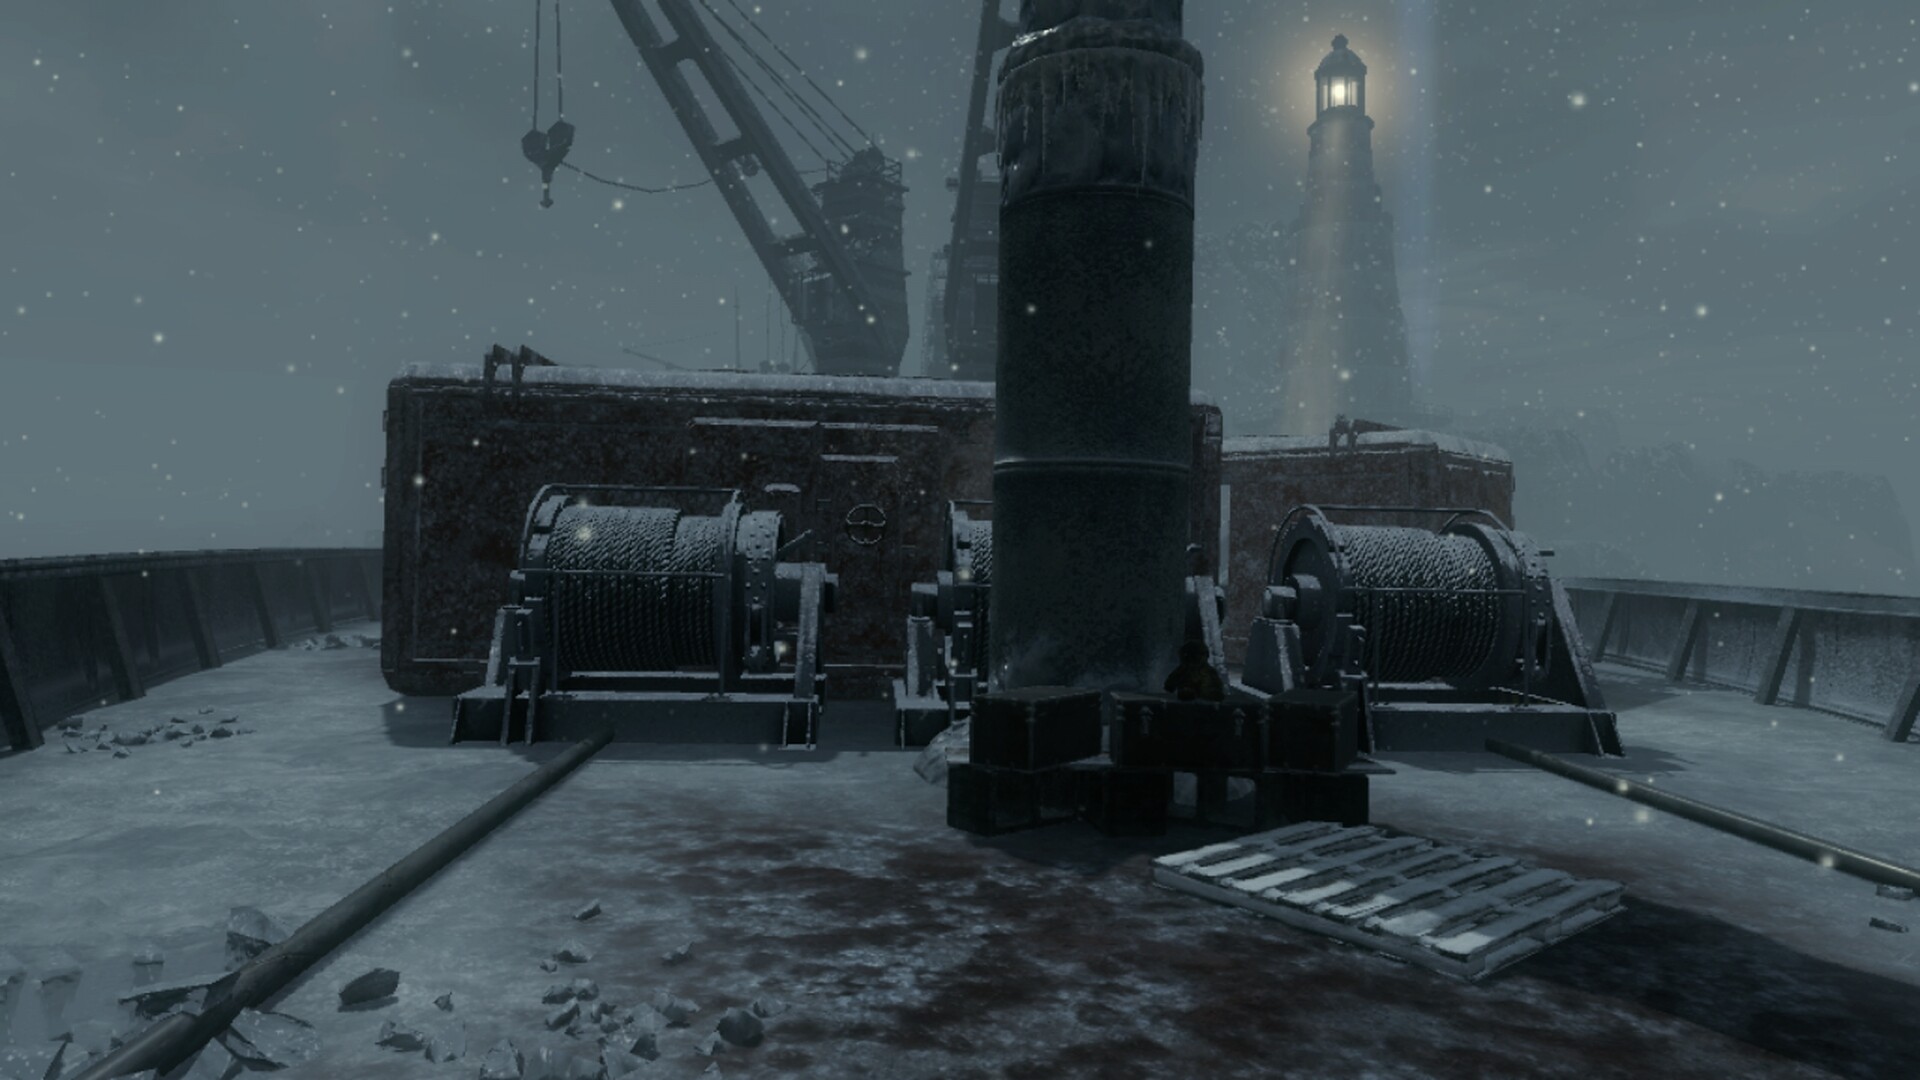
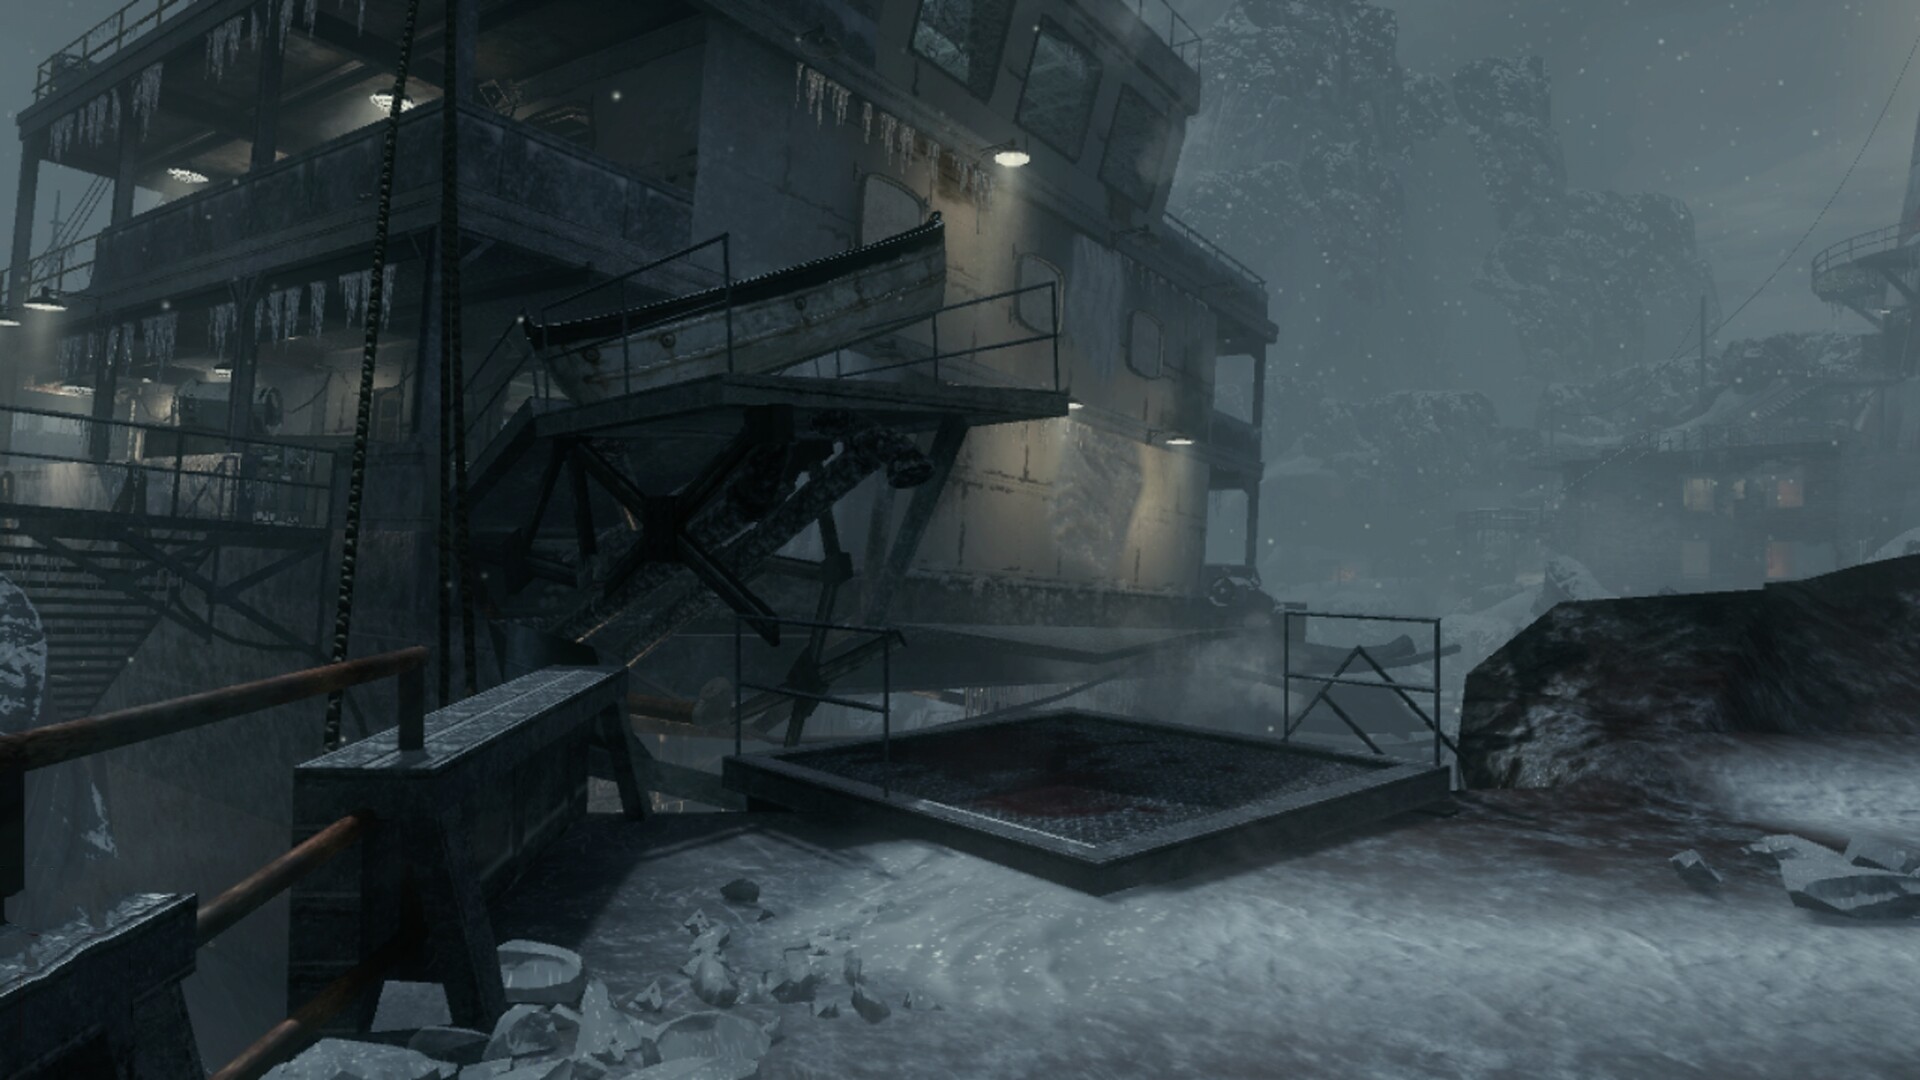
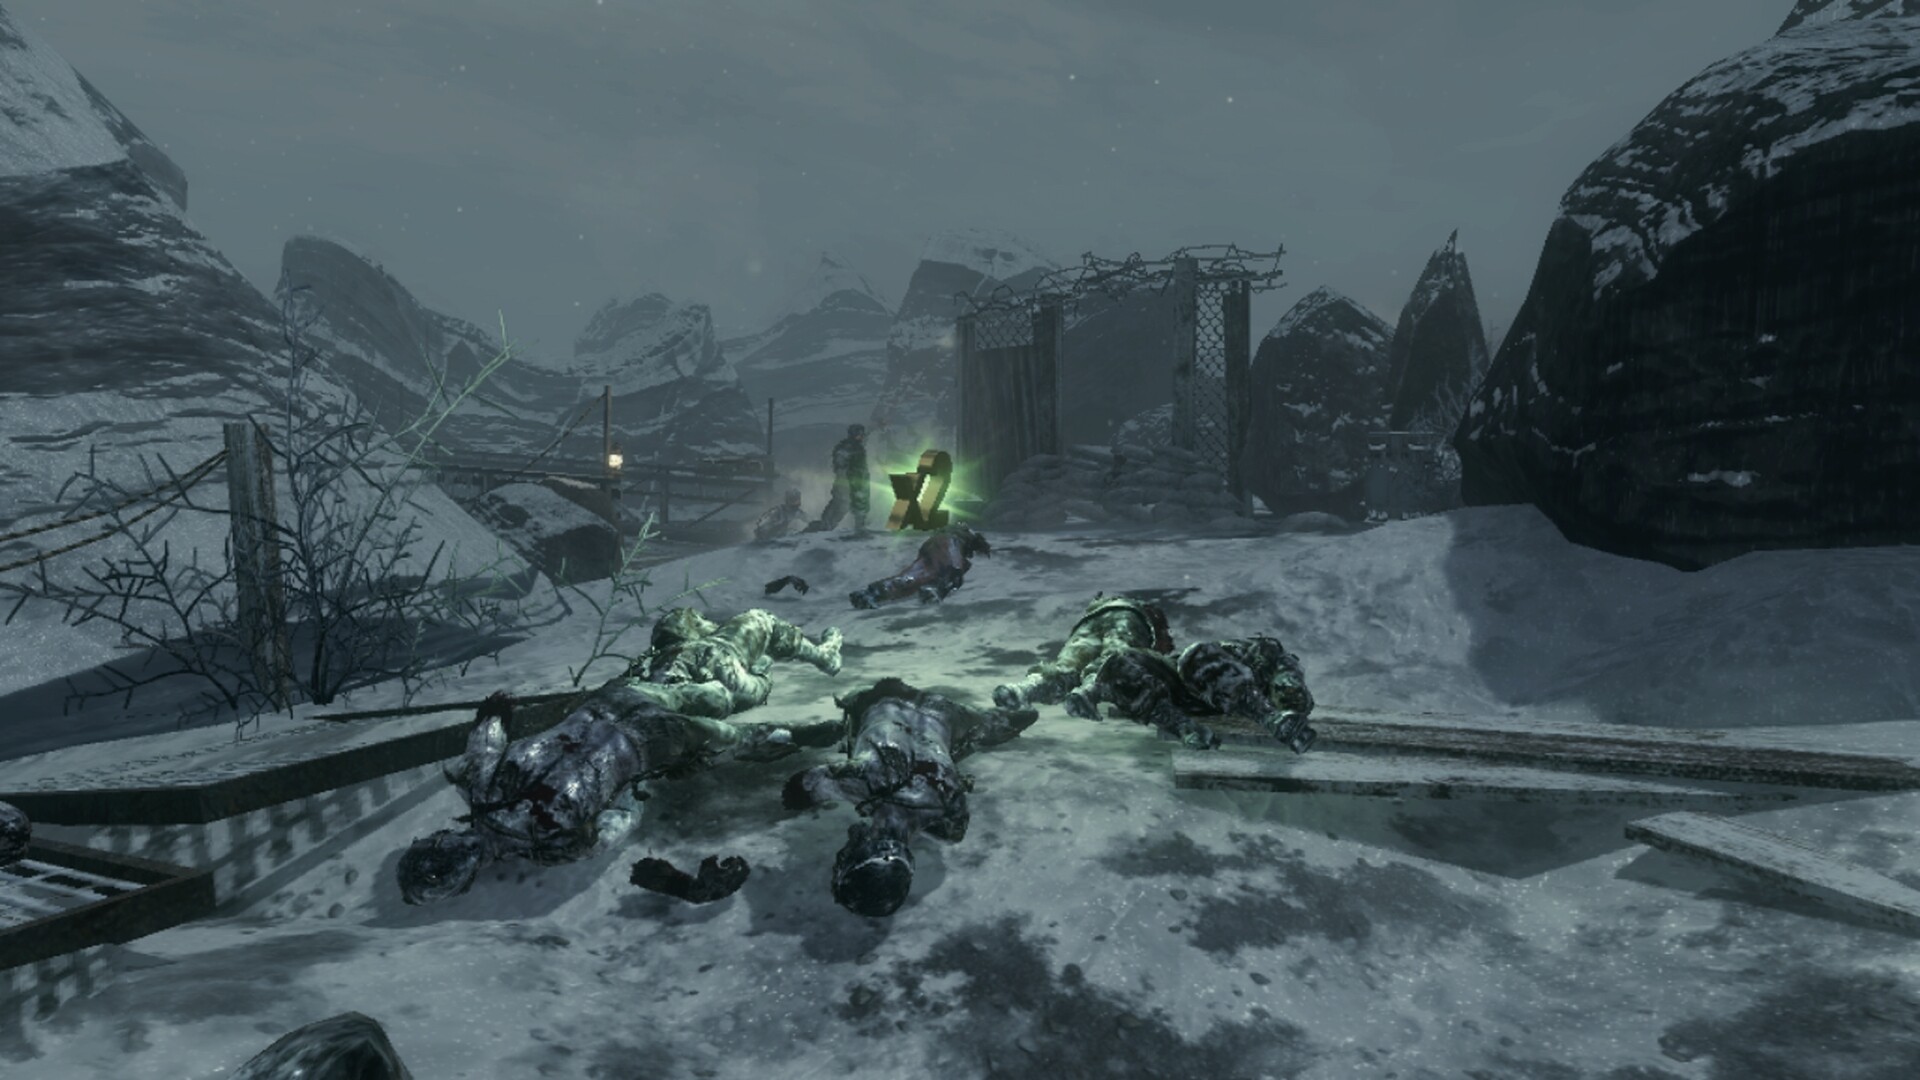
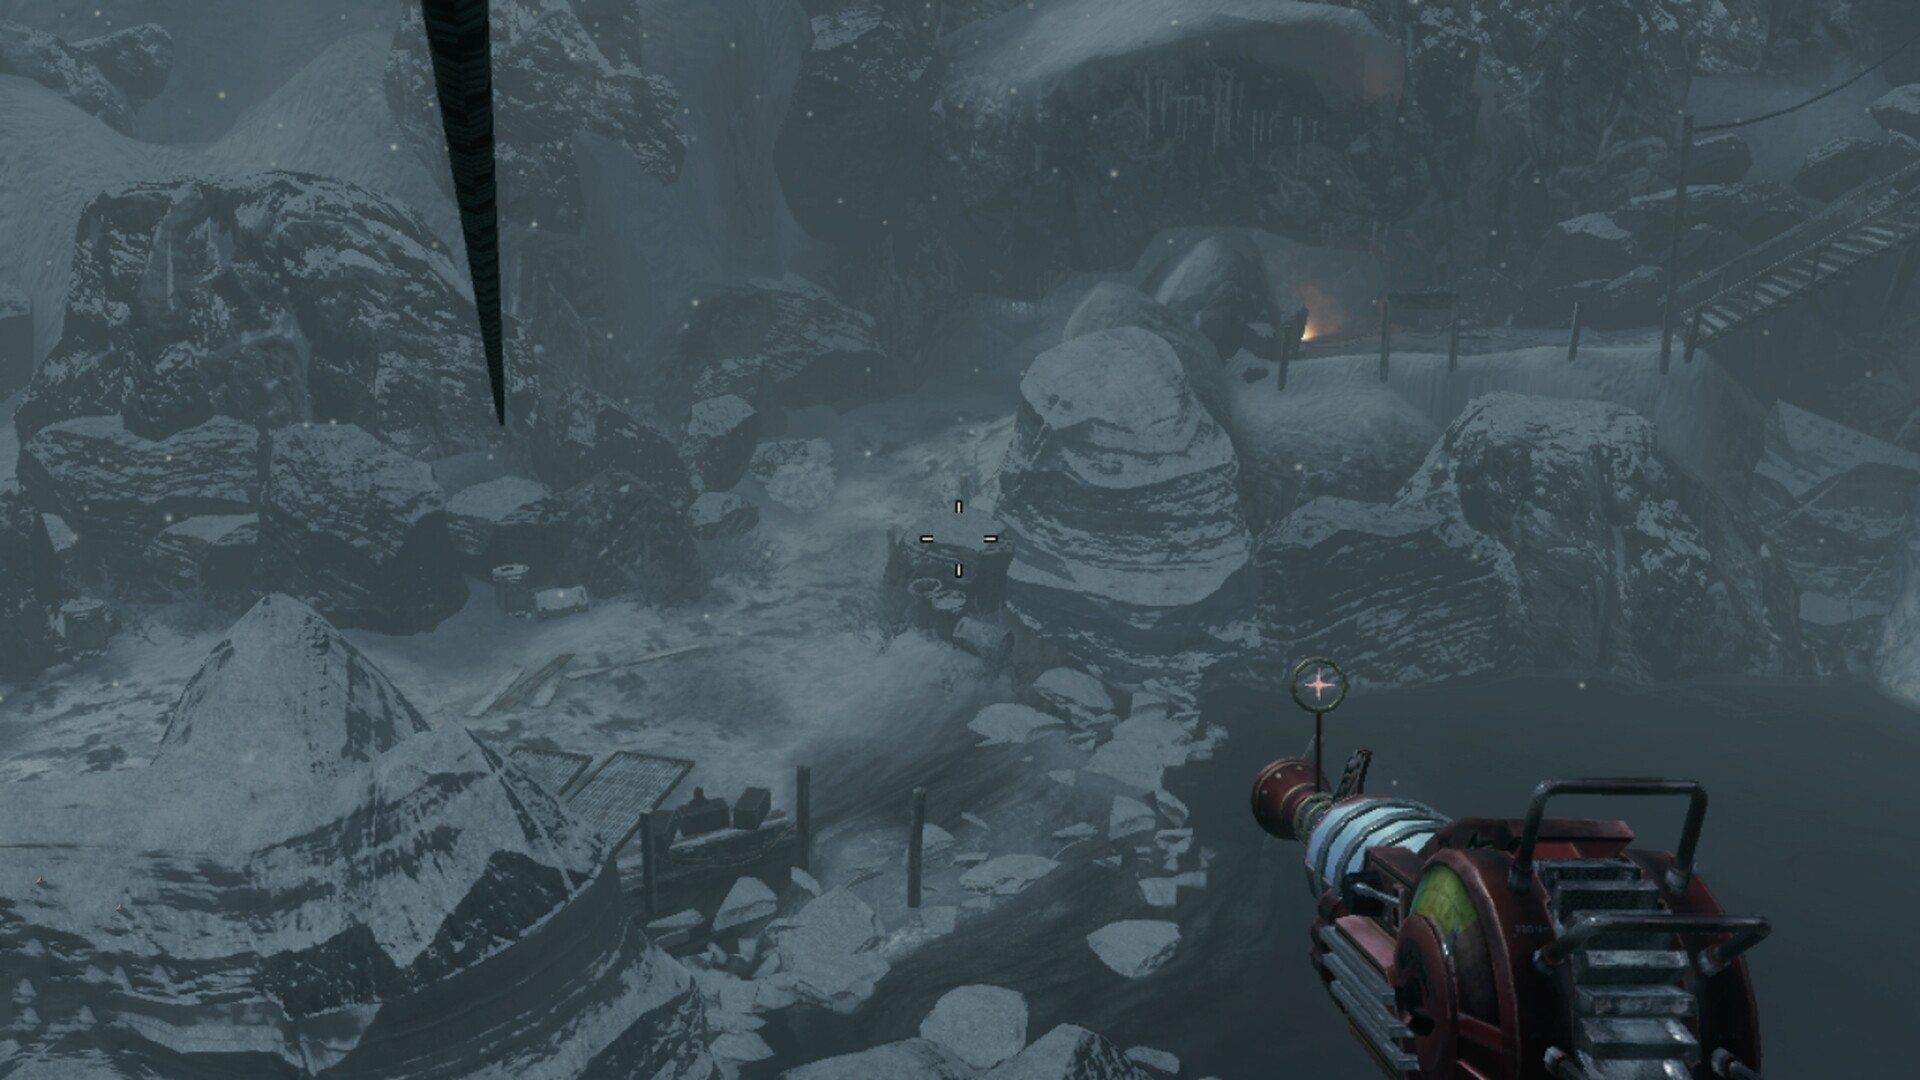
A shipwrecked crew of fearless explorers is hopelessly stranded in an abandoned Siberian outpost. Their dream of discovering the true origins of the mysterious Element 115 unravels into a Hellish nightmare. – Call of the Dead


Raygun – AMMO: 180 Shots – Pack-A-Punched: 240 Shots – Reload: 3 Seconds – Fire Mode: Automatic.
Scavenger – AMMO: 18 Shots – Pack-A-Punched: 36 Shots – Reload: 3 Seconds – Fire mode: Bolt-action
V-R11 – AMMO: 9 Shots – Pack-A-Punched: 18 Shots – Reload: 3.6 Seconds – Fire mode: Semi-automatic
Matryoshka Dolls – AMMO: 3 Tactical – Fire mode: Thrown
Sickle – AMMO: Infinite Fire – mode: Melee
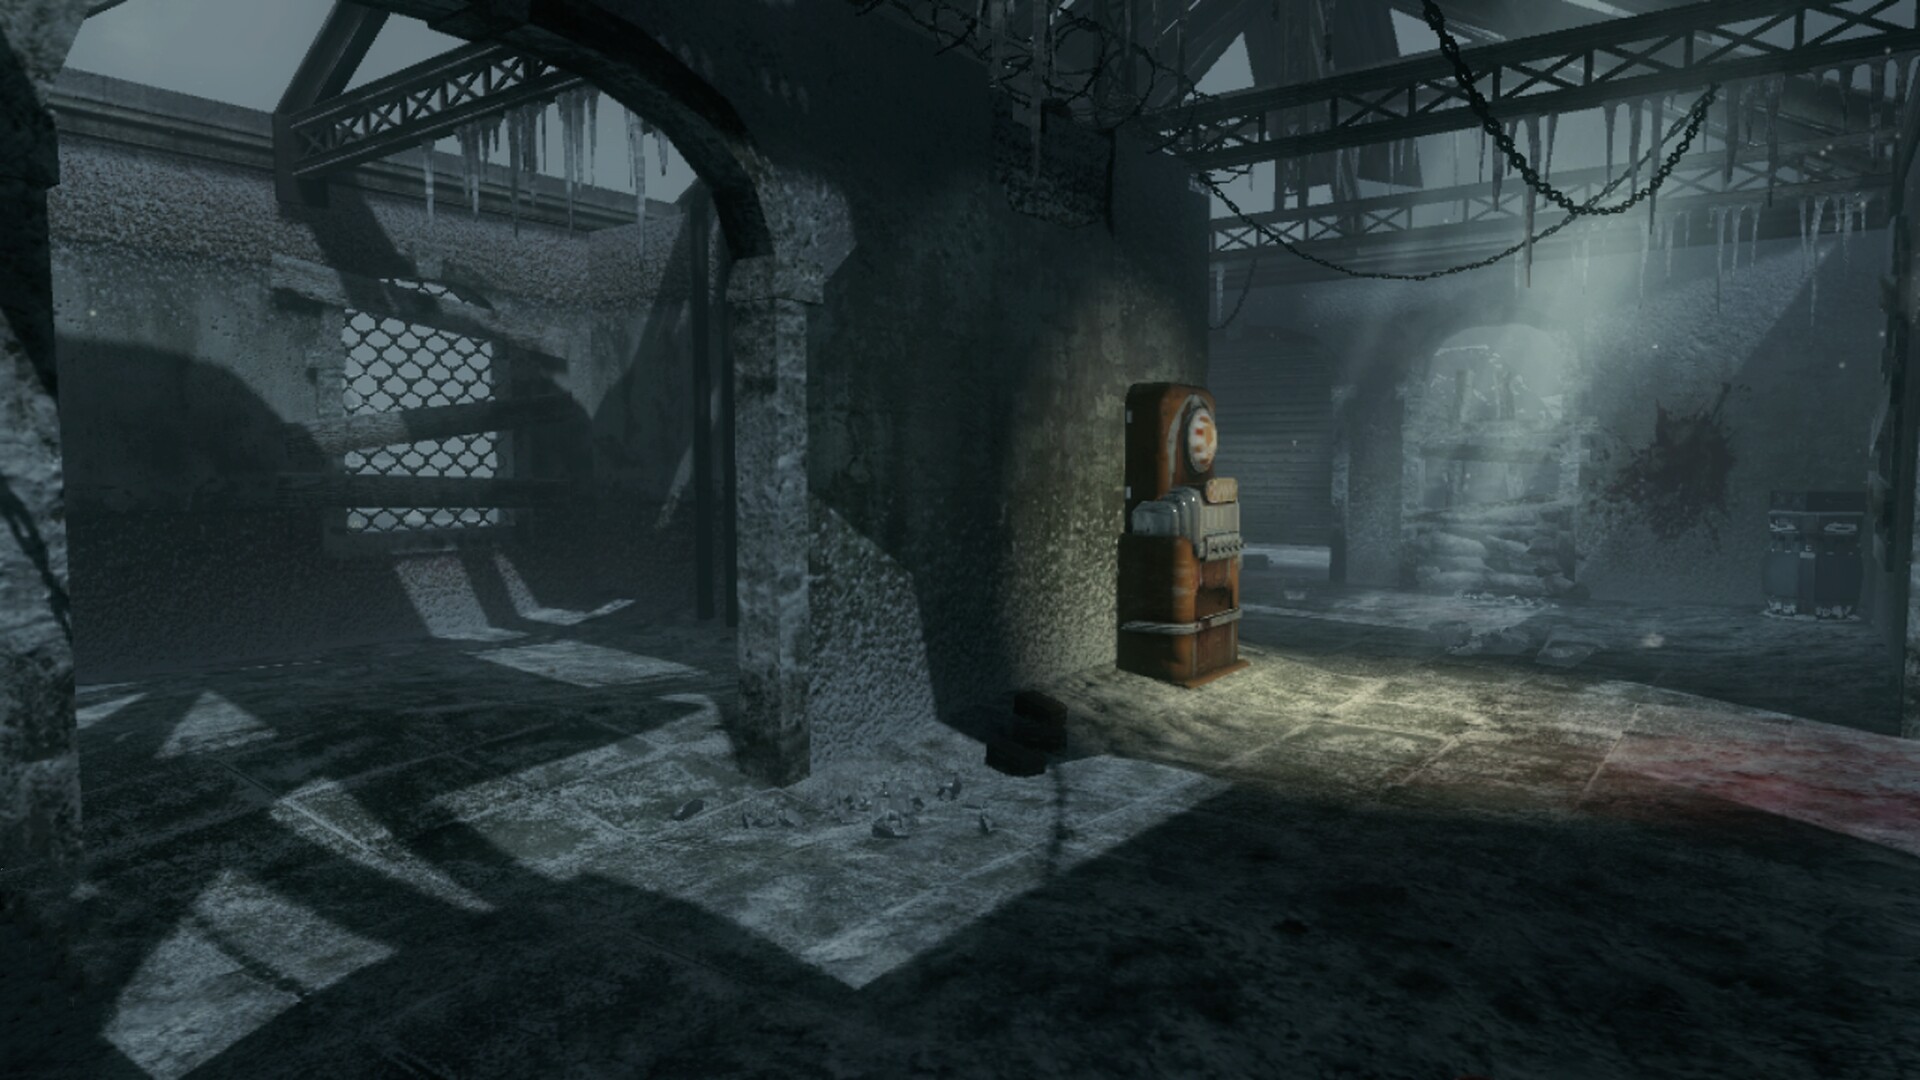
Quick Revive: Shorter delay before regenerating health and increased regeneration rate. Revive Players faster. – Cost: 500 / 1500 Points
Juggernog: Increased health from 100 to 250, – Cost: 2500 Points
Speed Cola: Cuts reload time in half and builds barriers by 60% faster. – Cost: 3000 Points
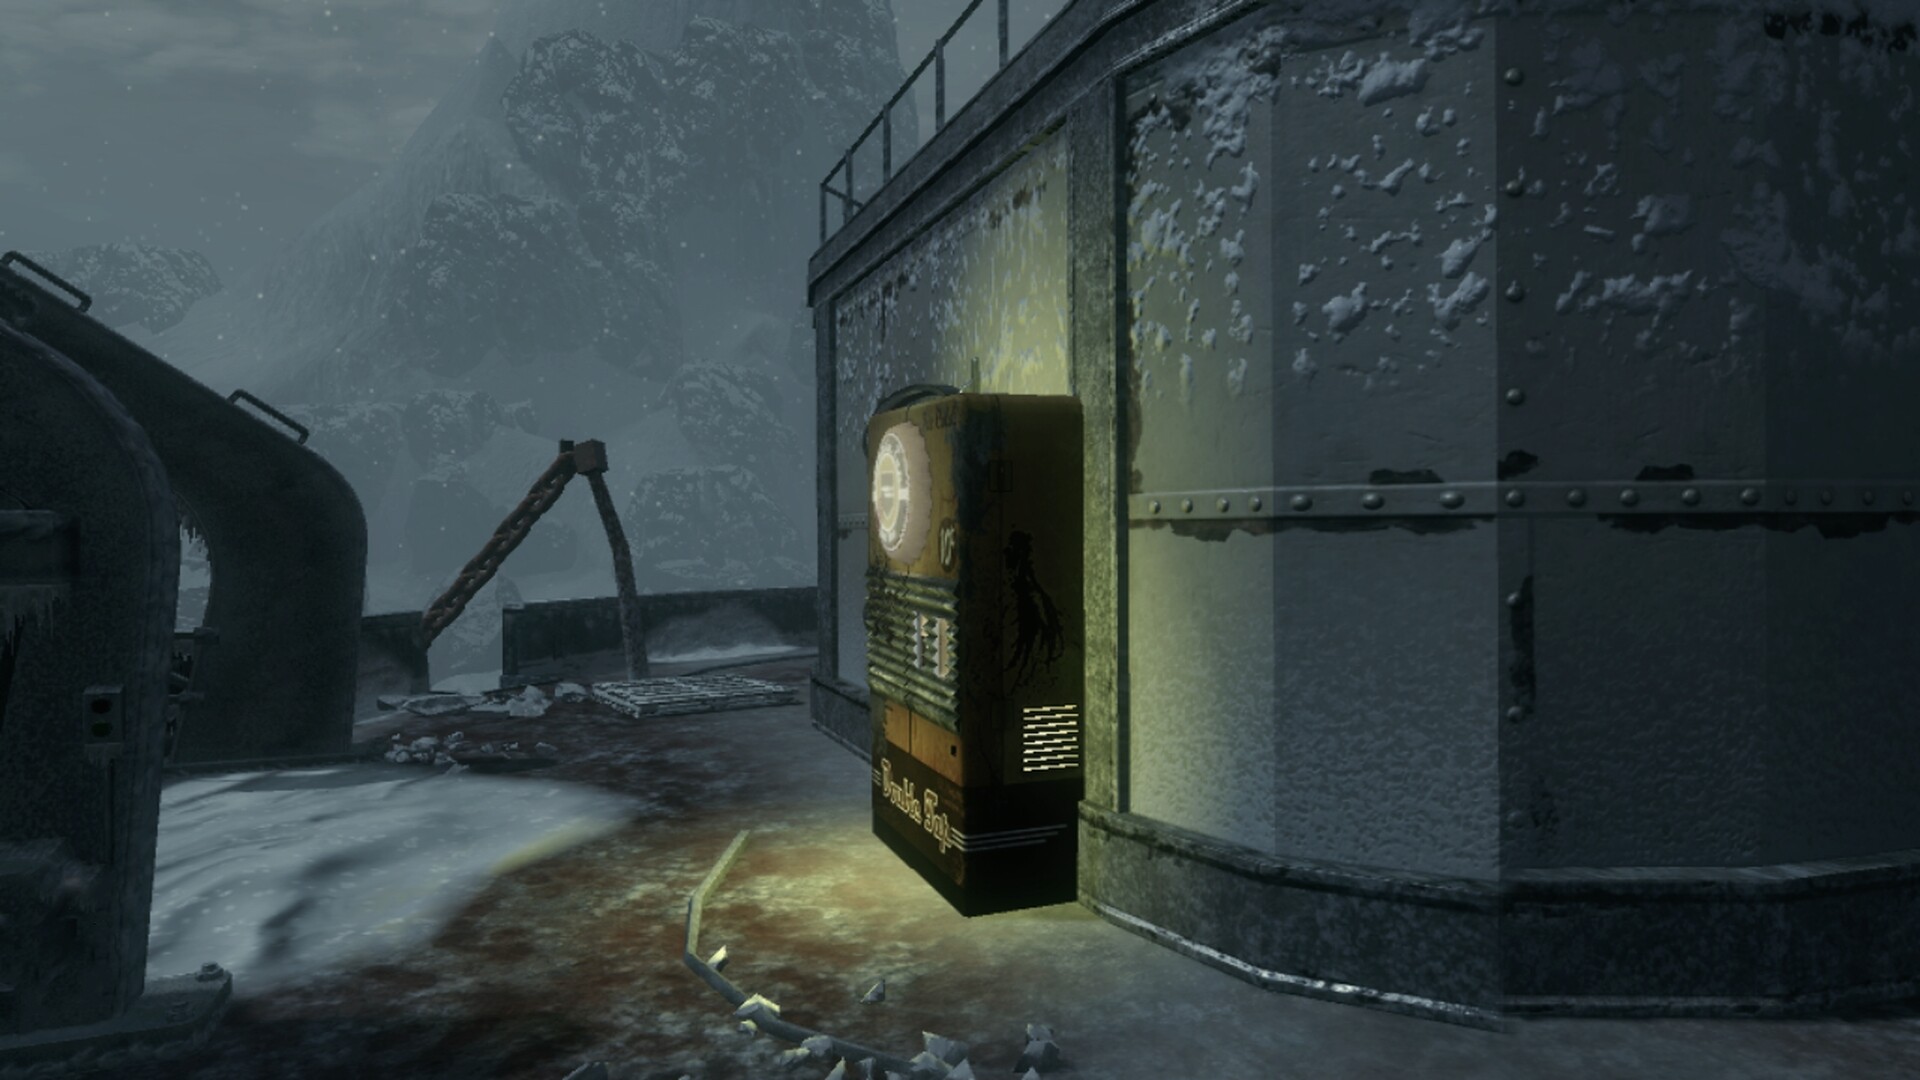
Double Shot Root Beer: Shots two bullets for every one bullet fired, doubling the damage for bullet weapons. – Cost: 2000 Points
Stamin-Up: Increased sprint speed and duration. Stamina regenerates faster. – Cost: 2000 Points
Mule Kick: Carry an additional Primary weapon. A total of three guns. Going down will remove the last purchased weapon. – Cost: 4000 Points
PhD Flopper: Immunity to explosives and falling damage. Also provide player with a diving explosive. – Cost: 2000 Points
Deadshot Daiquiri: Auto aims weapons at the head, increases hip-fire accuracy by 35%, and reduces weapon recoil. – Cost: 1500 Points
The map has a few Power-Ups. Random Perk Bottle gives all players a random perk from one of the maps machines, Death Machine gives the player a minigun for 30 seconds with unlimited ammo, Fire Sale will spawn all Mystery Box locations and change the cost from 950 points to 10 points, Carpenter rebuilds all the barriers across the map, Max Ammo will give all teammates full ammo, Double Points will grant every player with double the points fill kills and boarding up windows, Insta-Kill will instantly kill zombies with any bullet type for a limited time and Nuke will kill every zombies on the map including zombies that just spawn outside the map area.
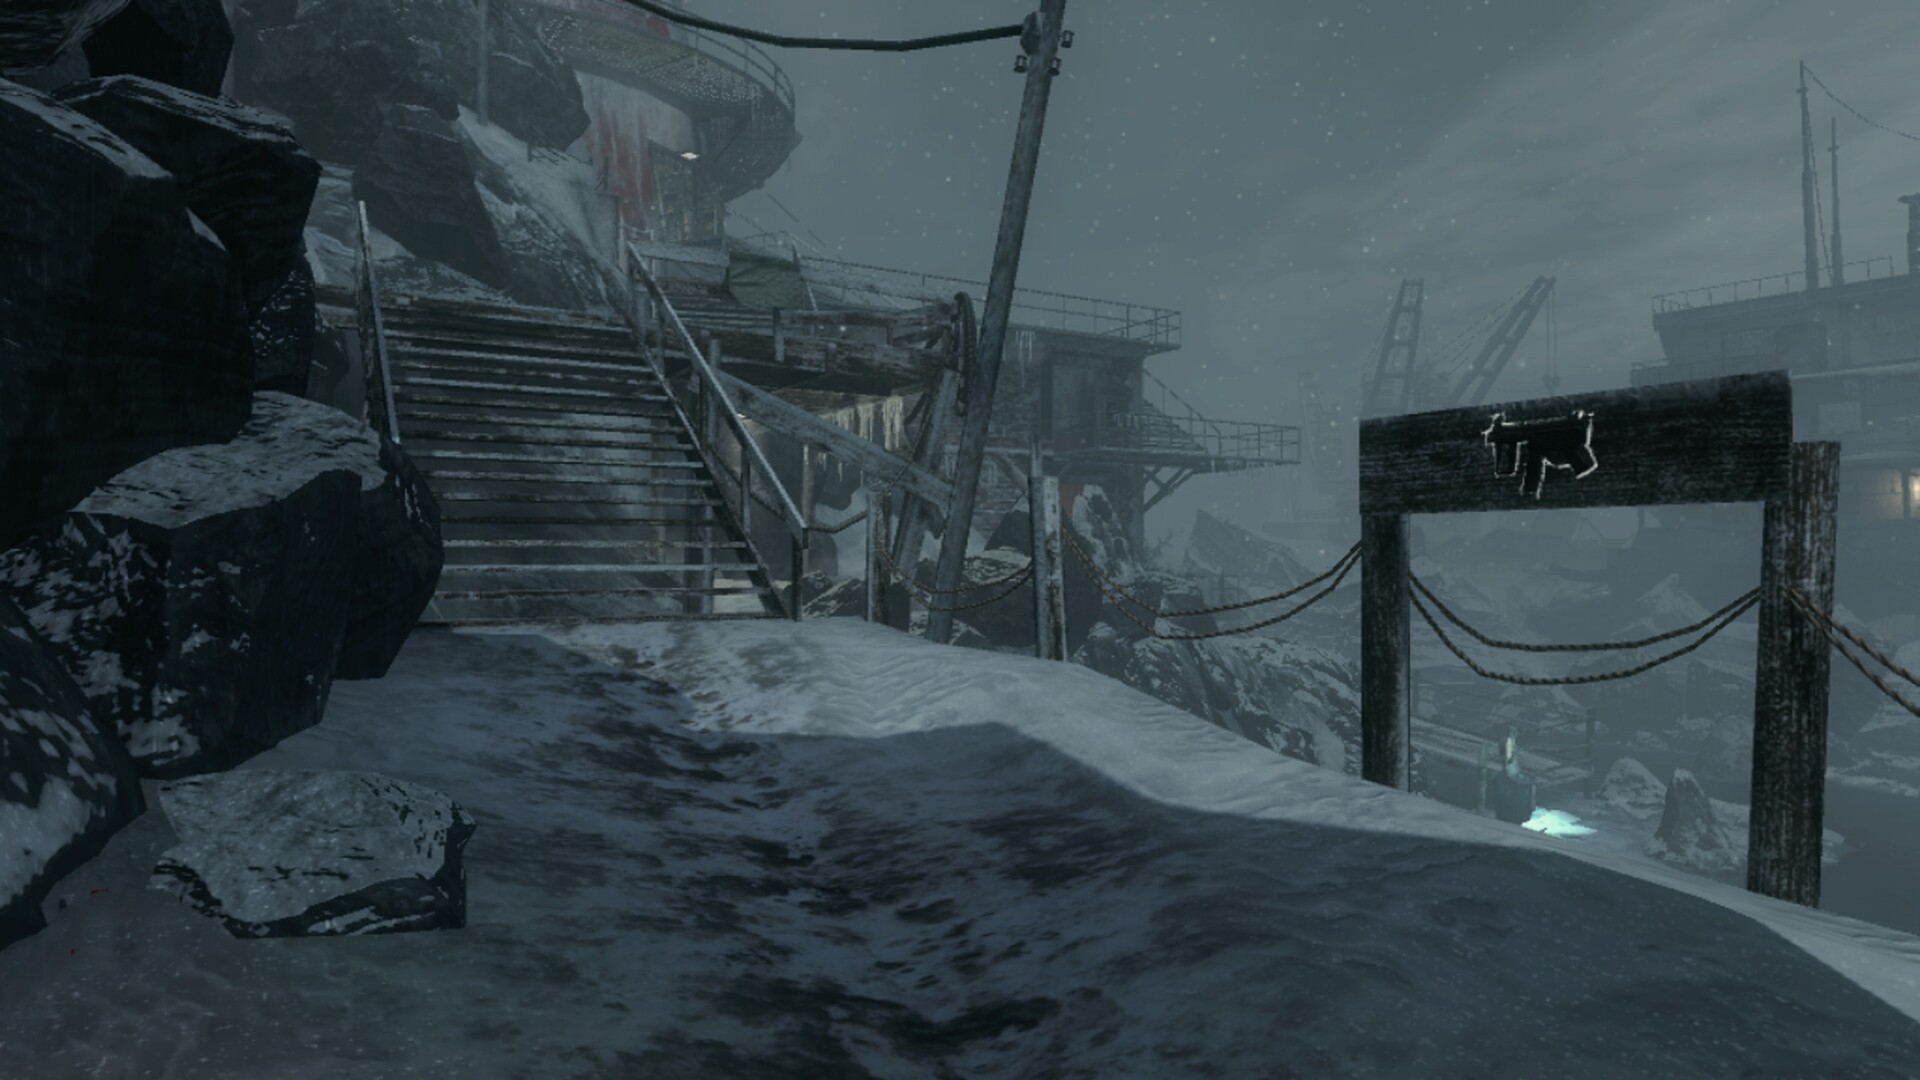
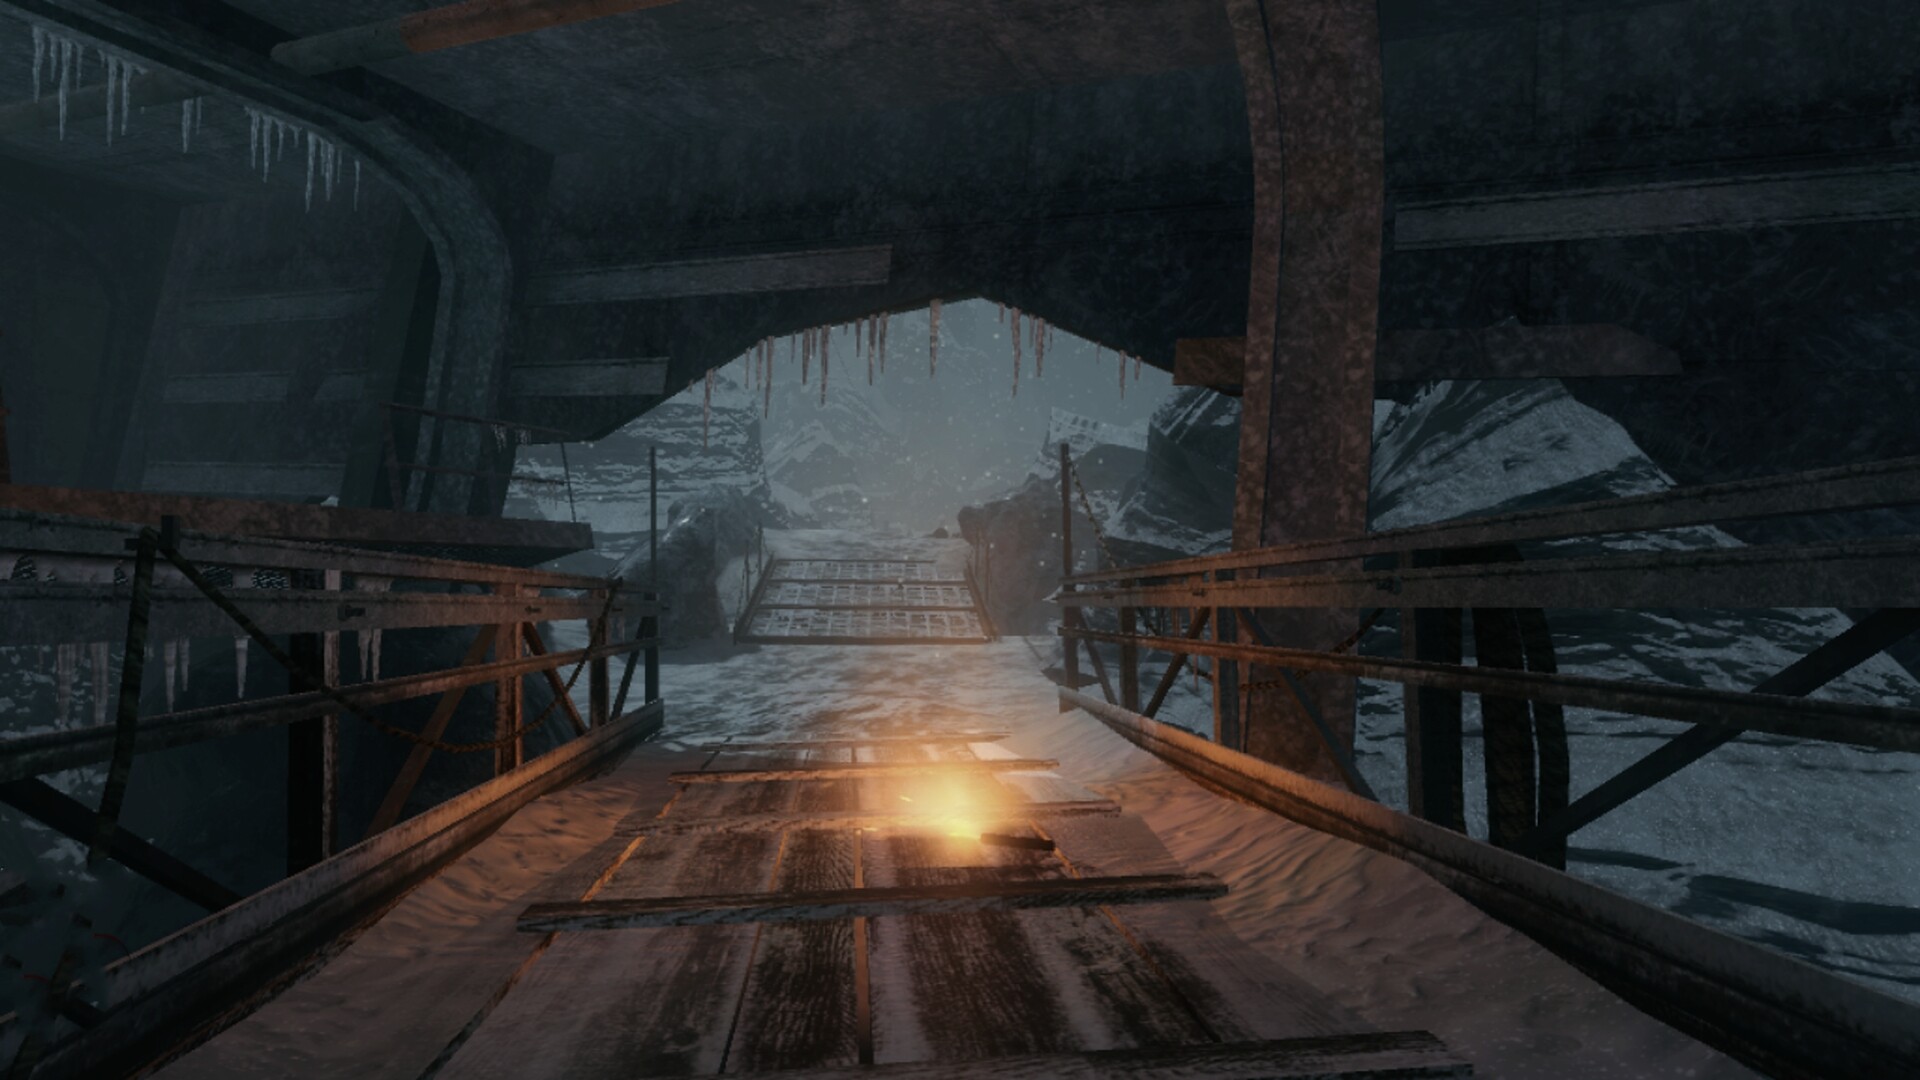
The Sickle makes its return as a Wall Weapon once again; you can purchase it at the bottom of ice slide for 3000 points. The other Wall Weapons on the map include the Olympia, M14, PM63, MPL, MP5k, AK74u, MP40, M16. Stakeout, Claymores and Semtex Grenades.
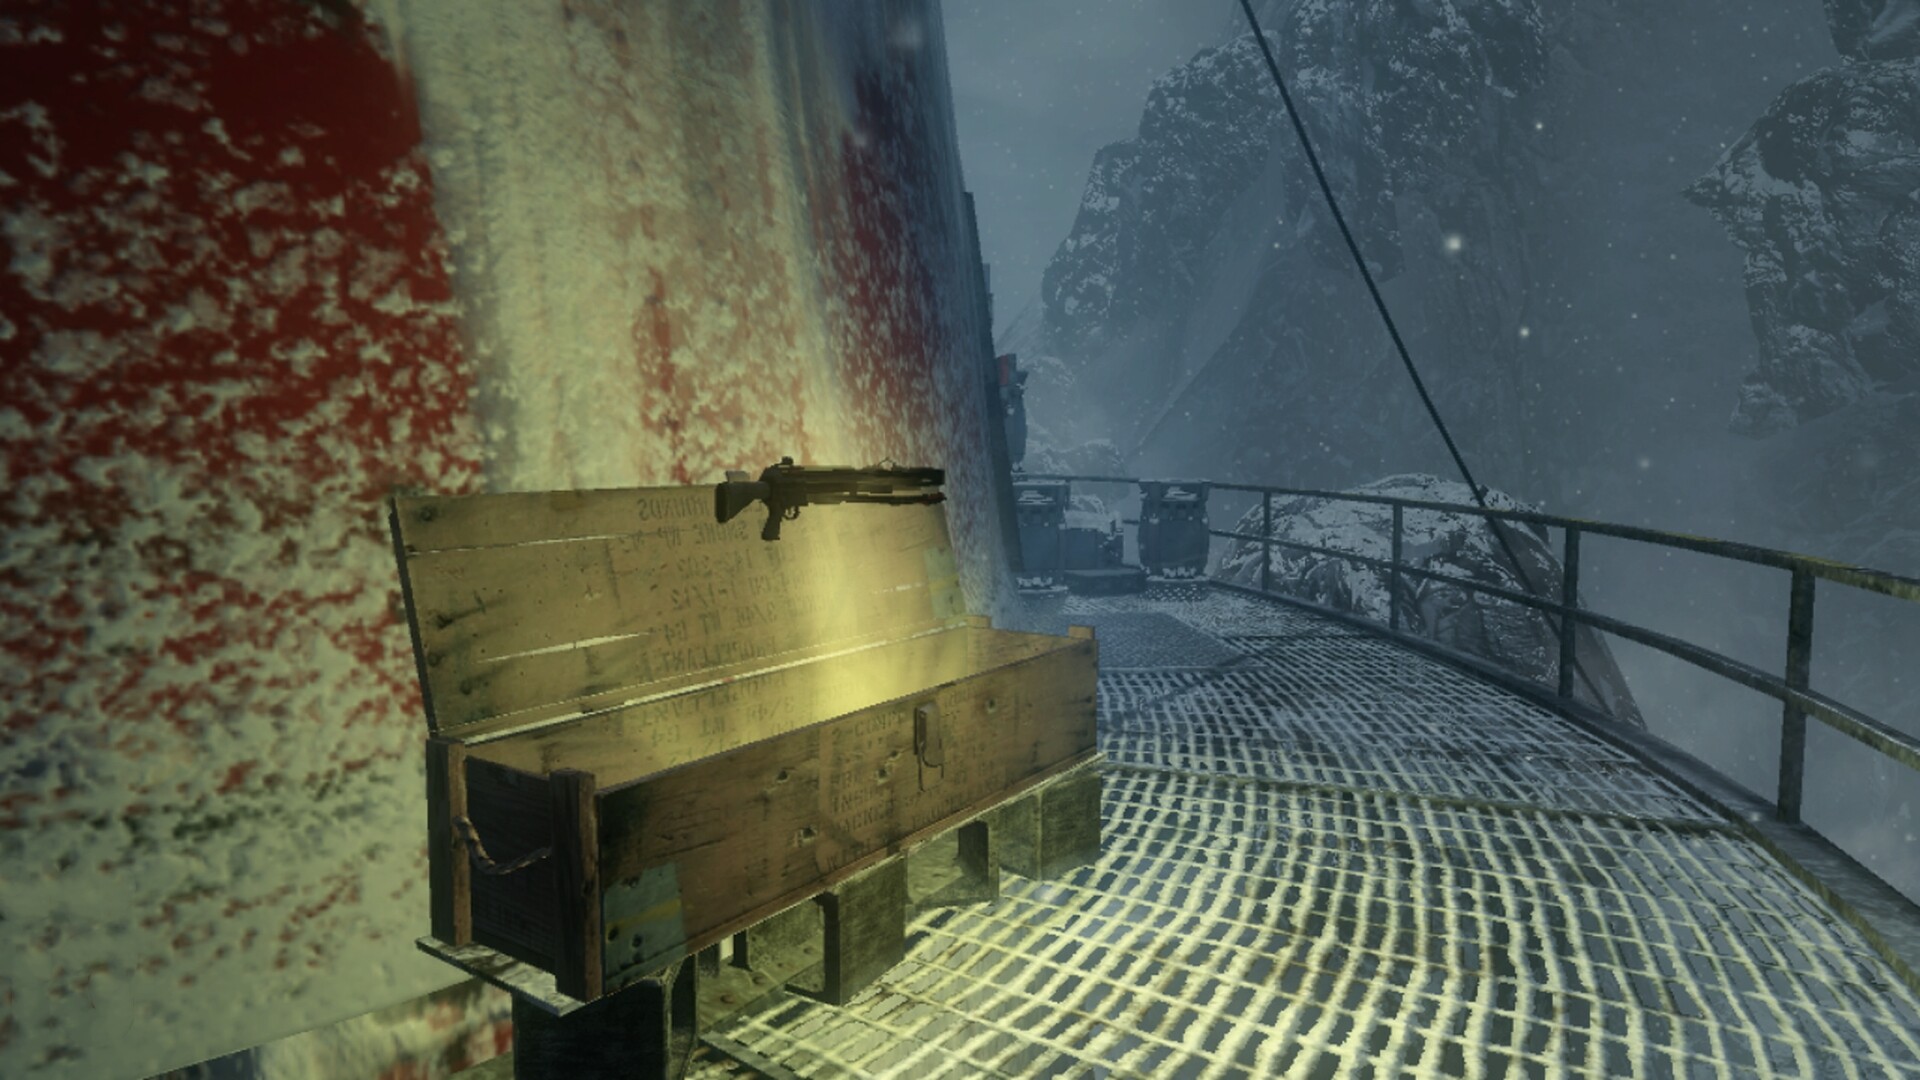
Grab one of the new or old Wonder Weapons from the Mystery Box along with one of the map standard guns that include the CZ75, CZ75 Dual Wield, Python, Spectre, FN FAL, G11, FAMAS, AUG, Commando, Galil, HS-10, SPAS-12, Dragunov, L96A1, RPK, HK21, Ballistic Knife, Crossbow, China Lake or the M72 Law. If you are a sniper fan you must try the Scavenger.
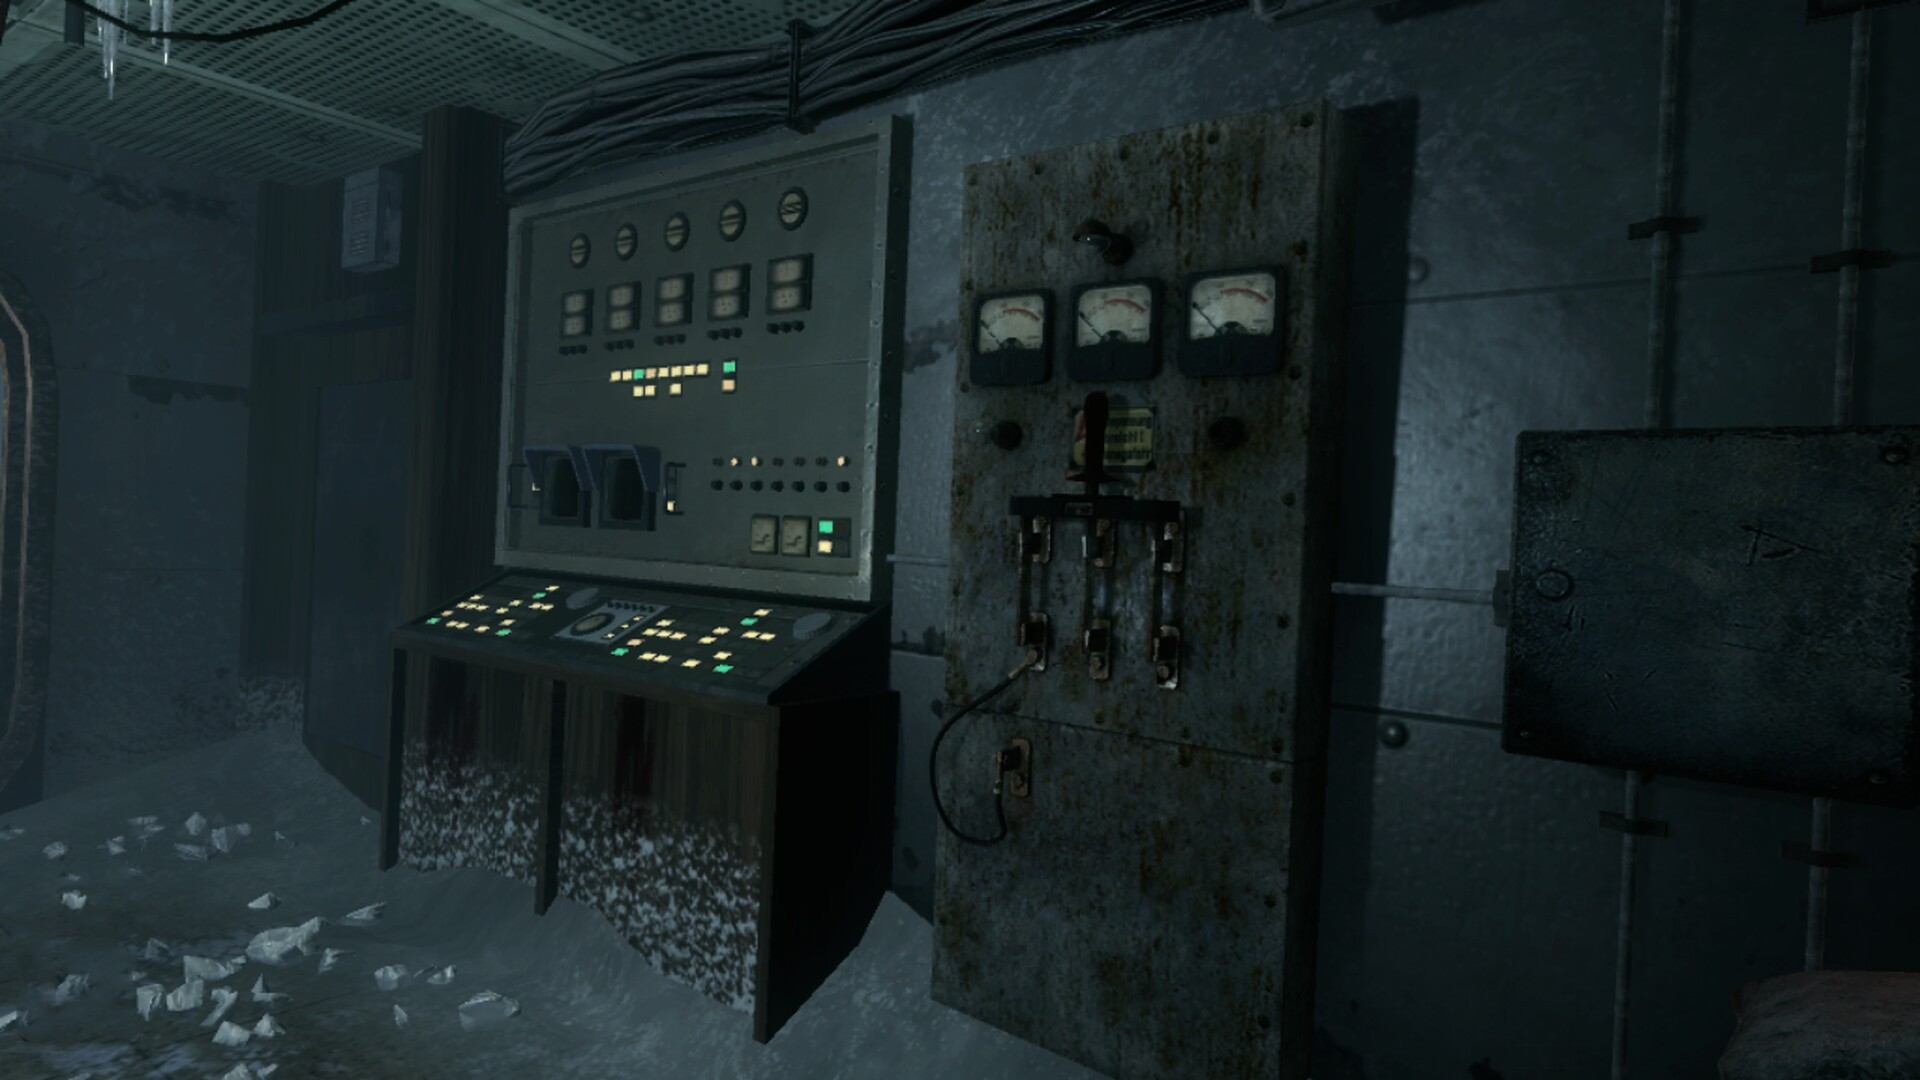
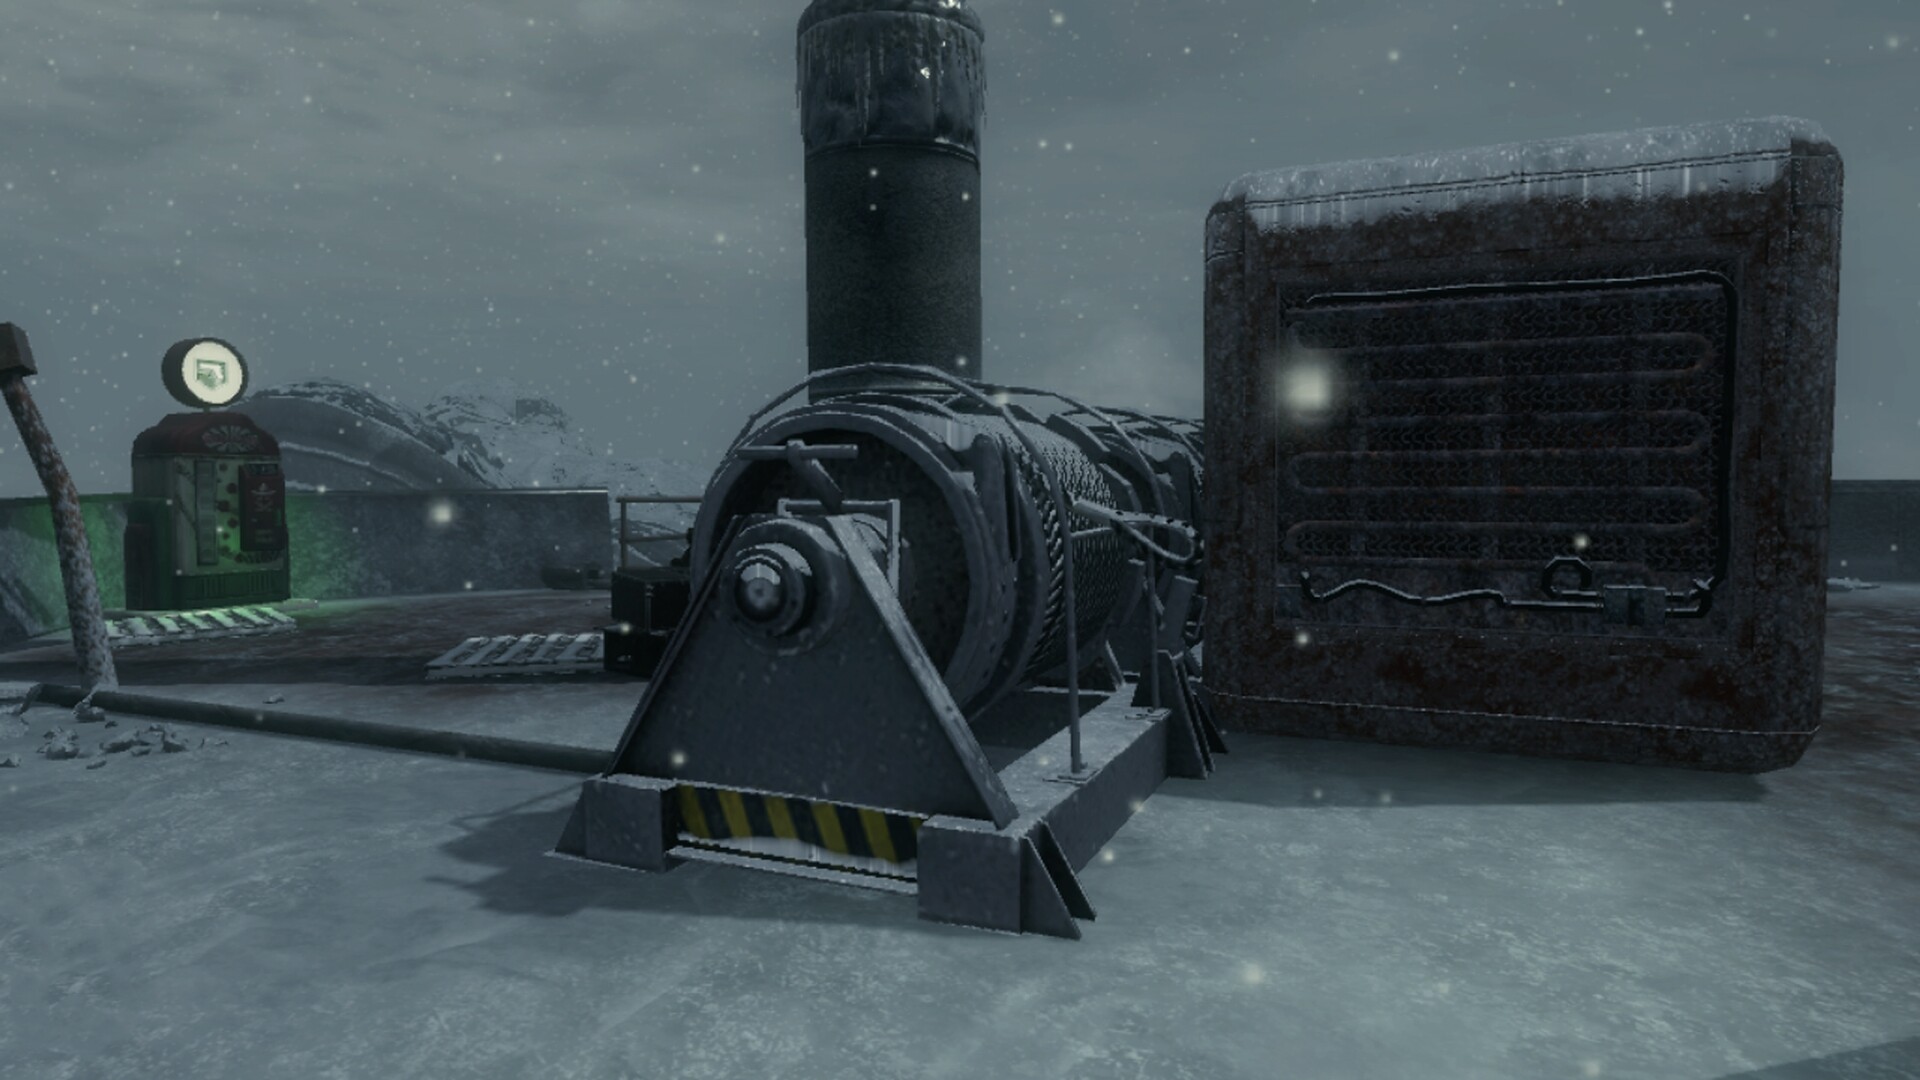
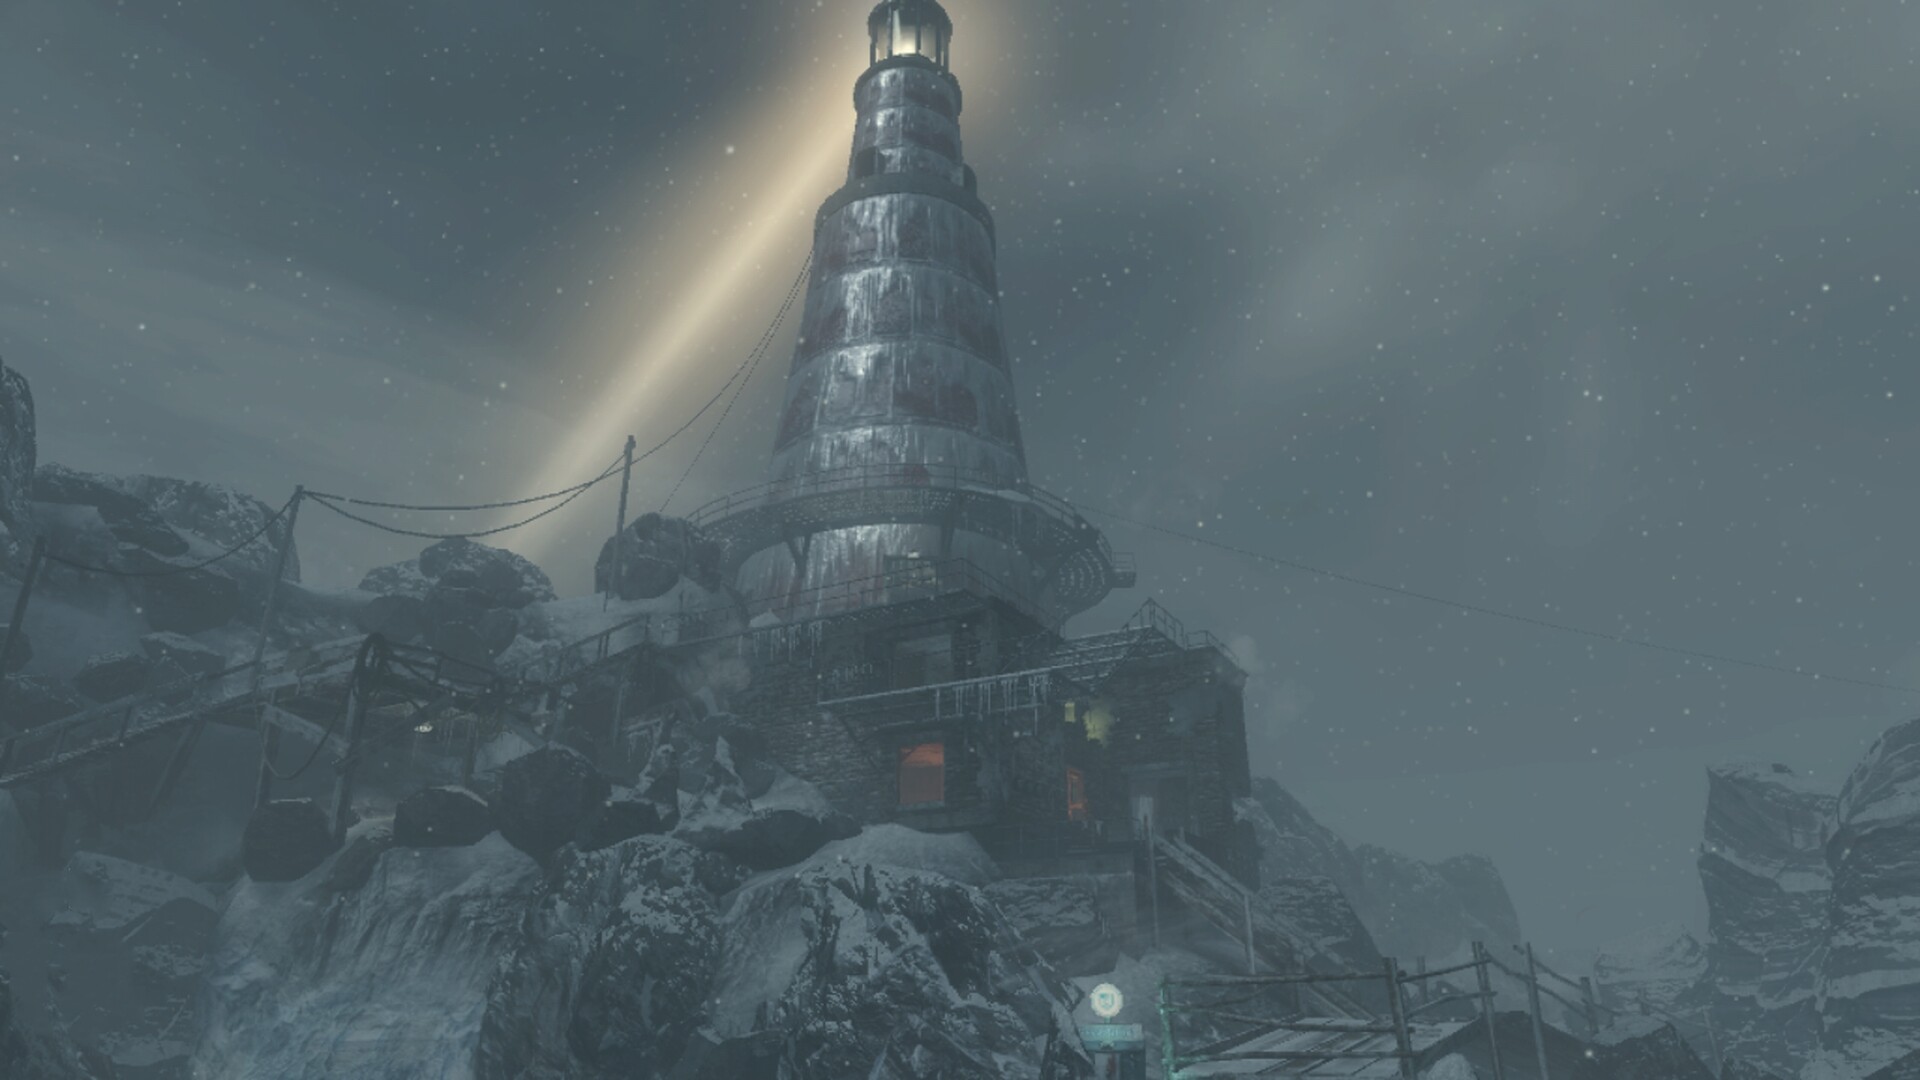
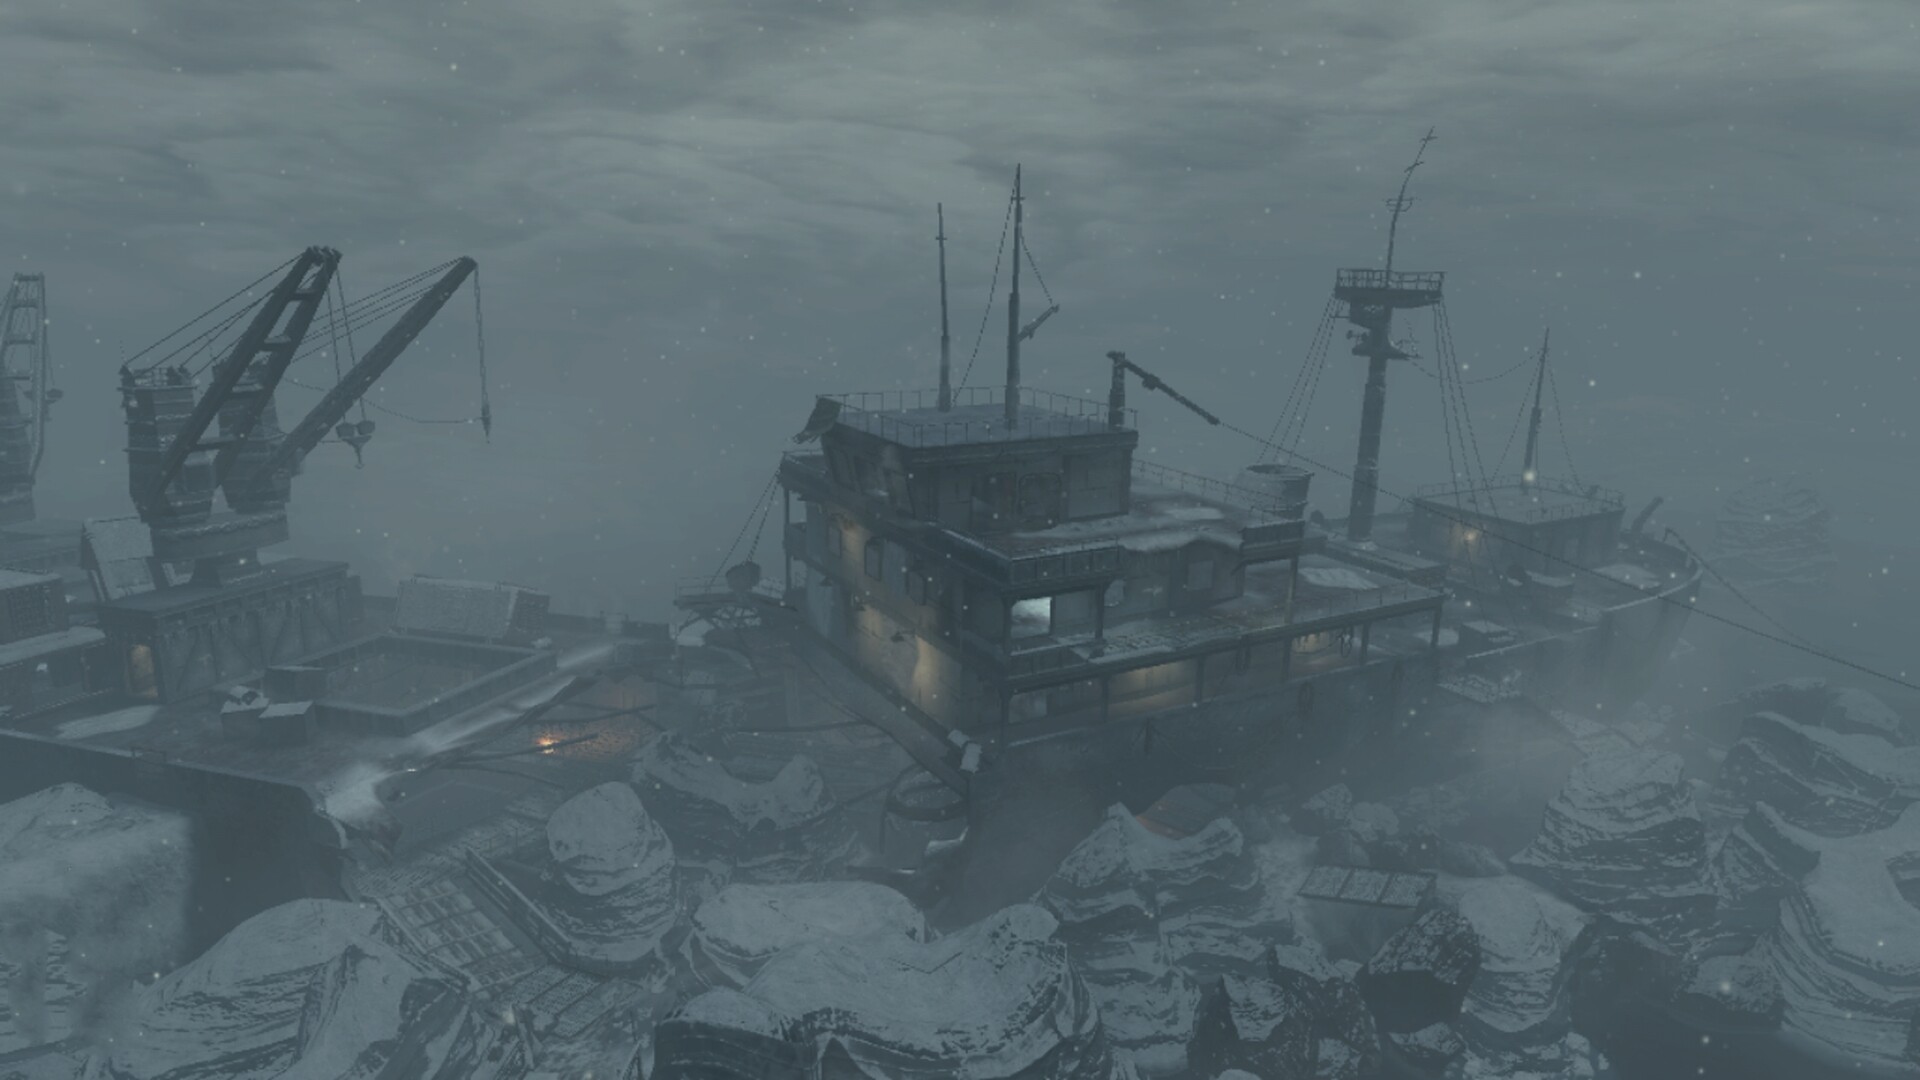
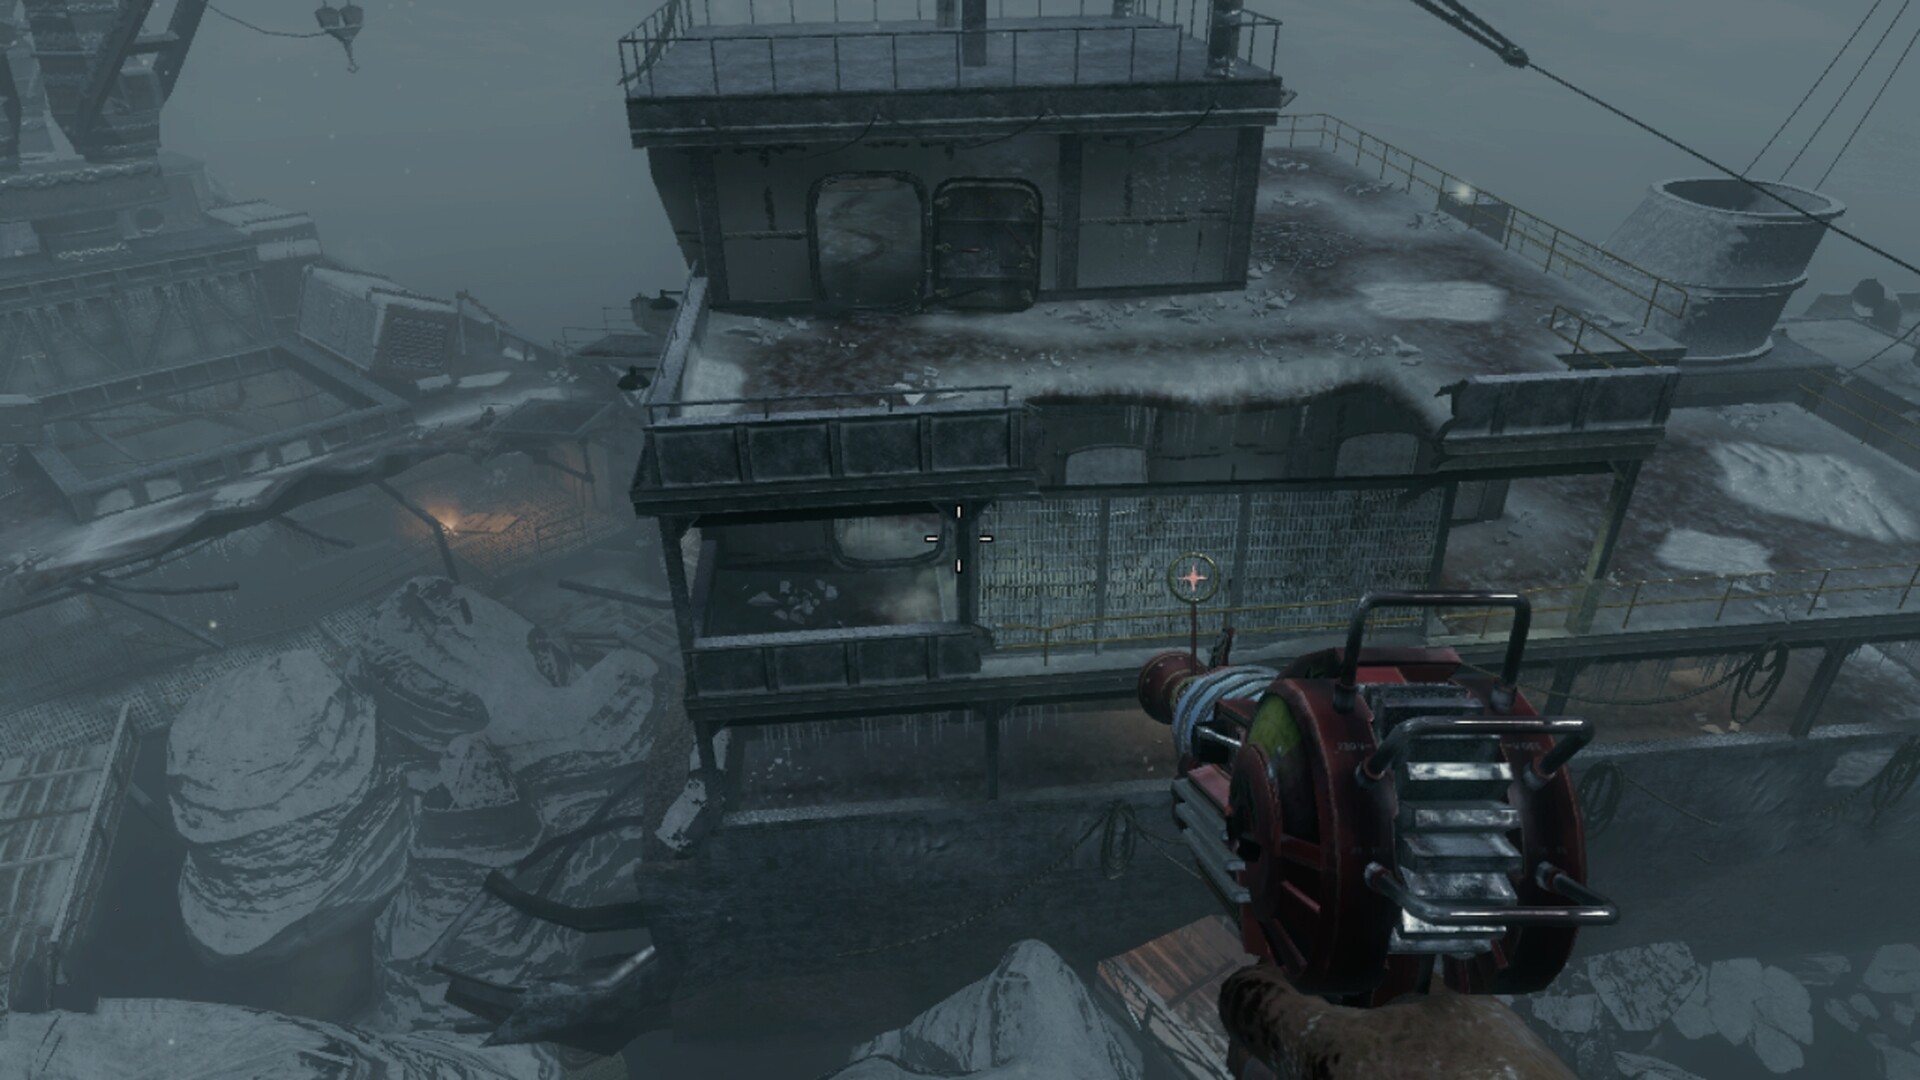
The Power will be needed to turn on the Perk Machines, Traps, Flinger, and to turn on one of the many lights around the map, the power will also turn on the lighthouse light that always shows the location of the Pack-A-Punch machine as it moves around the map. The Power Switch is located at the top of the first ship.
Two Ziplines are found on the map, one from the top of the ship near the power that takes the player to the spawn area, and the other is located at the top of the lighthouse that will take the player to the other ship near Mule Kick. Guns can be used on the zipline, but reloading is not possible, and players will need to run after the zipline as zombies and George Romero will be on the zipline also.
The Flinger can be found on the boat with the Power Switch, standing on the Flinger for three seconds will fling the player to the other side of the map near the lighthouse, if the player lays down and had PhD Flopper the player will cause an explosion when landing on the other side, if a zombie stands on it they will die by the impact. The Flinger requires power and the lighthouse to be open.
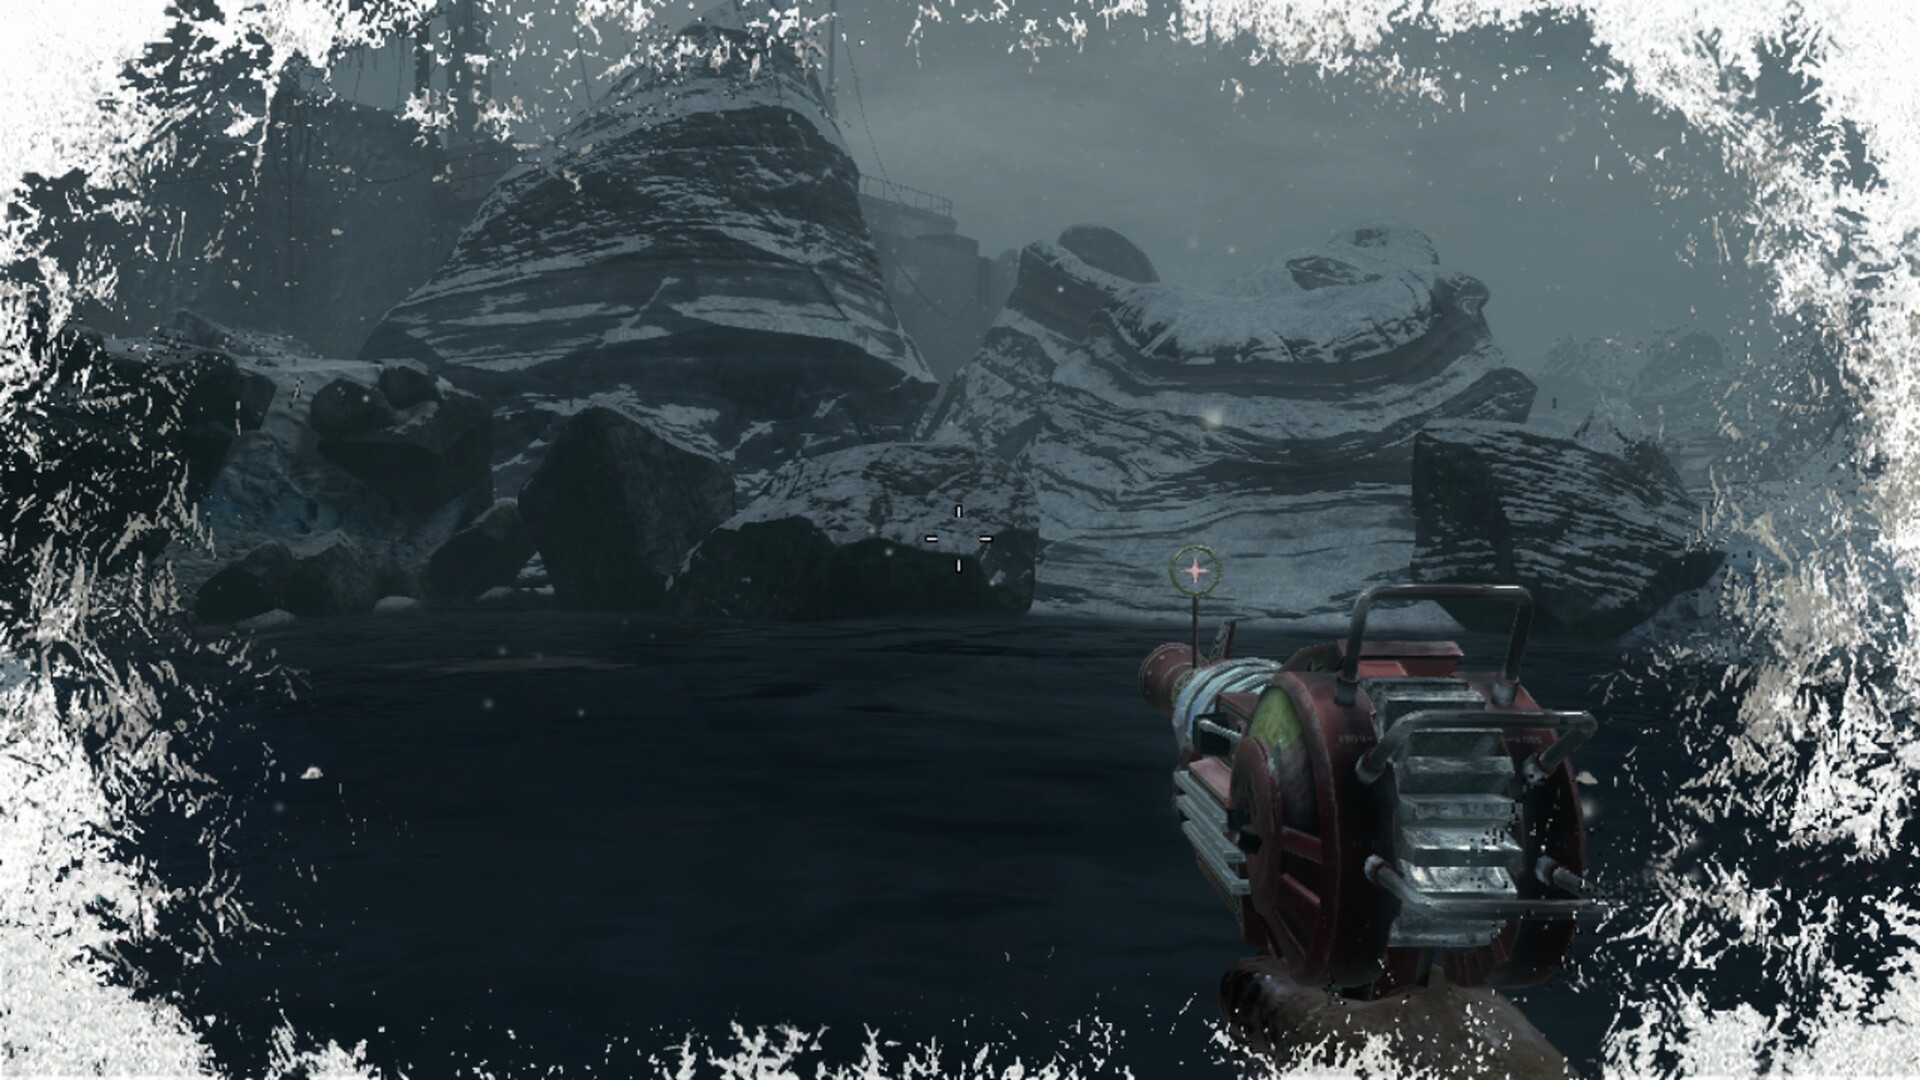
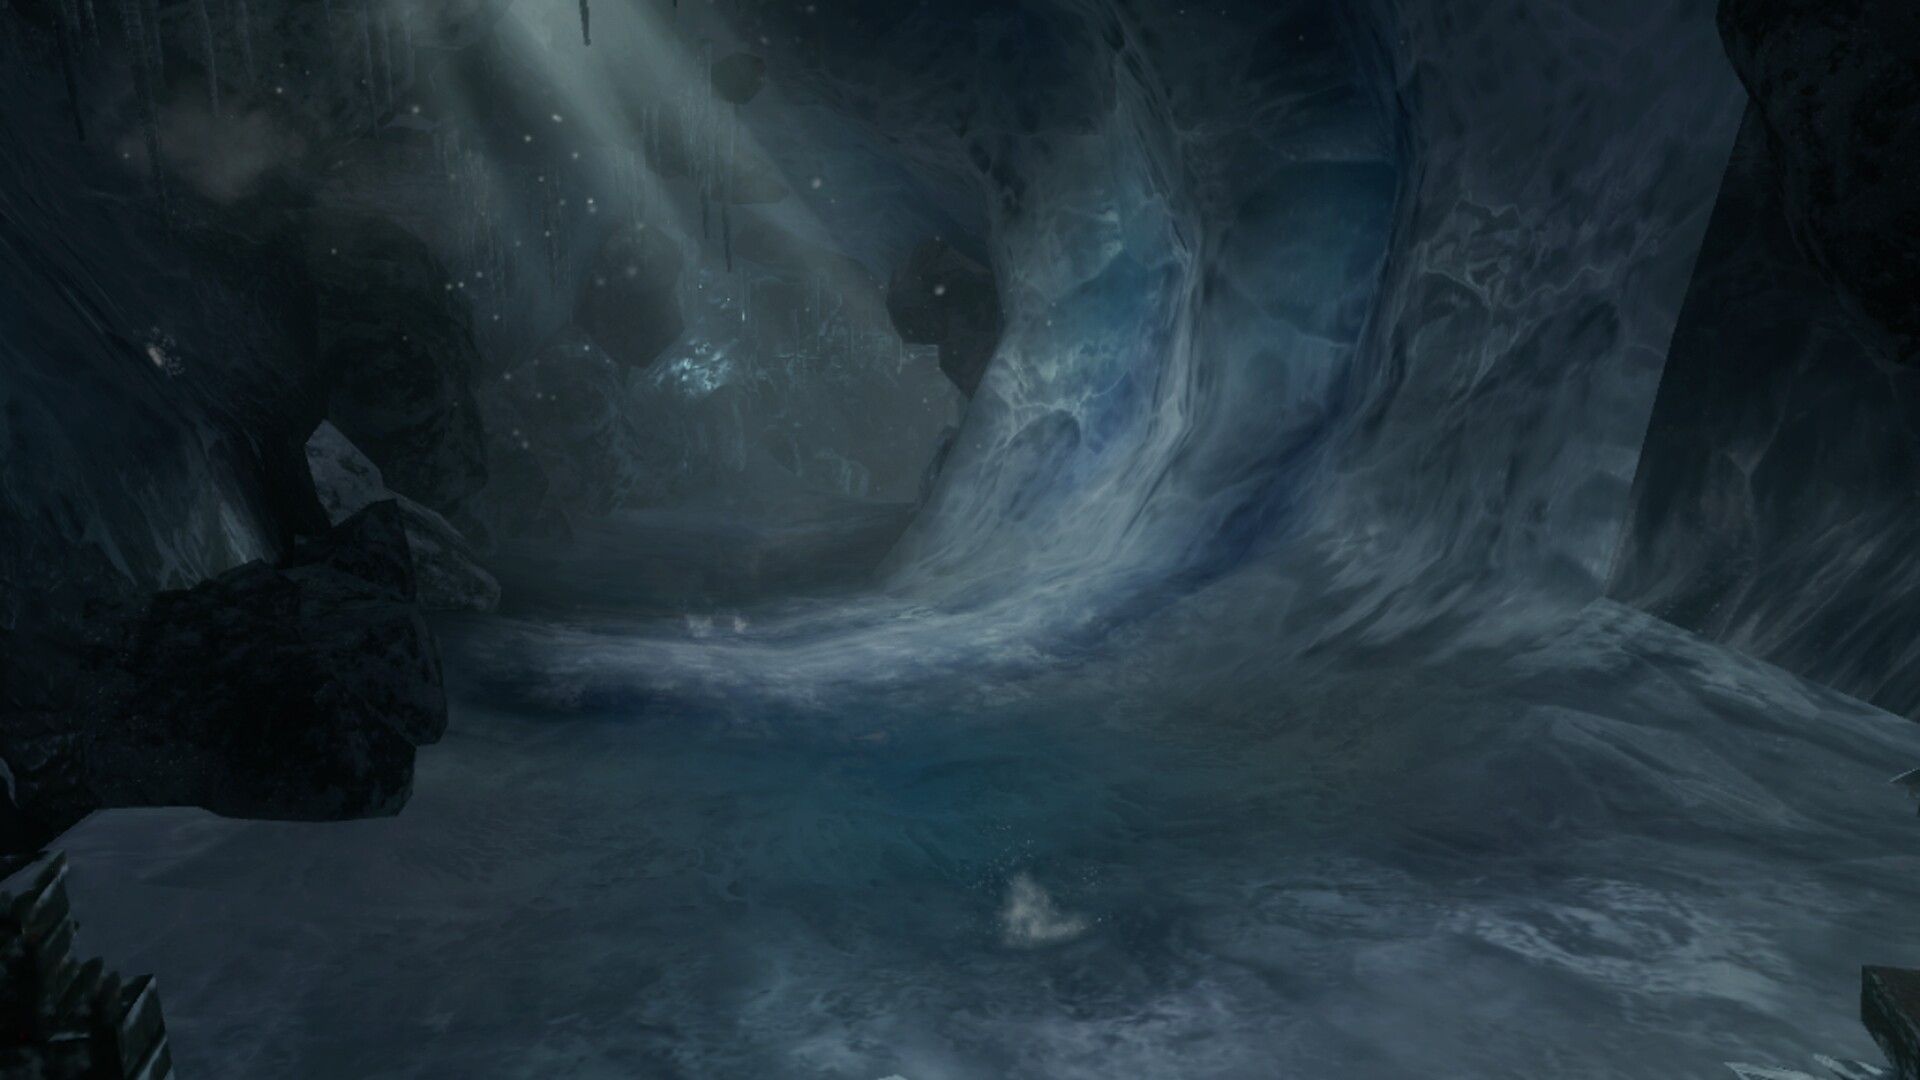
The map has a large Water feature, walking through it will cause the screen to accumulate frost and if staying in the water for an extended period of time it will cause the player to freeze into a block of ice and need another player to break them free, the same effect will happen to zombies but breaking them free will kill them. George spawn from the water and goes away into the water along with the Pack-A-Punch machine.
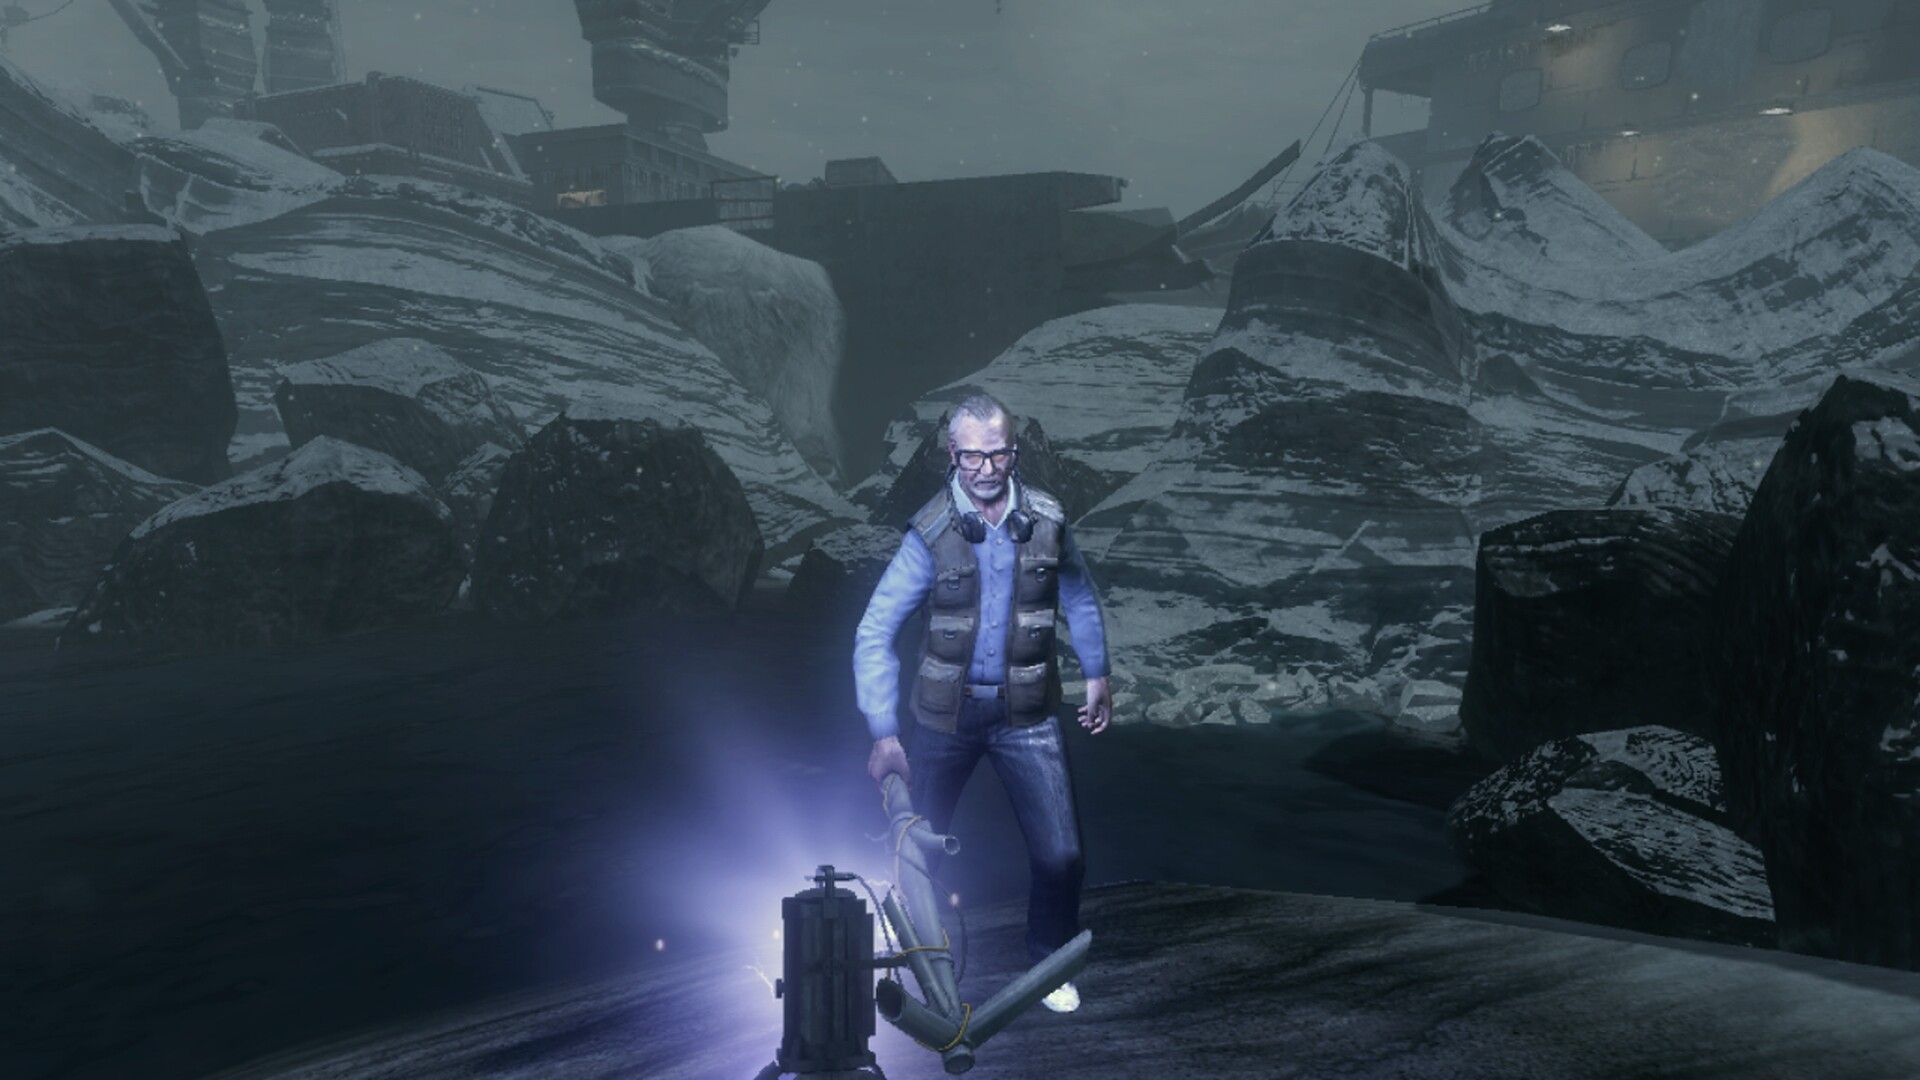
George A. Romero is the godfather of all Zombies, known for many great zombie movies over the years. In-game he is an enemy Zombie that hunts down players with his stage light that is used as a hammer. George will start with 250,000 to 1,000,000 health depending on the number of players playing, this will mean a lot of firepower will be needed to kill him, as the players shoot him he will start to get angrier and angrier and also start running at the players, his health can be measured by how bright the stage light is, blue is top of heath and orange is the bottom. Pack-A-Punched weapons and the Scavenger rifle work best. Every time George enters the water he calms down and stops running. After dropping his health, he will walk into the water and come back at a later round, upon his retreat the Death Machine and a Random Perk Bottle power-up will spawn. Shooting George with the Pack-A-Punched V-R11 (V-R11 Lazarus) will send him back into the water until the next round.
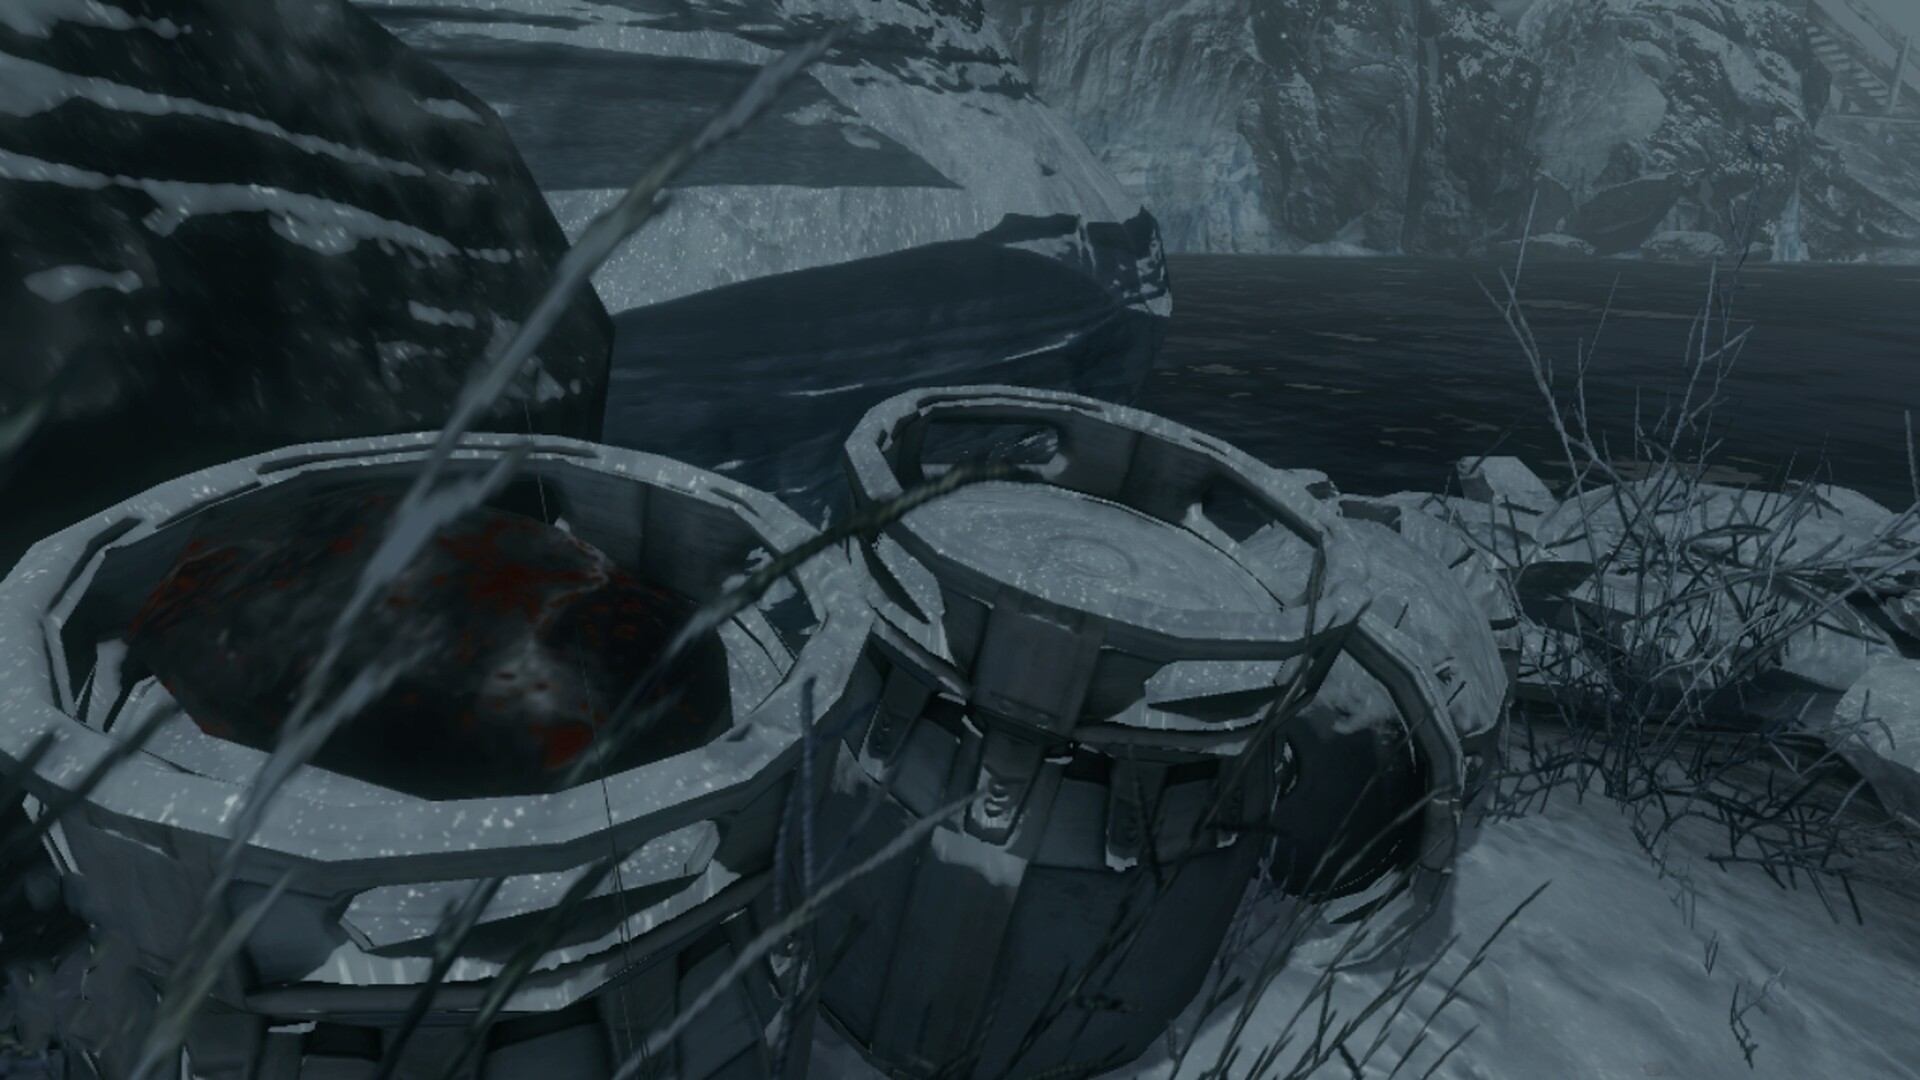
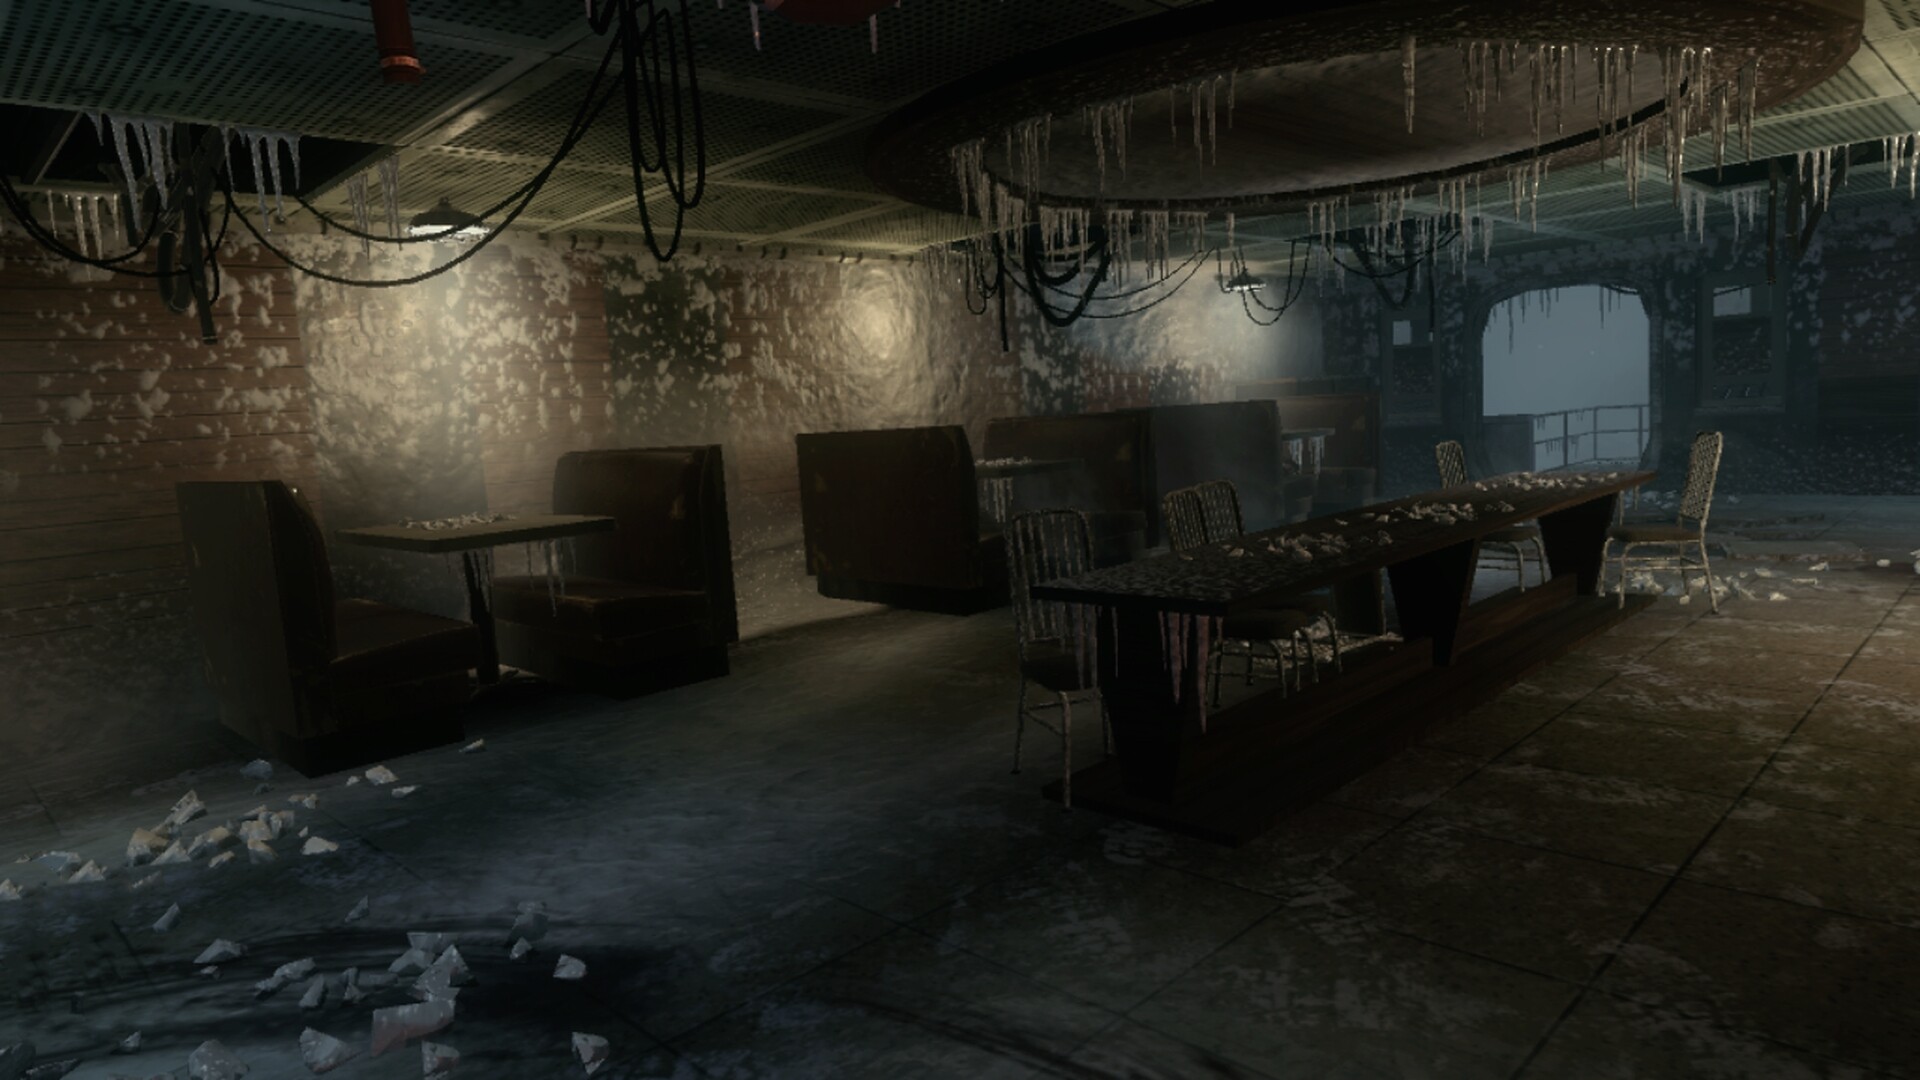
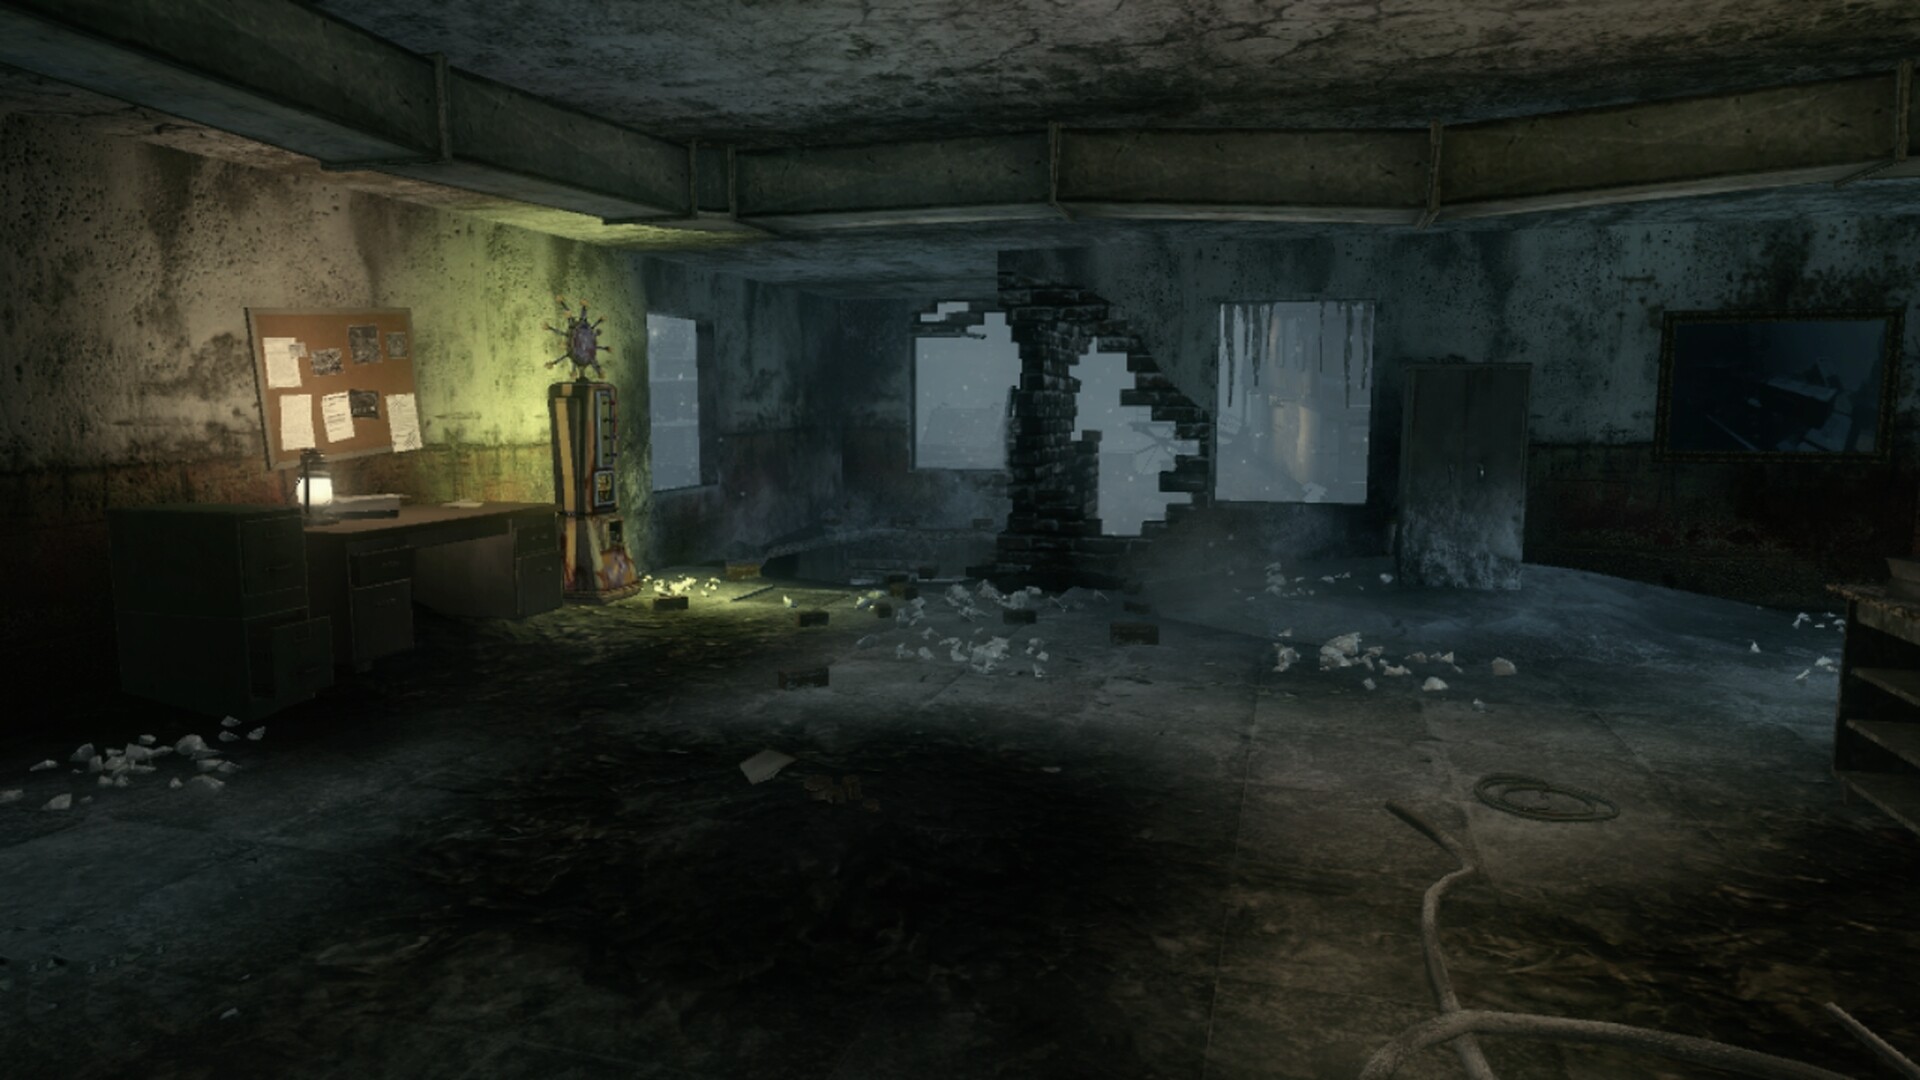
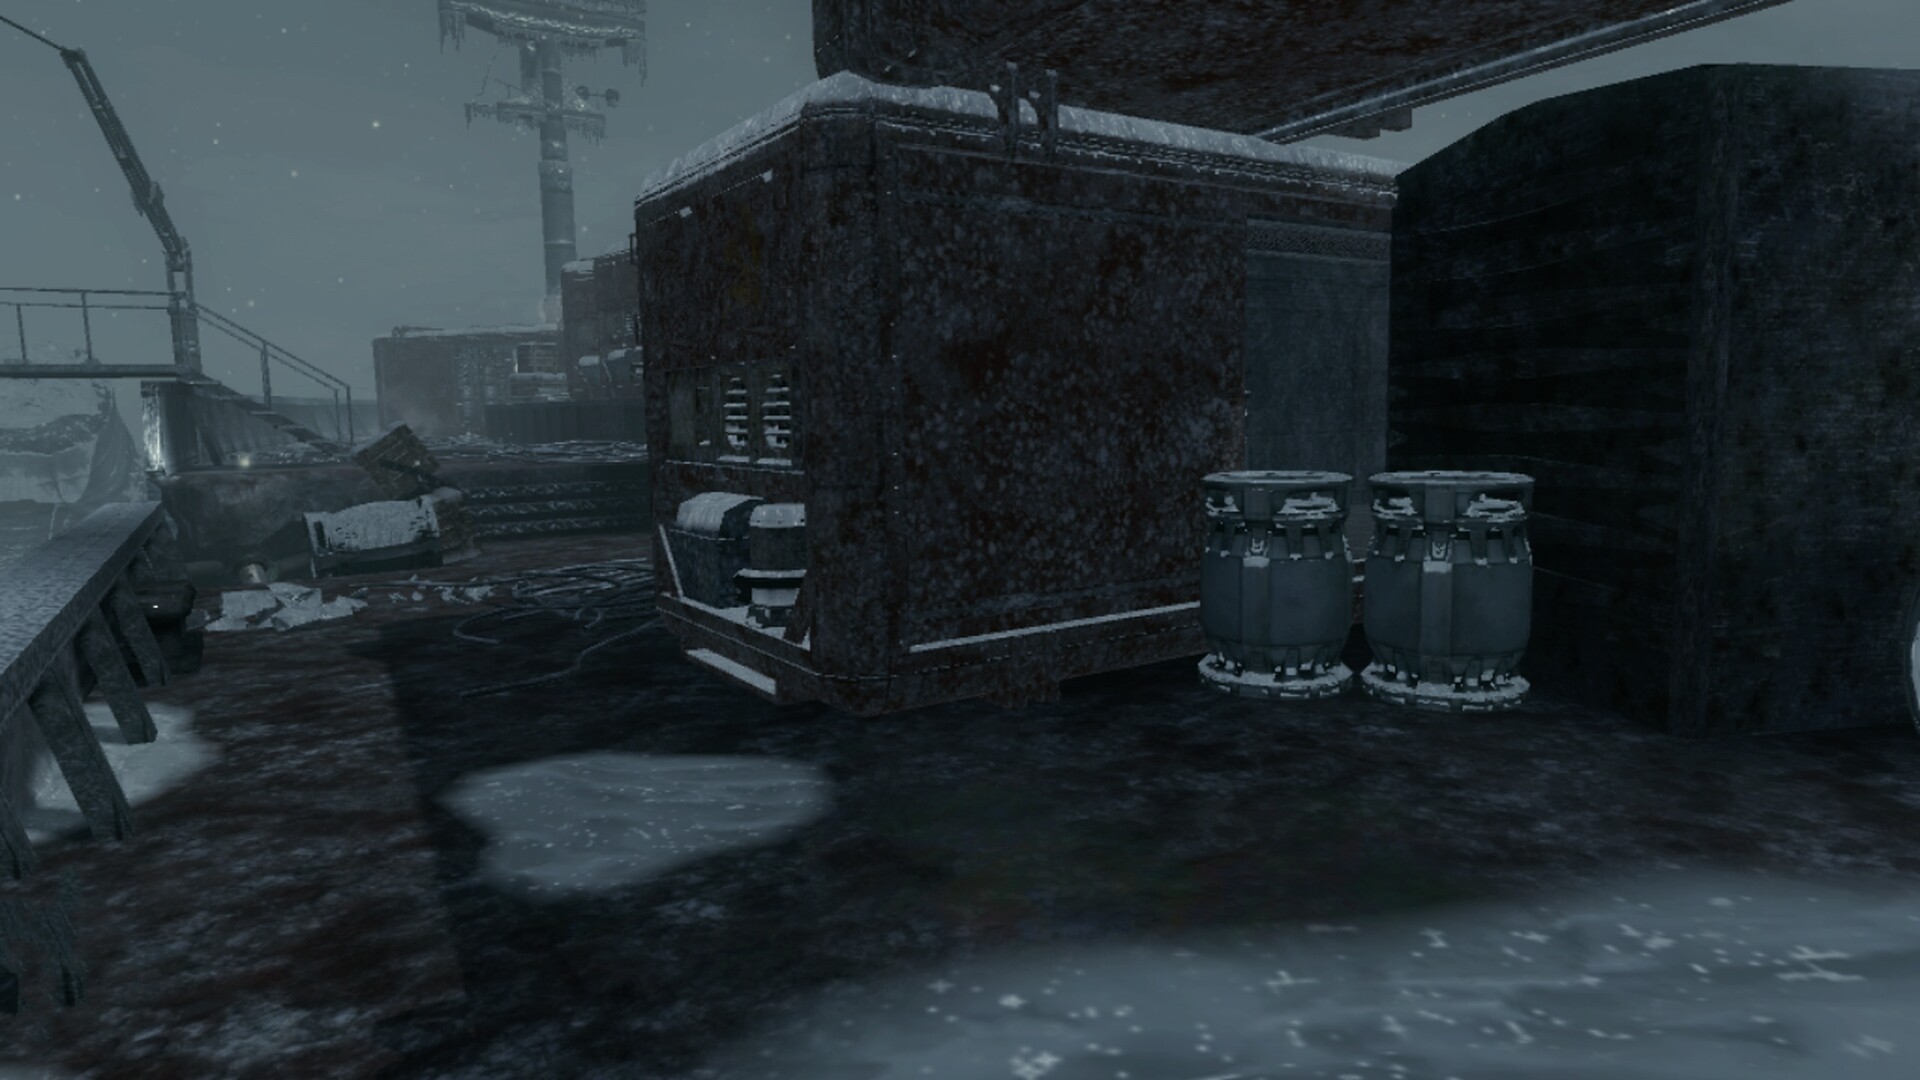
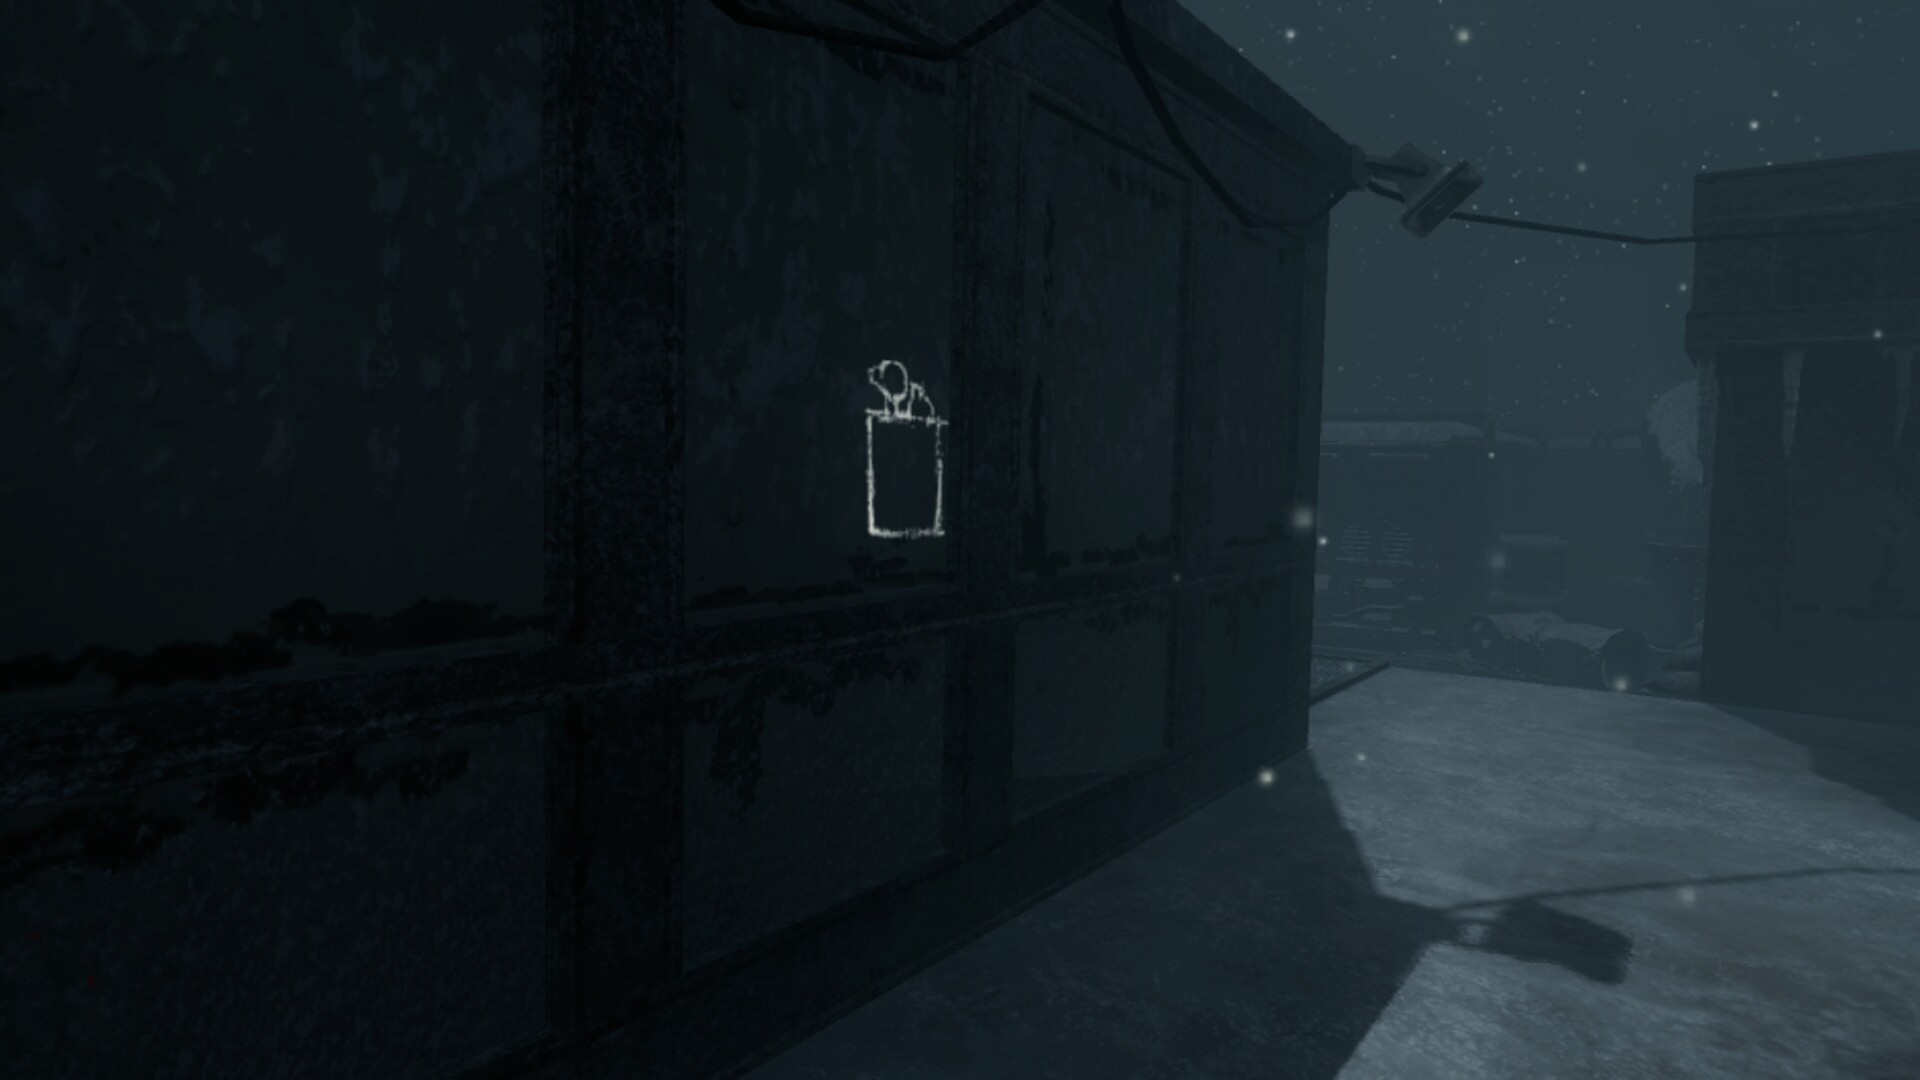
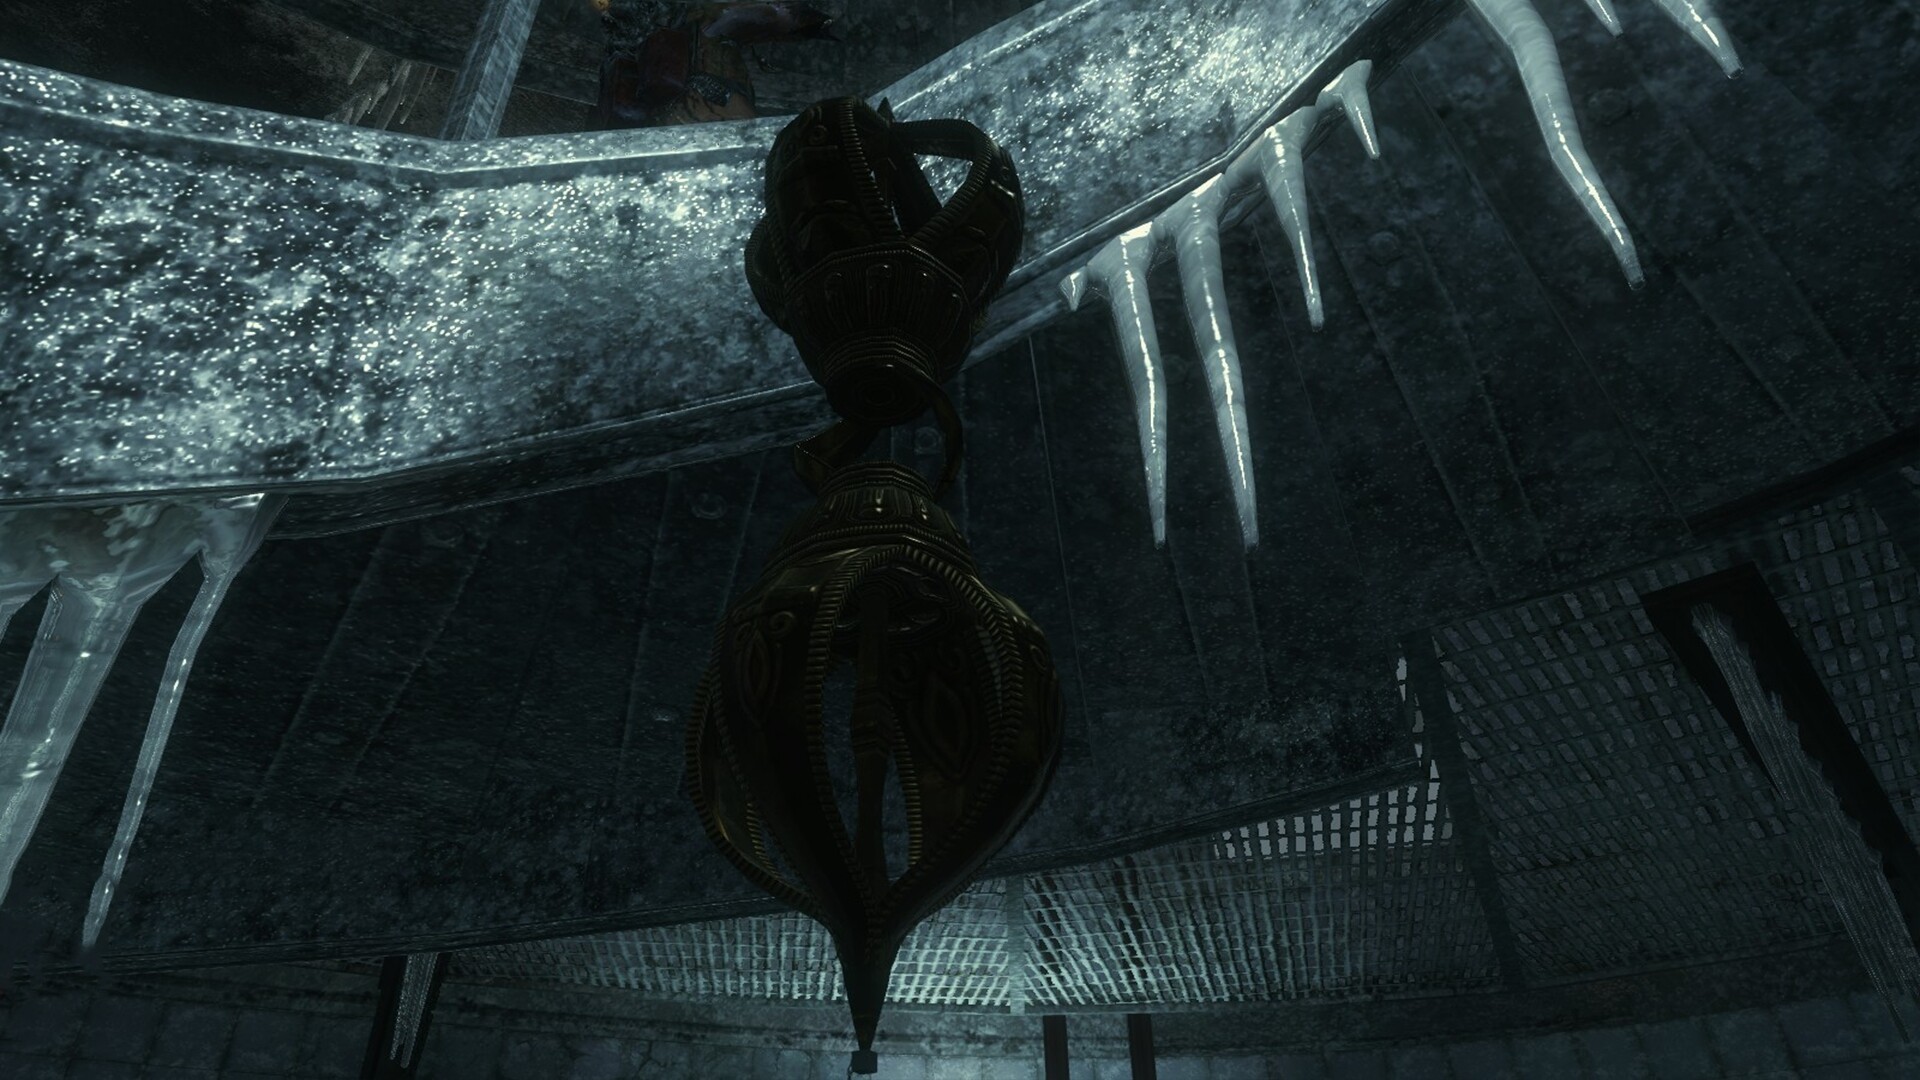
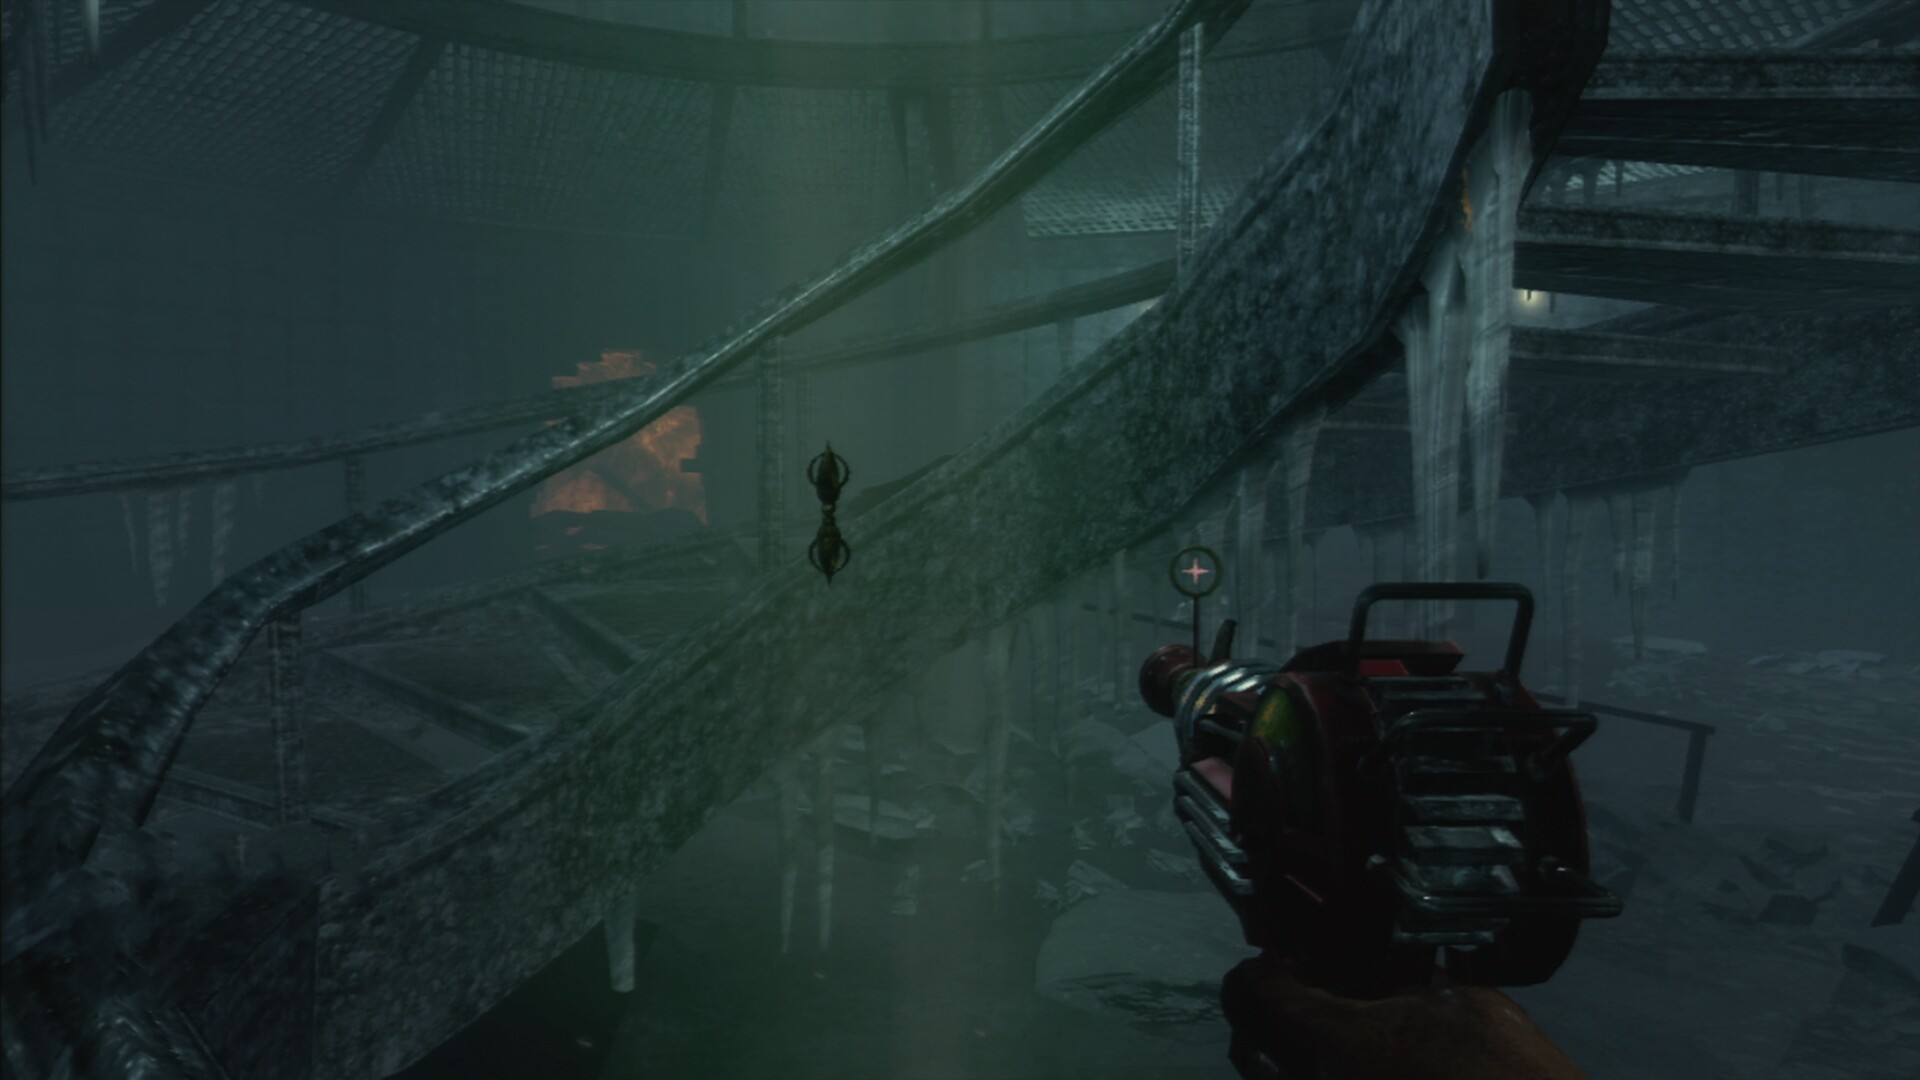
The Musical Easter Egg on Call of the Dead can be played by finding tree meteorites around the map, the first one can be found in the spawn on a barrel near the boat leading to the lighthouse, next one is found in Diner in the first ship and the last one is found below a table in the PhD Flopper room. After collecting all three the song “Not Ready to Die” from the rock band Avenged Sevenfold.
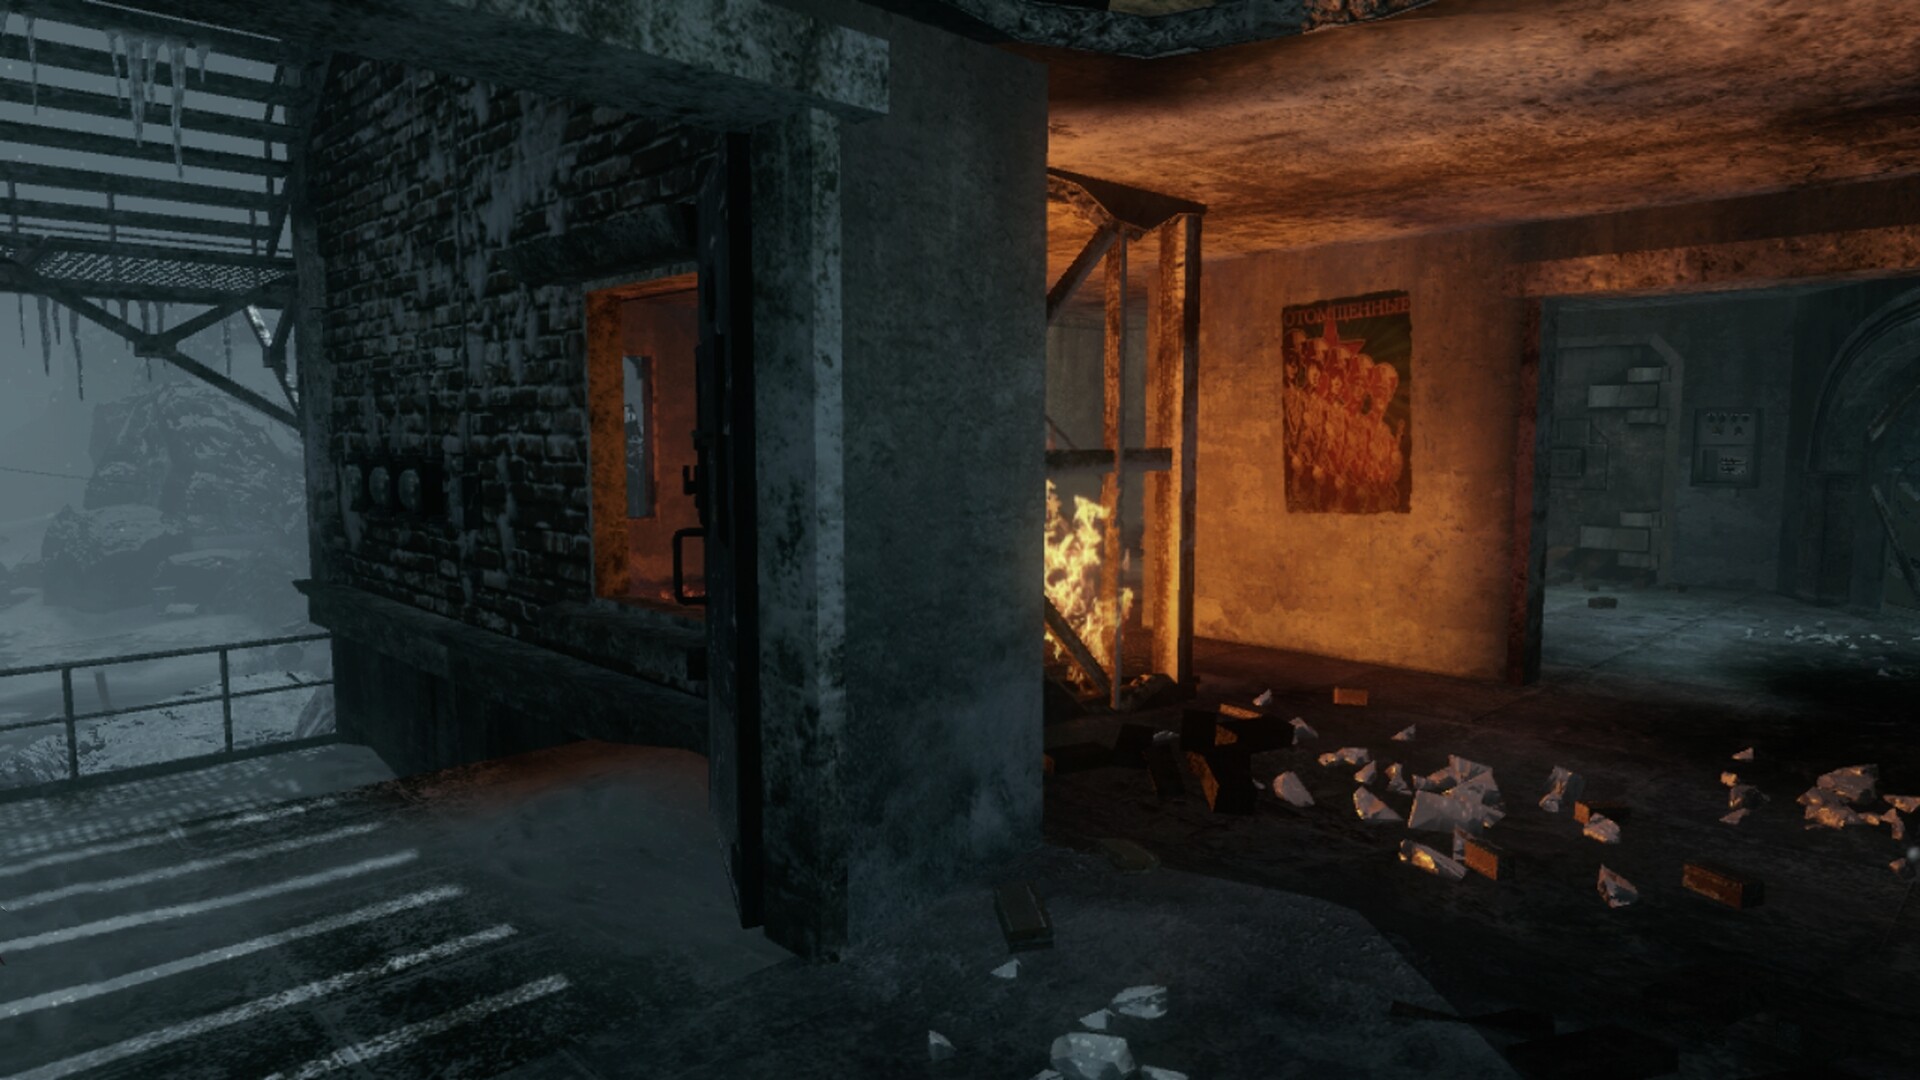
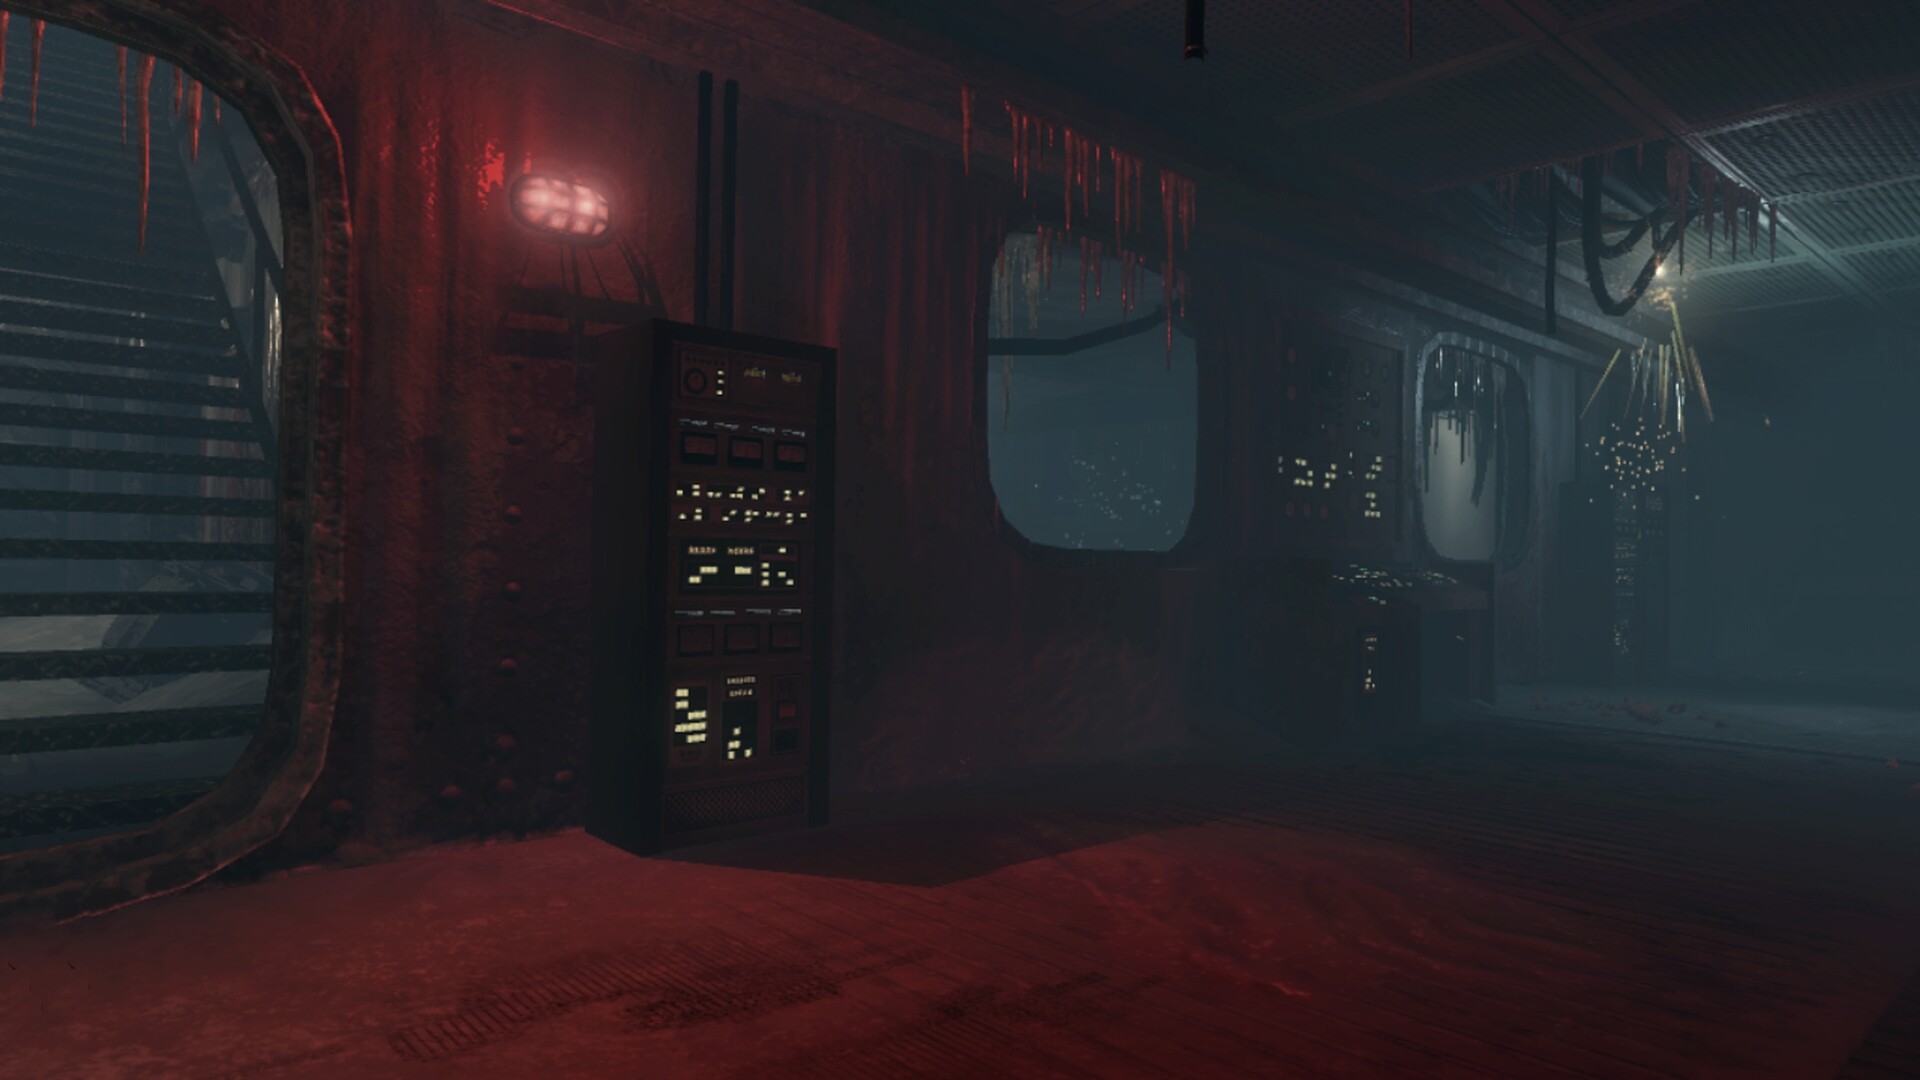
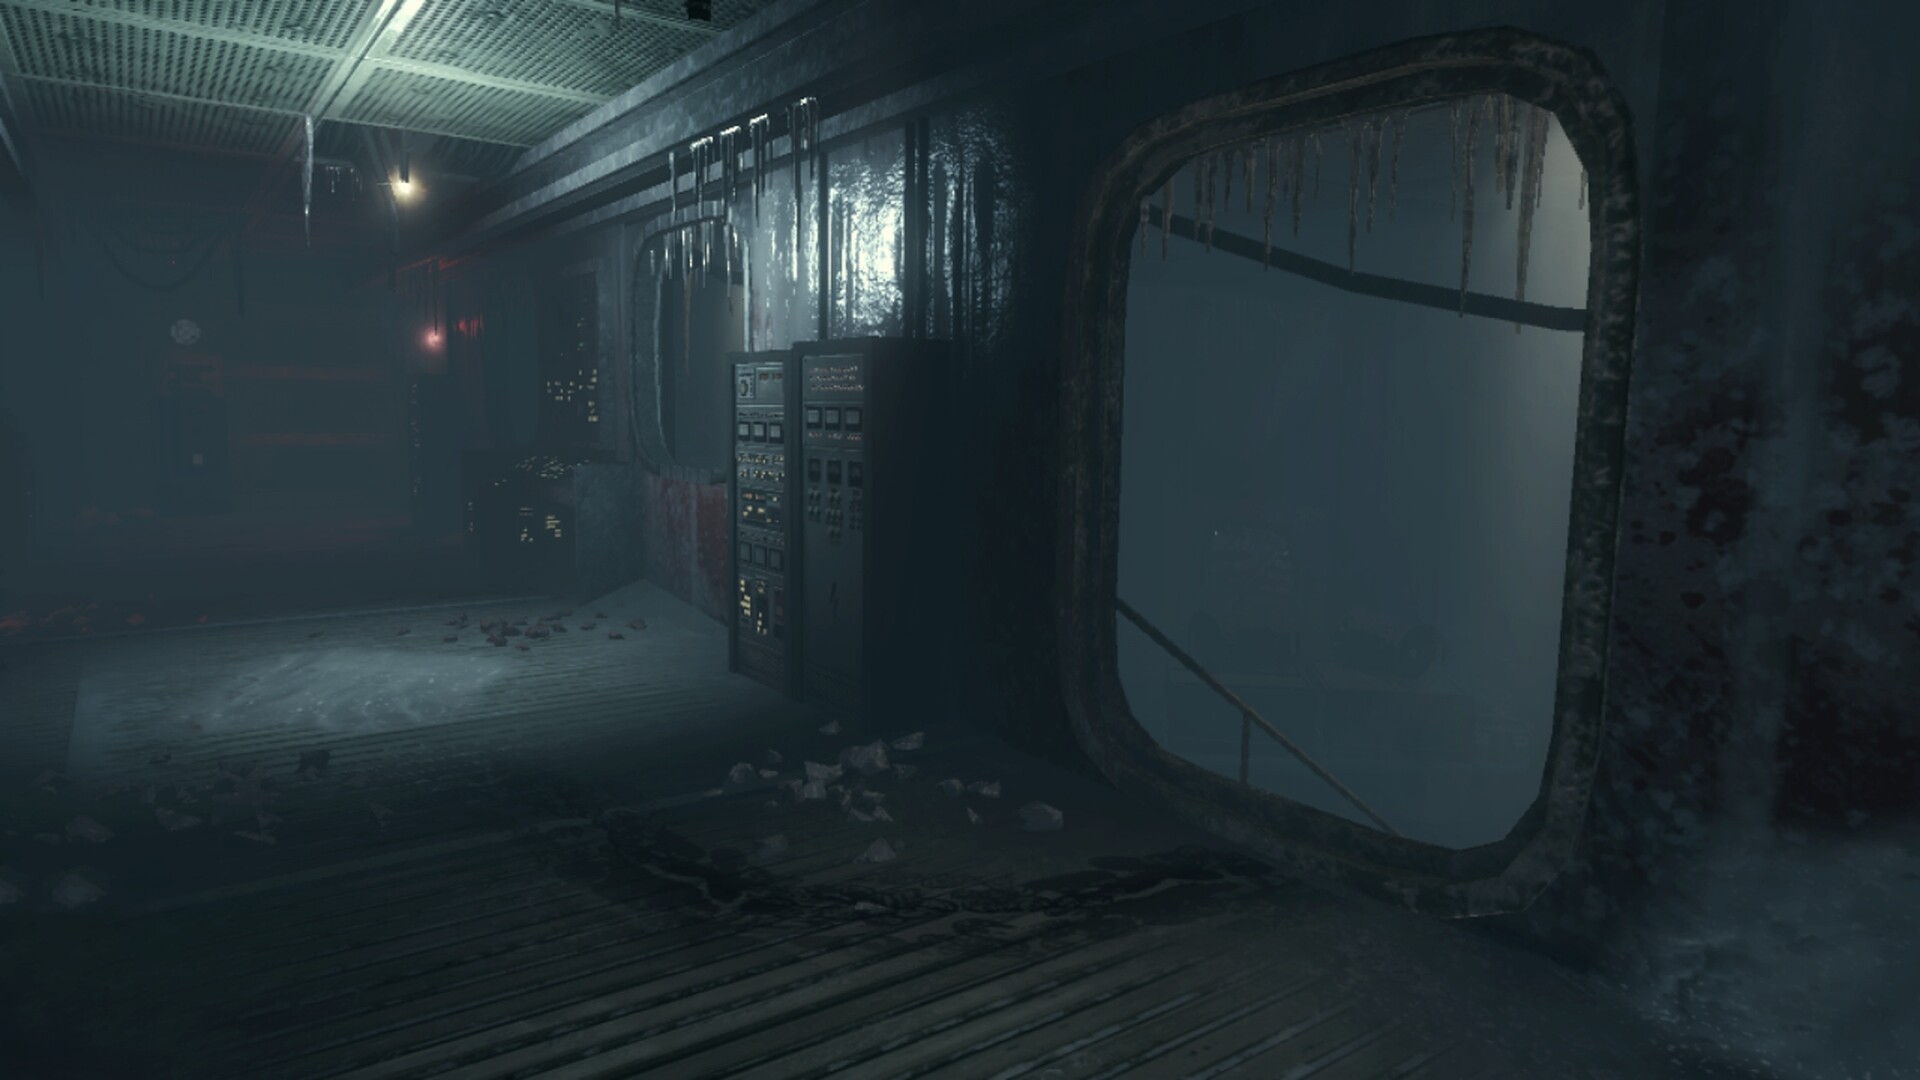
The Stand-In Easter Egg is the solo Easter Egg on this map, it requires the player to free Edward Richtofen, “Tank” Dempsey, Nikolai Belinski and Takeo Masaki from a dark room they are trapped in, inside the PhD Flopper room you can see a large door, knifing the door will result in Edward Richtofen saying the teleporter sent them too far in time and that they are now trapped inside a dark room, asking the player on the other side of the door for help.
Step 1: In the room above the locked dark room the player will find a fuse on the ground next to the locker, next to the meteorite, or on the table beside PhD Flopper, the fuse needs to be placed into the fuse holder next to the locked door. This will turn on the lights in the room and lead to the MDT security system being activated.
Step 2: The player must deactivate the MDT security system, destroy four generators signaled by four glowing red orbs, this can be done with Semtex or any other explosives. The first one is found across from the locked door in plain sight, the second one is seen outside of the Stamin-Up building, third is over the railing near Double Tap and the last one is in between the ship and the main spawn area.
Step 3: A steering when can be found inside the power room, turn the wheel so the brown handle is at 5 o’clock, pull the first lever once and the third lever three times to complete this step, after completing a loud foghorn can be heard along with a submarine seen surfacing just outside of the Juggernog ship.
Step 4: The green light that shines at the lighthouse also shines down the center of it, grab a V-R11 and shoot a zombie next to the light at the bottom of the lighthouse, this will cause the zombie to run into the green light and start to float to the top, as the zombie floats to the top the player will need to kill it before getting to the top, this will need to be done with powerful weapons at the zombie will be hard to kill. Killing the zombie will result in the Golden Rod appearing at the bottom of the lighthouse, grab the rod and send it to the team in the locked room through the transfer tube.
Ending: Knife the fuse back into place and the Easter Egg will be complete with a Lightning bolt power-up (Wunderwaffe DG-2) appearing just outside of the lighthouse, from this point on George will drop a lightning bolt instead of a death machine. During all steps, the trapped guys can be heard singing, arguing, and guiding the players through some of the steps.
The Ensemble Cast is the CO-OP Easter Egg on the map, it requires the players to free Edward Richtofen, “Tank” Dempsey, Nikolai Belinski and Takeo Masaki from a dark room they are trapped in, inside the PhD Flopper room you can see a large door, knifing the door will result in Edward Richtofen saying the teleporter sent them too far in time and that they are now trapped inside a dark room, asking the player on the other side of the door for help.
Step 1: In the room above the locked dark room the players will find a fuse on the ground next to the locker, next to the meteorite, or on the table beside PhD Flopper, the fuse needs to be placed into the fuse holder next to the locked door. This will turn on the lights in the room and lead to the MDT security system being activated.
Step 2: The players must deactivate the MDT security system, destroy four generators signaled by four glowing red orbs, this can be done with Semtex or any other explosives. The first one is found across from the locked door in plain sight, the second one is seen outside of the Stamin-Up building, third is over the railing near Double Tap and the last one is in between the ship and the main spawn area.
Step 3: Knife the door again and Nikolai will ask for some Vodka, many bottles are seen around the map with one being on the ledge that connects the two ships, another on the railing above the stairs near PhD Flopper, on a railing near the M16 and another location is on the railing near the AK74u, after getting the Vodka it will need to be placed inside the transfer tube just outside of the door.
Step 4: Four Morse Code radios must be activated in the correct order with a limited time before having to start it again, the first one can be found under the power room on top of a cabinet, another on top of the barrel near Stamin-Up, next is inside a train cart near the back of the ship by Semtex and the last one is on top of a cabinet under the steps going to the trapped room. successfully activating all radios will result in Morse code being heard and a glowing yellow light near the Mule Kick machine.
Step 5: A steering when can be found inside the power room, turn the wheel so the brown handle is at 5 o’clock, pull the first lever once and the third lever three times to complete this step, after completing a loud foghorn can be heard along with a submarine seen surfacing just outside of the Juggernog ship.
Step 6: Four fog horns can be found around the map and will need to be activated in the proper order to match the foghorns heard in the distance. The first one to be activated is at the base of the lighthouse next to the small water area, the second is found by sliding down the ice slide into the water, the third is located right at the base of the lighthouse and the last one is also near the bottom of the ice slide behind a large rock.
Step 7: Players will need to set the dials inside the lighthouse to the right numbers, each level has a dial. Set the purple dial to 6, turn the orange dial until the blue dial shows 4, turn the yellow dial until the orange dial is set to 7, the yellow dial again until it shows a 2 but also counting how many times it was turned, turn the purple dial the same amount of times as you did for the yellow dial, turn the blue dial to 4 again. The final result should have 2 on the yellow dial, 7 on the orange dial, 4 on the blue dial, 6 on the purple dial and a large green light will be seen shining on the lighthouse from the submarine.
Step 8: The green light that shines at the lighthouse also shines down the center of it, grab a V-R11 and shoot a zombie next to the light at the bottom of the lighthouse, this will cause the zombie to run into the green light and start to float to the top, as the zombie floats to the top the players will need to kill it before getting to the top, this will need to be done with powerful weapons at the zombie will be hard to kill. Killing the zombie will result in the Golden Rod appearing at the bottom of the lighthouse, grab the rod and send it to the team in the locked room through the transfer tube.
Ending: Knife the fuse back into place and the Easter Egg will be complete with a Lightning bolt power-up (Wunderwaffe DG-2) appearing just outside of the lighthouse, from this point on George will drop a lightning bolt instead of a death machine. During all steps, the trapped guys can be heard singing, arguing, and guiding the players through some of the steps.