
| Release Date | July 12, 2016 |
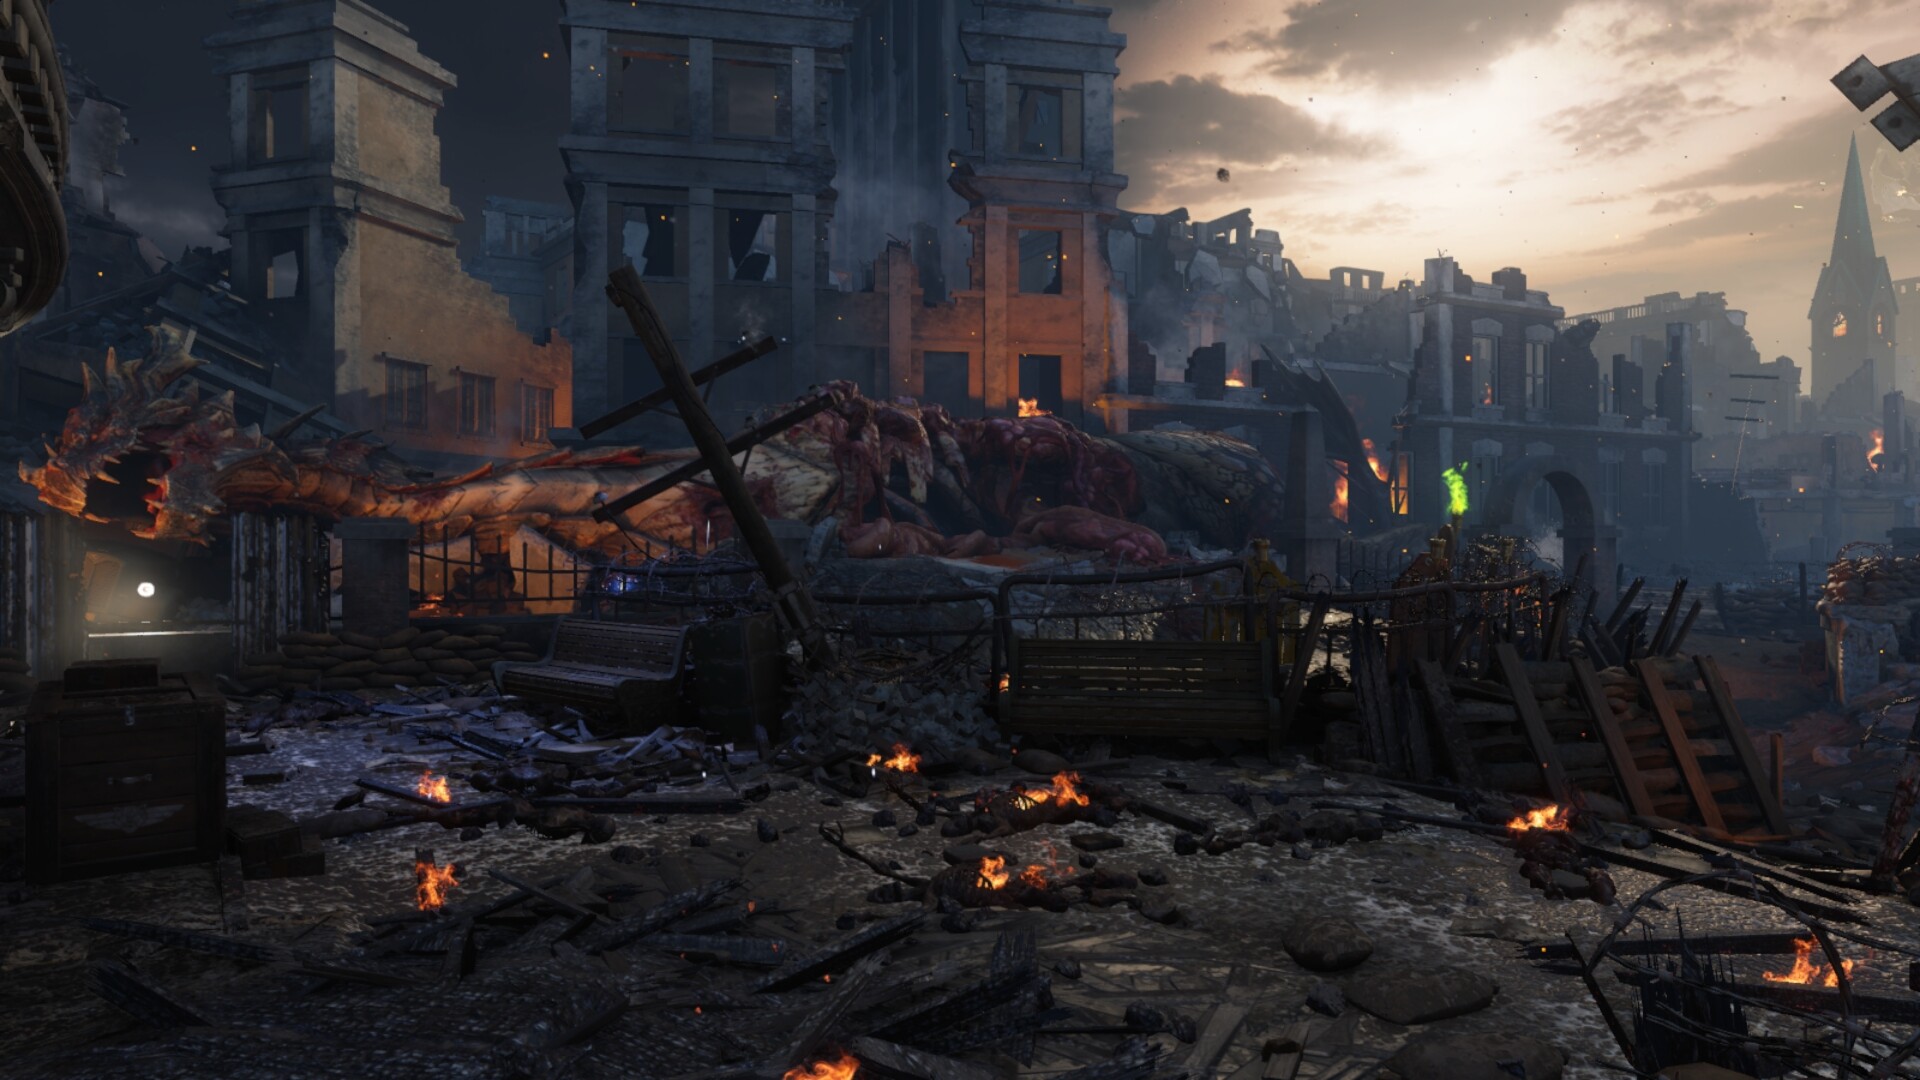
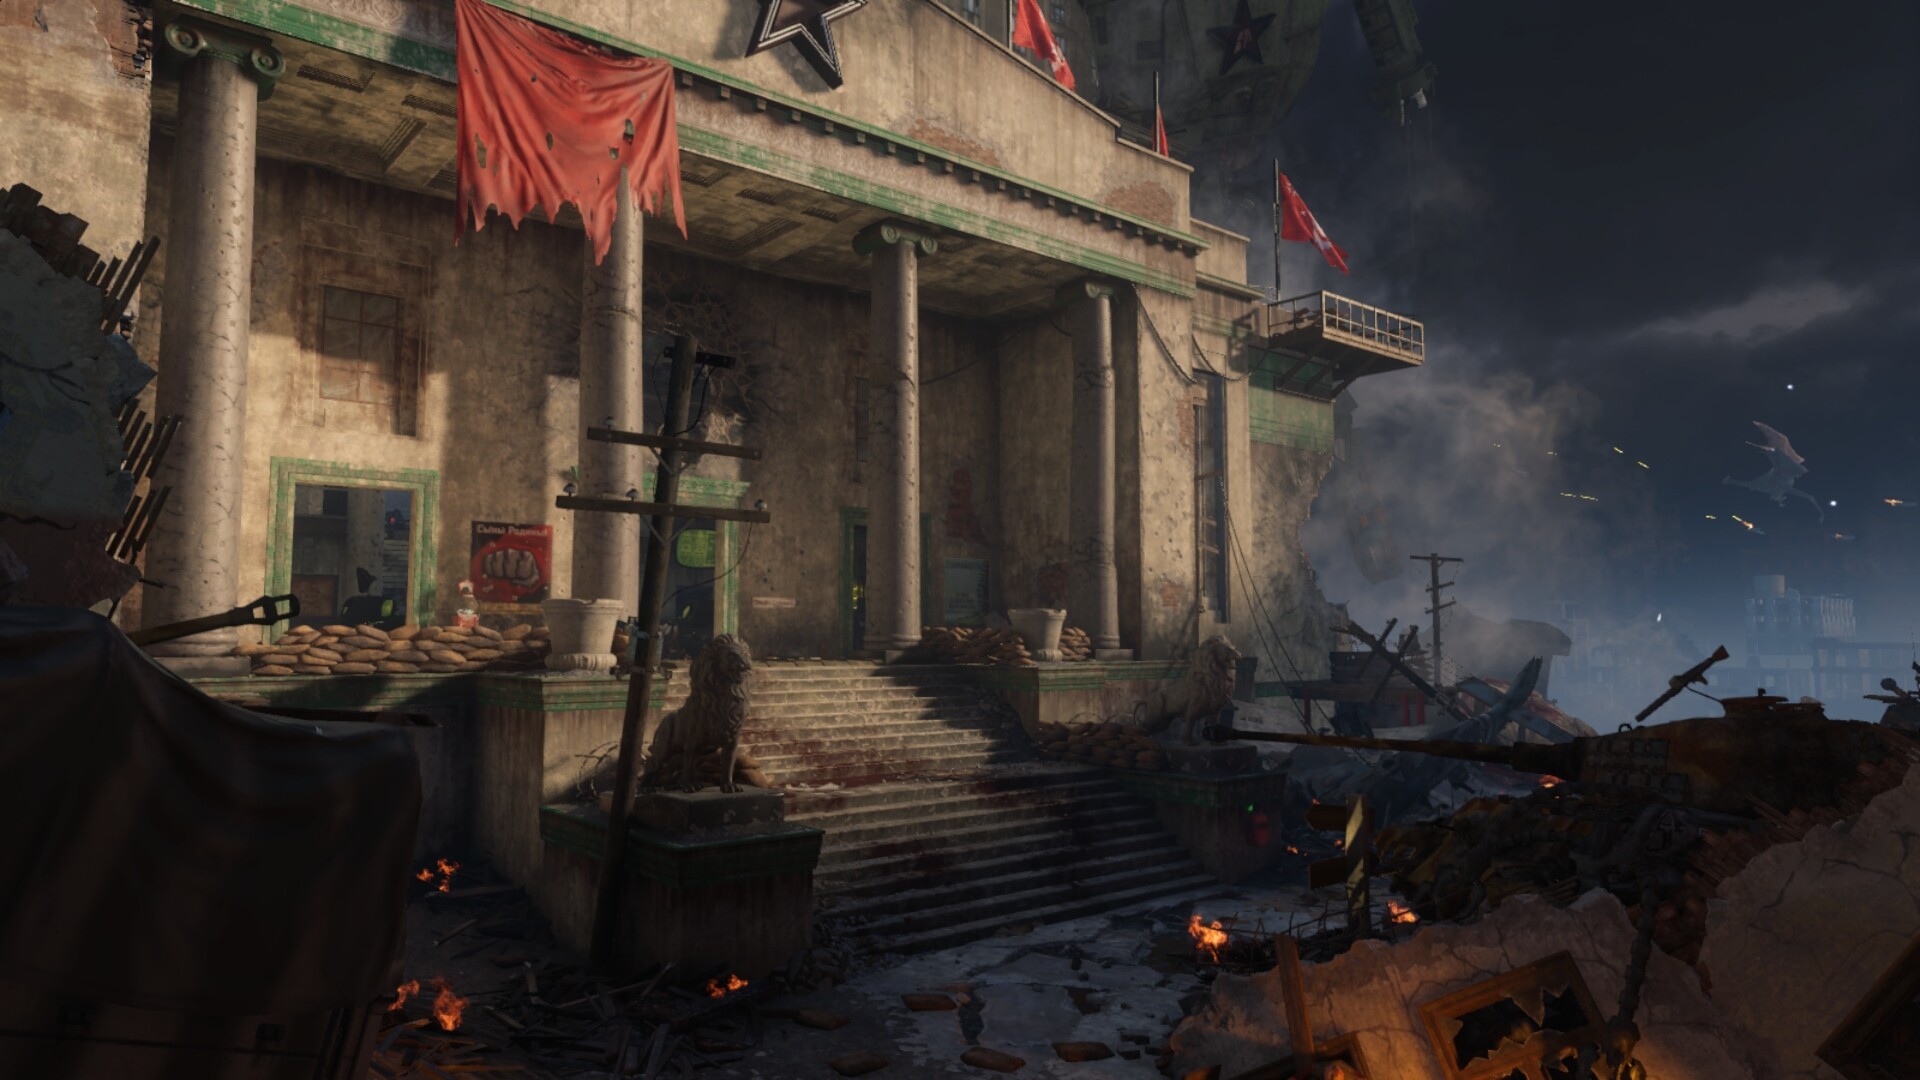
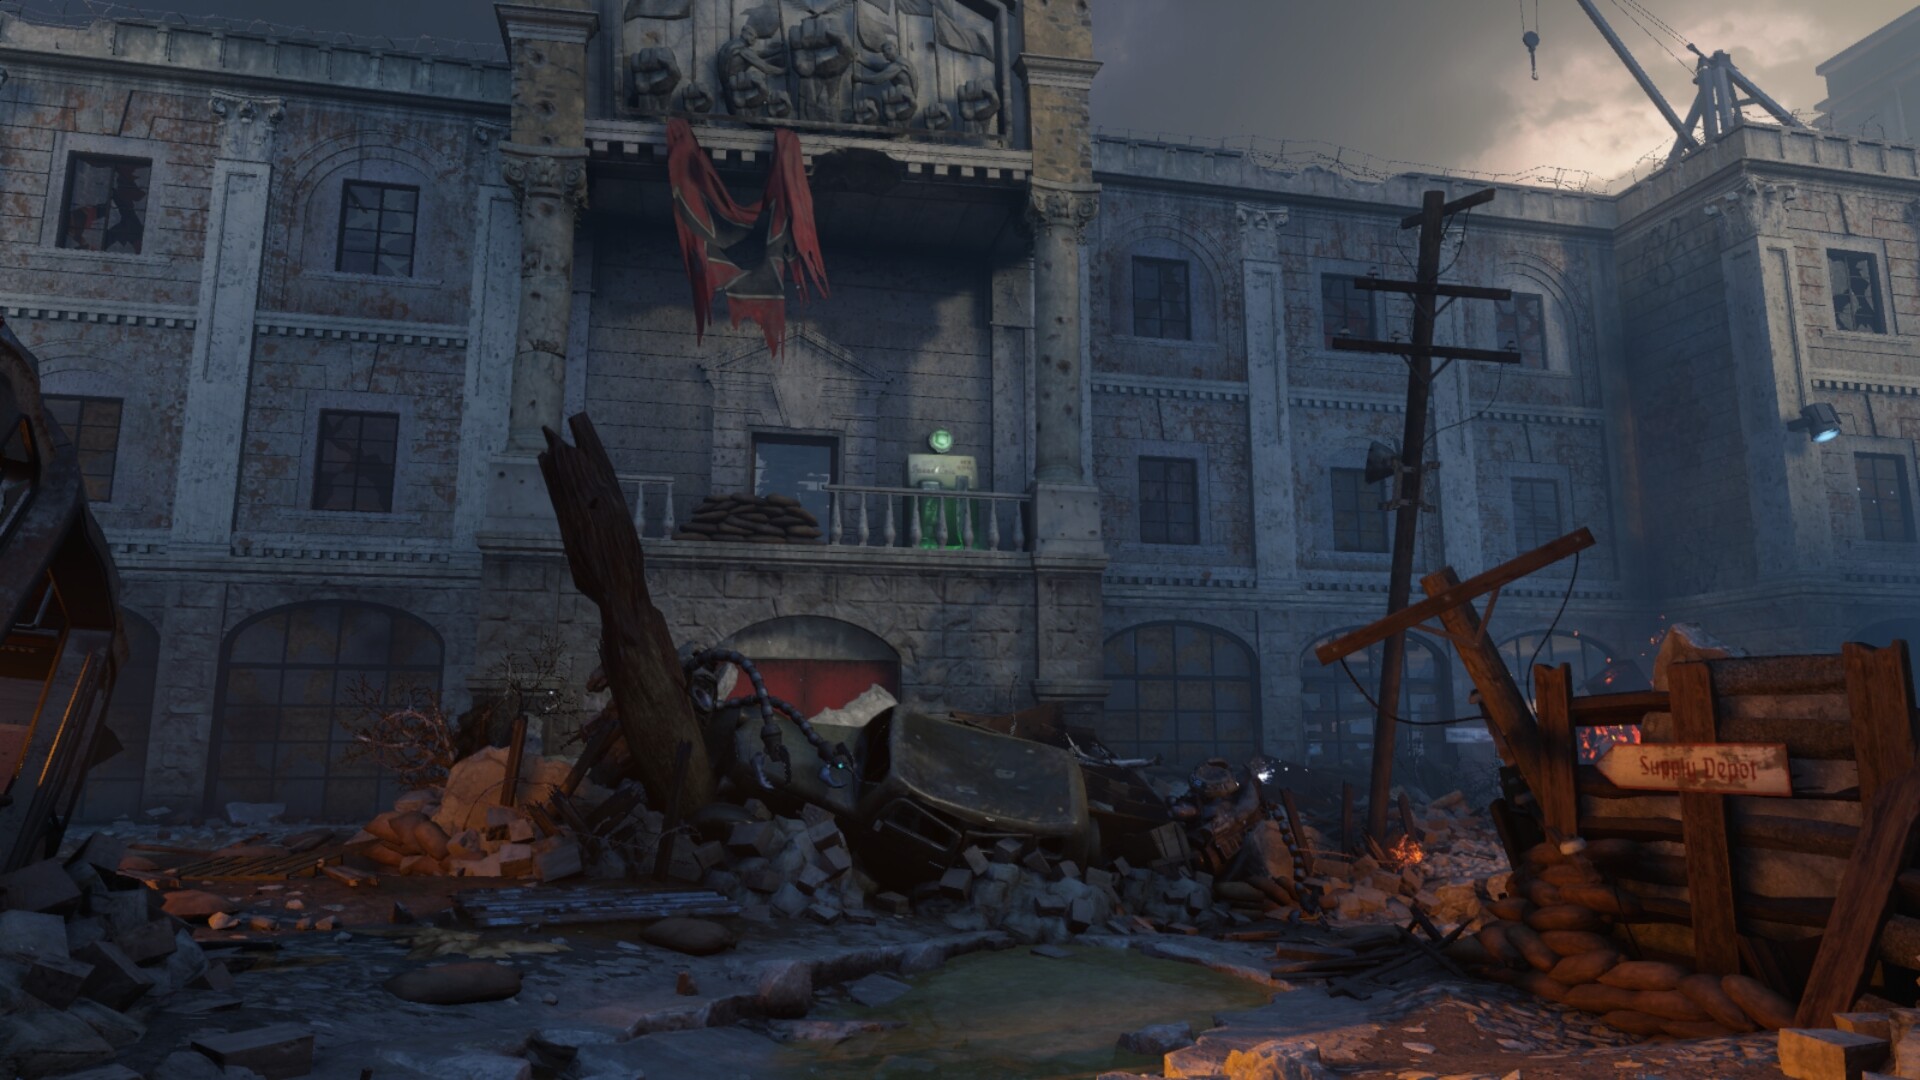
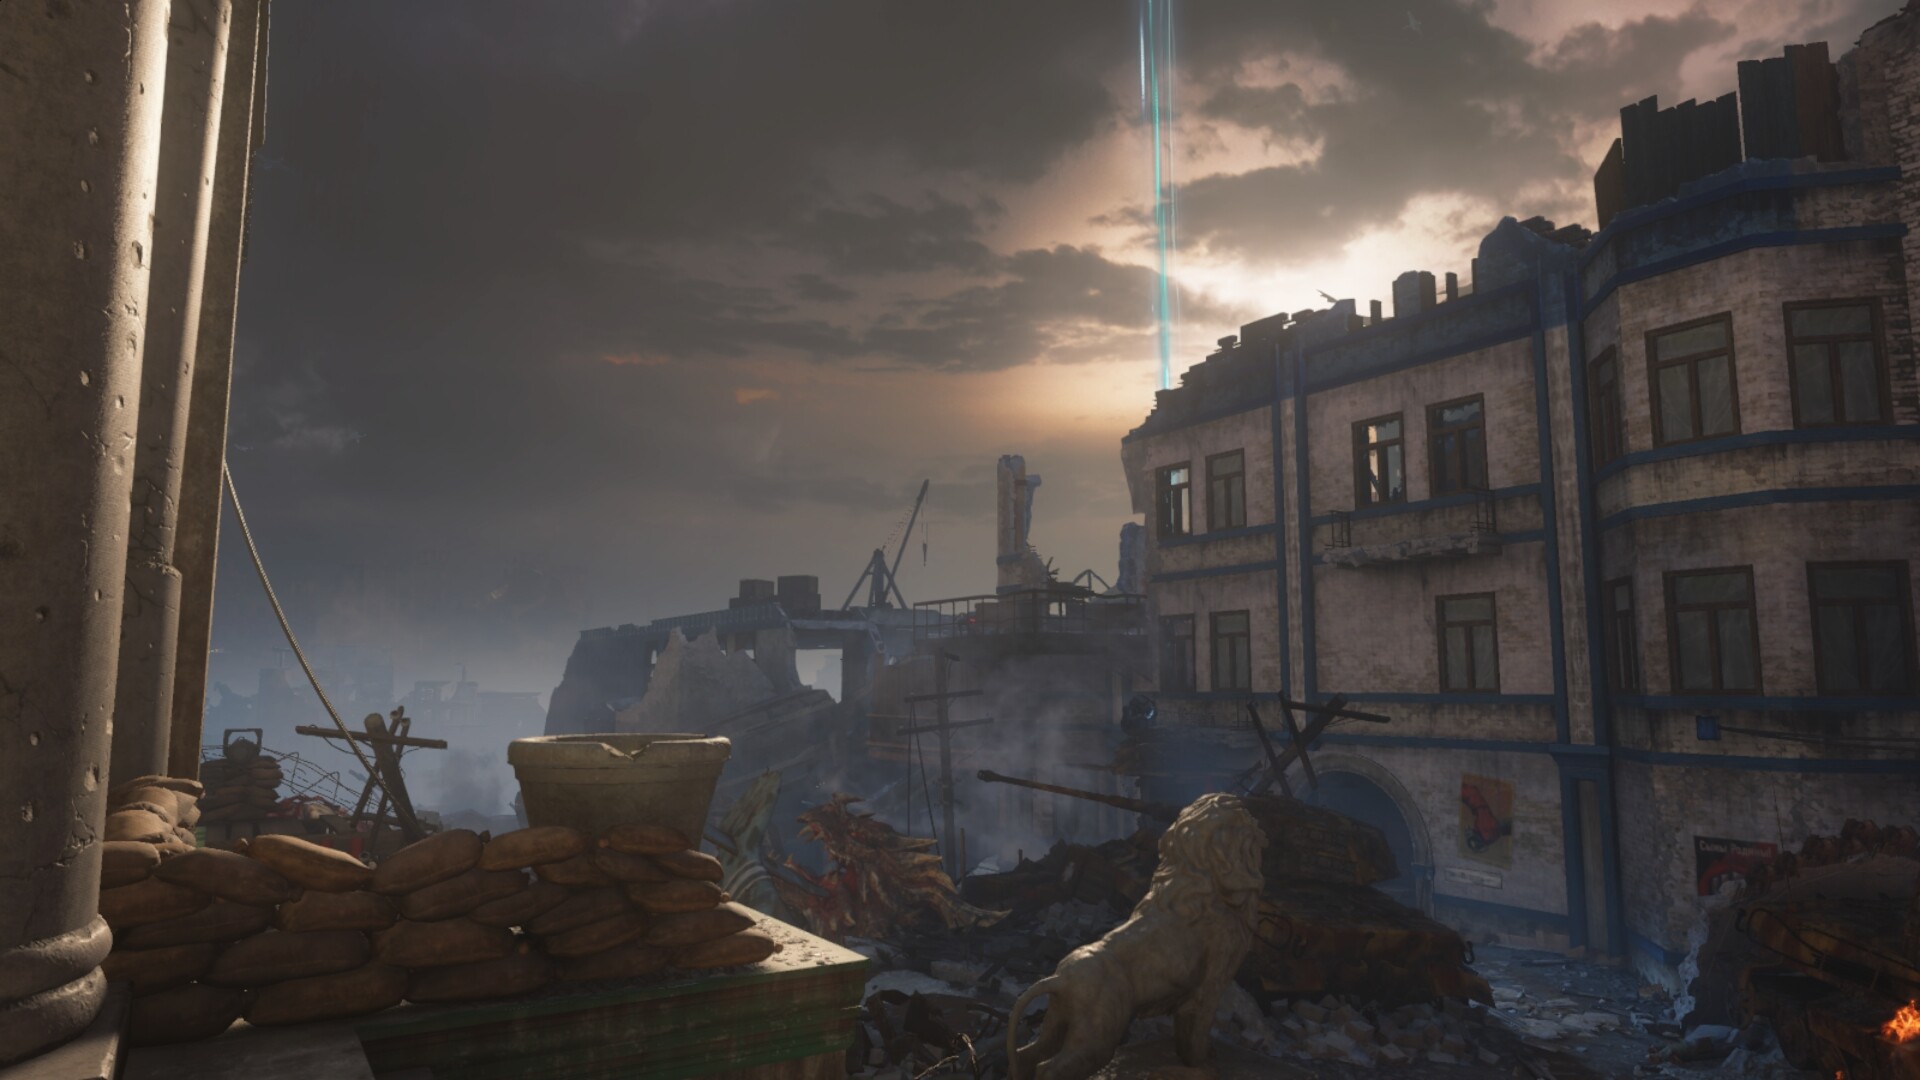
| Location | Stalingrad |
| Remakes | None |
| Release Date | Location | Remakes |
| July 12, 2016 | Stalingrad | None |

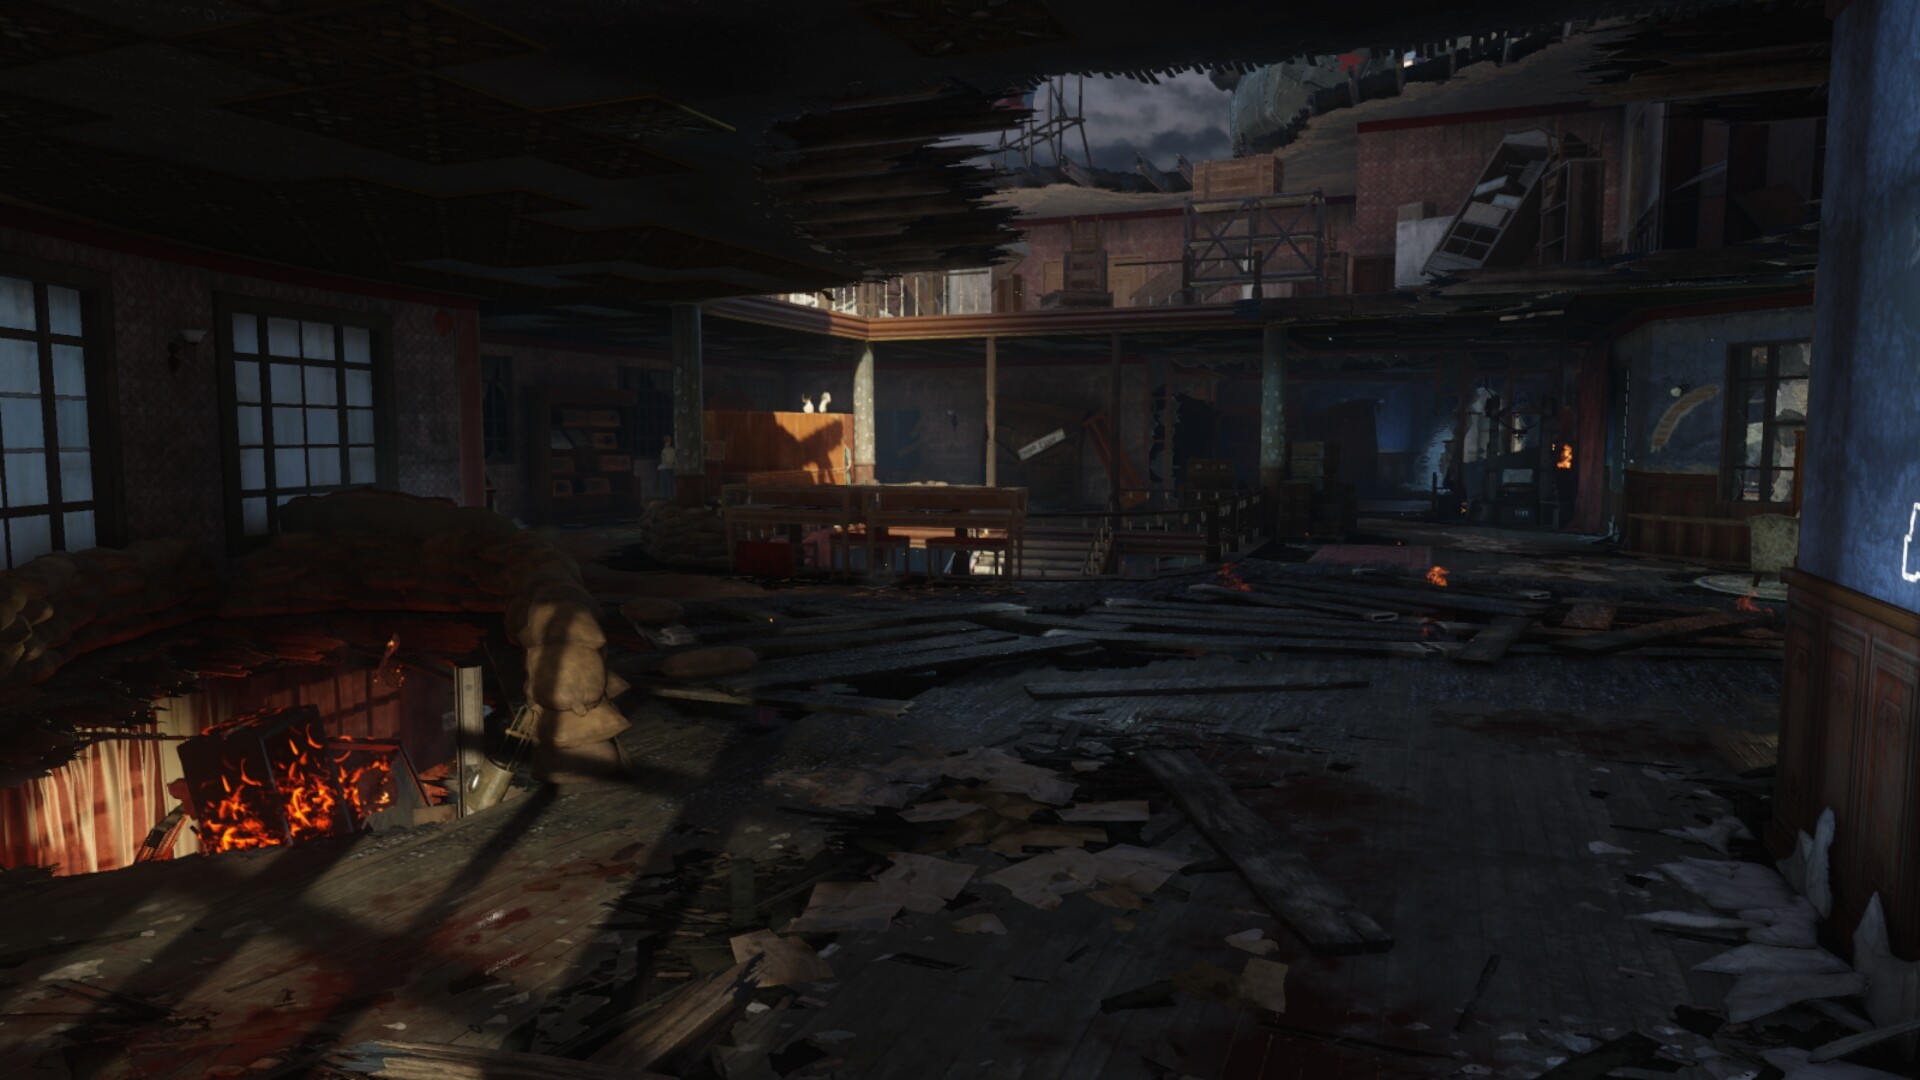
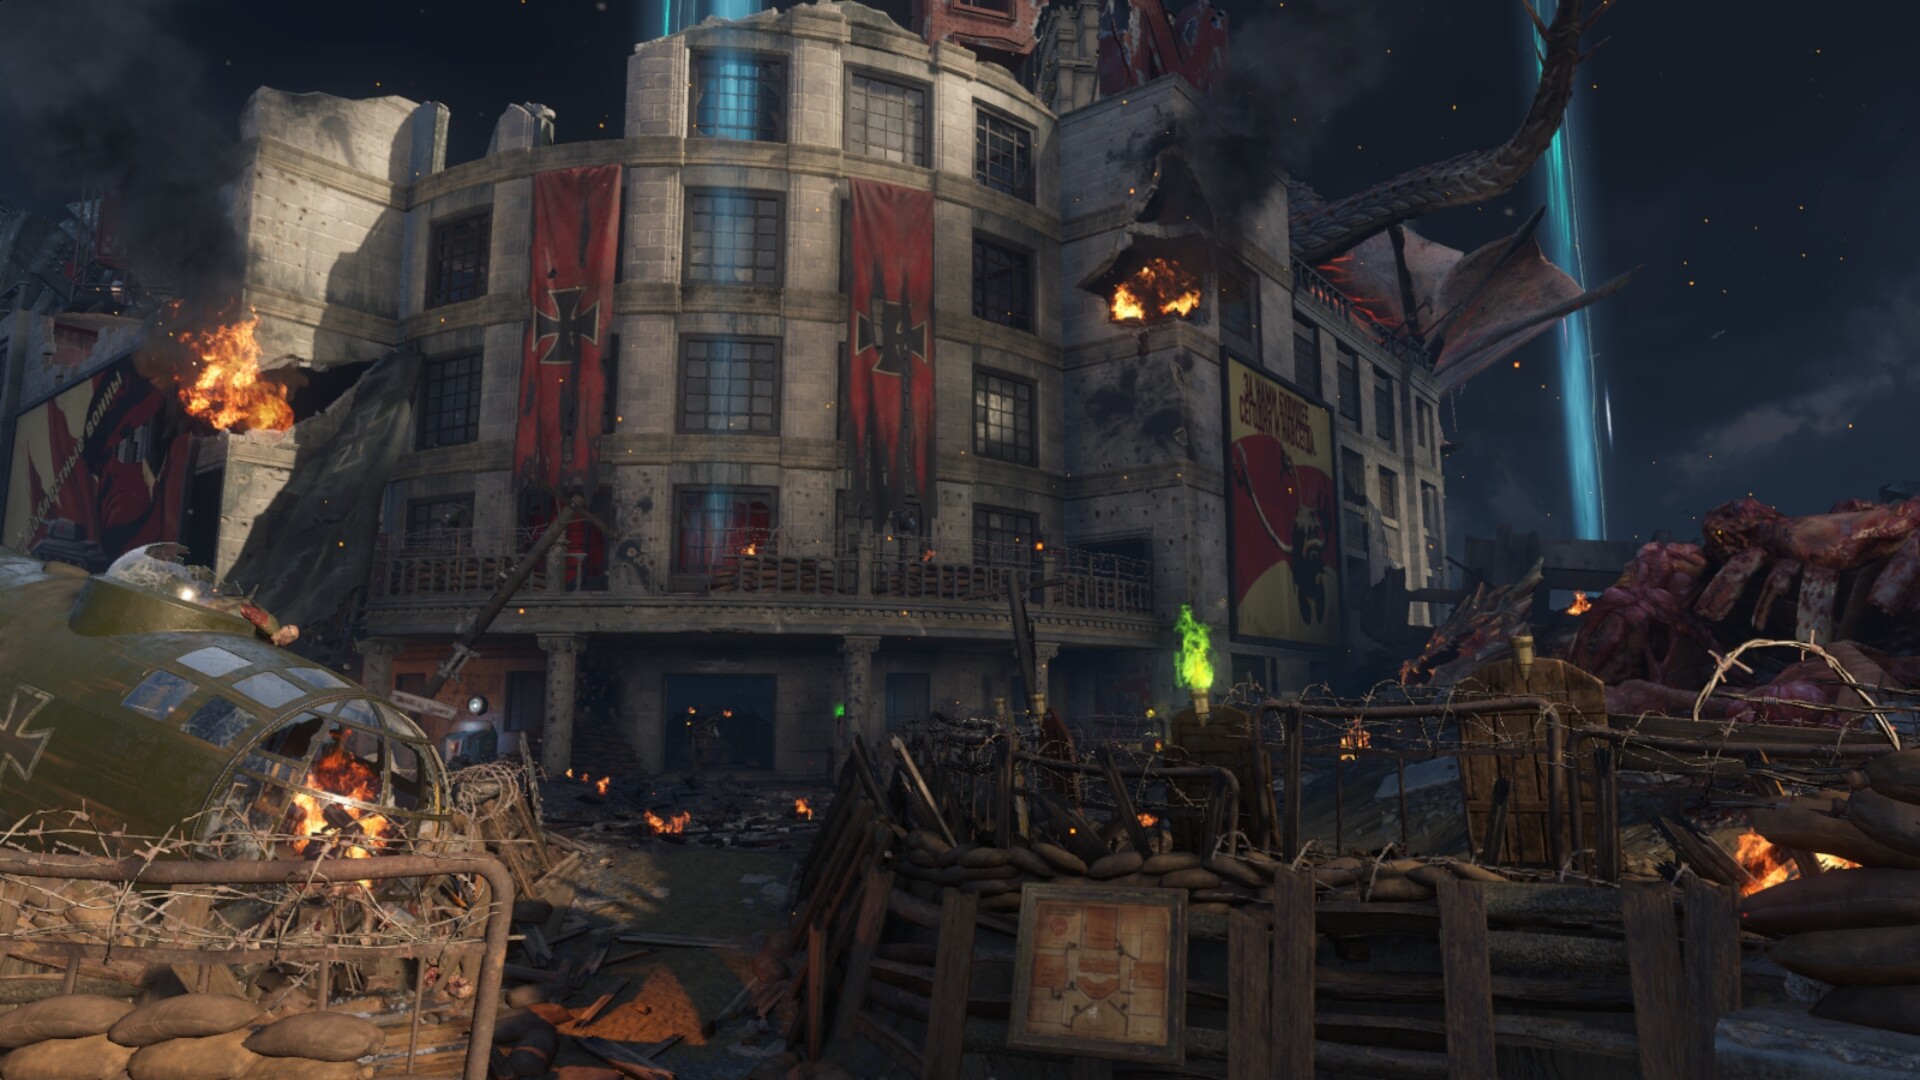
As their journey nears its end, our heroes must battle ancient beasts in the war-torn ruins of Stalingrad… – Gorod Krovi


Raygun – AMMO: 180 Shots – Pack-A-Punched: 240 Shots – Reload: 3 Seconds – Fire Mode: Automatic.
GKZ-45 Mk3 – AMMO: 180 Shots – Pack-A-Punched: 250 Shots – Fire mode: Semi-automatic & Automatic – Type: Buildable
Guard of Fafnir – Fire mode: Melee – Type: Buildable
Widow’s Wine Grenade – AMMO: 4 Tactical – Fire mode: Thrown
Monkey Bomb – AMMO: 3 Tactical – Fire mode: Thrown.
Bowie Knife – AMMO: Infinite – Fire mode: Melee.
Quick Revive: Shorter delay before regenerating health and increased regeneration rate. Revive Players faster. – Cost: 500 / 1500 Points
Juggernog: Increased health from 100 to 250, – Cost: 2500 Points
Speed Cola: Cuts reload time in half and builds barriers by 60% faster. – Cost: 3000 Points
Stamin-Up: Increased sprint speed and duration. Stamina regenerates faster. – Cost: 2000 Points
Double Tap Root Beer II: Increases bullet weapon damage by 33%. – Cost: 2000 Points
Mule Kick: Carry an additional Primary weapon. A total of three guns. Going down will remove the last purchased weapon. – Cost: 4000 Points
Der Wunderfizz: Grants player with random perk including perks not on the map. – Cost: 1500 Points
Deadshot Daiquiri: Auto aims weapons at the head, increases hip-fire accuracy by 35%, and reduces weapon recoil. – Cost: 1500 Points (Via Der Wunderfizz)
Electric Cherry: Electric Shock surrounding player upon reloading. lower the magazine bigger the Shock. – Cost: 2000 Points (Via Der Wunderfizz)
Widow’s Wine: Replaces standard grenade with a spiderweb that slows zombies. It also increases melee damage. – Cost: 4000 Points (Via Der Wunderfizz)

Power-Ups include the Death Machine that grants the player with a 30-second minigun, Bonus Points provide the players with a small amount of free cash, Fire Sale will spawn all Mystery Box locations and change the cost from 950 points to 10 points, Carpenter rebuilds all the barriers across the map, Max Ammo will give all teammates full ammo, Double Points will grant every player with double the points for kills and boarding up windows, Insta-Kill will instantly kill zombies with any bullet type for a limited time and Nuke will kill every zombie on the map including zombies that just spawn outside the map area.
The Gobble Gum gives the player one of the five selected in the pregame lobby, the cost is $1,500 and up as the rounds get higher, but the first one is free. The gum gives the players many different things including Shopping Free, any of the Power Ups, Pack-A-Punched wall and box weapons, perkaholic that give the player all the perks available on the map, and many others. Just over 50 Gobblegums are available.
The Wall Weapons include the Wrench, Malice, Slash N’ Burn and the Fury, other weapons found on the walls are the RK5, Sheiva, Pharo, L-CAR 9, KRM-262, Kuda, VMP, Vesper, Argus, KN-44, ICR-1, M8A7, HVK-30 and Bowie Knife.

Mystery Box weapons include the GKZ-45 Mk3 wonder weapon, Raygun, Monkey Bombs, and many more like the NX ShadowClaw, L4 Siege, XM-53, PPSh-41, HG 40, VMP, Weevil, Pharo, RPK, Gorgon, 48 Dredge, BRM, Dingo, Haymaker 12, 205 Brecci, Argus, FFAR, HVK-30, M8A7, ICR-1, Man-O-War, Sheiva, MX Garand, Drakon, Locus and the SVG-100.
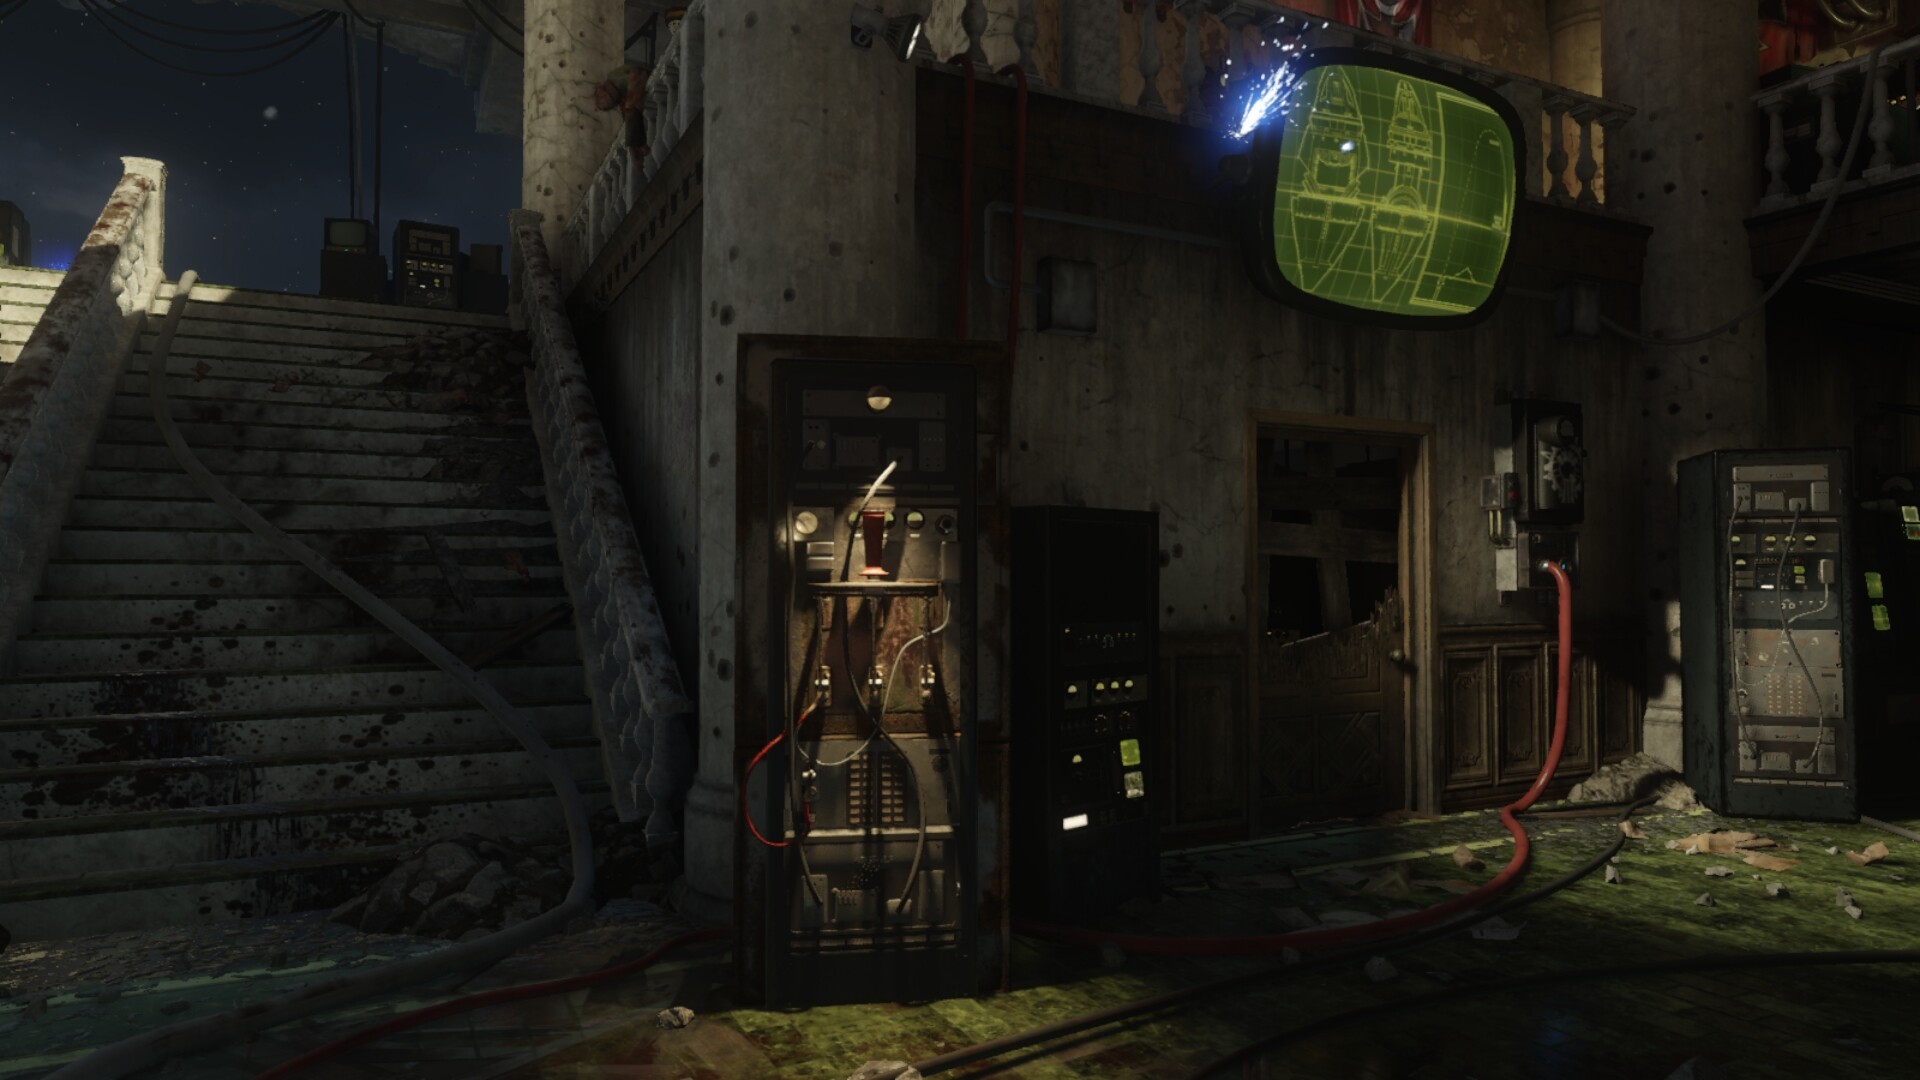
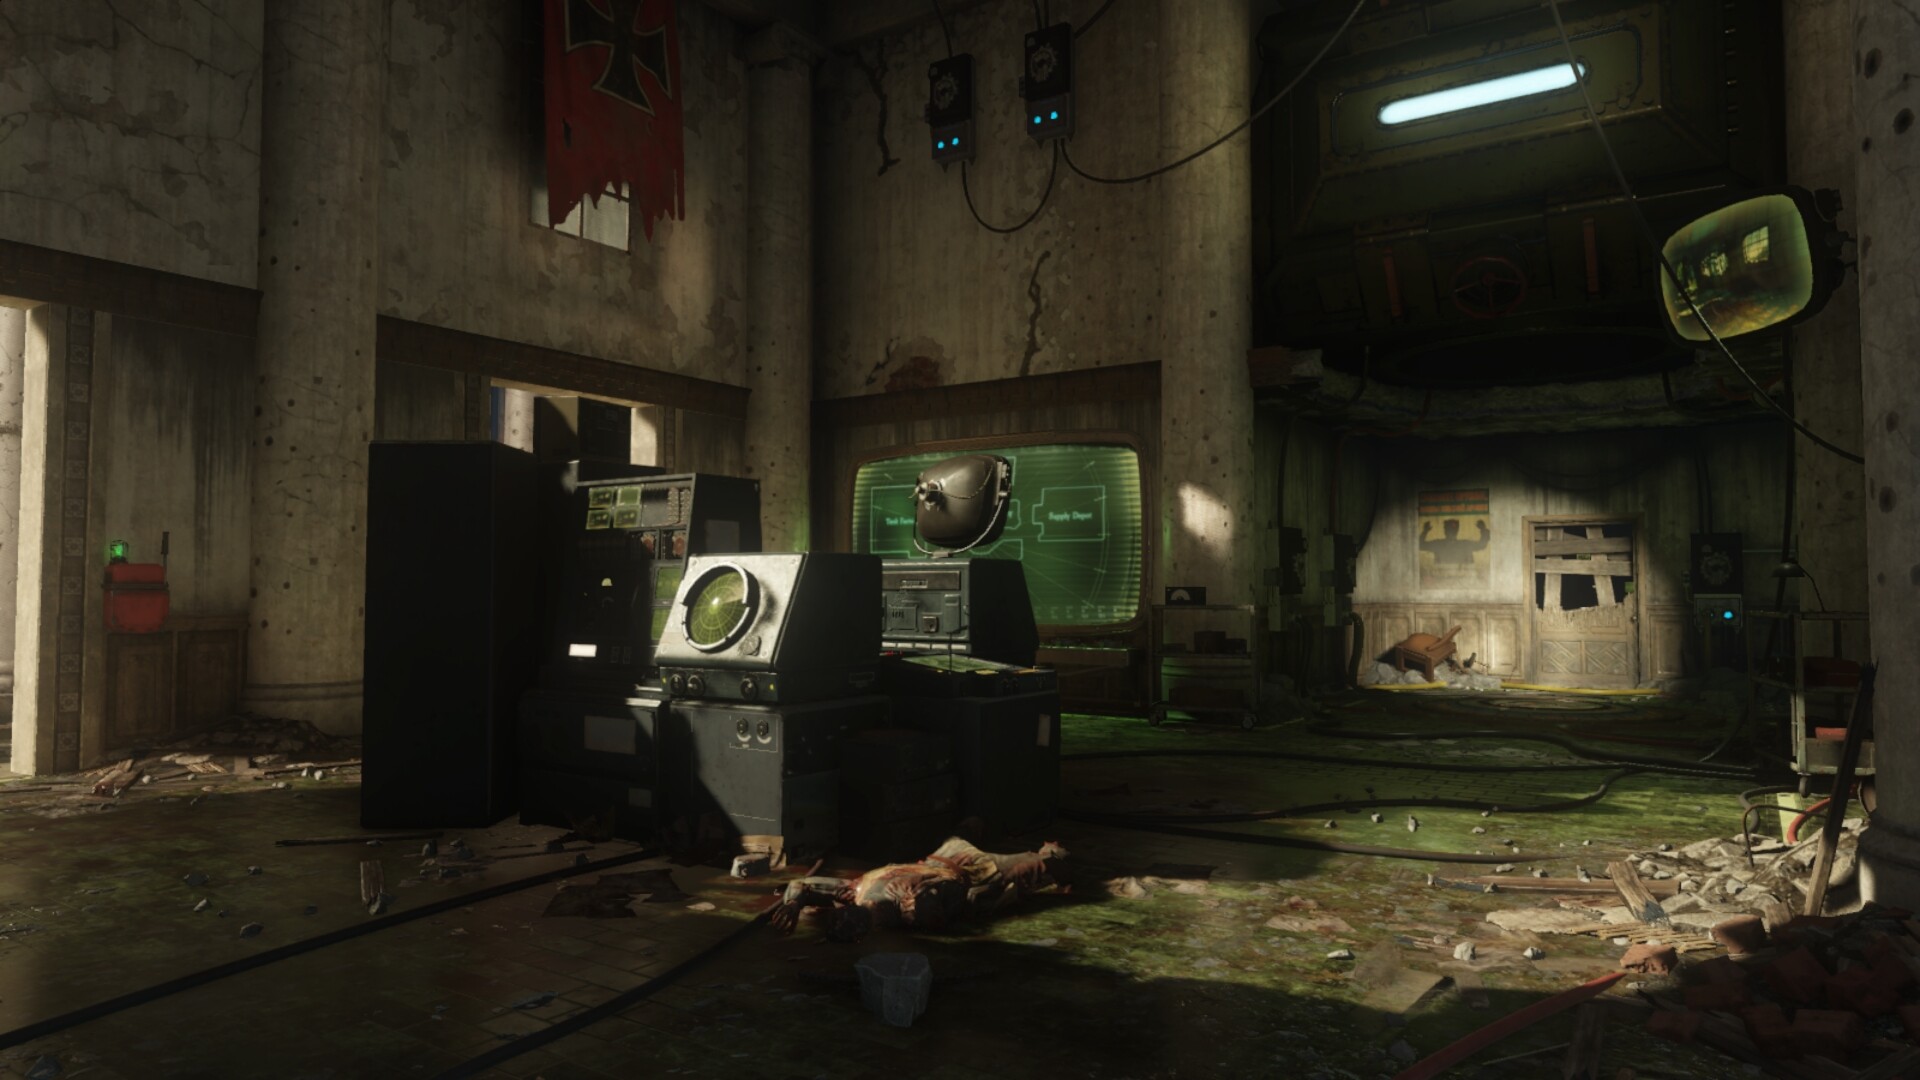
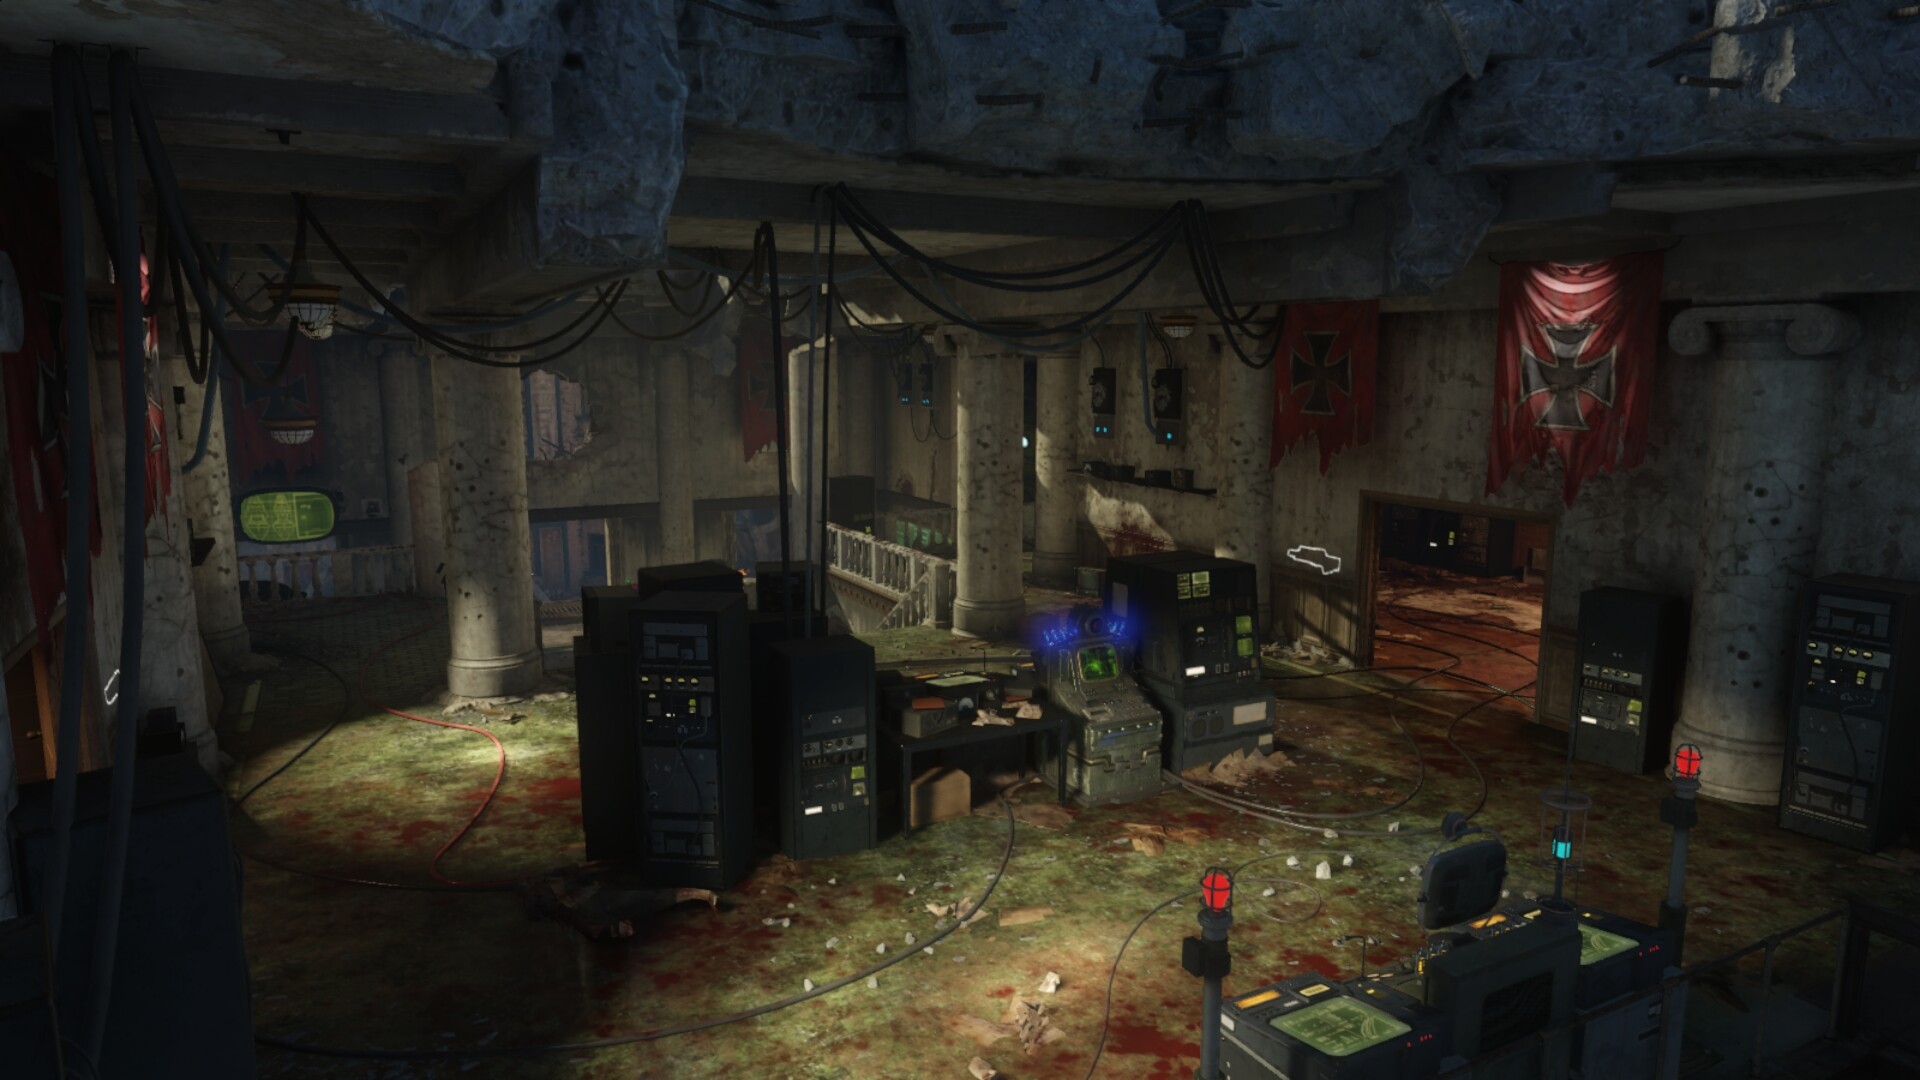
The Power switch can be activated in the Dragon Command Control room on the colosseum building’s ground level. The power is needed to purchase perks and also use the different traps the map offers.
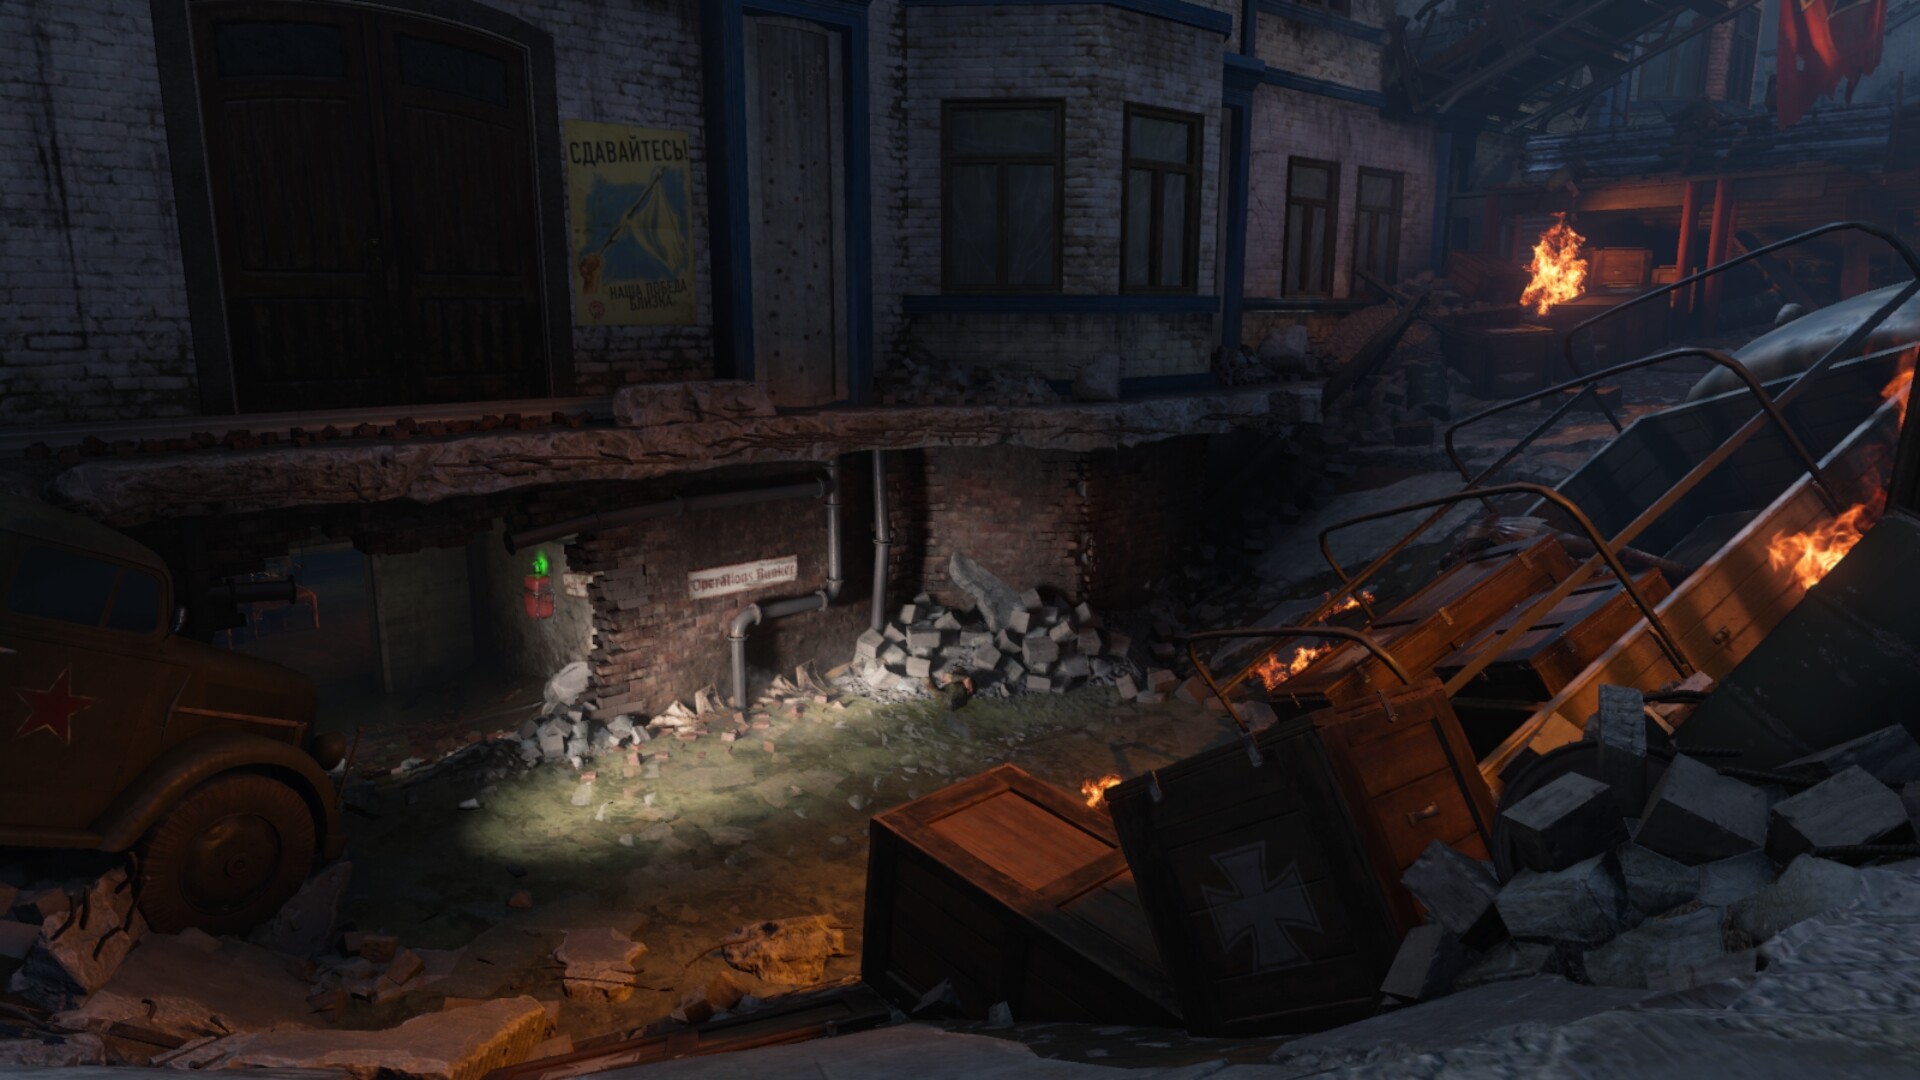
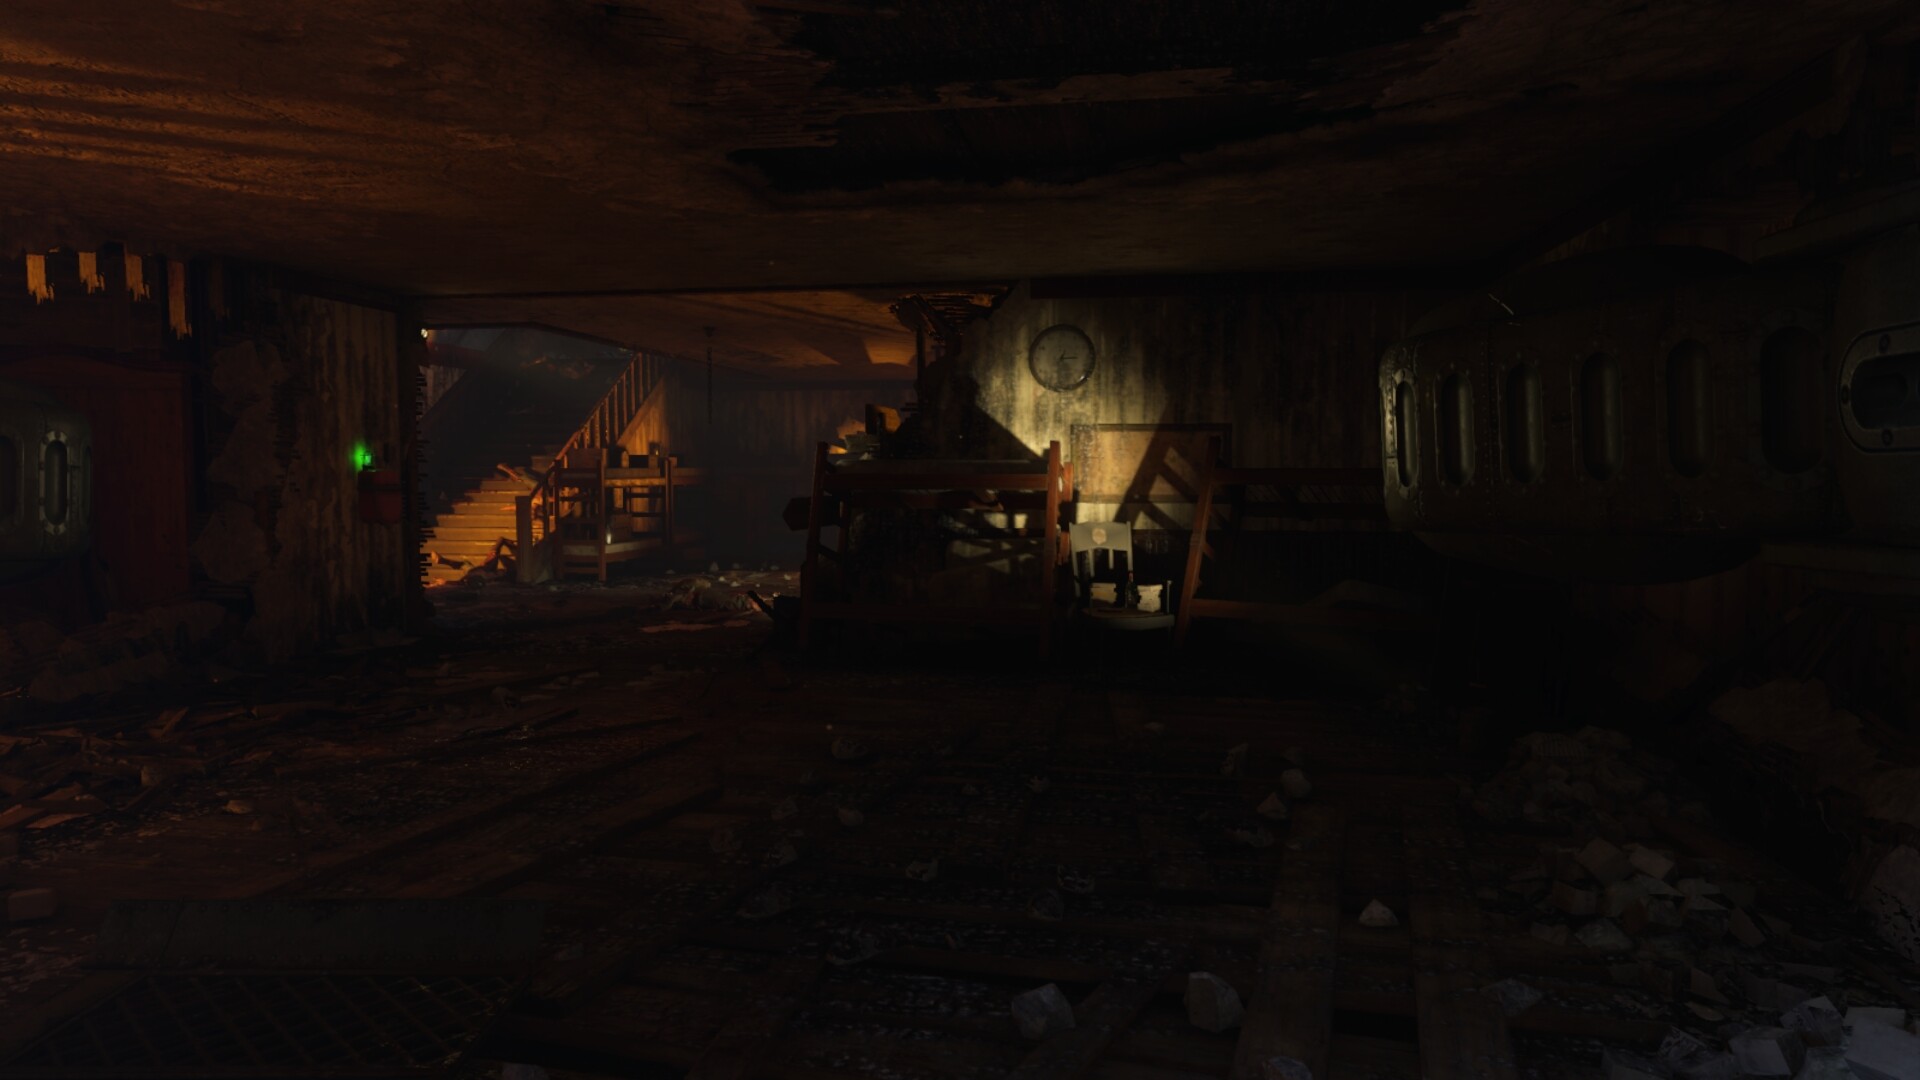
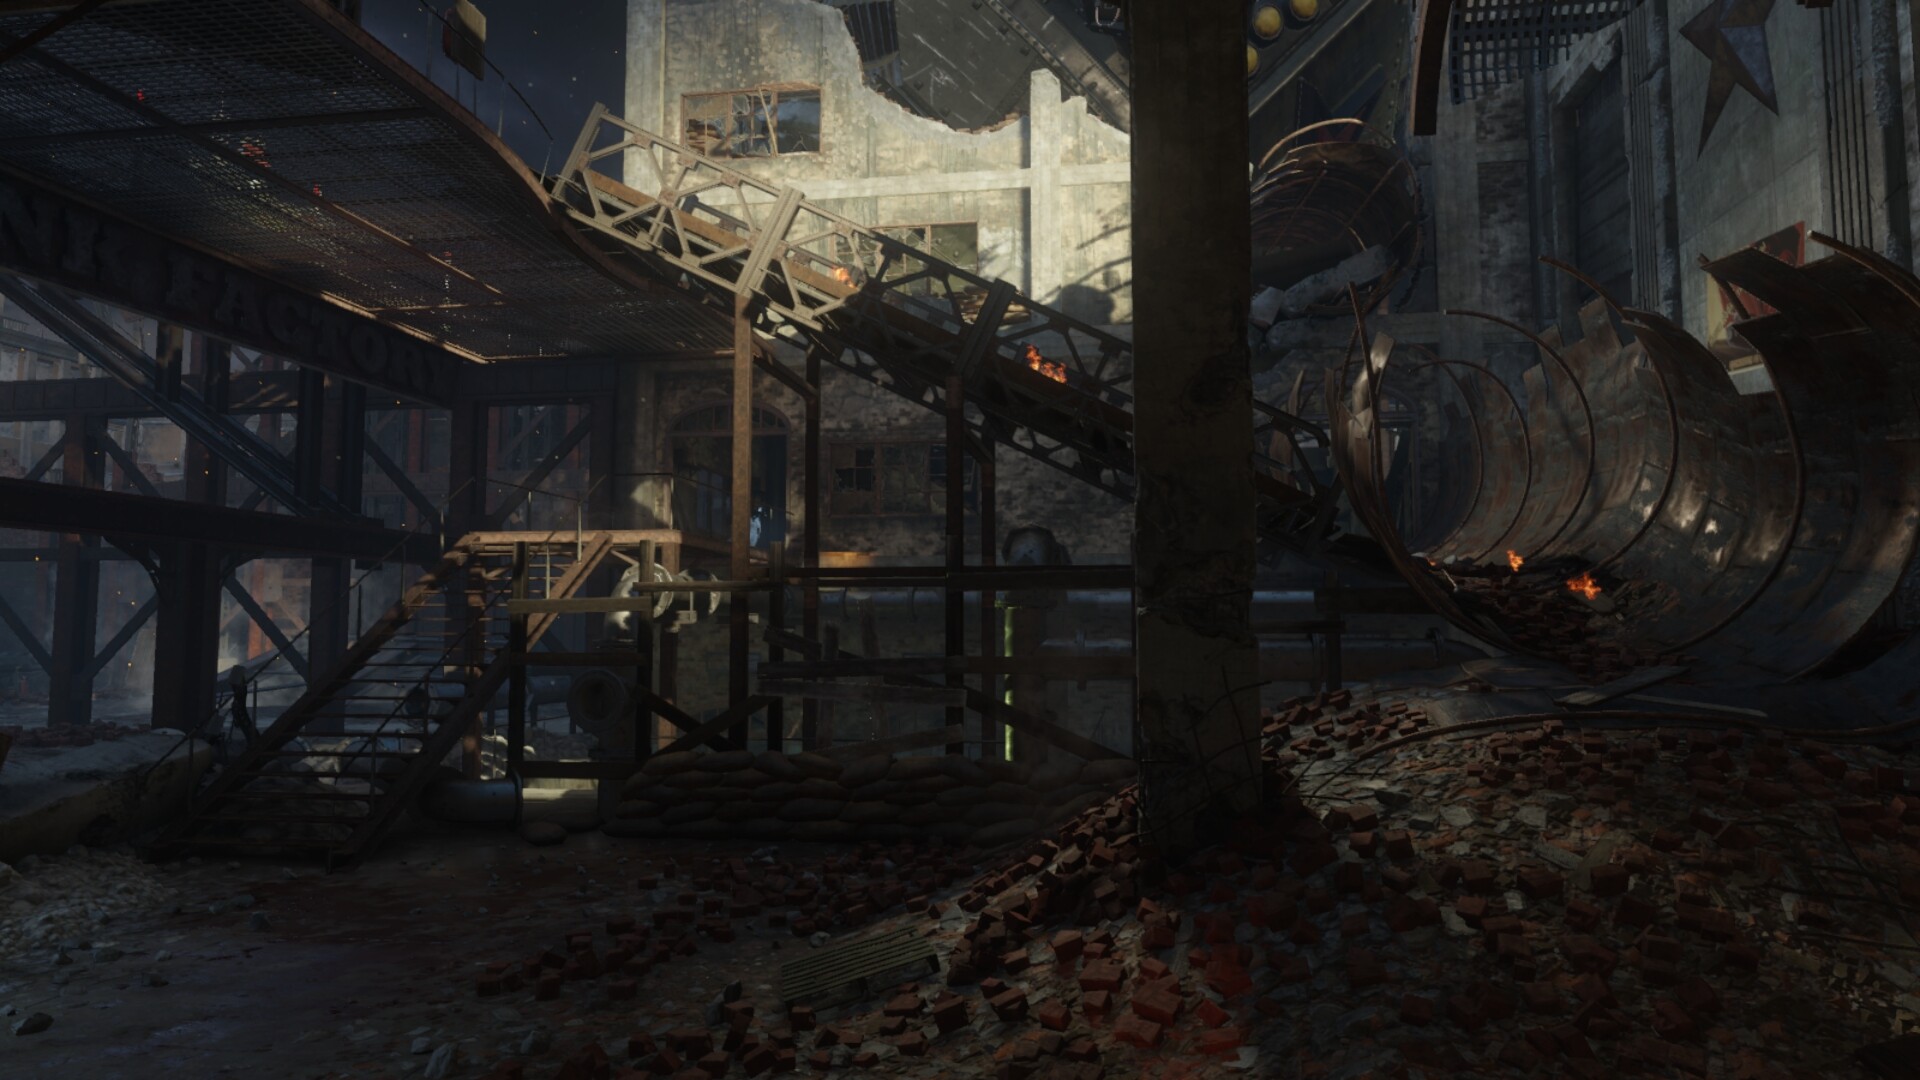
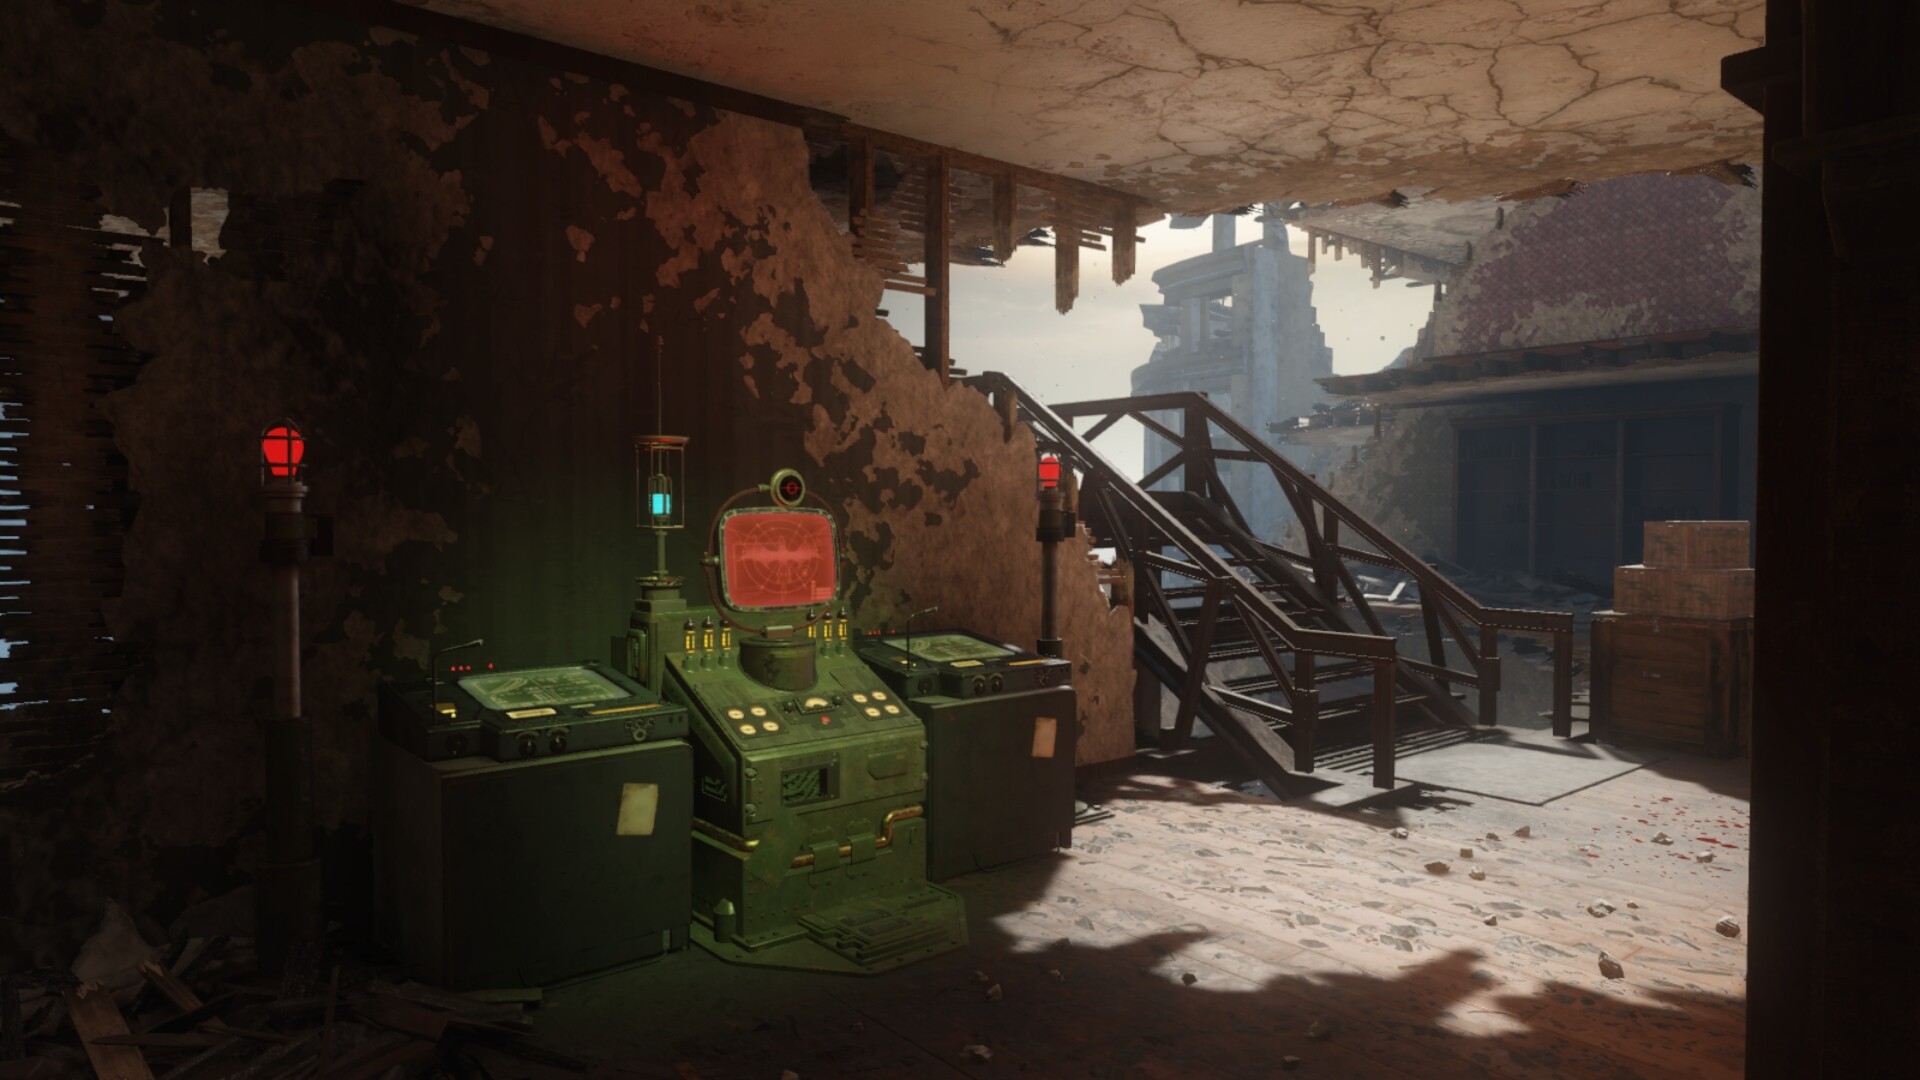
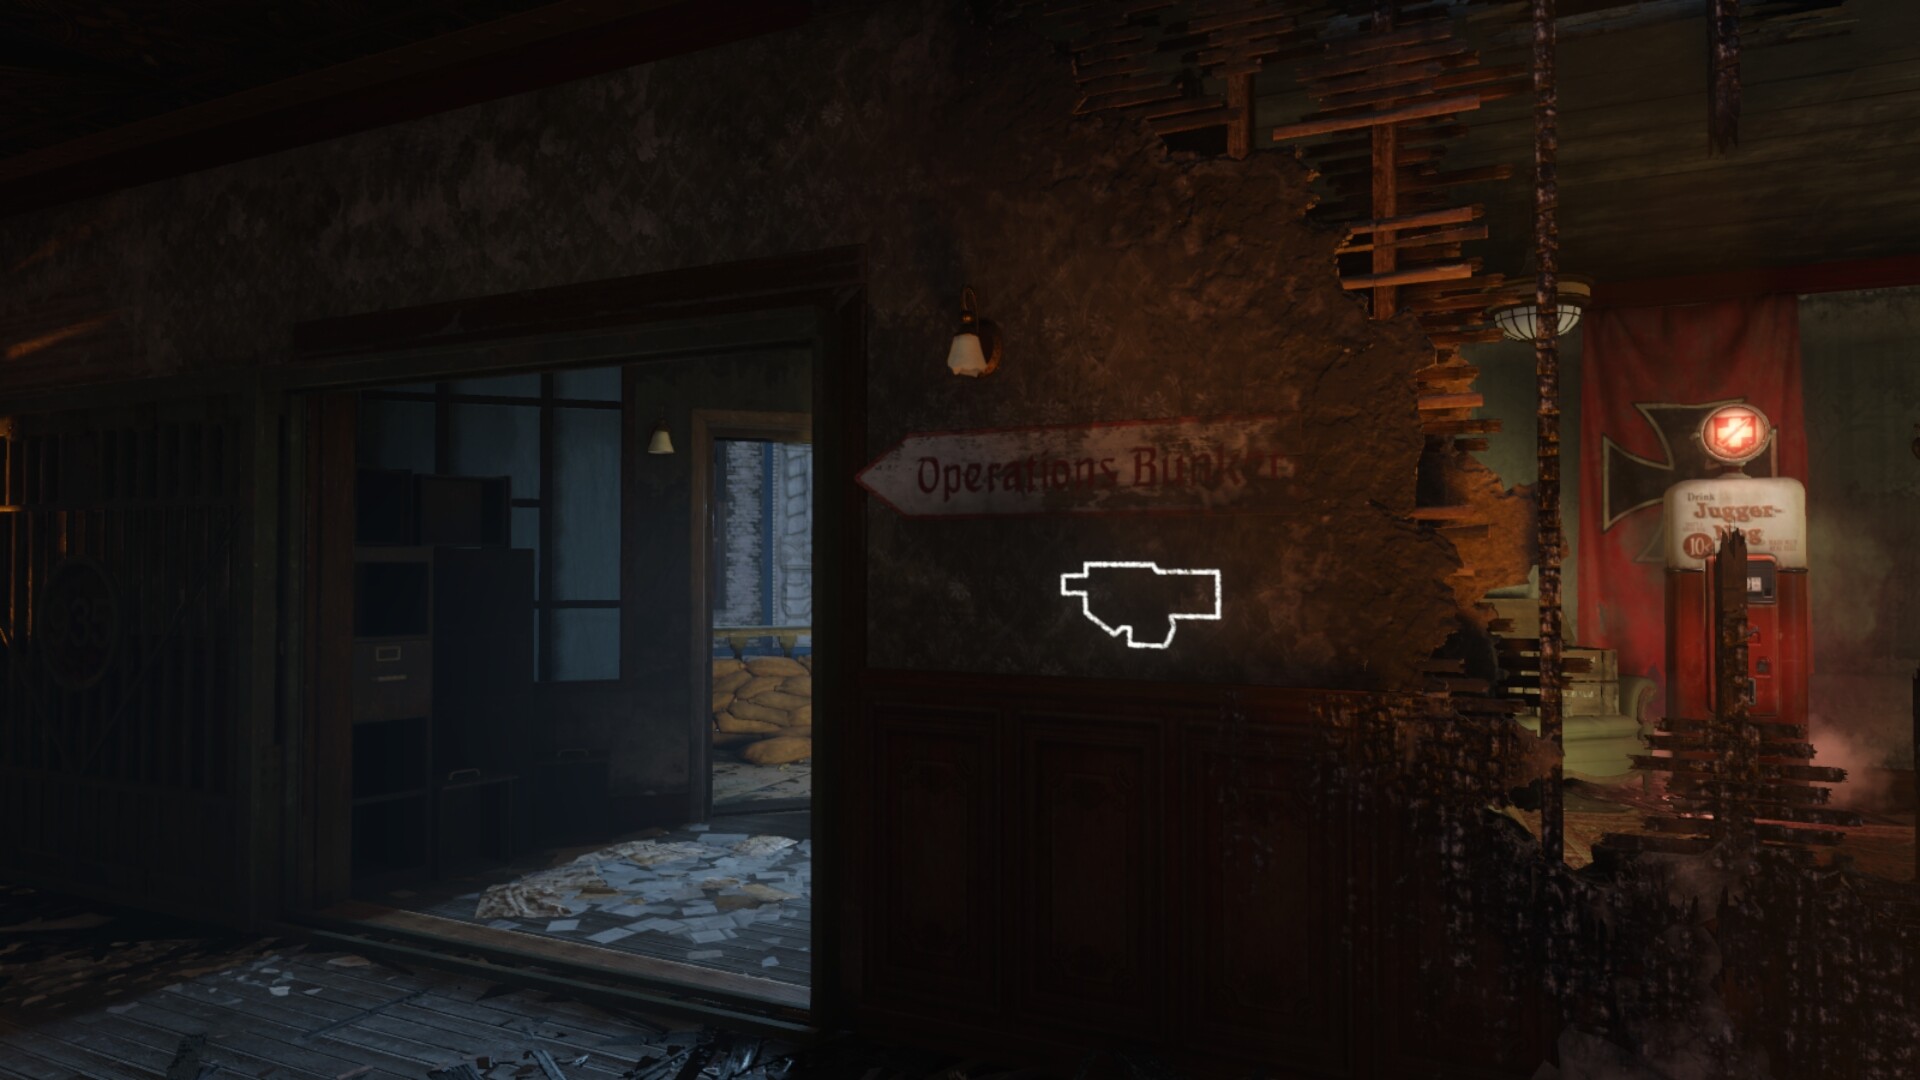
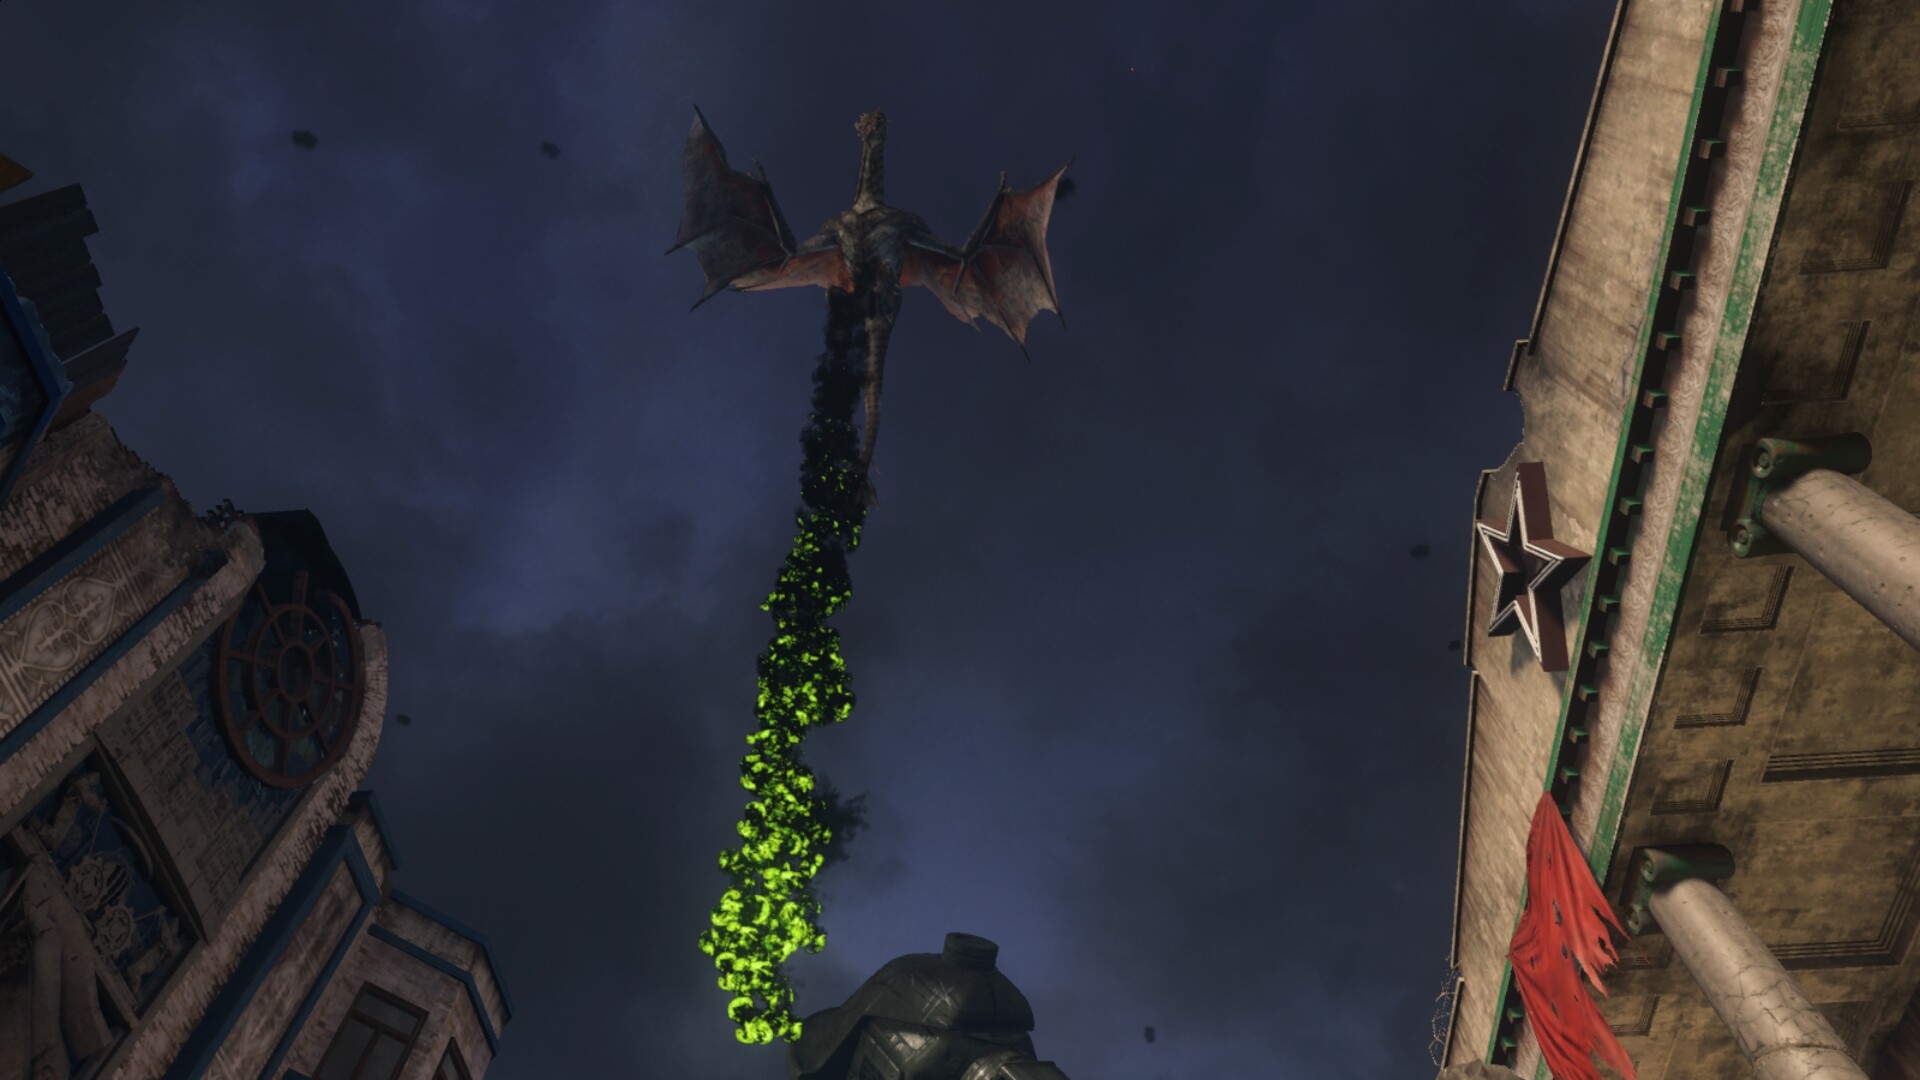
To unlock Pack-A-Punch, you will need to turn on the power by going to the Dragon Command area and find the big power switch in front of the steps. You will then need to collect three code cylinders that drop from killing zombies in the dragon command, supply depot, and Tank Factory area and place the cylinder into a Groph Module machine in each area. This will spawn a pod, and you will need to protect it by killing nearby zombies to charge it. You can find the spawned pod by looking for a green light in the sky. You will need to get there quickly. Once charged, the pods will open, and you can collect one of three Network Circuit pieces. You will have to place the network circuit piece into the machine before collecting a new one. You can then go to the Operations Bunker room, and insert the three Code Cylinders into the machine. Go to the Dragon Command graph module machine and summon a dragon on the machine next to the graph module machine. A dragon will then be called, and you can ride it by interacting with it, in which a cutscene will play. The dragon will drop you off into a building where the pack-a-punch is in by going downstairs.

The Mounted MG42 is a gun that can be activated and used by spending 1000 points. Mounted MG42s are located in the Hatchery area.
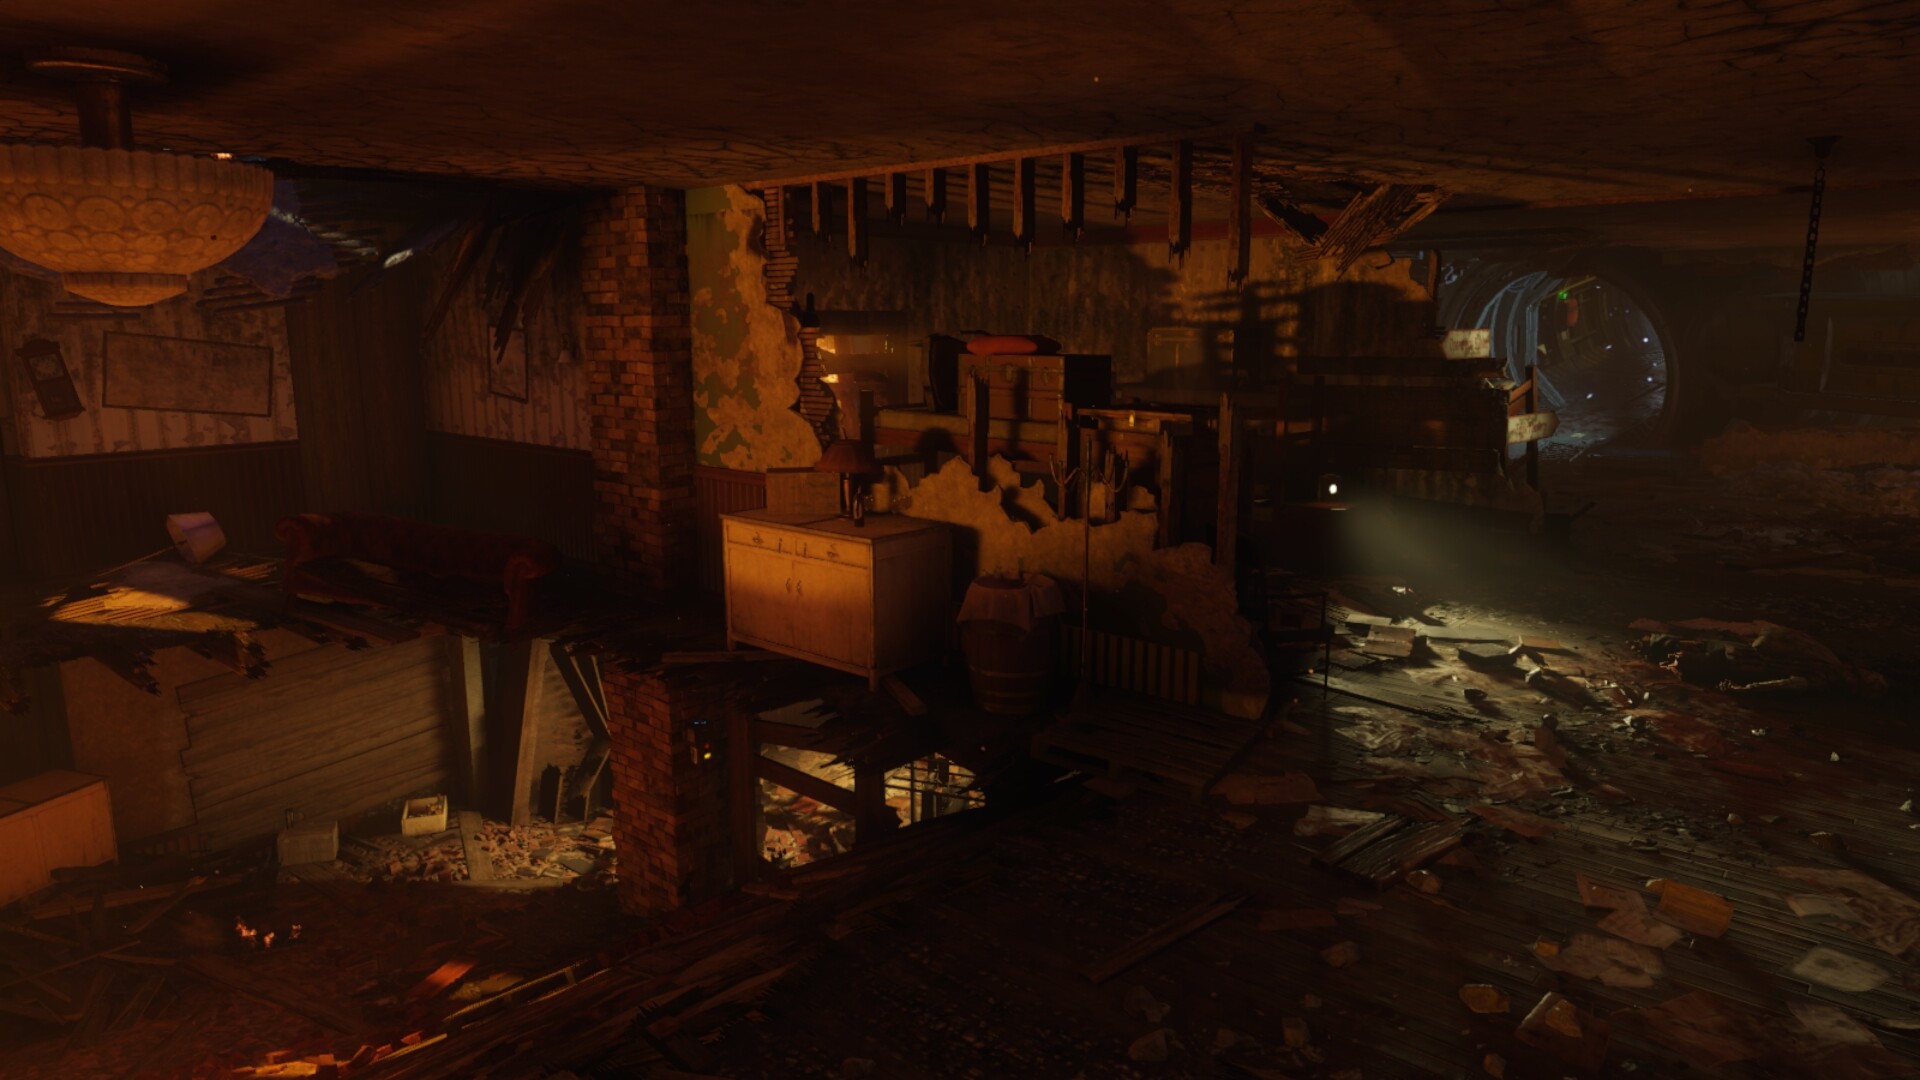
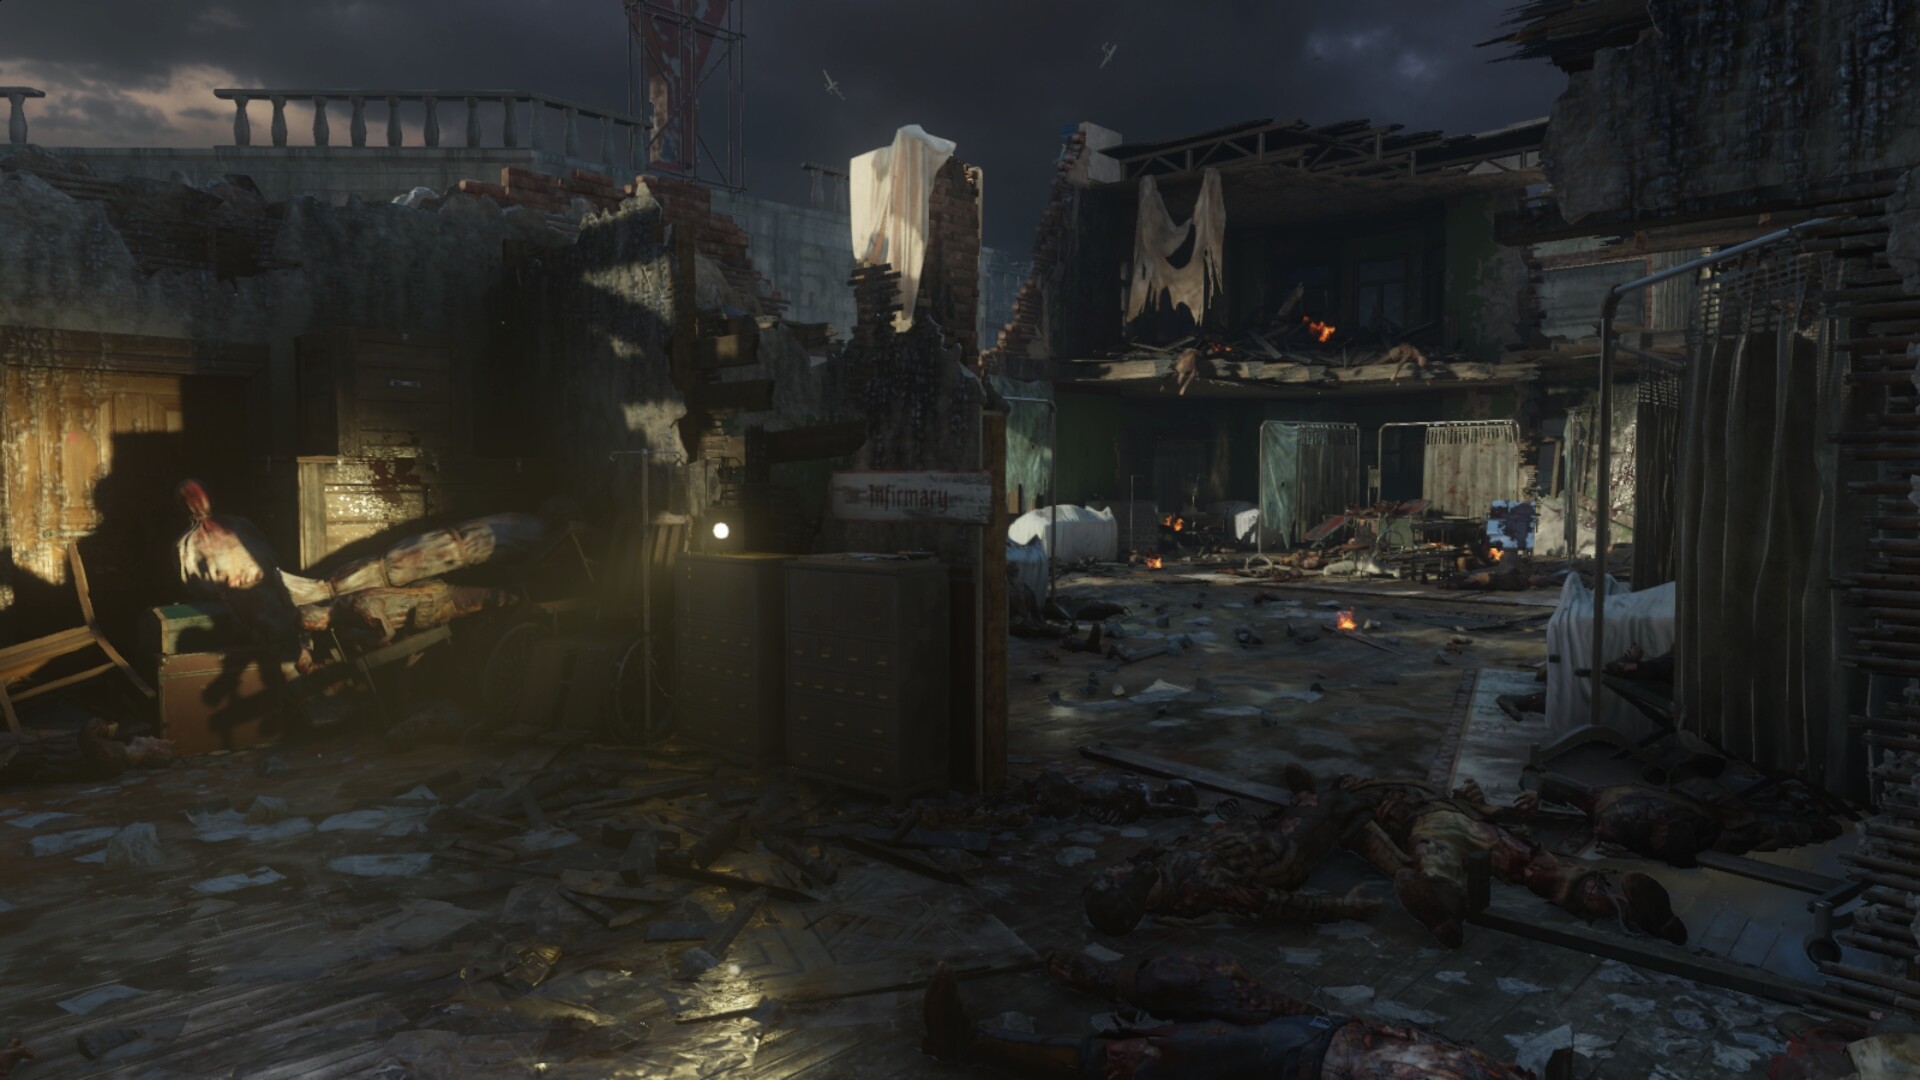
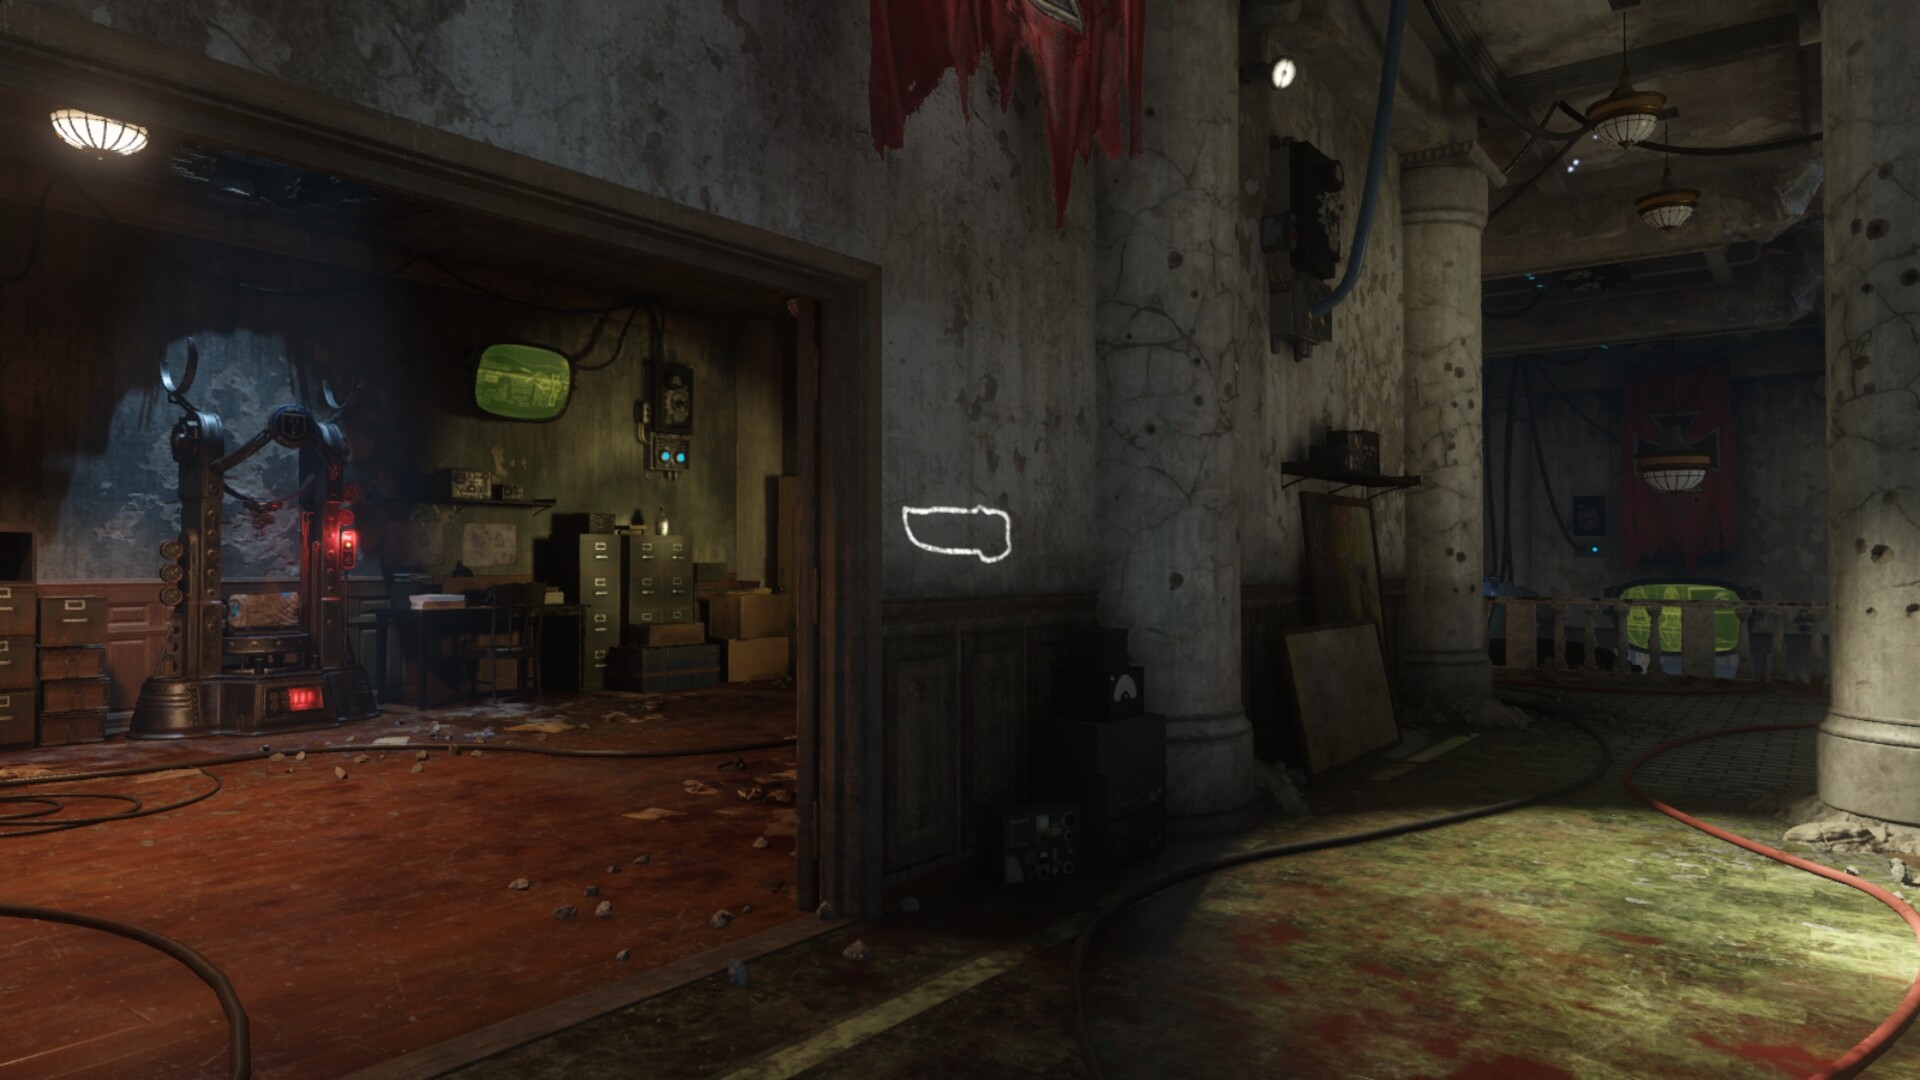
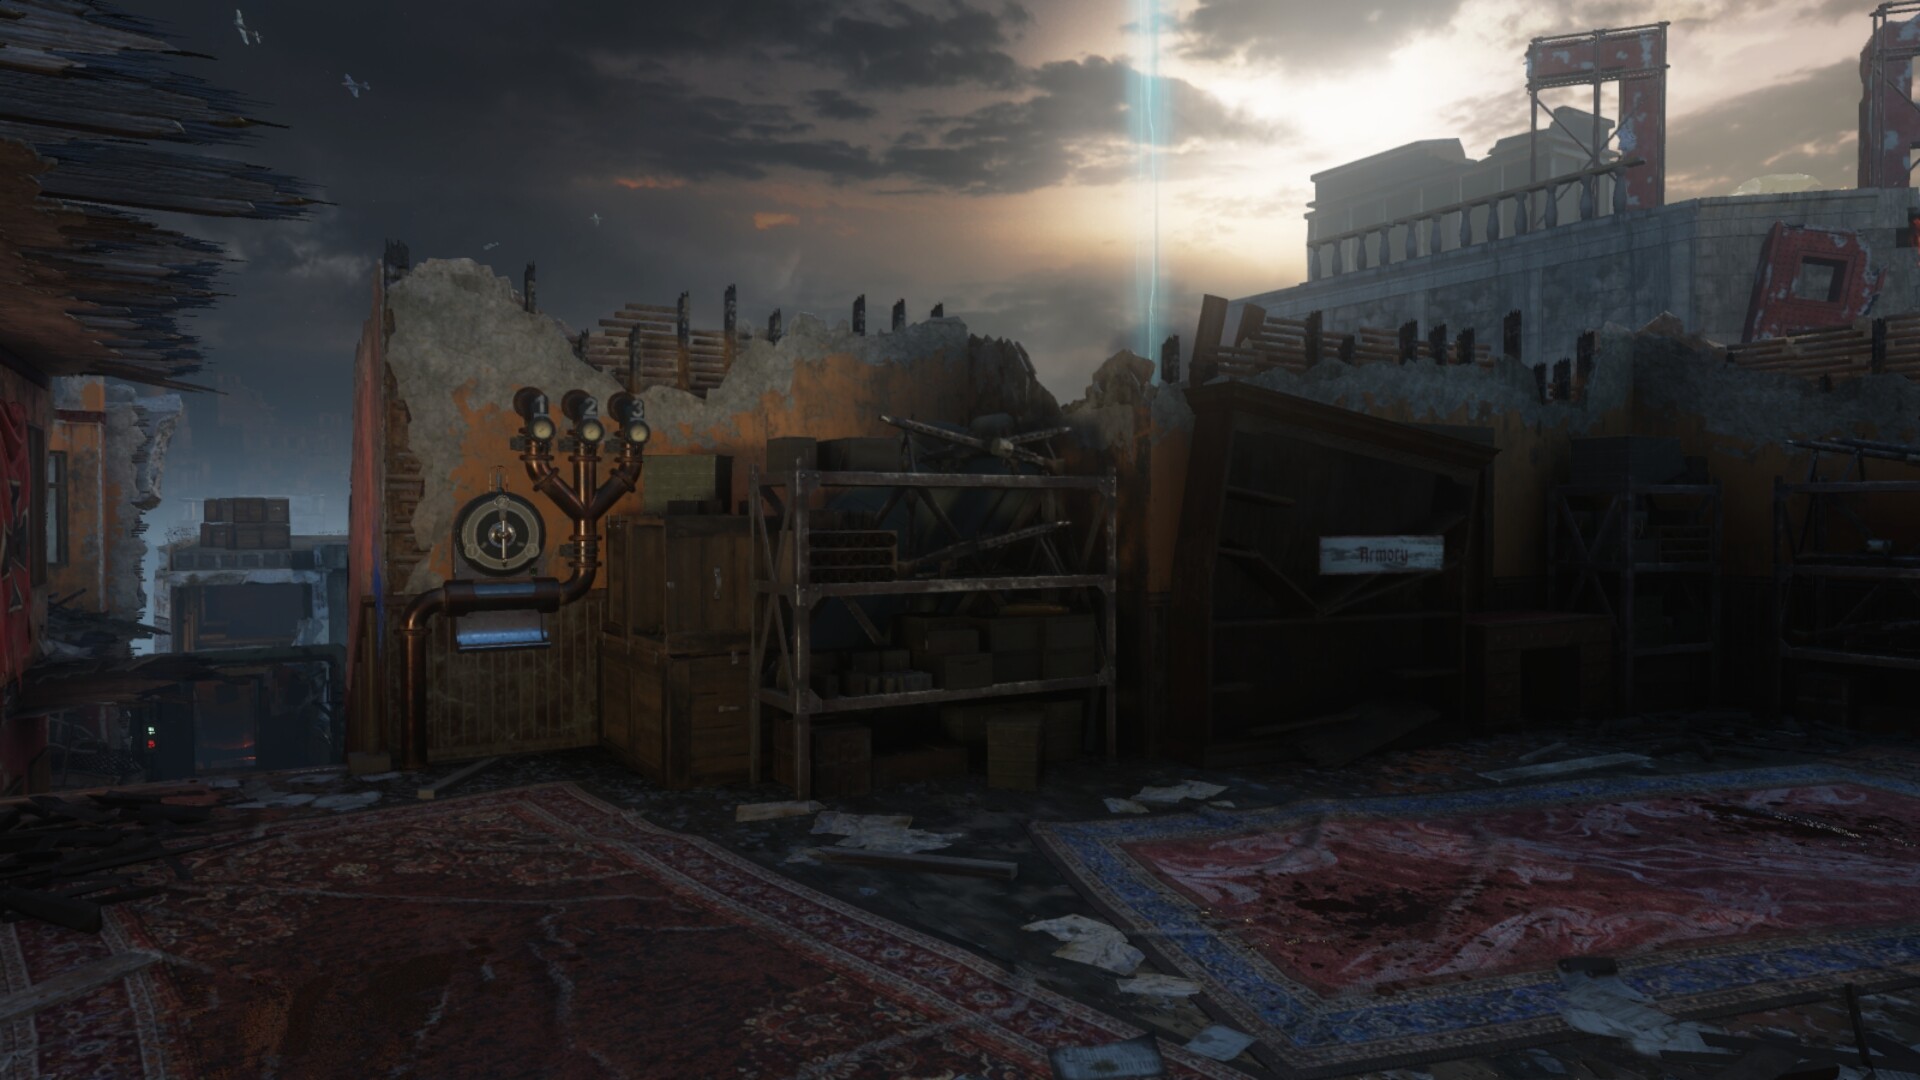
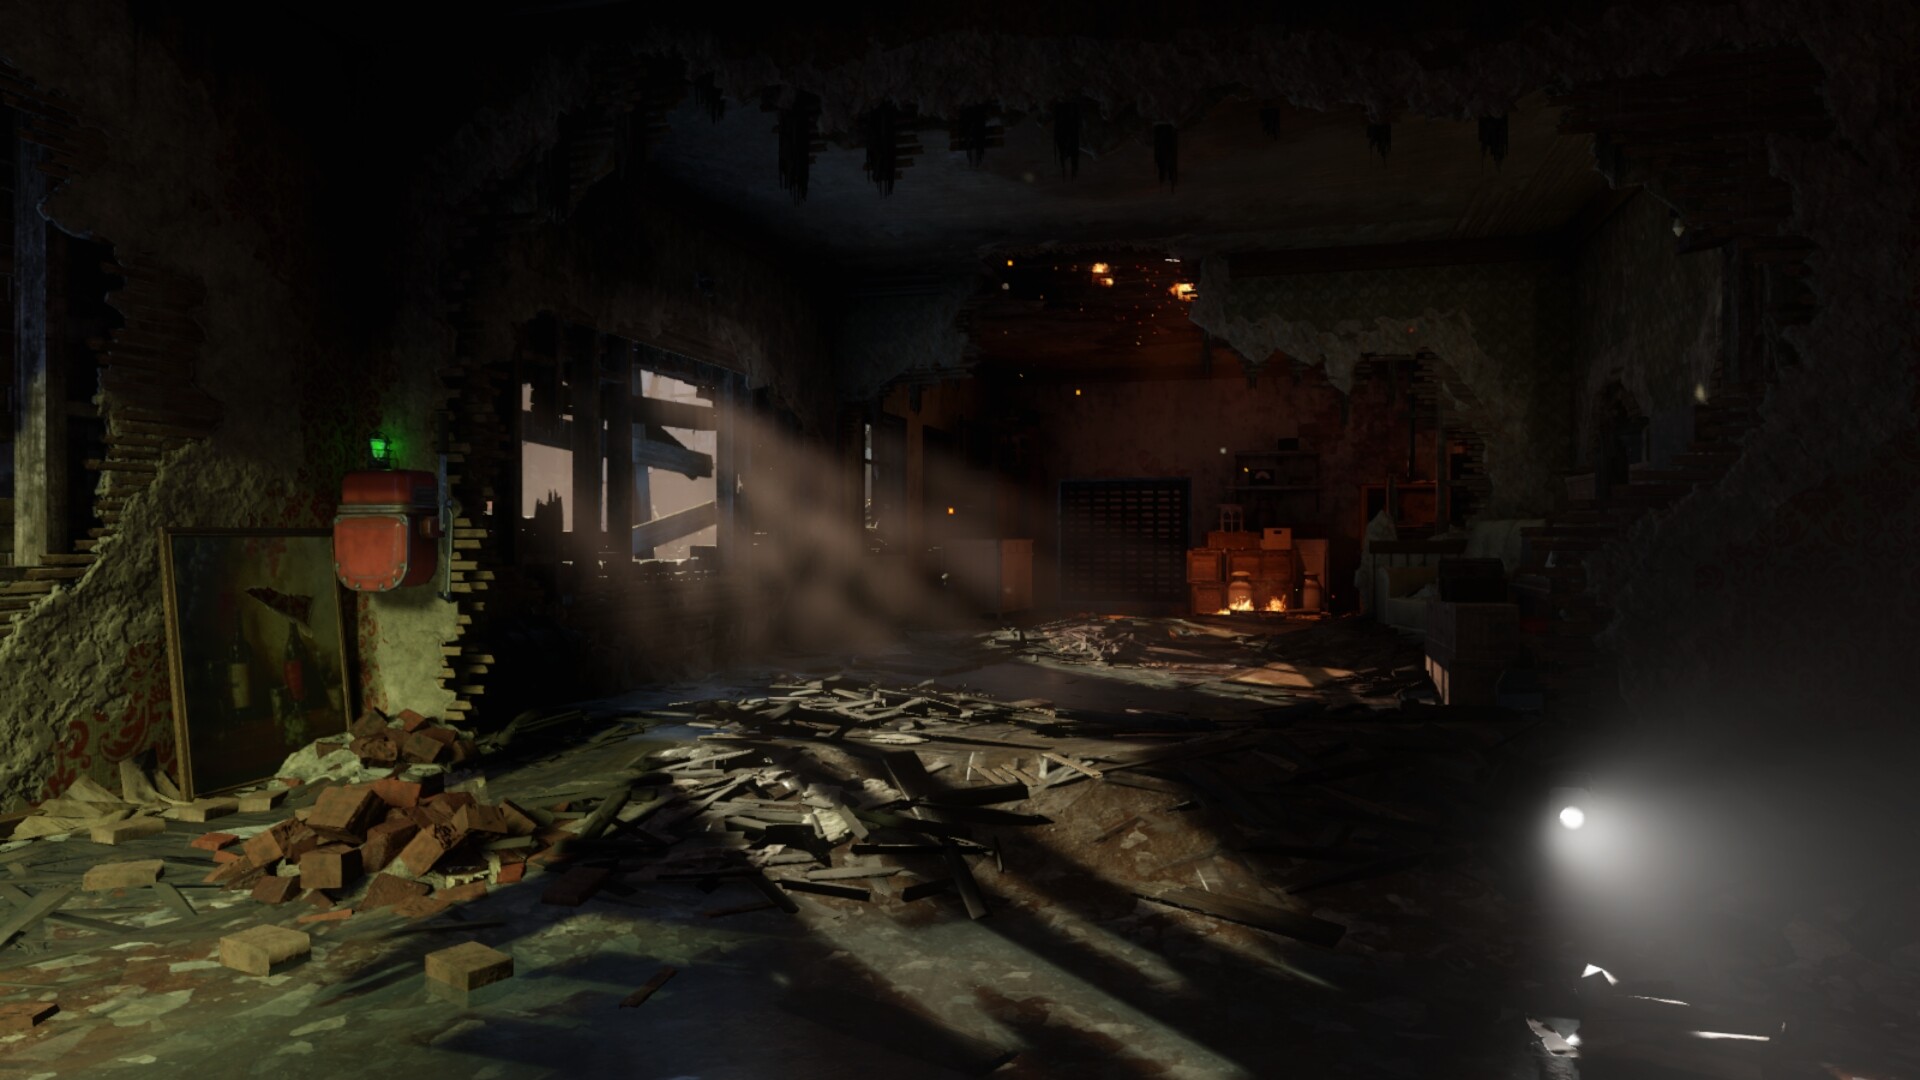
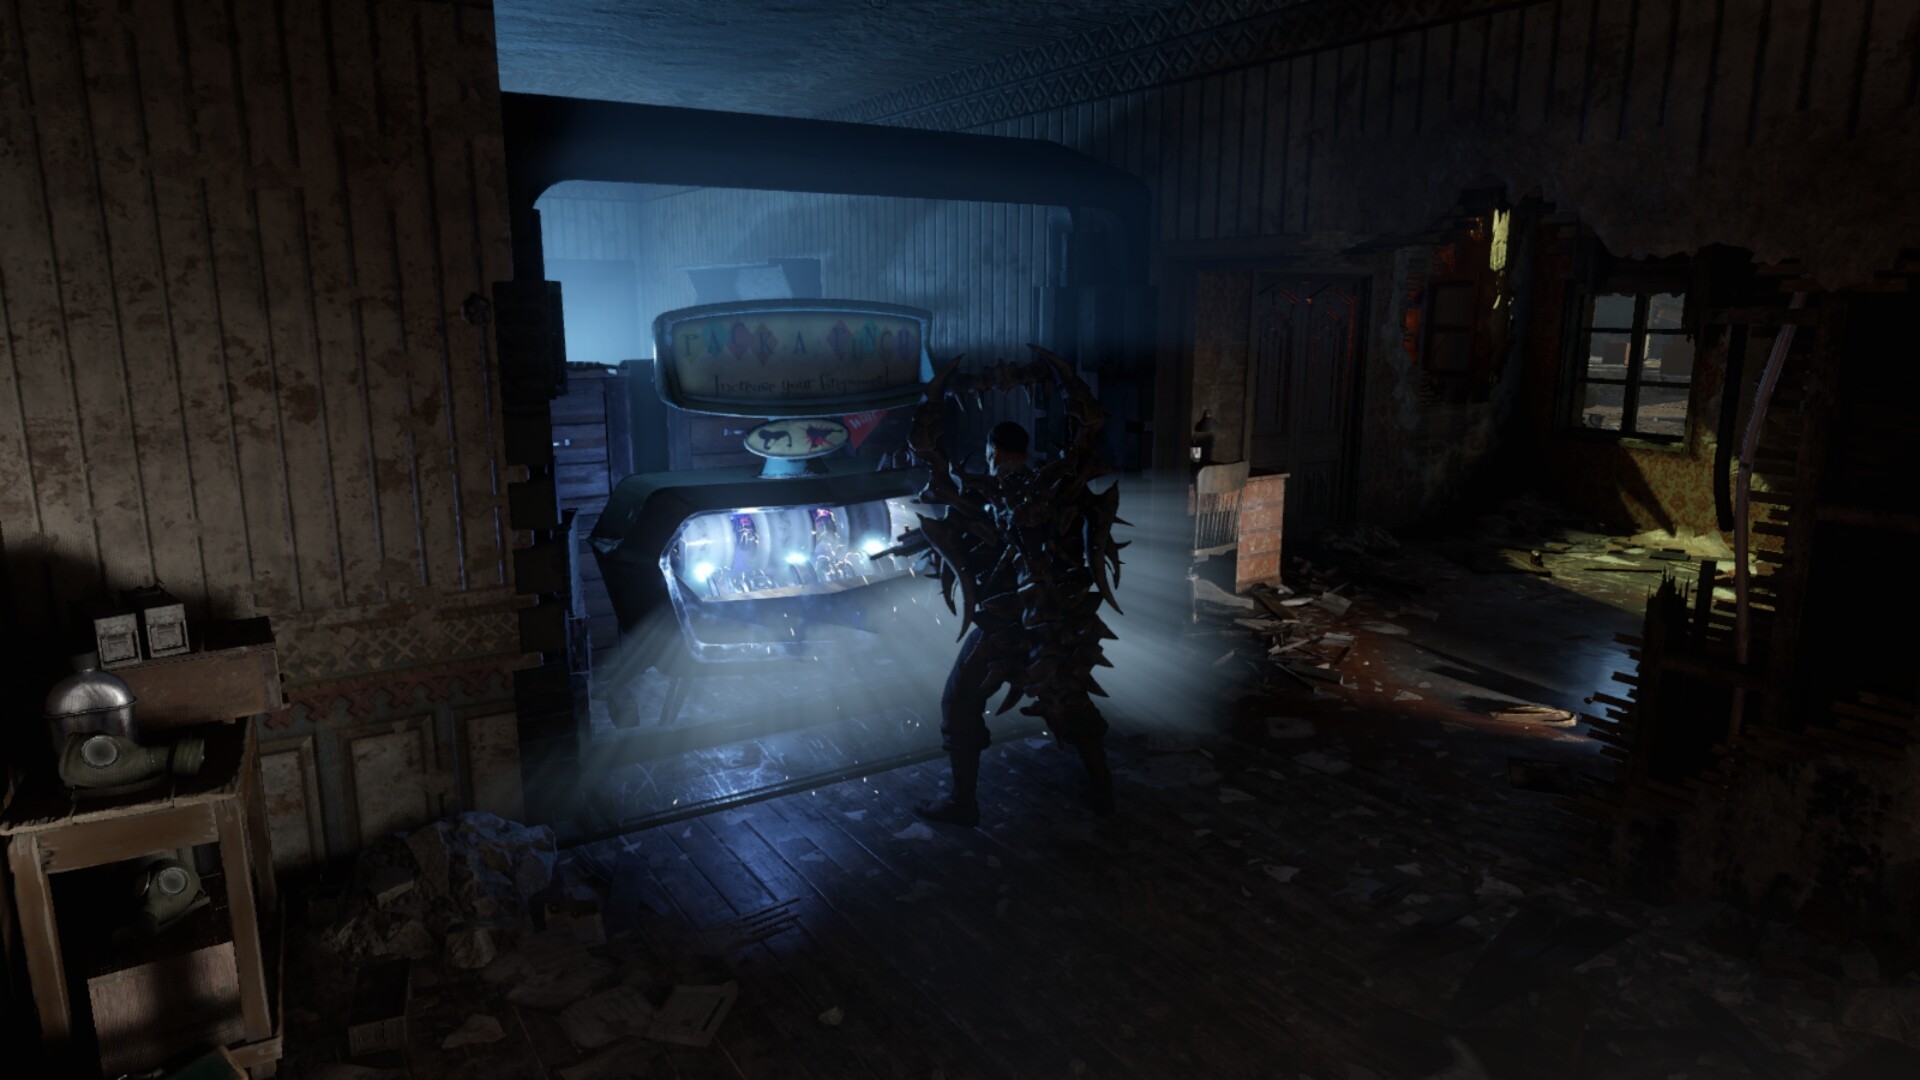
The Guard of Fafnir is a buildable shield that requires three parts. The first part randomly spawns in the Infirmary area either; on a wall near the Stamin-Up machine, placed on a bed next to the stairs, or near a broken bookshelf on the floor. The second part can be located in the Armory area either; next to the Wunderfizz machine on the bottom level, on a wall beside the doorway going to the supply depot, or placed on a crate on the top level. The last and final part spawns in the Multilevel Store and Operations Bunker; either on a chair near the Juggernog machine beside the truck with the blue barrels on the department store’s bottom level or placed on a shelf in the Operations Bunker.
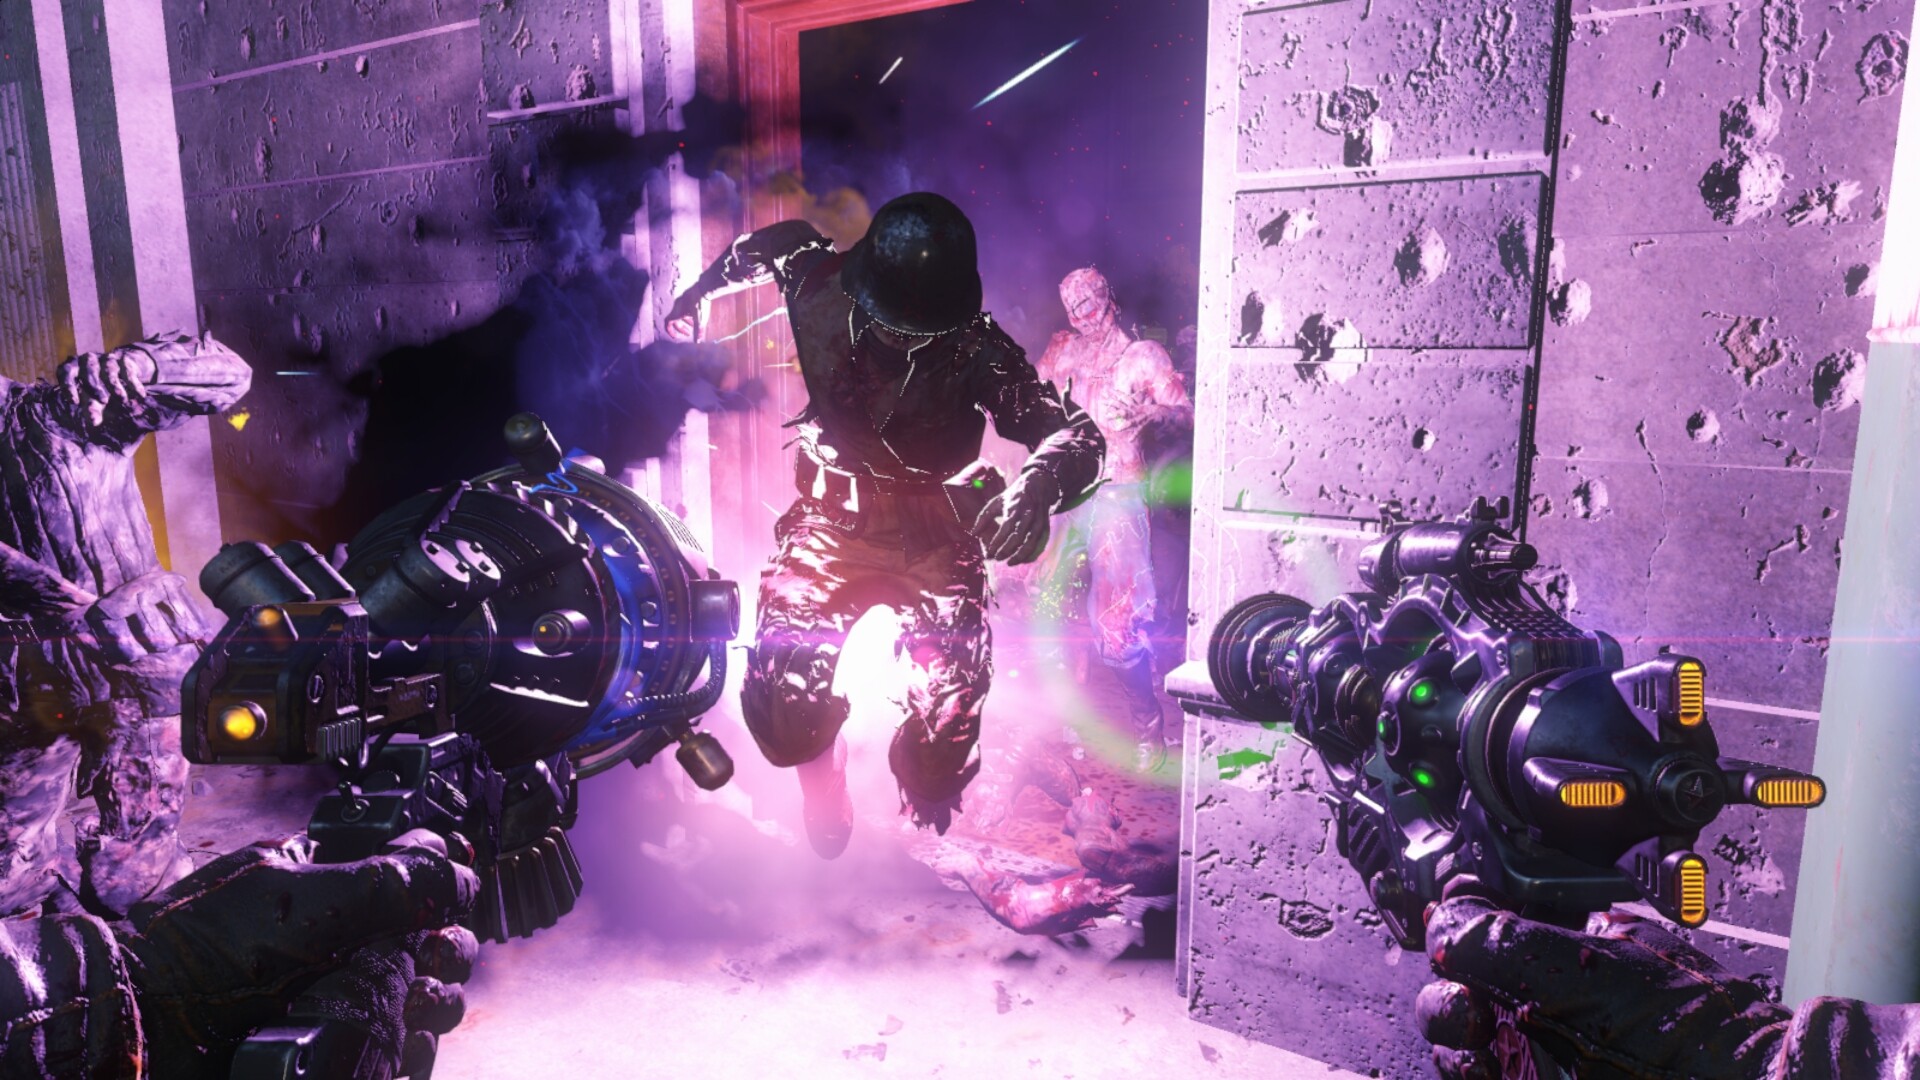
The GKZ-45 Mk3 is an upgradeable Wonder Weapon. Essentially a dual-wielded weapon, one weapon is the GKZ-45 and the other a Ray Gun Mark III. By Shooting the 3 round GKZ, you will slow down zombies with yellow dust and make your player go faster if you walk into the yellow mist. If you shoot the yellow smoke with the Ray Gun III, it will create a black hole effect and dissolve nearby zombies.

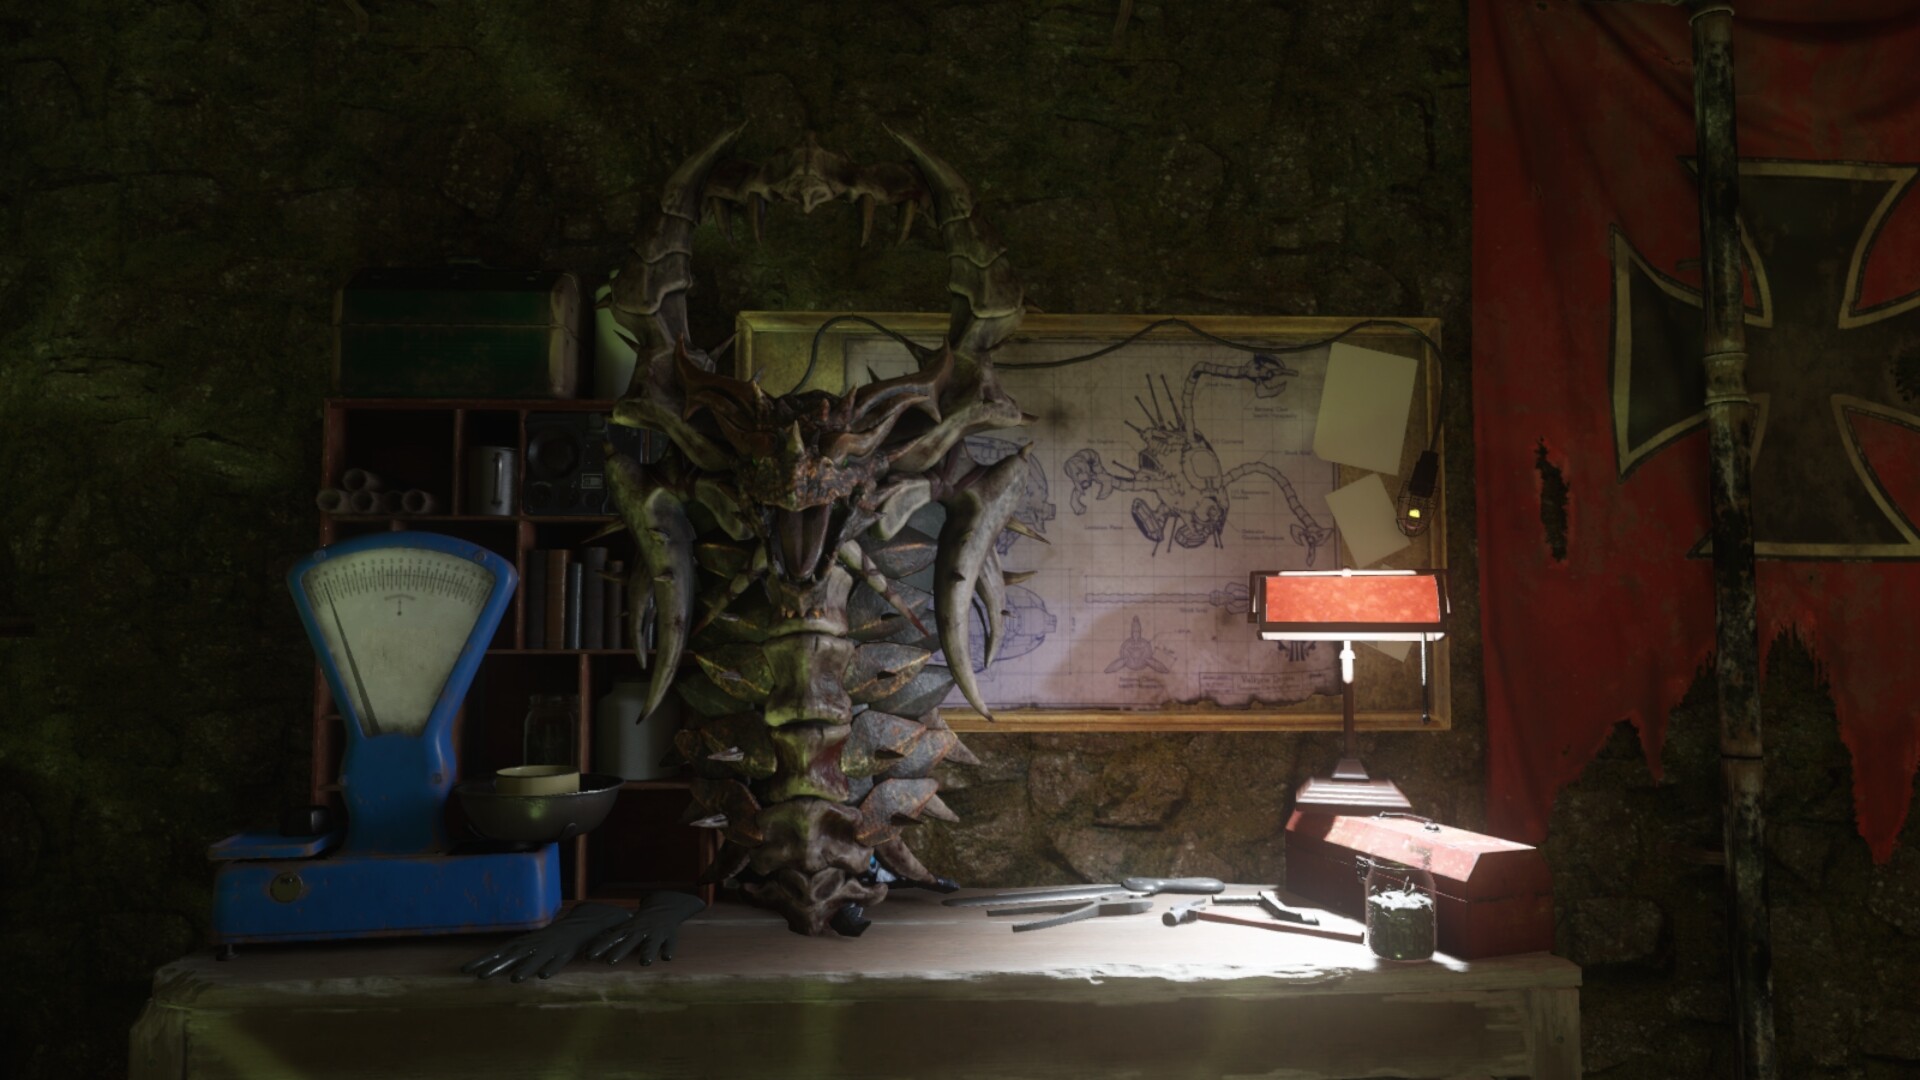
The Gauntlet of Siegfried weapon is an element 115 infused iron gauntlet with a dragon whelp. You will need to find, grow and train a dragon whelp. First, you must incubate a dragon egg found in the Hatchery up in the sewer grate in Stalingrad Square, and players will need to shoot it down to pick it up. You will then need to place it in a fire nest, where the dragons land and breathe fire. Wait for one round then pick it up to show it hunting by completing three trials; the Napalm Zombies, the Penetrative multi-kills, and melee kill trial in that order. Then bringing the egg to the Hatchery’s basement to an incubator. Protect it by killing the nearby zombies and wait for the egg to be cooled down. S.O.P.H.I.A will then tell you it’s ready to be picked up. Finally, you will need to complete the fourth trial near the trial’s graveyard. The Gauntlet of Siegfried will rise from the ground and be able to be picked up.
The Dragon Strike is an upgradable wonder weapon. To obtain the Dragon Strike, you must initialise the Hatchery lockdown event by interacting with a crystal on the 2nd floor of the Hatchery. If you are in a full lobby, all players will need to interact with the crystal. You then need to survive four rounds of zombies. After which you will be able to pick up the Dragon Strike back at the crystal.
It’s upgradable variant; the Draconite Controller can be obtained by killing approximately 40 zombies and then hearing an audio cue of a dragon roar. You will then need to shoot several Iron cross flags located around the map. The number of flags to be shot corresponds to the number of players in the lobby. You should carefully look for these flags as they may be hard to spot.
The first flag is in the supply depot area by going on the runway and aiming into the distance, the second flag can be in the dragon command area metal balcony and aiming at the flag in the distance beneath some rubble, the third flag is in the tank station area by walking onto the metal runway and aiming into the distance next to a hanging tank in the burning building, the last flag is found in the corner of the spawn area where the quick revive machine is and in the building in the distance. You must then repeat the lockdown event using the Dragon Strike and then pick up the Draconite Controller back at the crystal.

Two Gigant Eye Beam Traps around the map can be activated for 1500 points. A large laser beam from the sky will aim into the map, killing any zombies who walk through the laser. The traps are located in the Supply Depot and the Tank Factory.

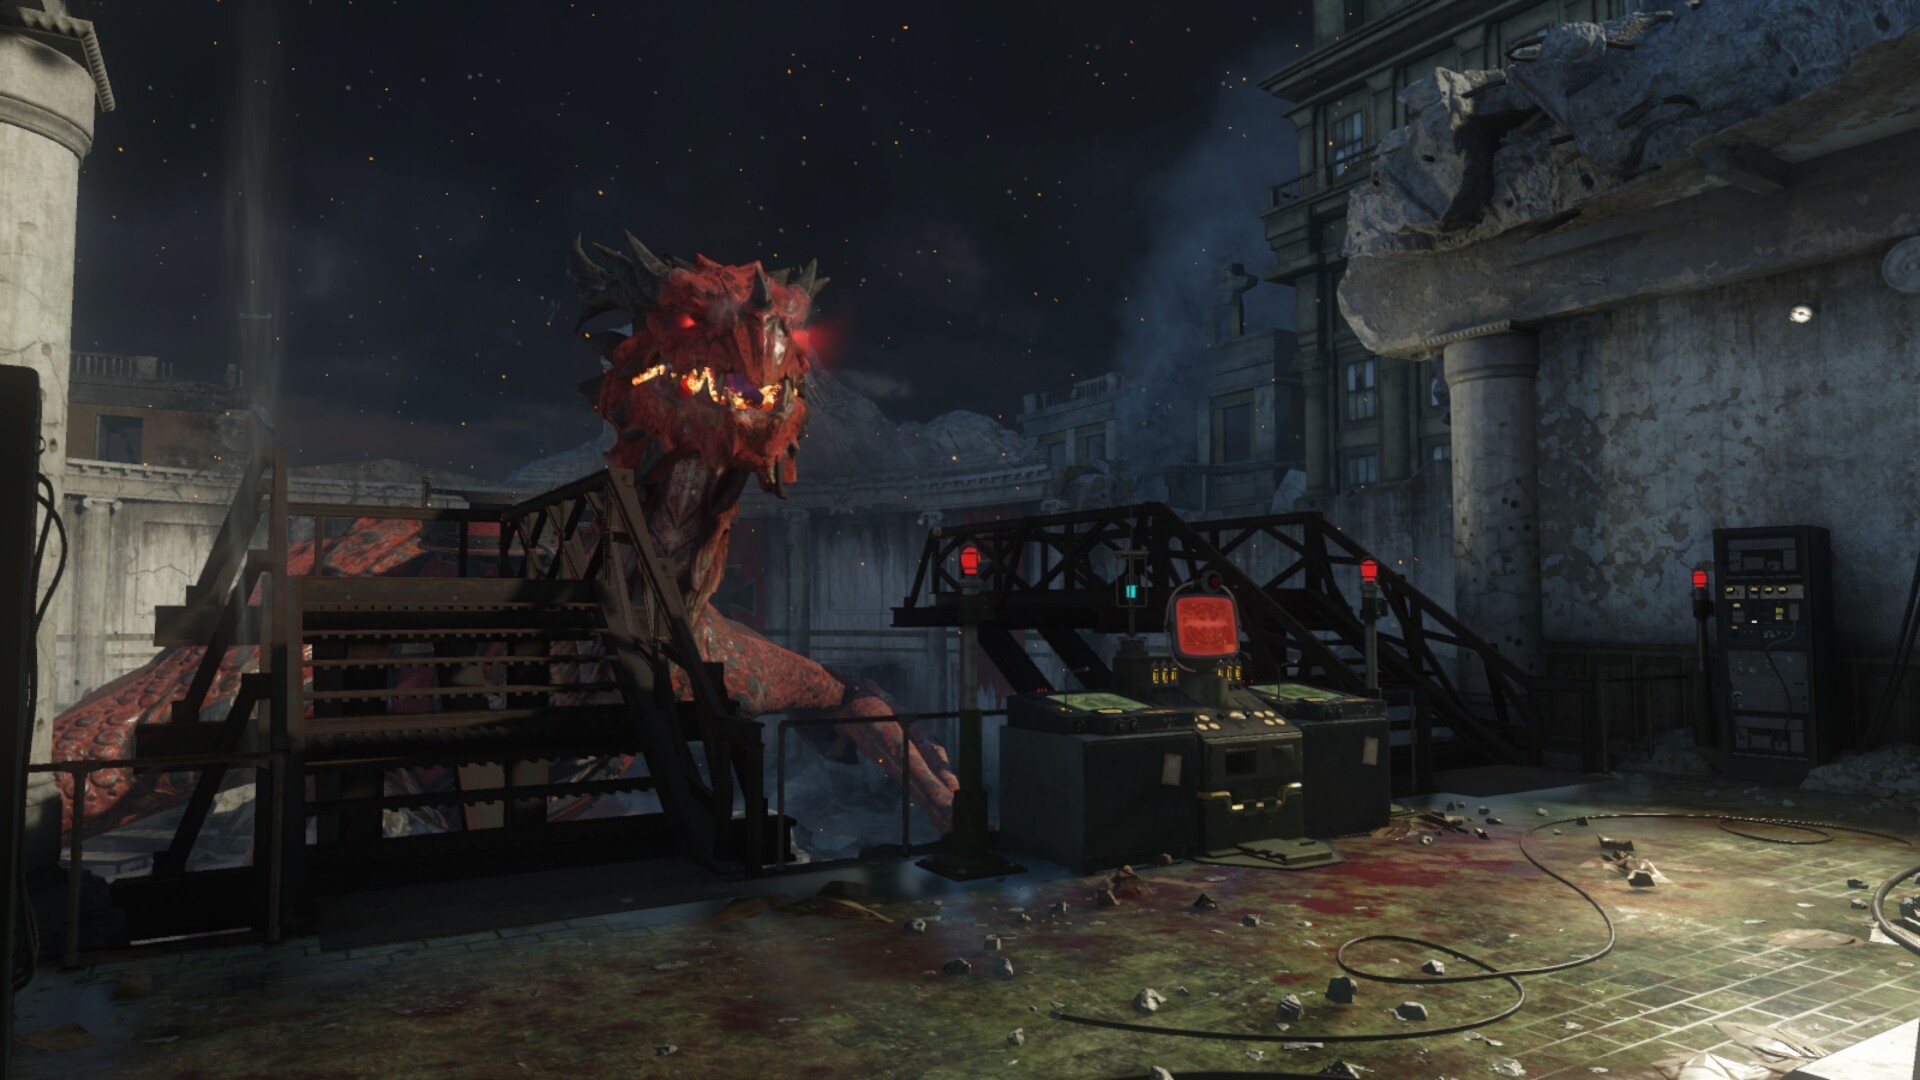
The Large Dragon periodically flies around the map and breathes fire on players and different areas. They can kill zombies and players if not equipped with the Guard of Fafnir. A particular large dragon can be summoned when completing the Pack-A-Punch machine steps.

A Russian Mangler Soldier can be distinctly distinguished by its red army uniform, large build, two knives on its arm and a gun on the other. They can attack players by using their sickles for close-range or using the long-range launcher on the other hand. They can become aggressive the more damage they sustain and will start sprinting after players.
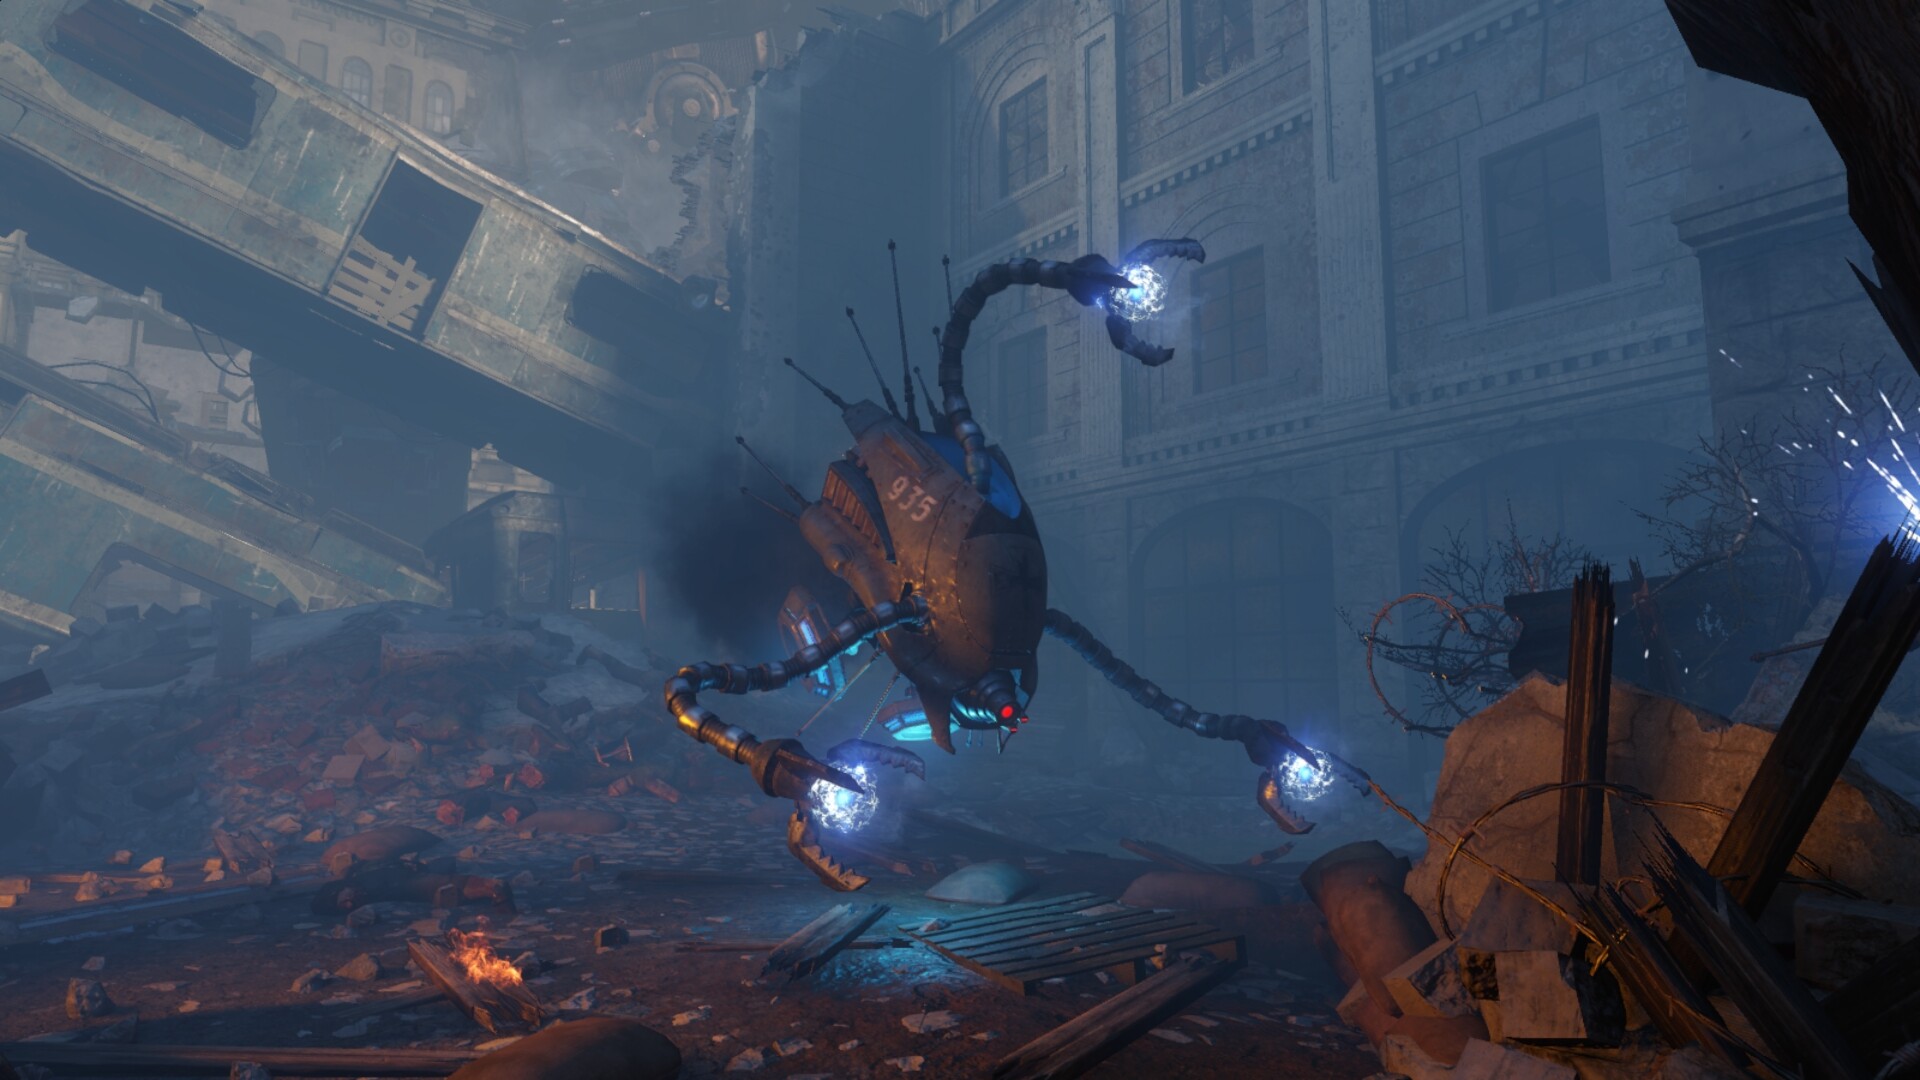
Valkyrie Drones spawn around the 9th to the 12th round and subsequently every 8 to 10 rounds after. Players will know when the Drones are spawning when the map turns a blue tone and the Valkyrie Drones’ arrival announcements play. Players can destroy the drones by shooting or meleeing their armor to reveal the core and shoot its camera and arms.
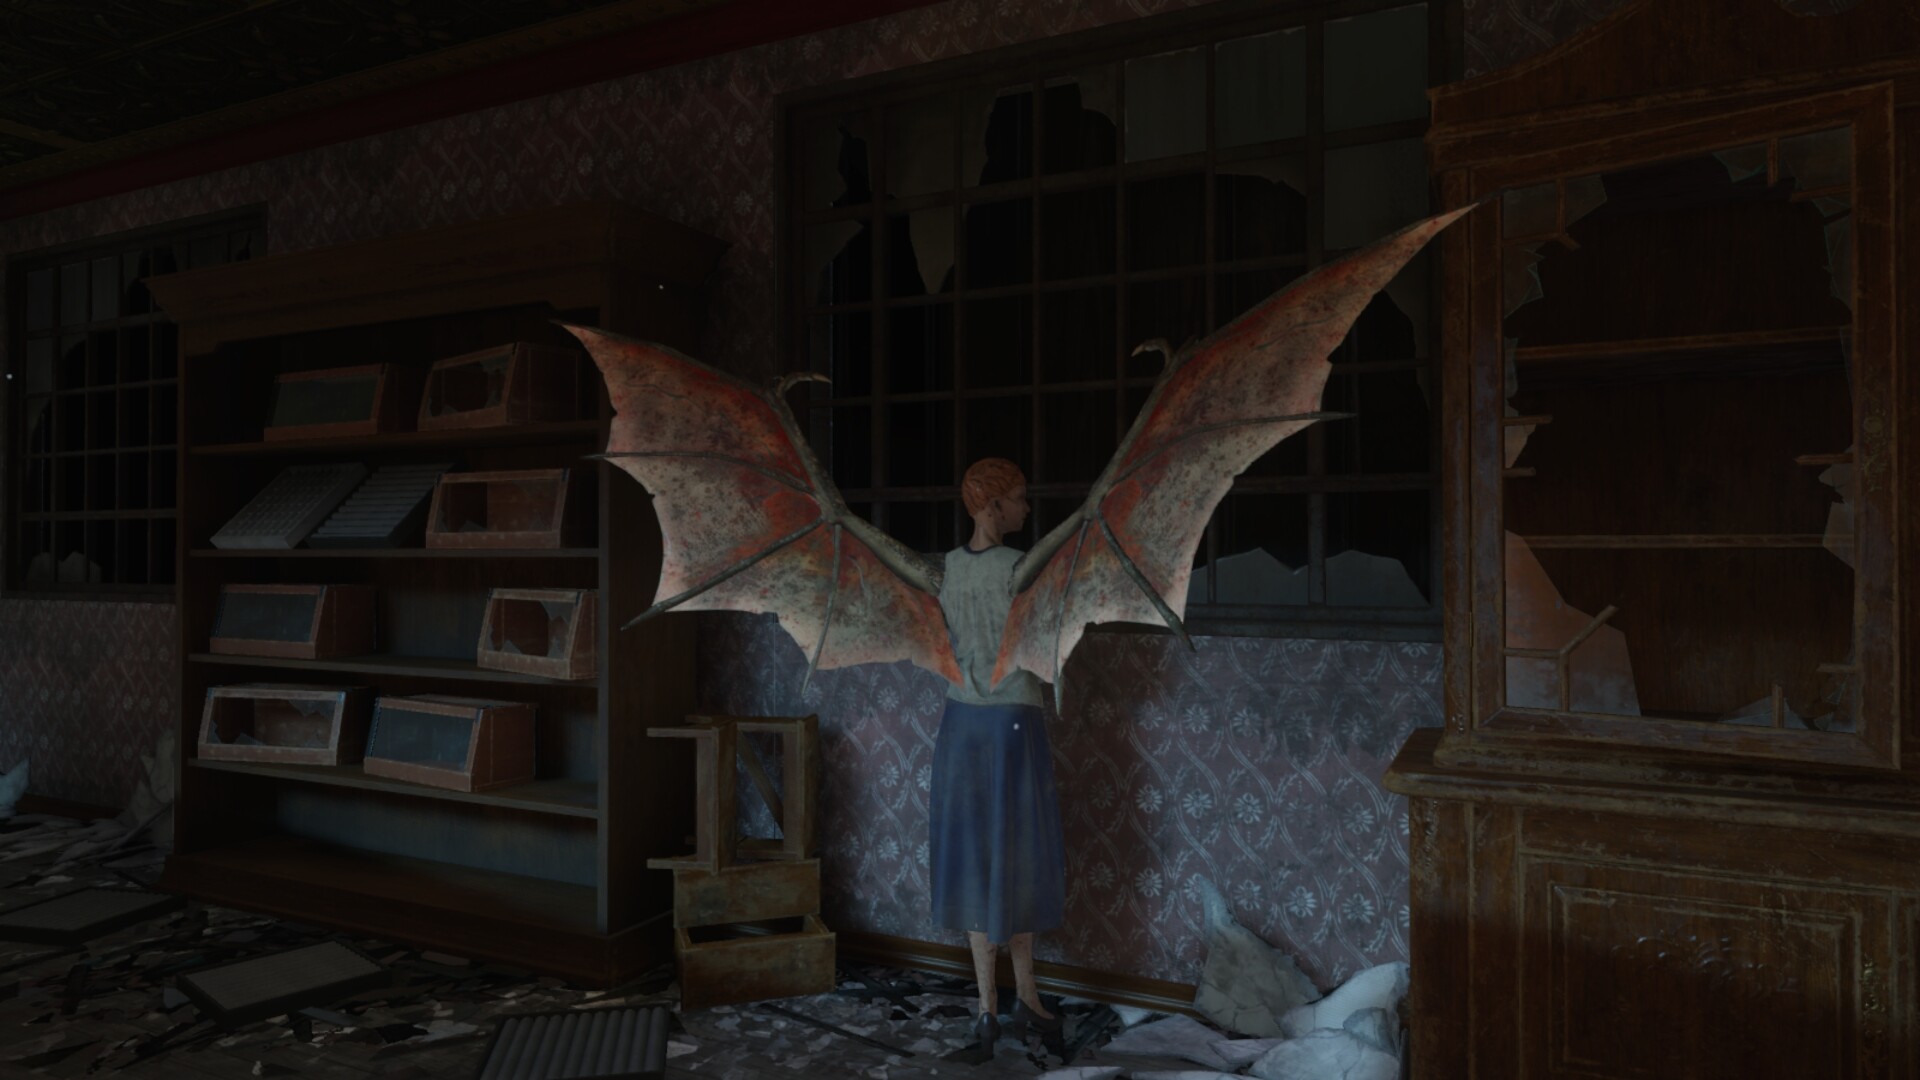
Equipping the Dragon Wings increases explosive and fire damage resistance by 30%. It allows you to teleport to the Hatchery and summon a dragon free of charge. The Dragon Wings become obtainable when you complete the Dragon Egg, get the Dragon Strike and ride a Dragon from every station as a part of the Main Easter Egg. If you are successful, you can pick up the Dragon Wings from a Mannequin in the 3rd level of the department store between two bookshelves.
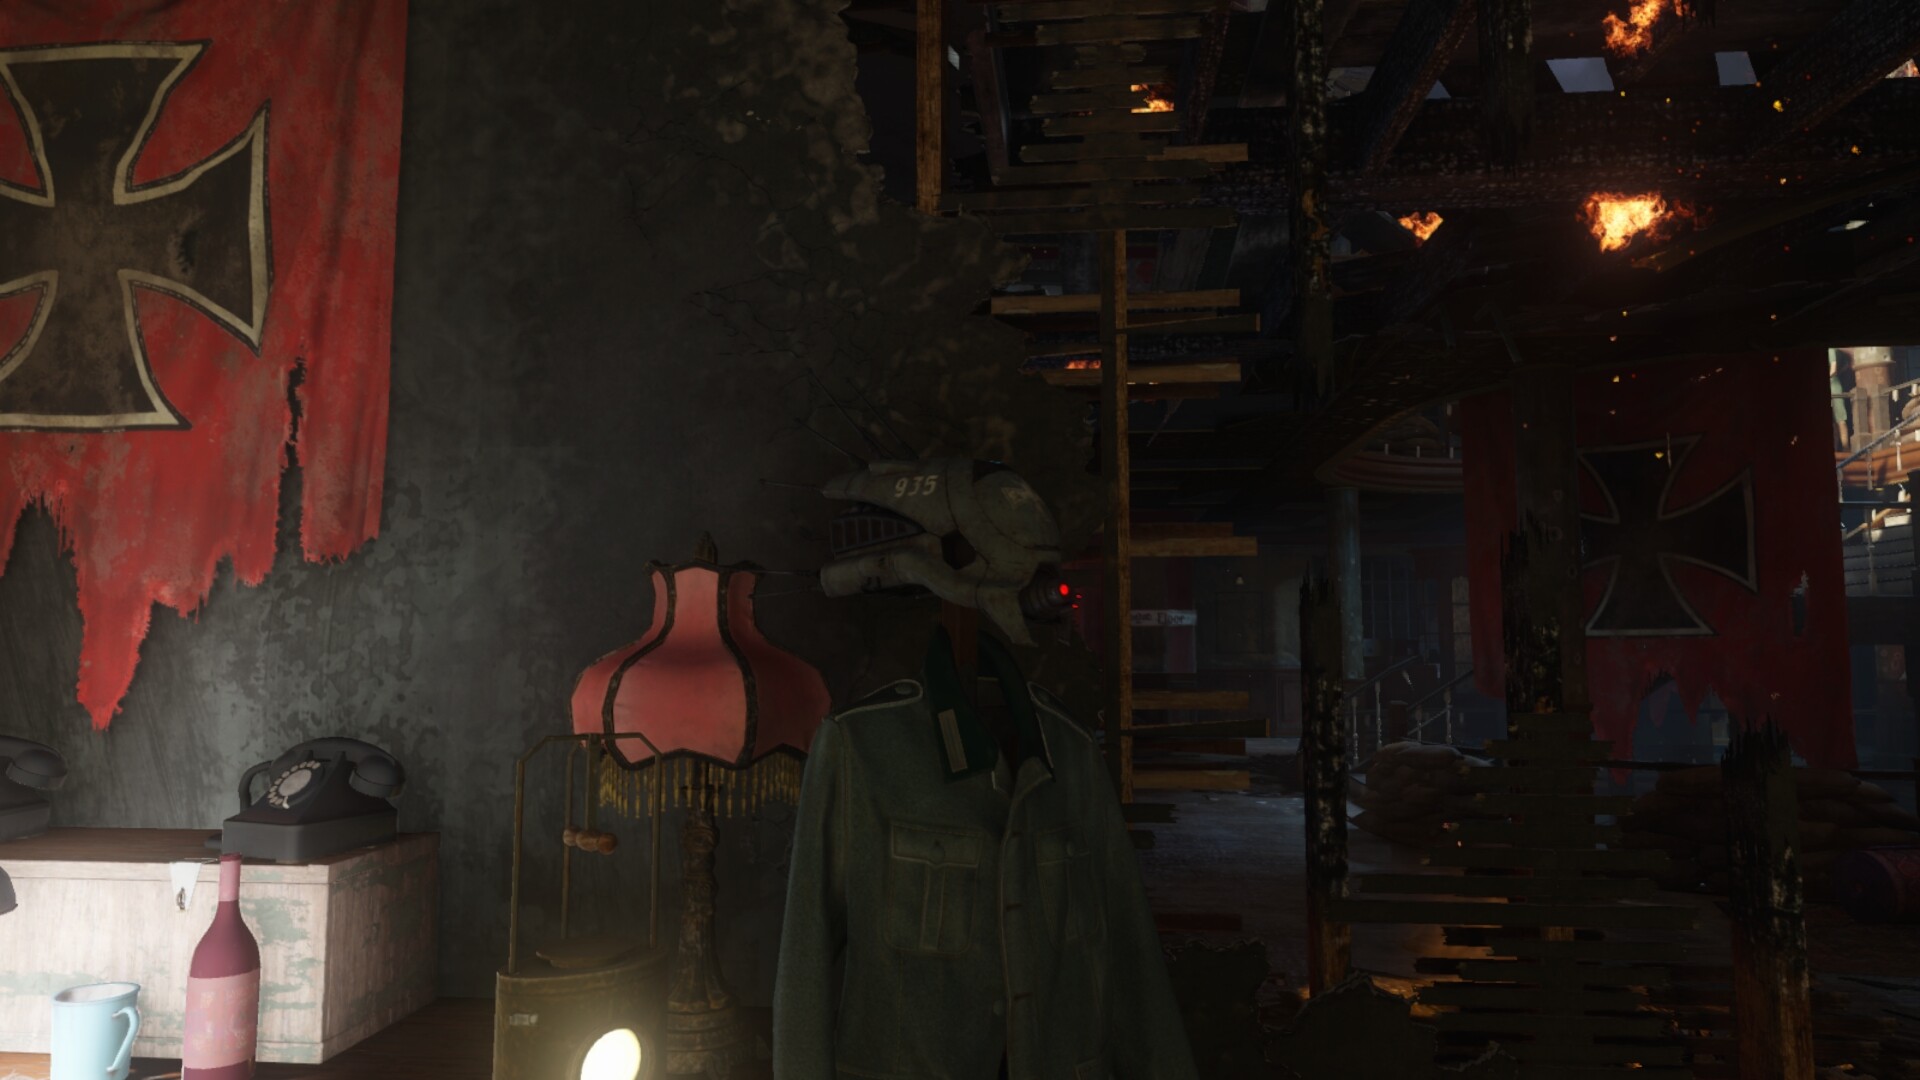
Picking up and equipping a Mangler Helmet increases damage by 30% to a Russian Mangler Soldier and decreasing their damage to your player by 50%. Players can obtain the helmet by shooting the helmets, and arm cannons of 5 Russian manglers. If successful, players will hear a chime and then be able to pick it up from a mannequin on the second floor of the Department store down a hallway that leads to nowhere.
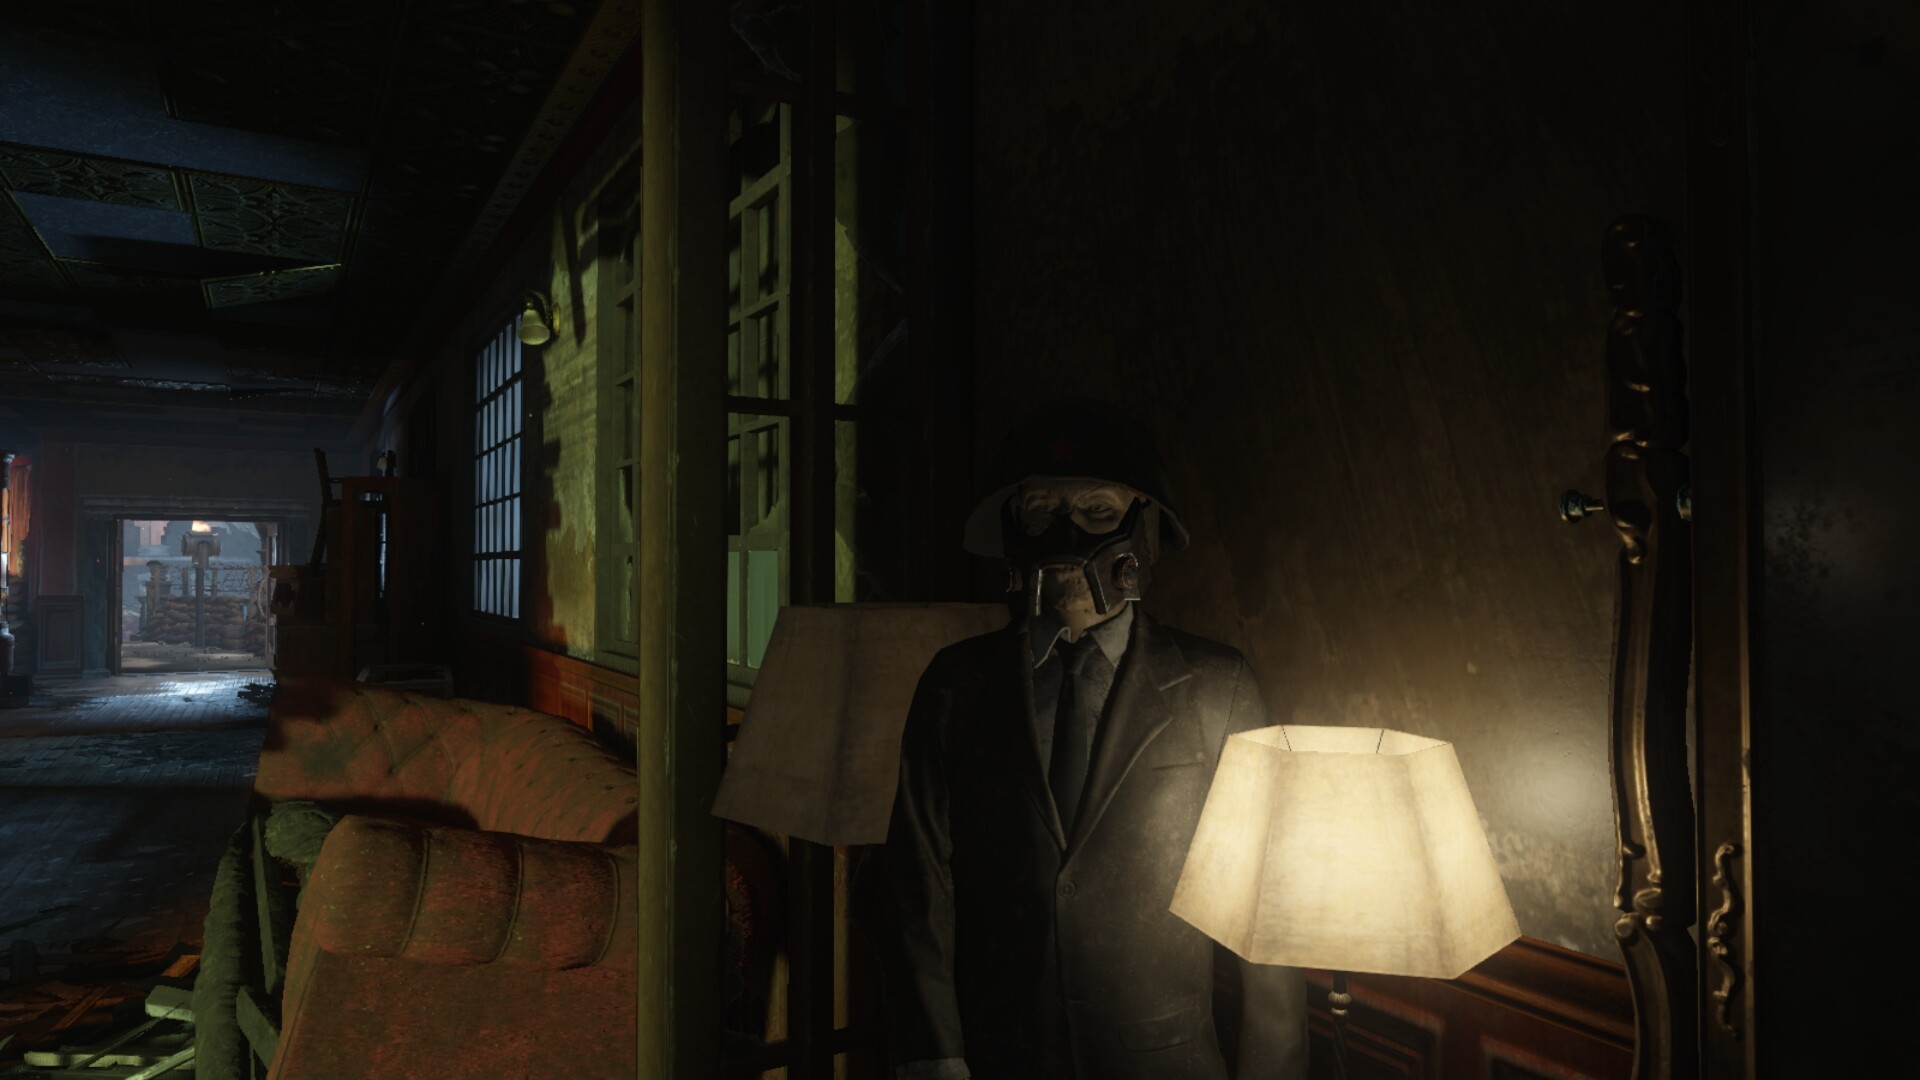
Equipping the Valkyrie Drone Hat increases 30% damage to Valkyrie Drones, decreases their damage to your player by 50%, and reduces your electrical damage by 50%. You will need to shoot the camera off and their arms off from around 6-10 Valkyrie Drones. If successful, you will hear an audio cue and need to go where the Juggernog Perk-a-Cola machine is, and pick it up from a Mannequin with a jacket.
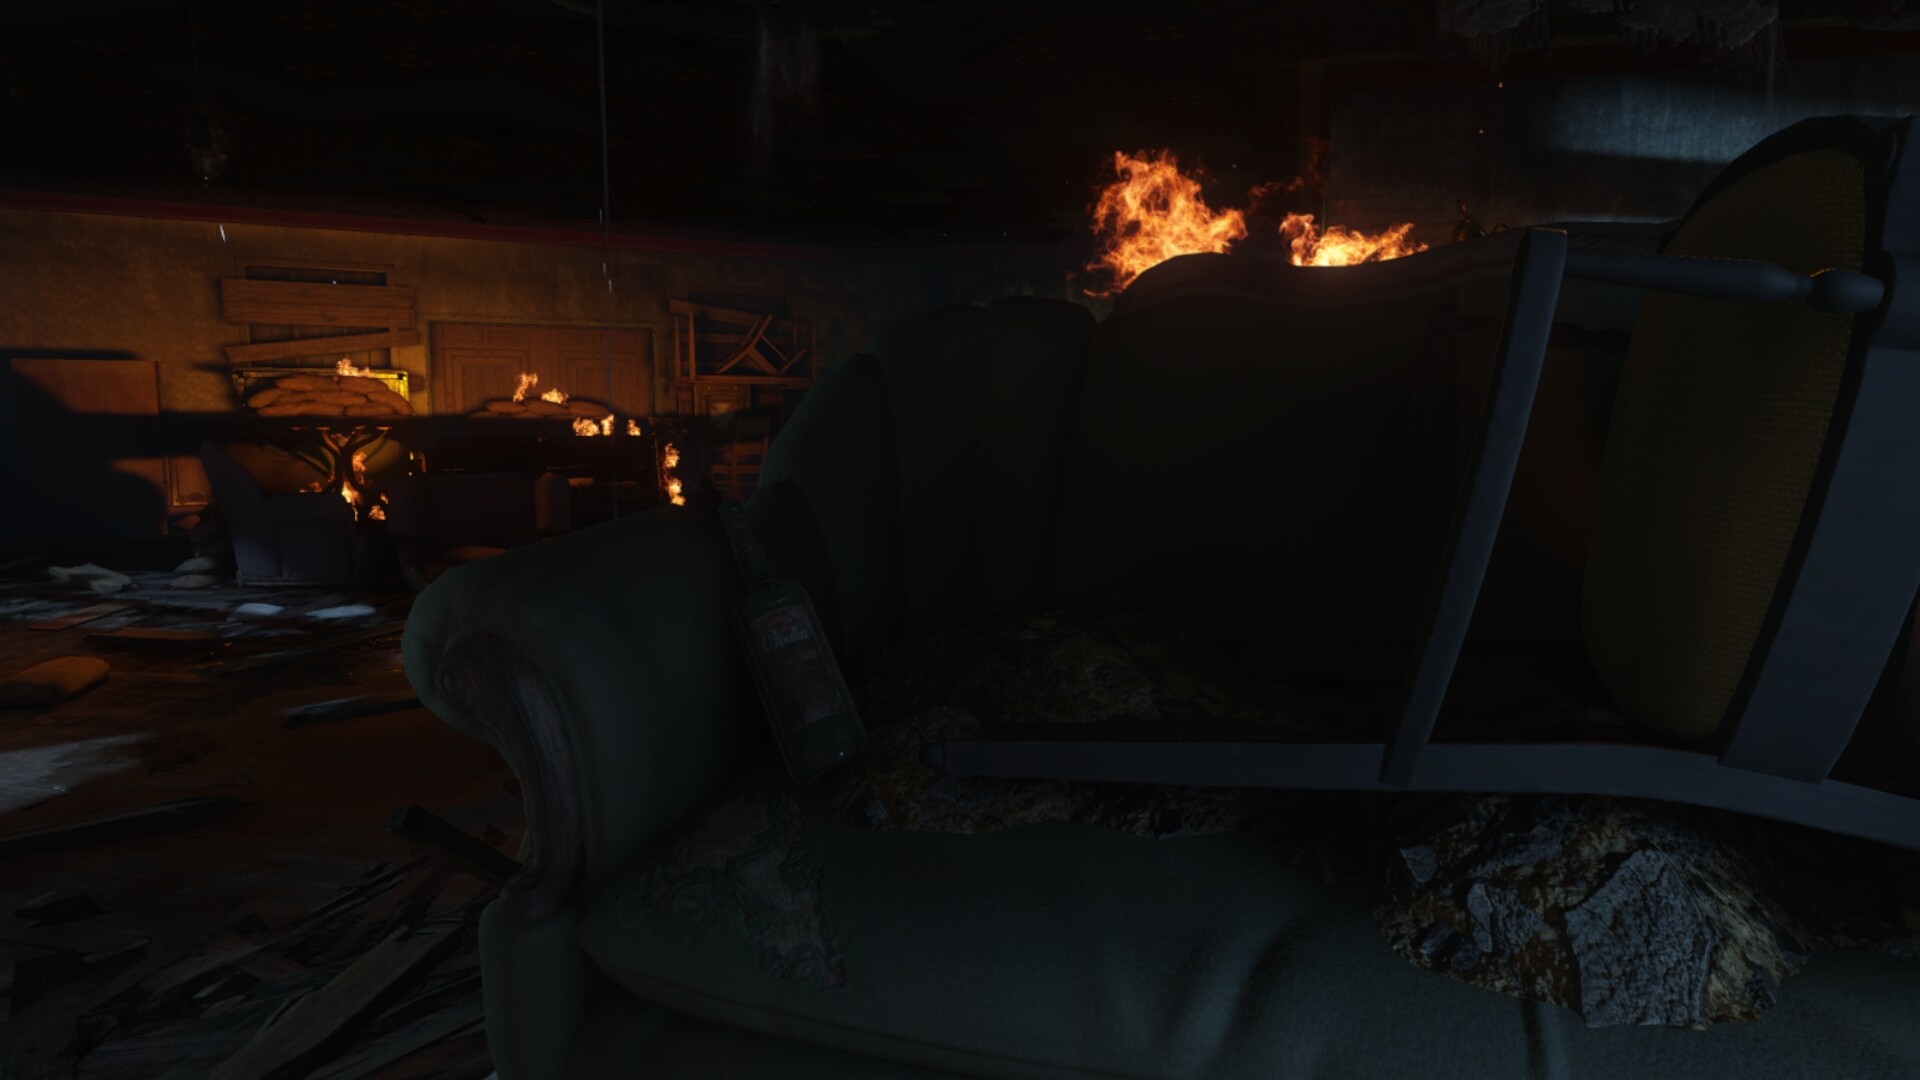
To unlock and play the Dead Ended Musical Easter Egg, players will need to locate and interact with three Vodka Bottles around the map. The first bottles can be found on a couch in front of the first door that you can buy from the spawn area. The second bottle can be found by going to the second floor, past Juggernog, down the stairs outside, and in between some crates near the truck in the rubble. The third bottle can be found in the supply depot area on the 2nd shelf facing a desk.
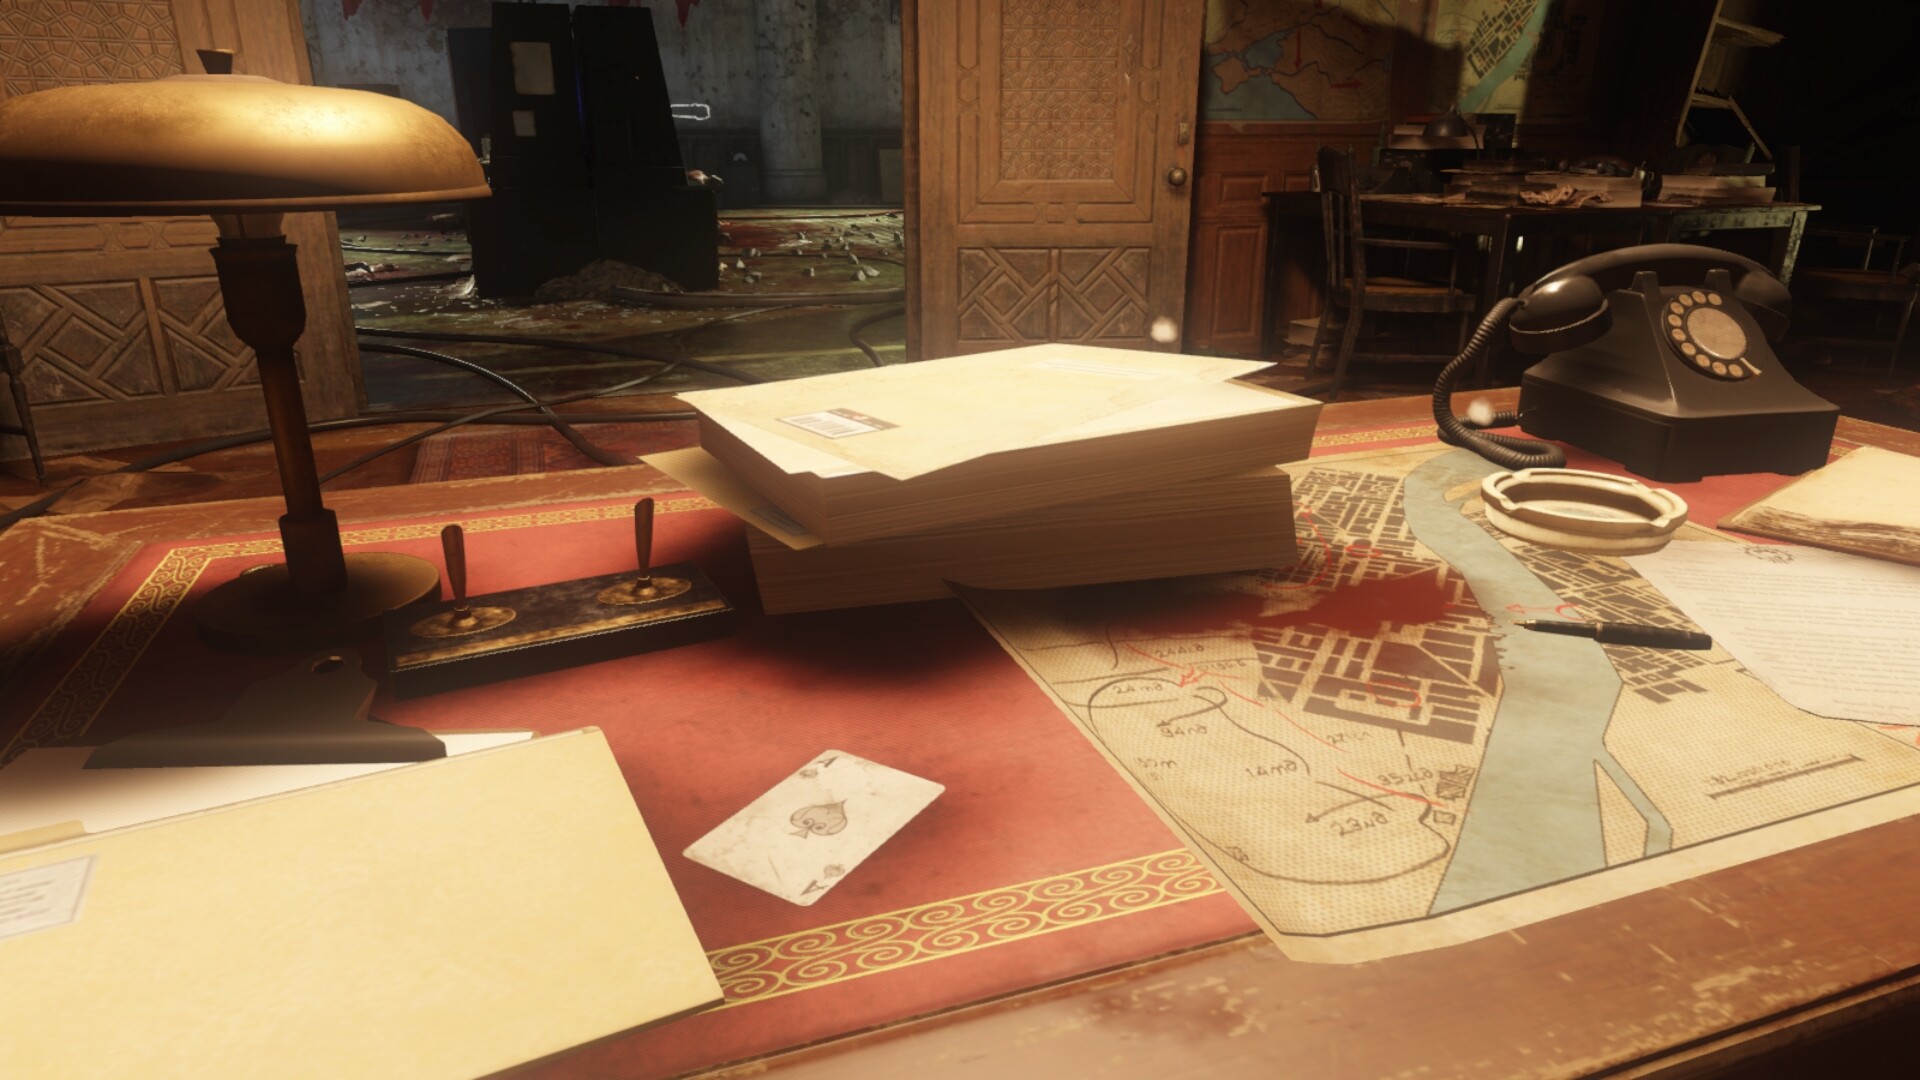
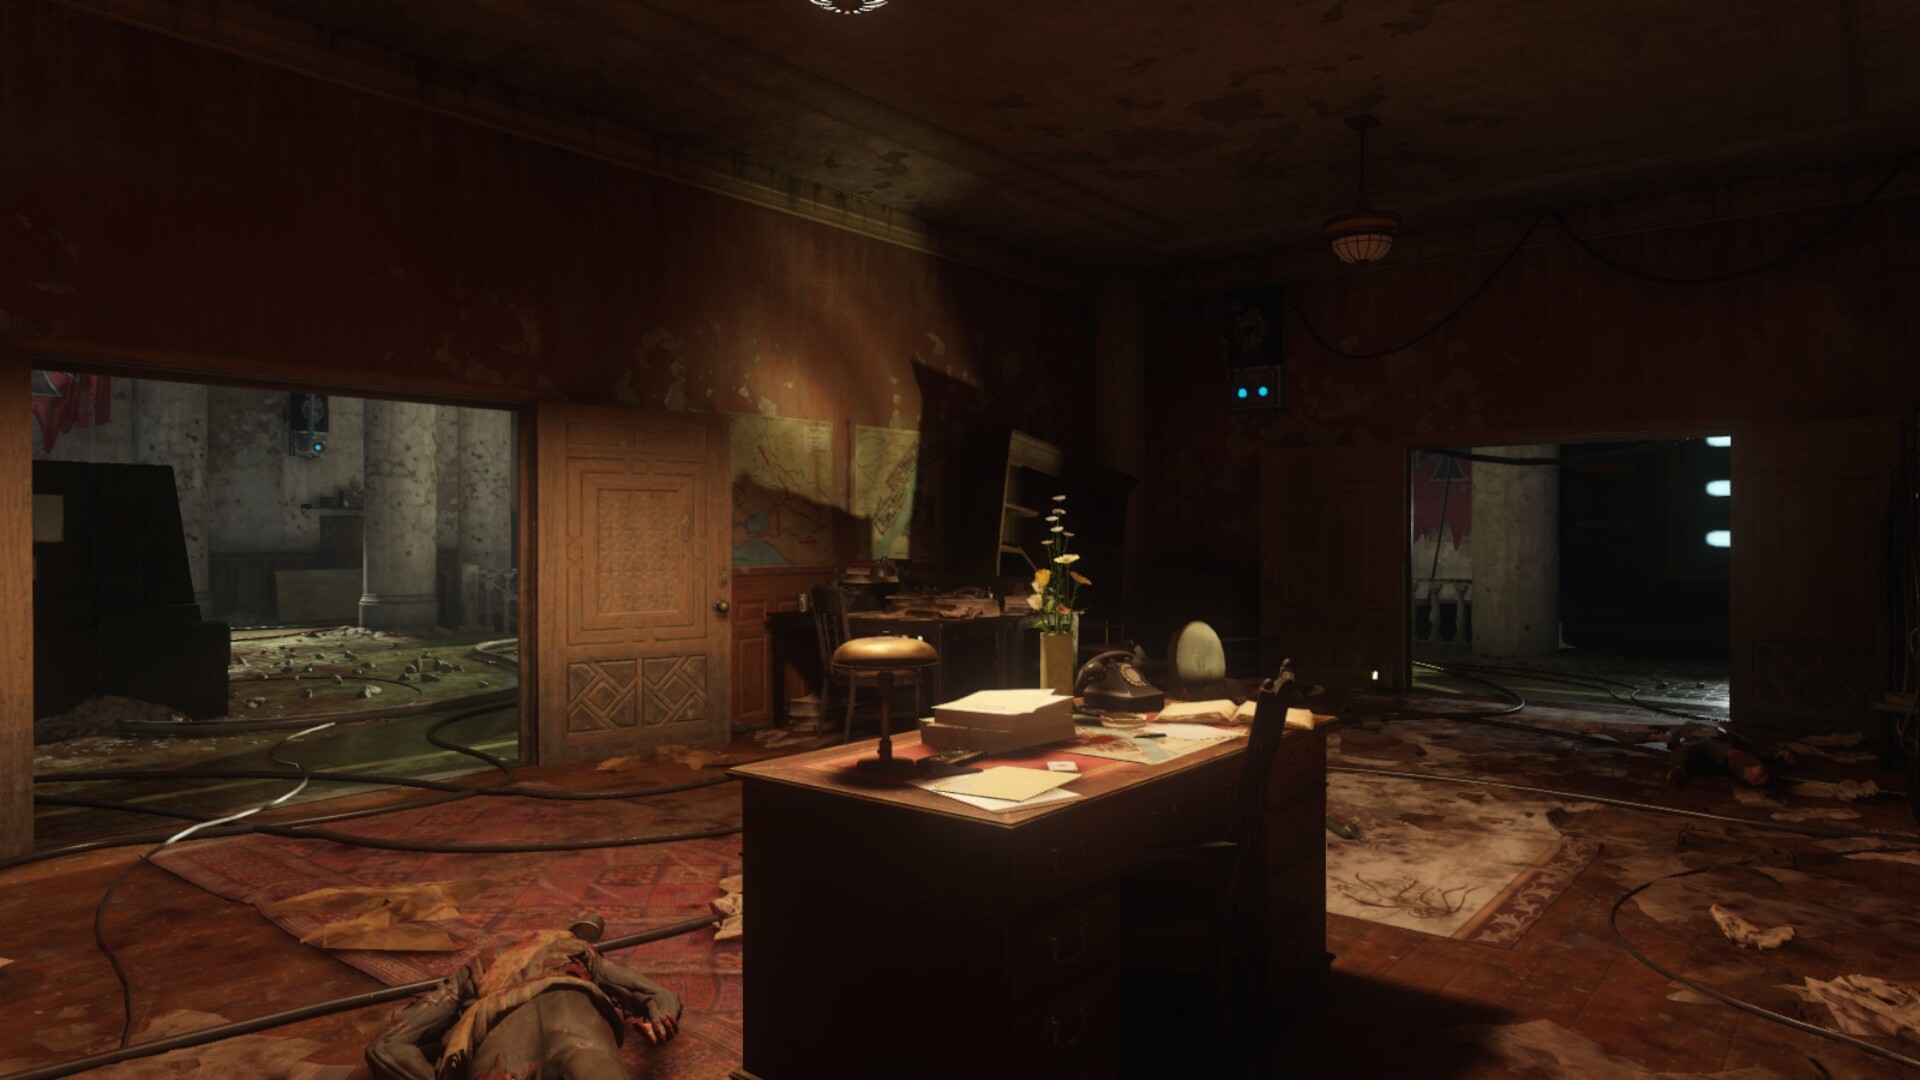
To play the Ace of Spades Musical Easter Egg, you need to locate three aces of spades cards around the map. The first card can be found in the war factory area on a chalkboard near the Double Tap machine. The second card can be found on a desk in the dragon command area by going up the stairs and to the left room. For the last card, you’ll need access to the pack-a-punch room; the card will be on a desk in the books on the right side of the Pack-A-Punch machine.

The final Musical Easter Egg Samantha’s Sorrow can be played by playing a game of hide and seek. Players will need to throw a monkey bomb into the fire from three dragons around the map to play the game. The monkey should start screaming in the fire. Once you hear an audio cue, go back to the spawn area in a small corner where a doll is in front of a grave and interact with it to make it disappear with a green mist. Players will then need to find 5 Samantha dolls that spawn randomly around the map within a time limit; if you fail, you can reset the time by going back to the grave and interacting with the doll.

To start the Love and War Easter Egg, you need to Obtain the Guard of Fafnir, Dragon Strike and the Gauntlet of Siegfried, Turn the Power on and turn on the Dragon Network Controller
Step 1. Power the generator in the Hatchery basement under a green tarp by killing a Valkyrie drone near the generator then interact with the generator to turn it on.
Step 2. Rotate six valves by interacting with them around the map. One valve should be green and the rest blue to let air flow through. You will need to complete this within 5 minutes to get the Master Code Cylinder out. If you fail, turn the generator on again.
Step 3. Bring the Master Code Cylinder to .S.O.P.H.I.A, Input the password “KRONOS’ into S.O.P.H.I.A by shooting the spin wheel with letters on it to spell out the password. You will have to retry the next round if you input the wrong password.
Step 4. Defuse bombs in the order that they are displayed on the monitor within two minutes or three in solo mode. The bombs are located in each area of the map on a wall. If successful you will hear an audio cue from S.O.P.H.I.A
Step 5. Shoot Gersh and Capture Gersh with a Pack a Punch gun. Gersh appears as a yellow orb around the map with a hum notifying players he is near. After shooting enough times, you should hear him say something. You will need to repeat this two more times in which he will input into the terminal near S.O.P.H.I.A
Step 6. Press the button under the S.O.P.H.I.A terminal and escort a Russian Mangler to the pad near S.O.P.H.I.A. The Russian Mangler can spawn randomly in the Tank Factory, the Infirmary, the Armory, and the department store’s third level.
Step 7. Press the button under the terminal and escort a damaged Valkyrie drone that will spawn in Belinski Square, and bring it to the terminal in front of S.O.P.H.I.A and defending it from zombies
Step 8. Defend a Groph Module that will spawn. Locate it by looking for a green beam in the sky.Then get a whelp from the Gauntlet of Siegfried that will take the core to S.O.P.H.I.A
Step 9. Collect a key card from a drawer after pressing a button on the monitor. Then take it to the Hatchery on the middle floor and input the key card into a terminal and get every player to press the button on the terminal. Then survive the lockdown event and then bring back the card to S.O.P.H.I.I.A to Interact with S.O.P.H.I.A and collect the power core.
Step 10. Go to Belinski Square and aim the whelp from the Gauntlet towards Nikolai’s mech, wait for it returns then go to S.O.P.H.I.A in which a secret hatch will reveal and all players will need to stand on the hatch and be transported to another area.
Step 11. Press a button in between some pillars for a large robot to shoot fire to free Nikolai’s mech
Step 12. Kill the final Dragon boss with the help of Nikolai’s mech and the Guard of Fafnir. By shooting into three different exposed areas of the dragon; the right-wing, belly, and neck. And survive the wave of zombies.
Step 13. Once the dragon is dead, you will need to kill the now hostile Nikolai in four yellow spots, once Nikolai the Mech is dead, a cutscene will play and the Love and War Easter Egg will be complete.