
| Release Date | May 19, 2016 |
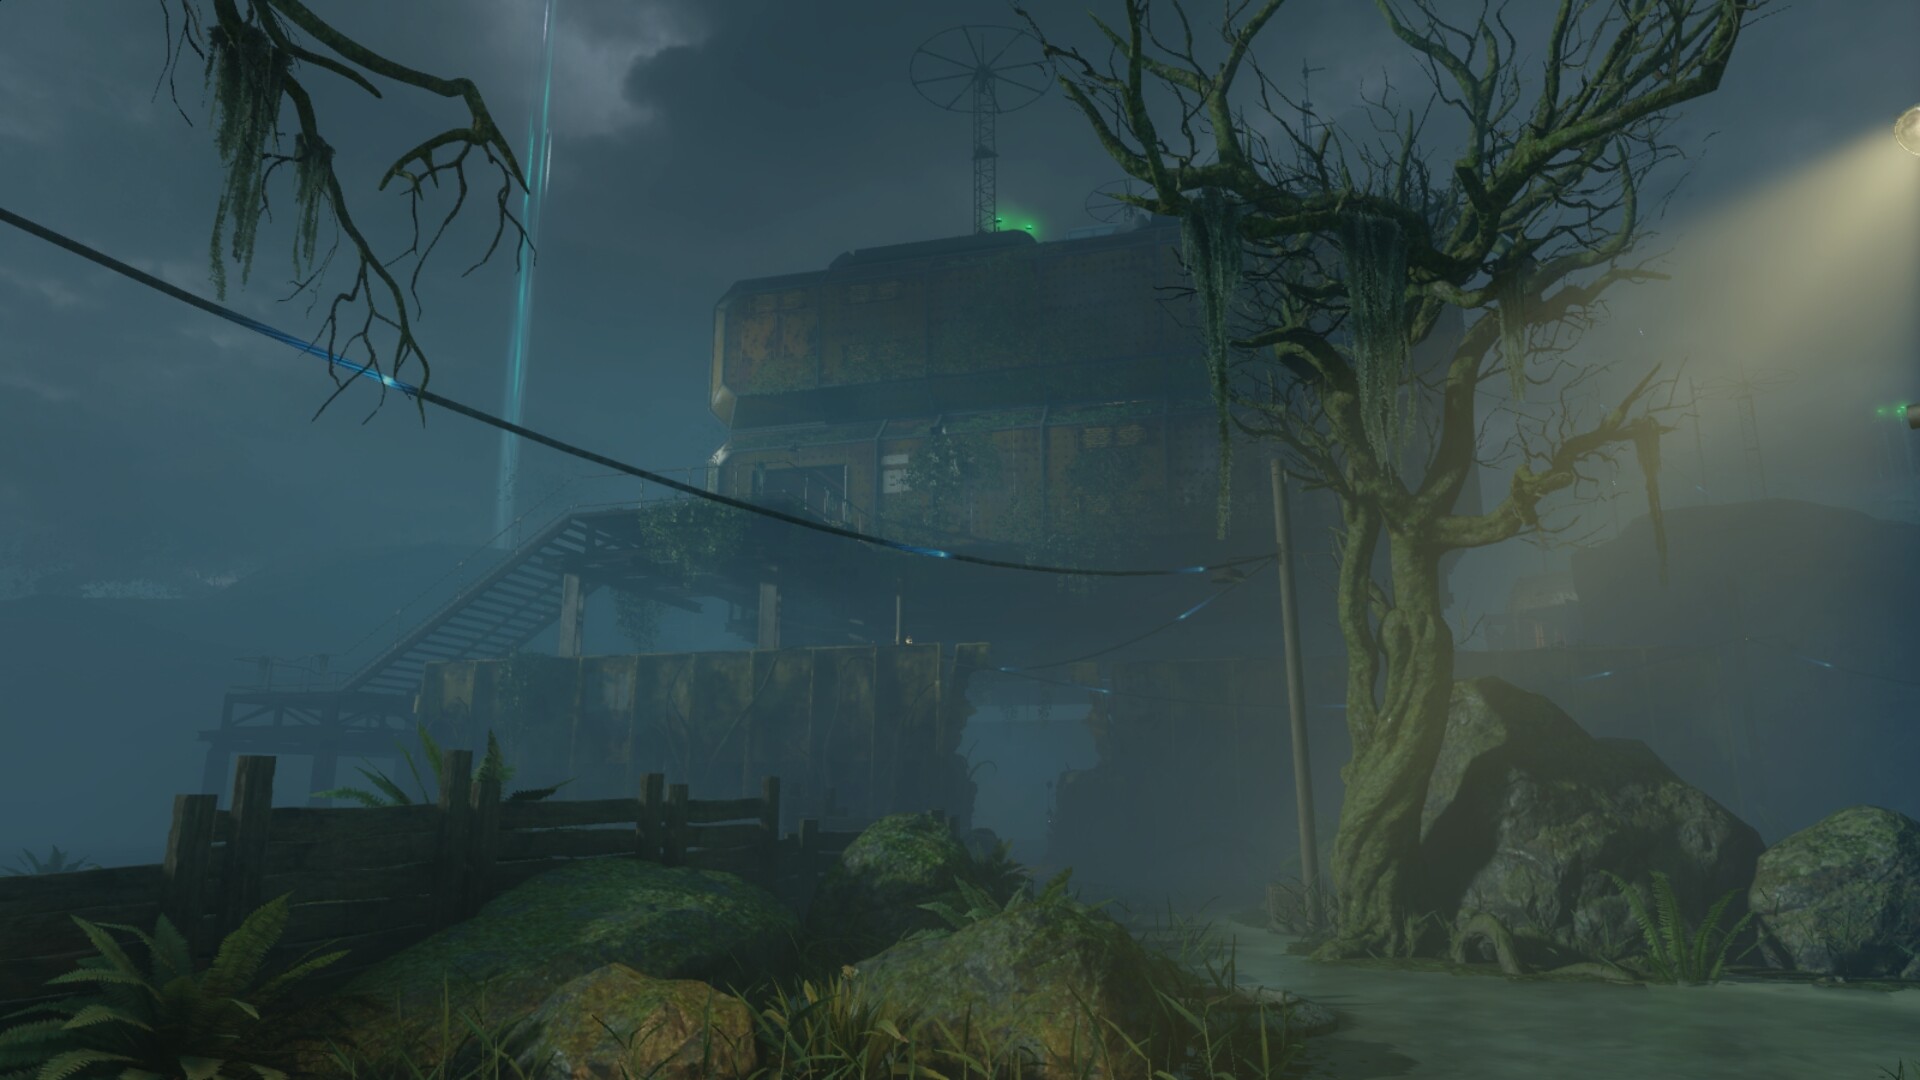
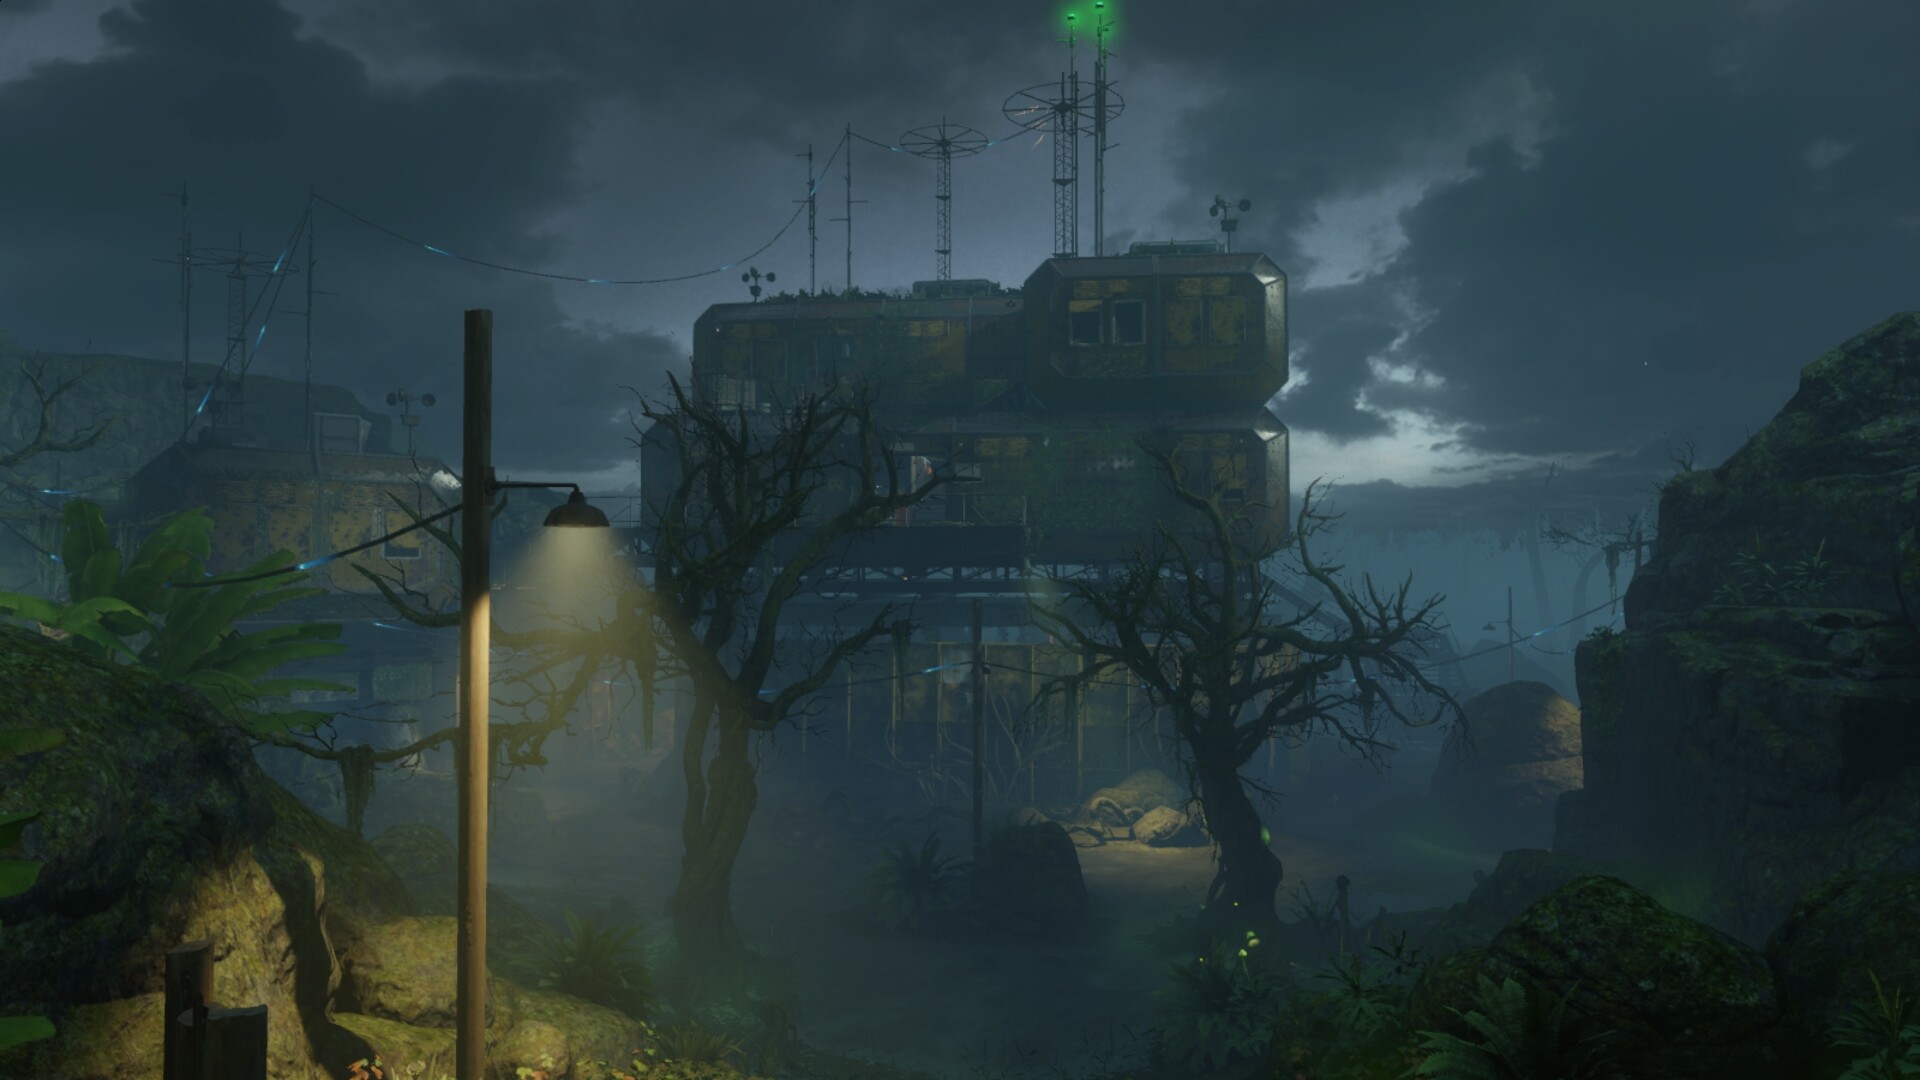
| Location | Pohnpei |
| Remakes | None |
| Release Date | Location | Remakes |
| May 19, 2016 | Pohnpei | None |

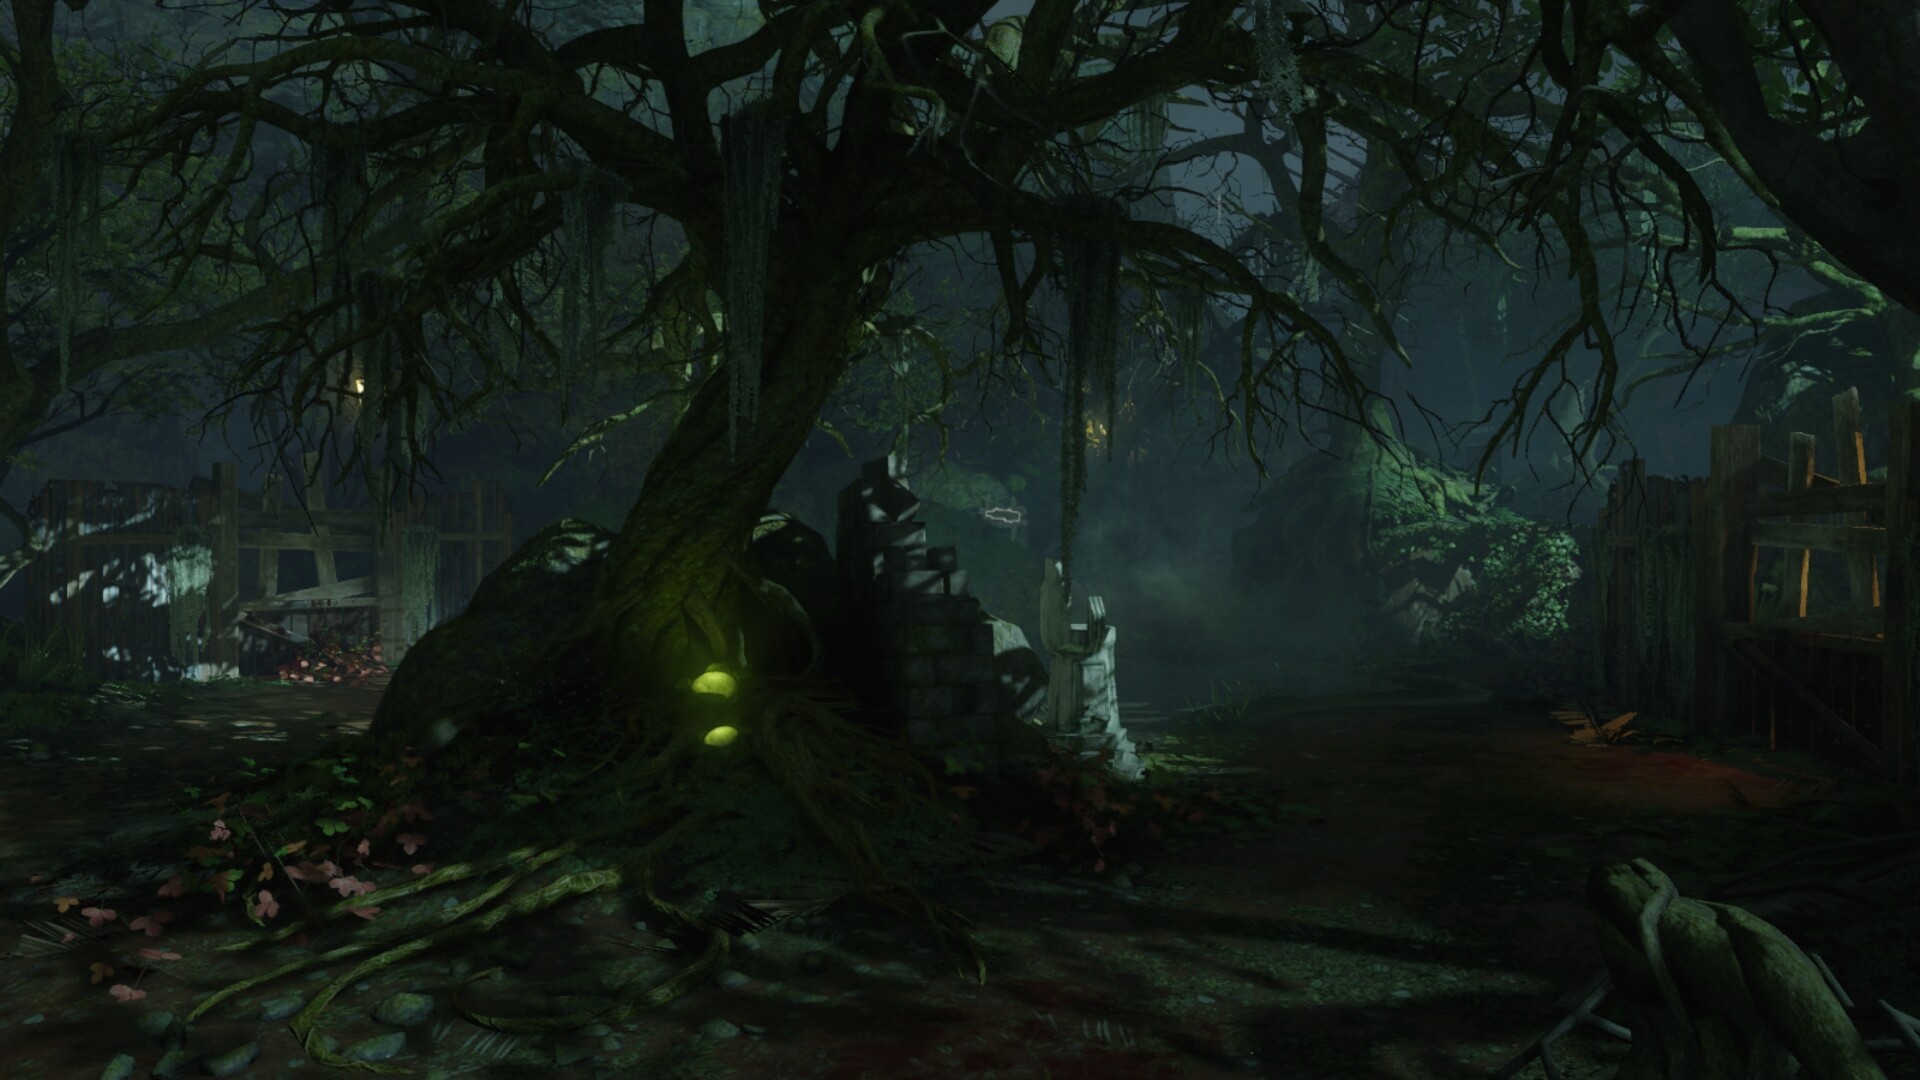
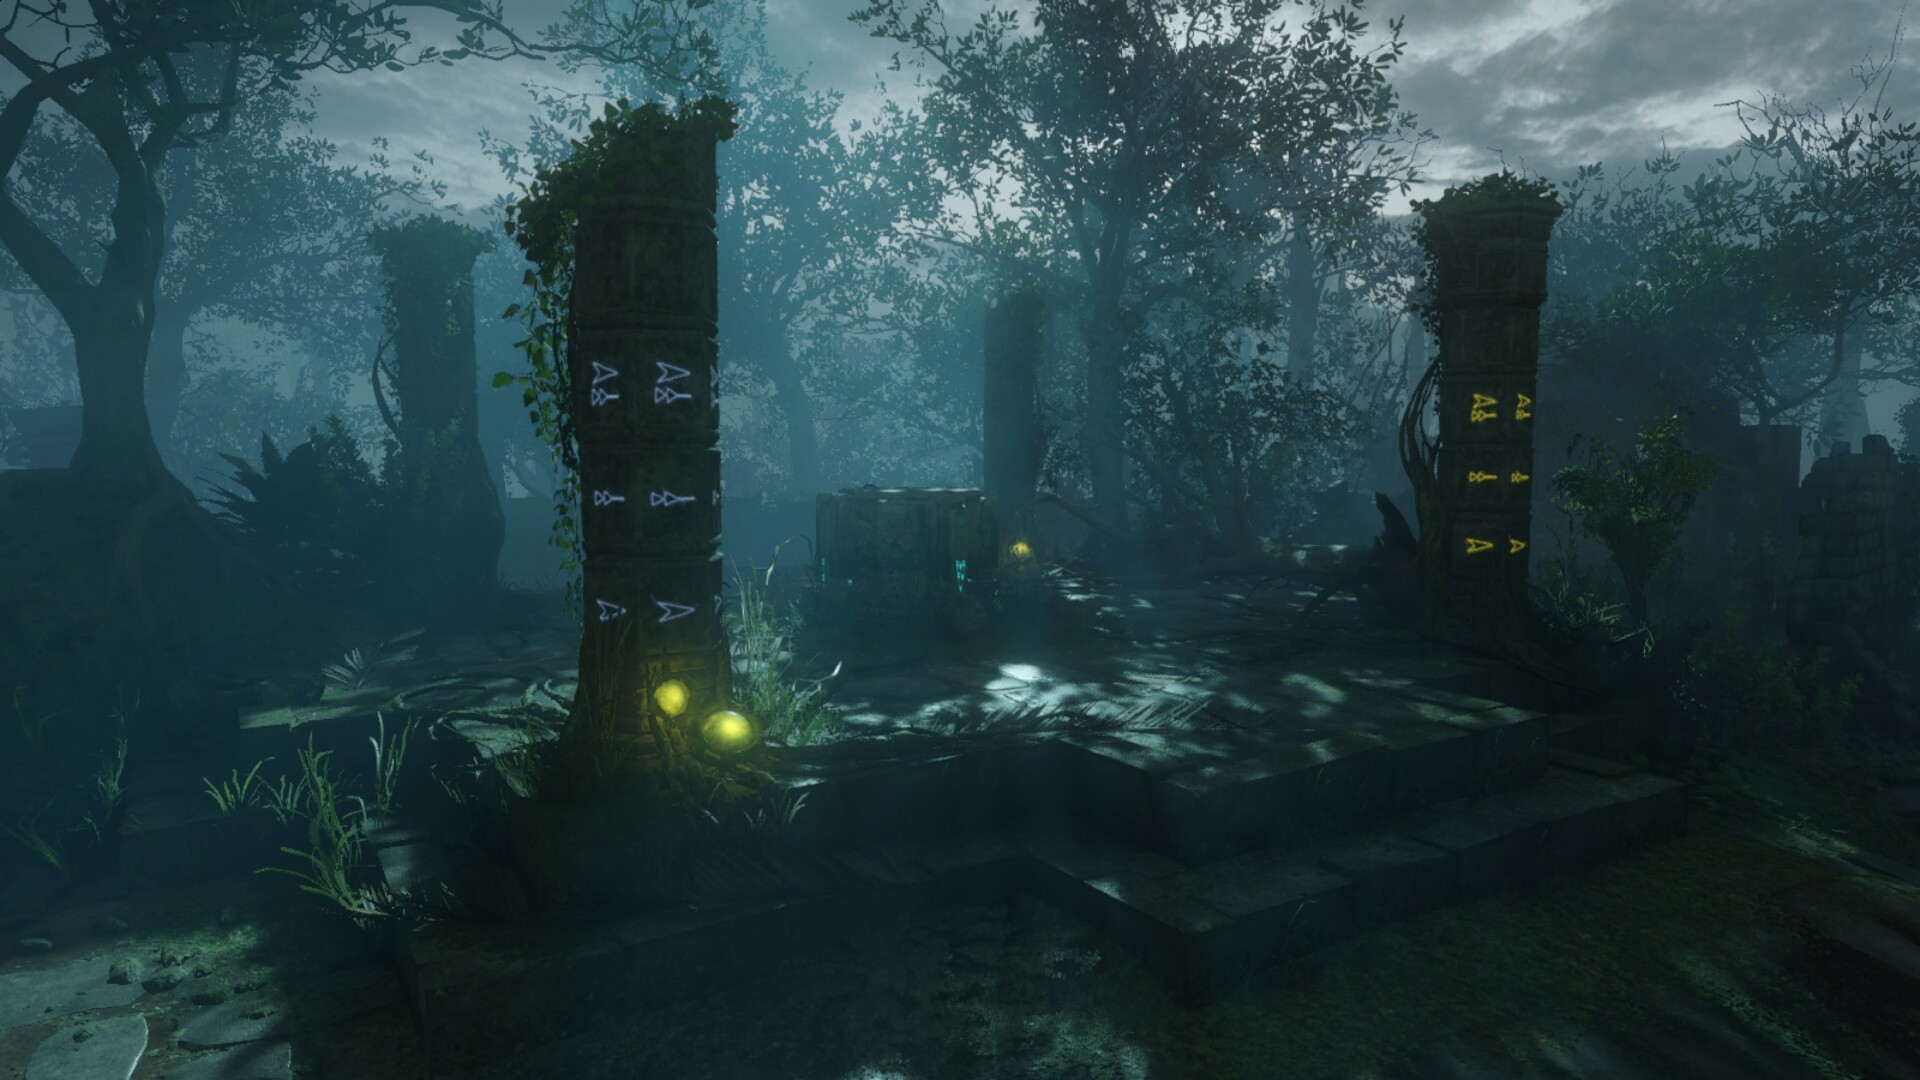
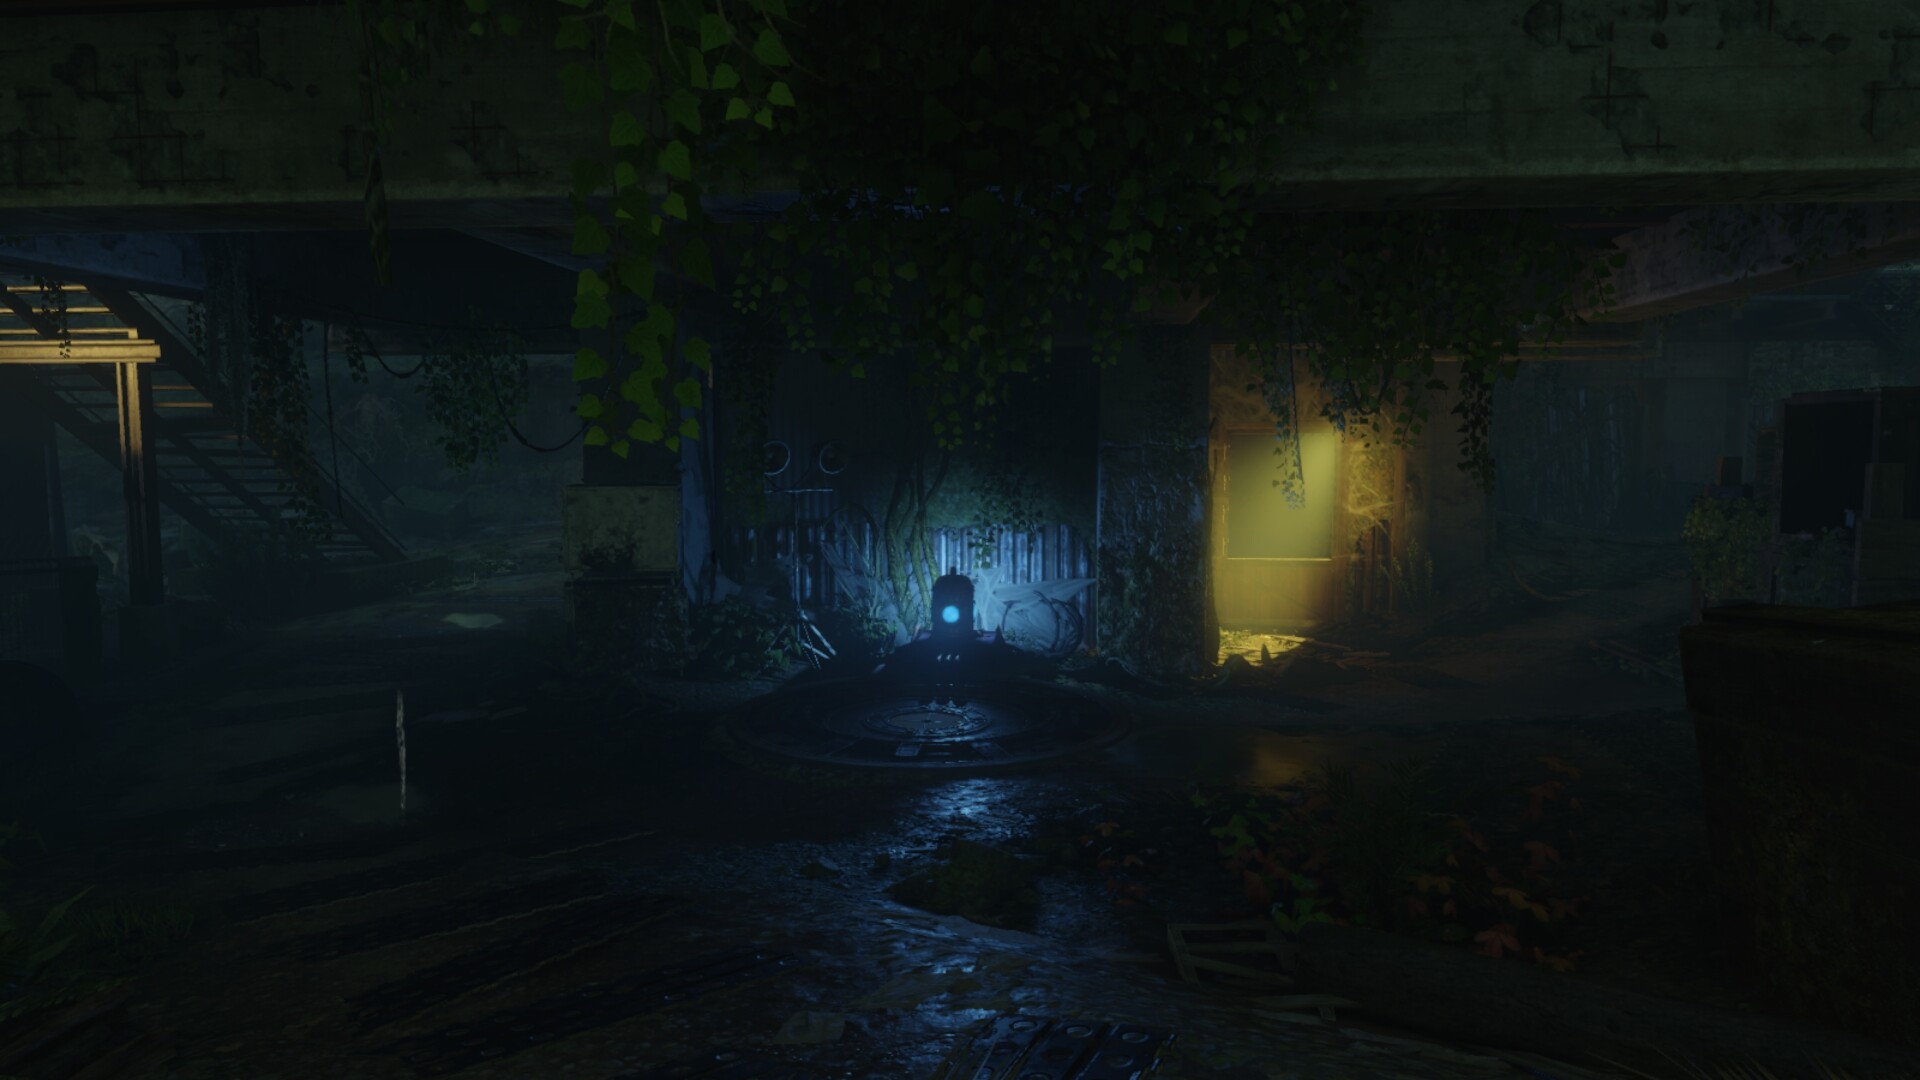
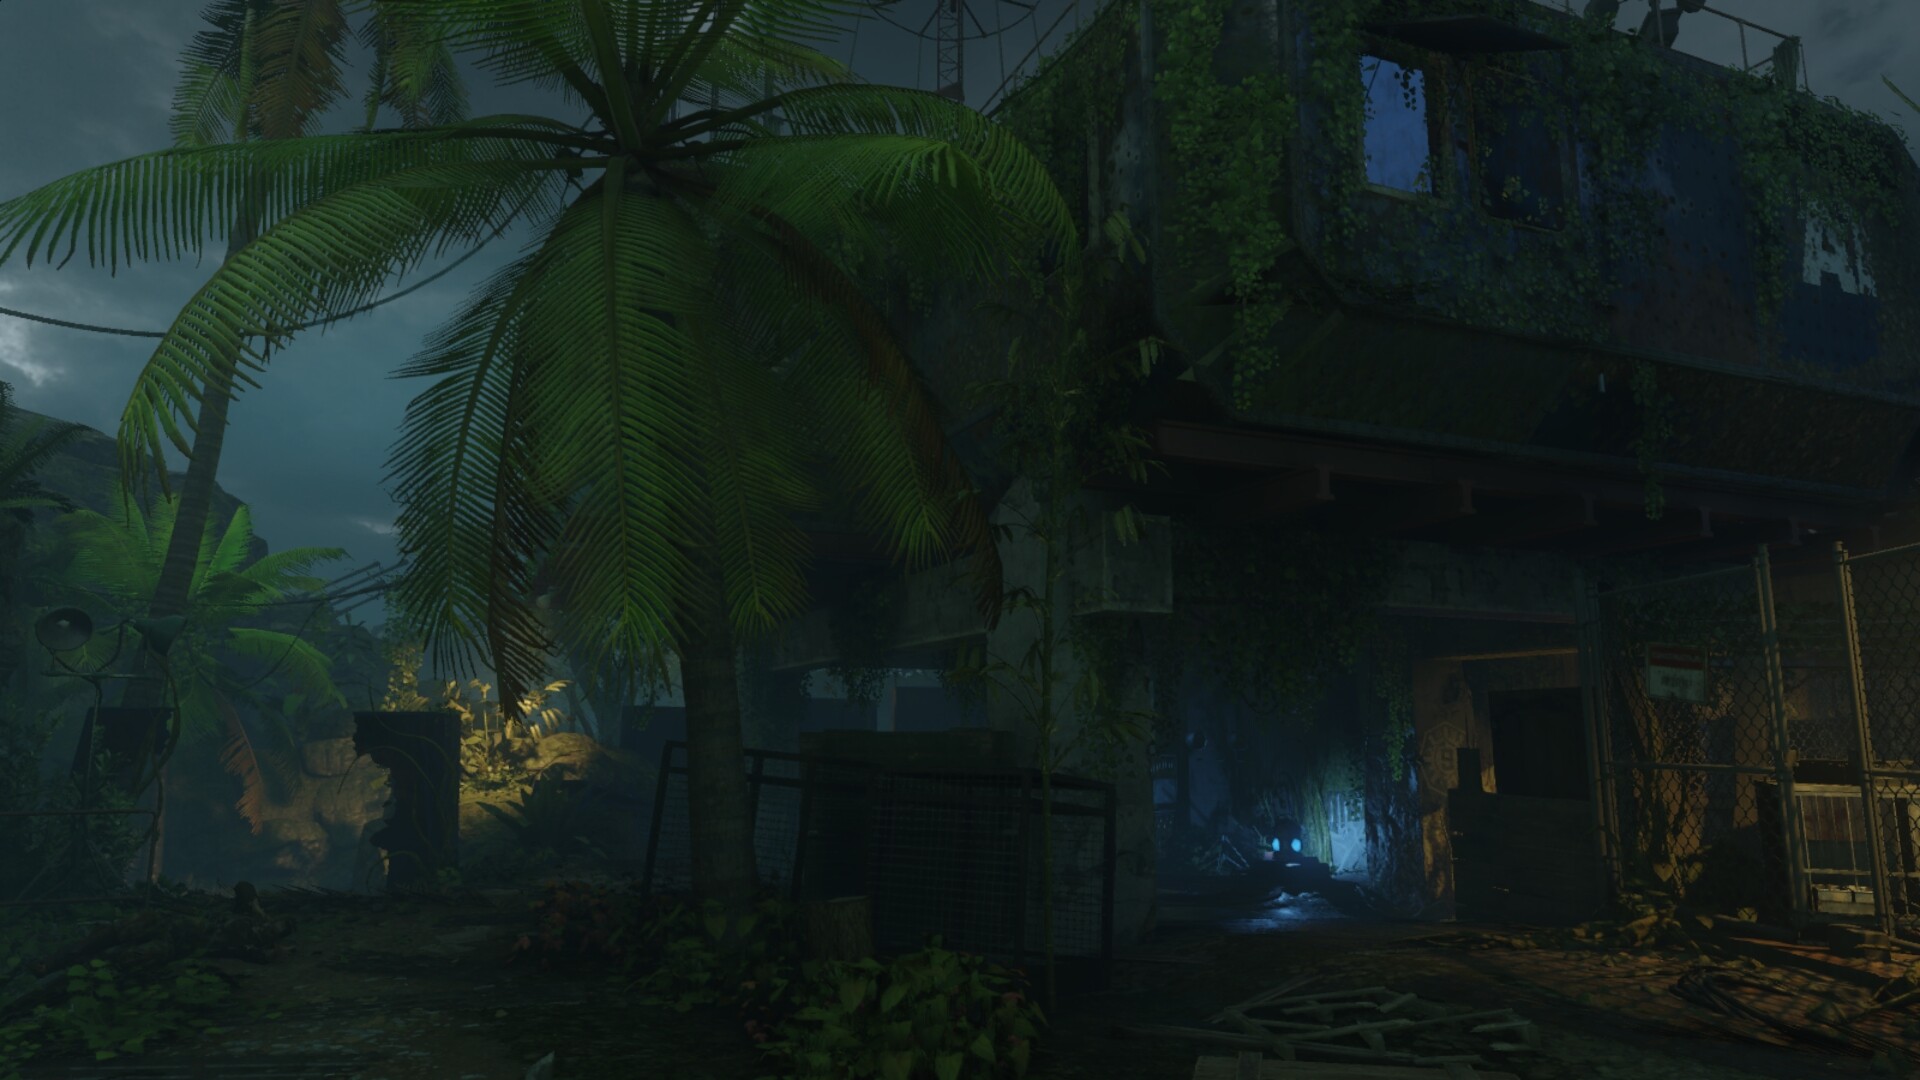
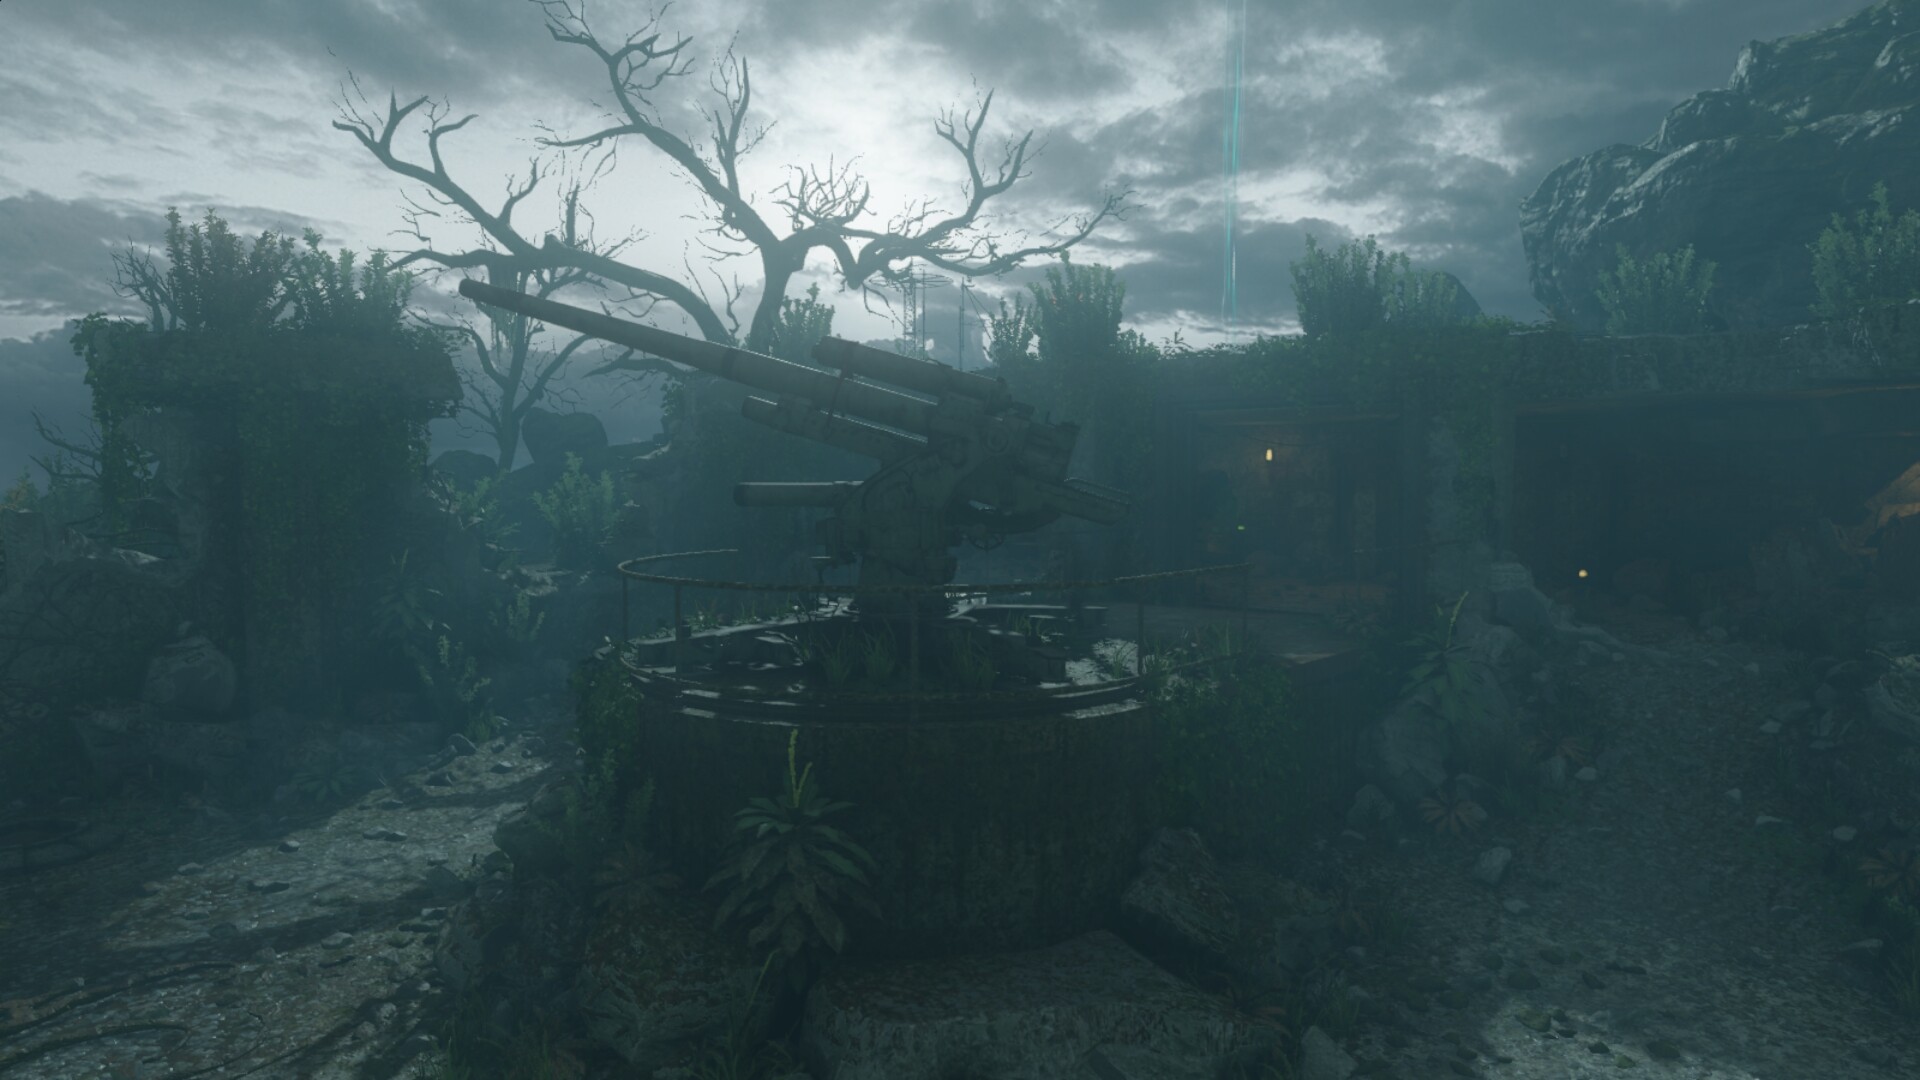
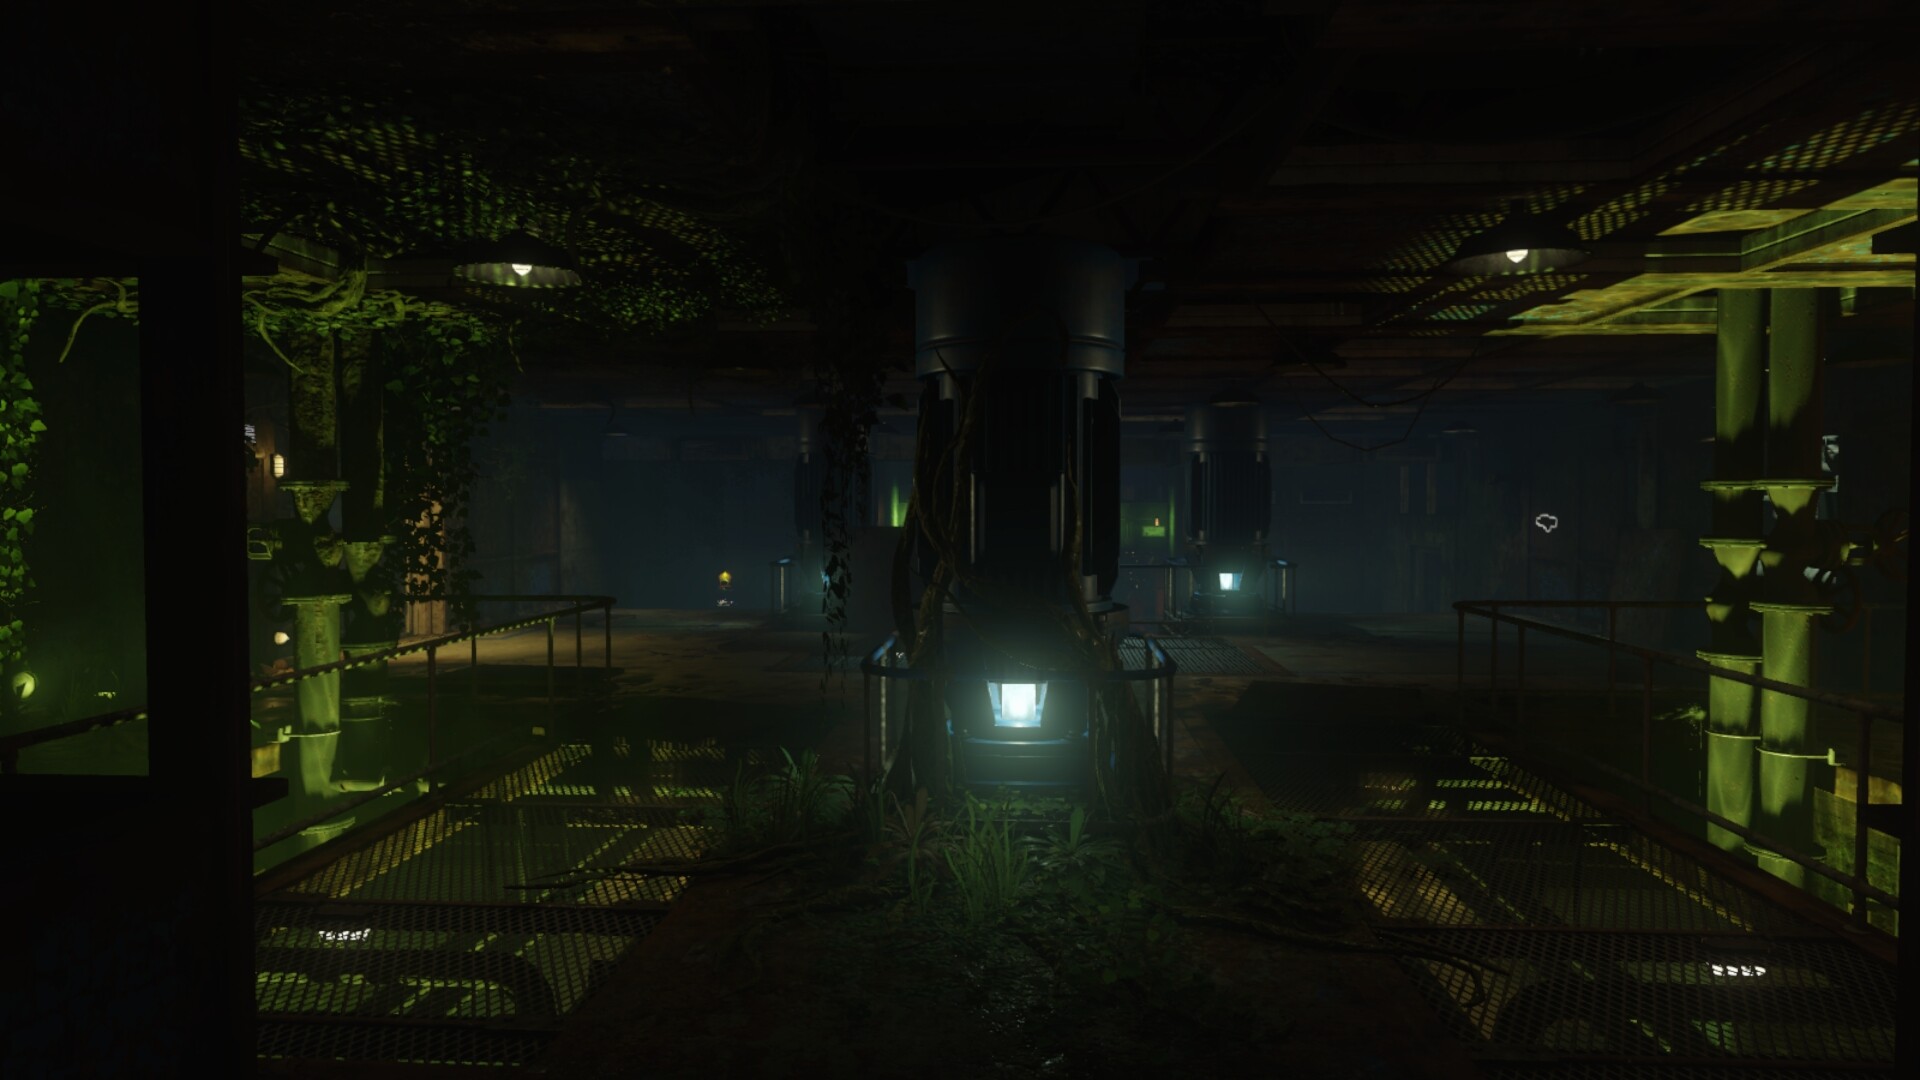
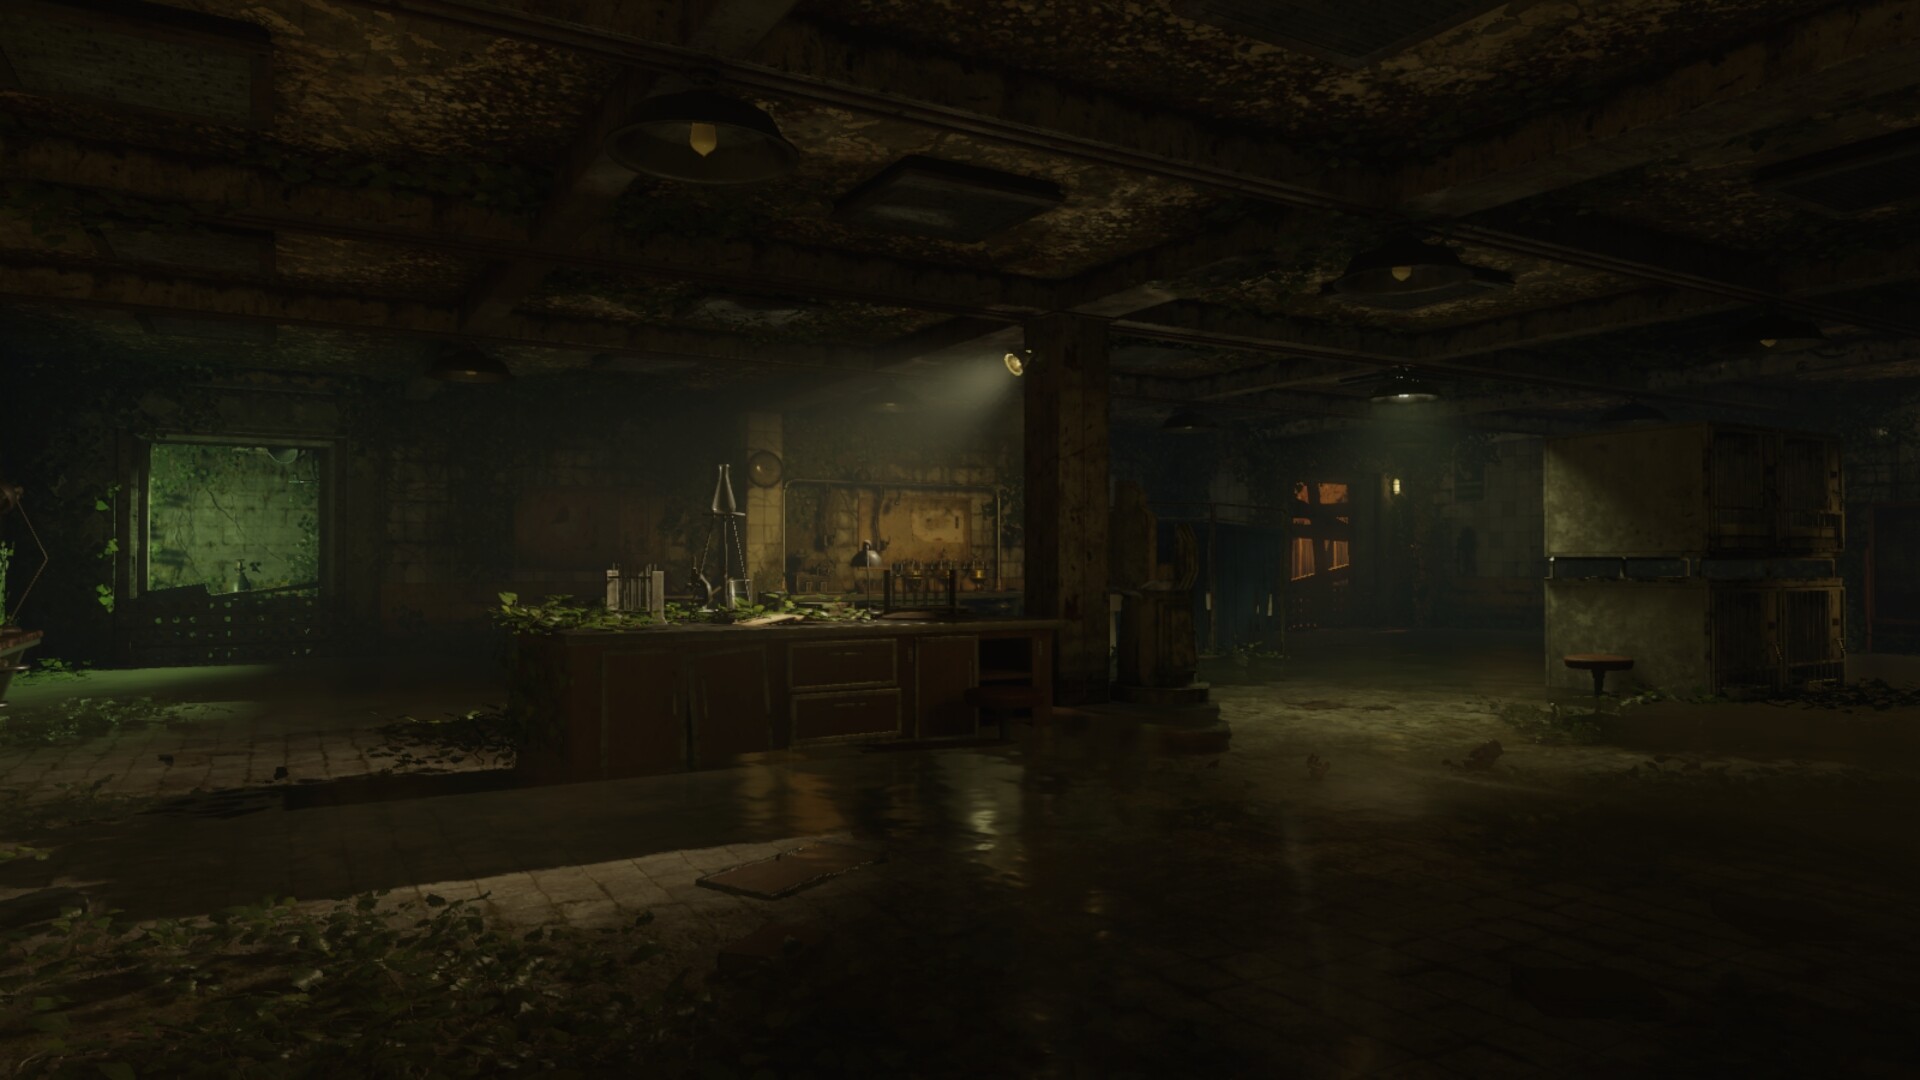
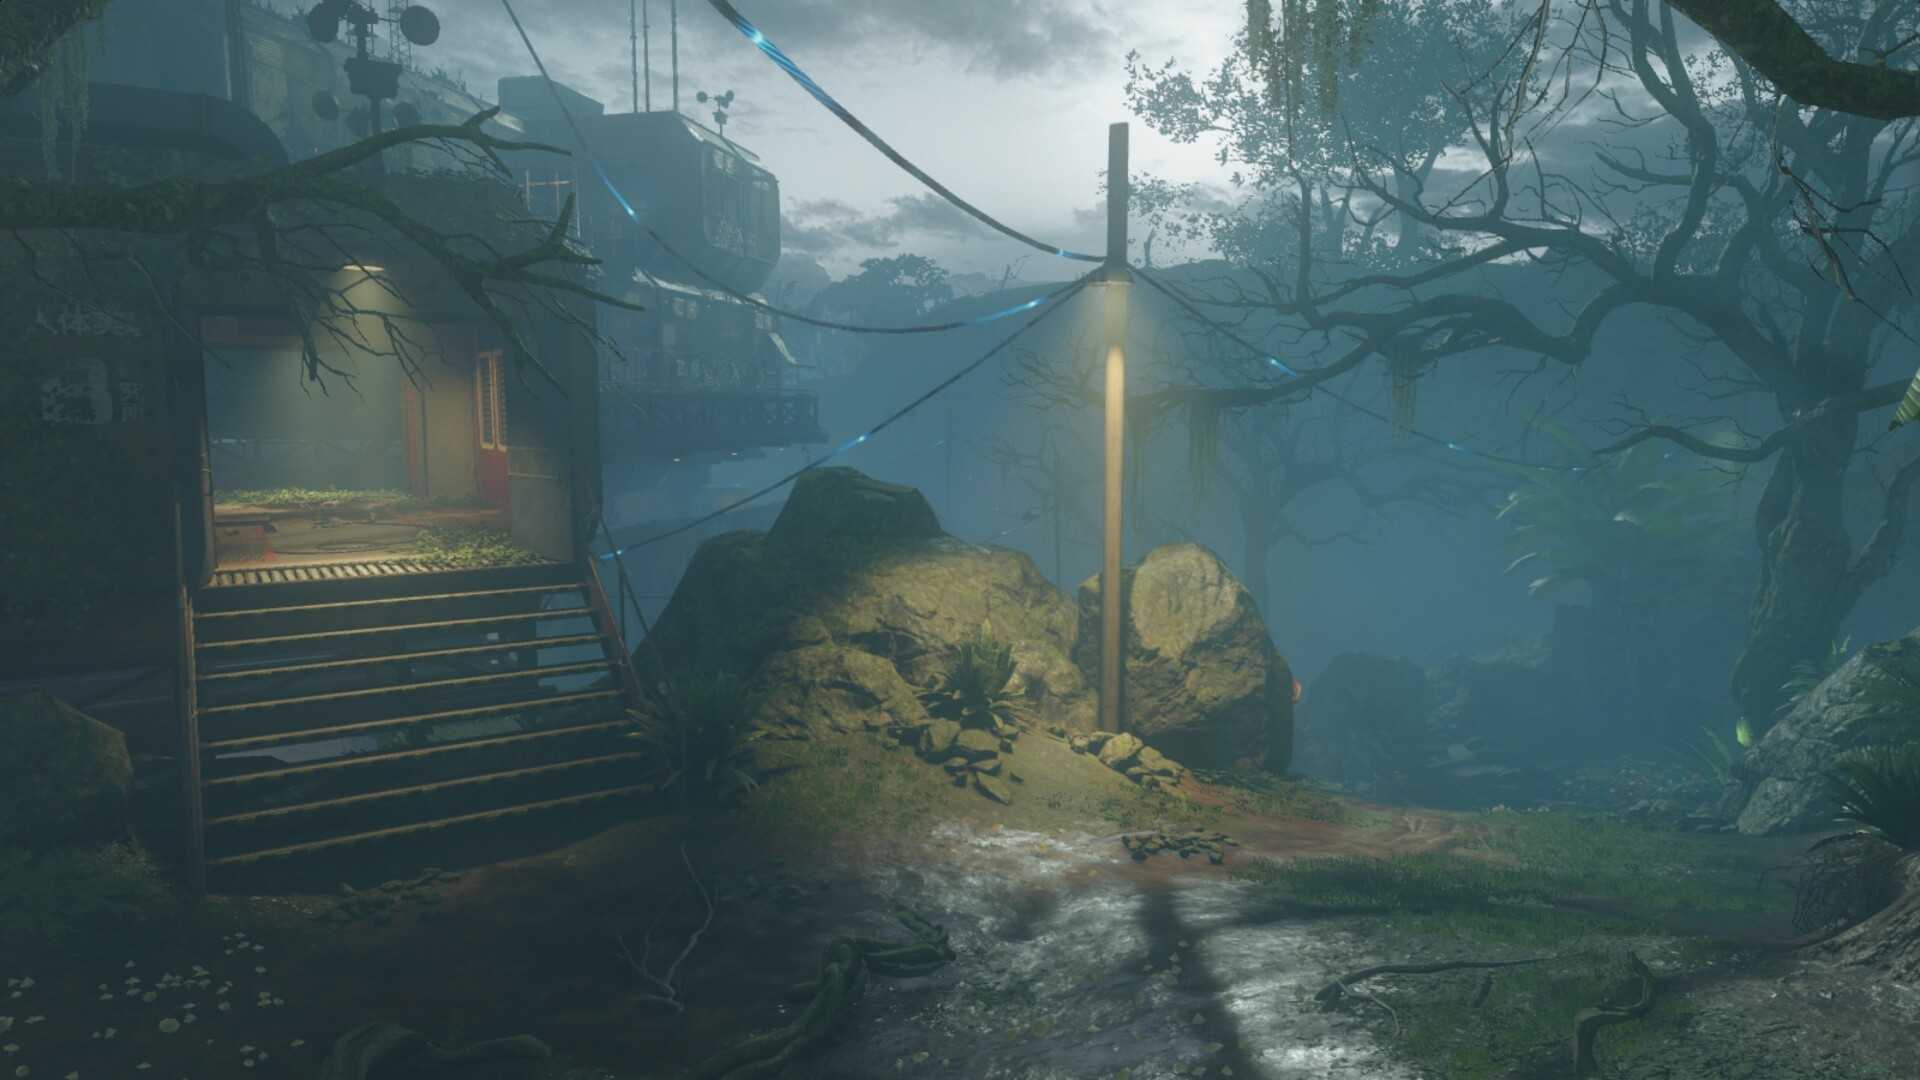
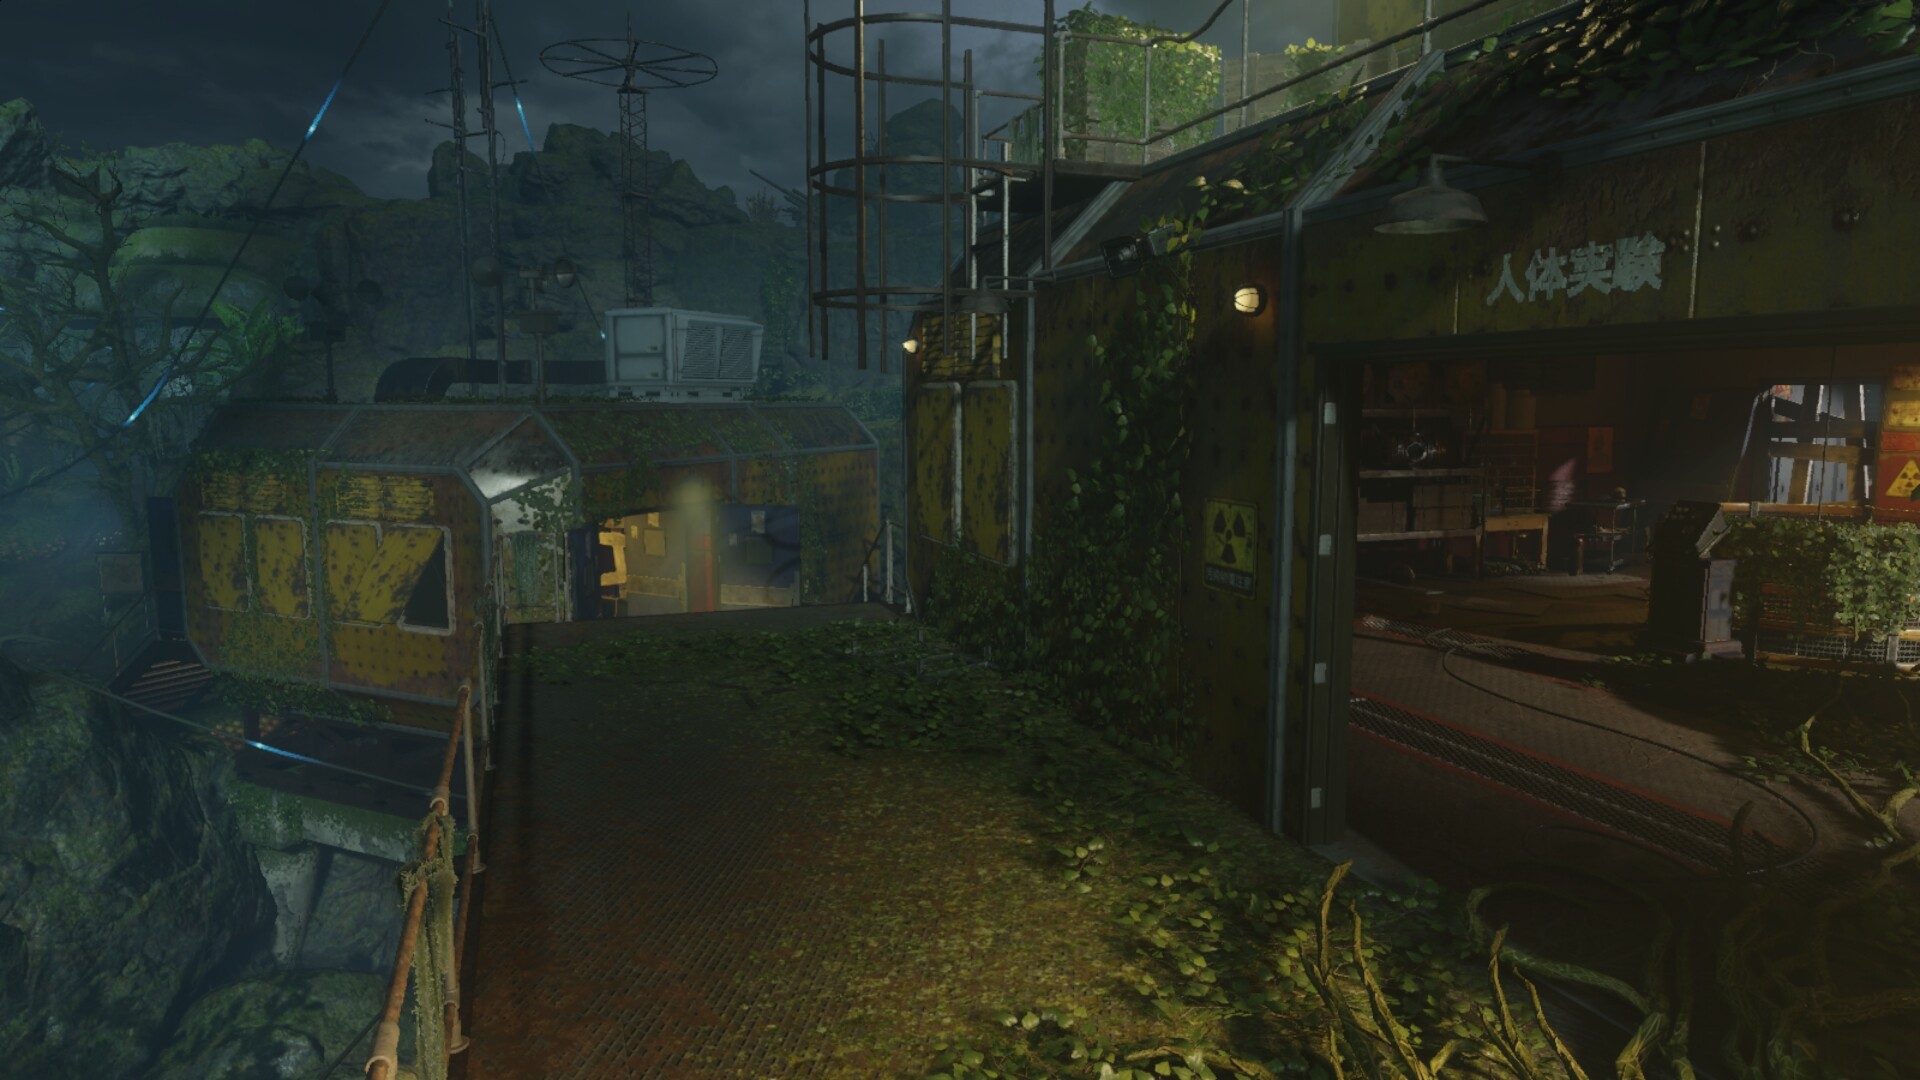
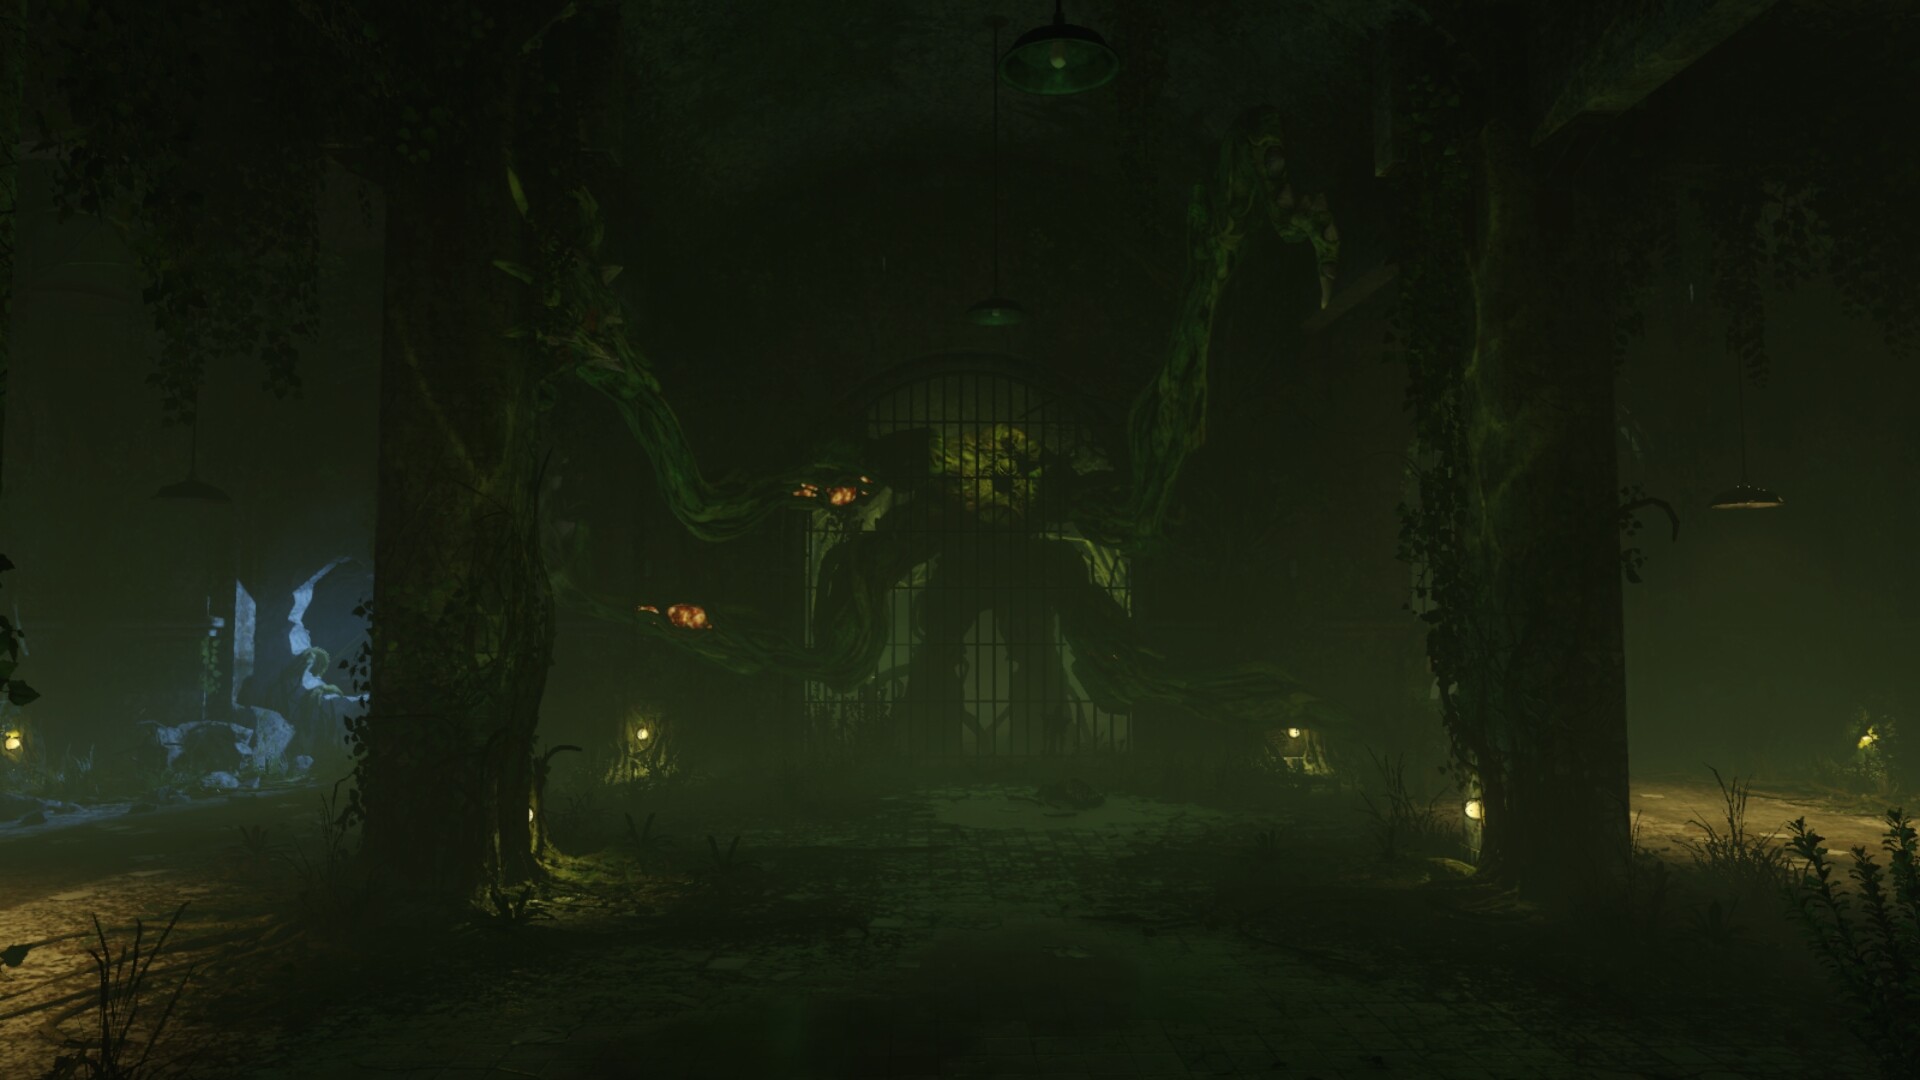
On a remote island in the Pacific, a mysterious facility hides the secrets behind Division 9’s sinister experiments… – Zetsubou No Shima


Raygun – AMMO: 180 Shots – Pack-A-Punched: 240 Shots – Reload: 3 Seconds – Fire Mode: Automatic.
KT-4 – AMMO: 42 Shots – Fire mode: Semi-automatic – Type: Buildable
Zombie Shield – Fire mode: Melee – Type: Buildable
Widow’s Wine Grenade – AMMO: 4 Tactical – Fire mode: Thrown
Monkey Bomb – AMMO: 3 Tactical – Fire mode: Thrown.
Bowie Knife – AMMO: Infinite – Fire mode: Melee.
Quick Revive: Shorter delay before regenerating health and increased regeneration rate. Revive Players faster. – Cost: 500 / 1500 Points
Juggernog: Increased health from 100 to 250, – Cost: 2500 Points
Speed Cola: Cuts reload time in half and builds barriers by 60% faster. – Cost: 3000 Points
Stamin-Up: Increased sprint speed and duration. Stamina regenerates faster. – Cost: 2000 Points
Double Tap Root Beer II: Increases bullet weapon damage by 33%. – Cost: 2000 Points
Mule Kick: Carry an additional Primary weapon. A total of three guns. Going down will remove the last purchased weapon. – Cost: 4000 Points
Der Wunderfizz: Grants player with random perk including perks not on the map. – Cost: 1500 Points
Deadshot Daiquiri: Auto aims weapons at the head, increases hip-fire accuracy by 35%, and reduces weapon recoil. – Cost: 1500 Points (Via Der Wunderfizz)
Electric Cherry: Electric Shock surrounding player upon reloading. lower the magazine bigger the Shock. – Cost: 2000 Points (Via Der Wunderfizz)
Widow’s Wine: Replaces standard grenade with a spiderweb that slows zombies. It also increases melee damage. – Cost: 4000 Points (Via Der Wunderfizz)
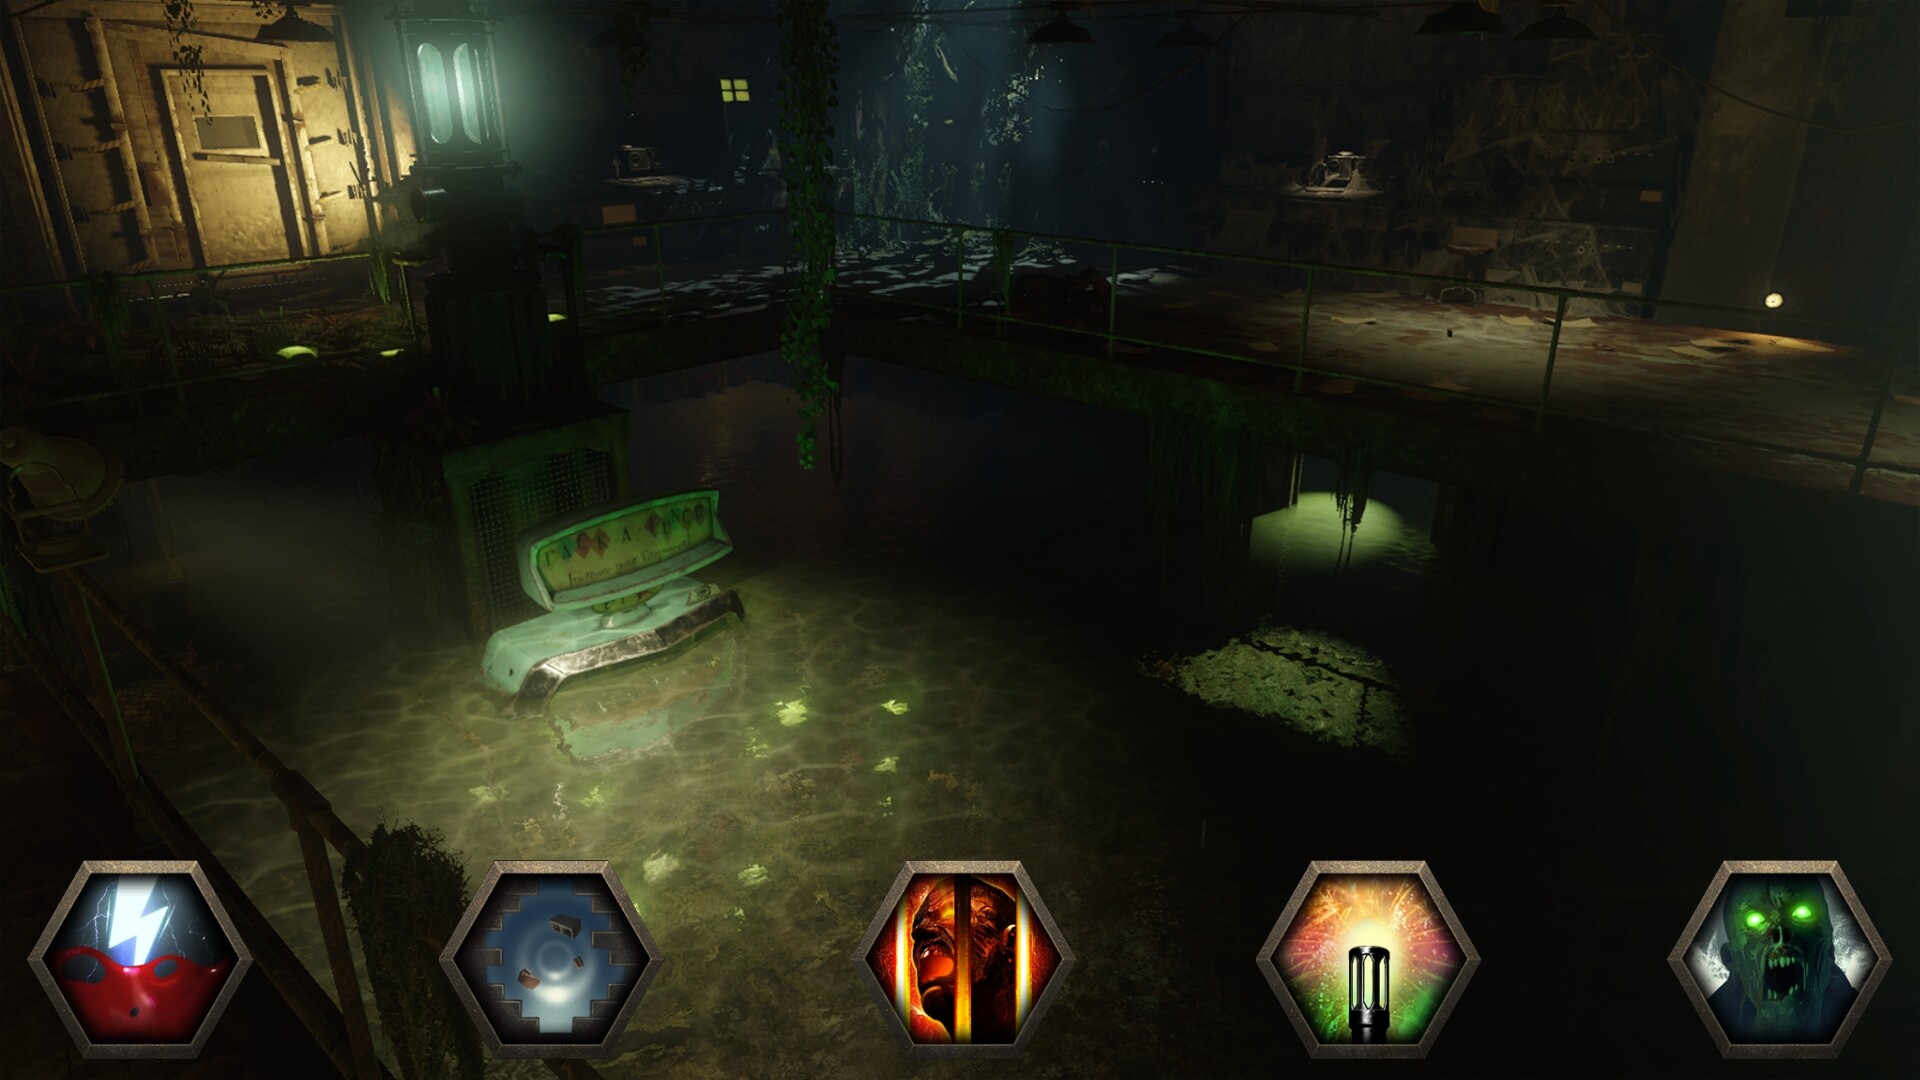
Power-Ups include the Death Machine that grants the player with a 30-second minigun, Bonus Points provide the players with a small amount of free cash, Fire Sale will spawn all Mystery Box locations and change the cost from 950 points to 10 points, Carpenter rebuilds all the barriers across the map, Max Ammo will give all teammates full ammo, Double Points will grant every player with double the points for kills and boarding up windows, Insta-Kill will instantly kill zombies with any bullet type for a limited time and Nuke will kill every zombie on the map including zombies that just spawn outside the map area.

The Gobble Gum gives the player one of the five selected in the pregame lobby, the cost is $1,500 and up as the rounds get higher, but the first one is free. The gum gives the players many different things including Shopping Free, any of the Power Ups, Pack-A-Punched wall and box weapons, perkaholic that give the player all the perks available on the map, and many others. Just over 50 Gobblegums are available.

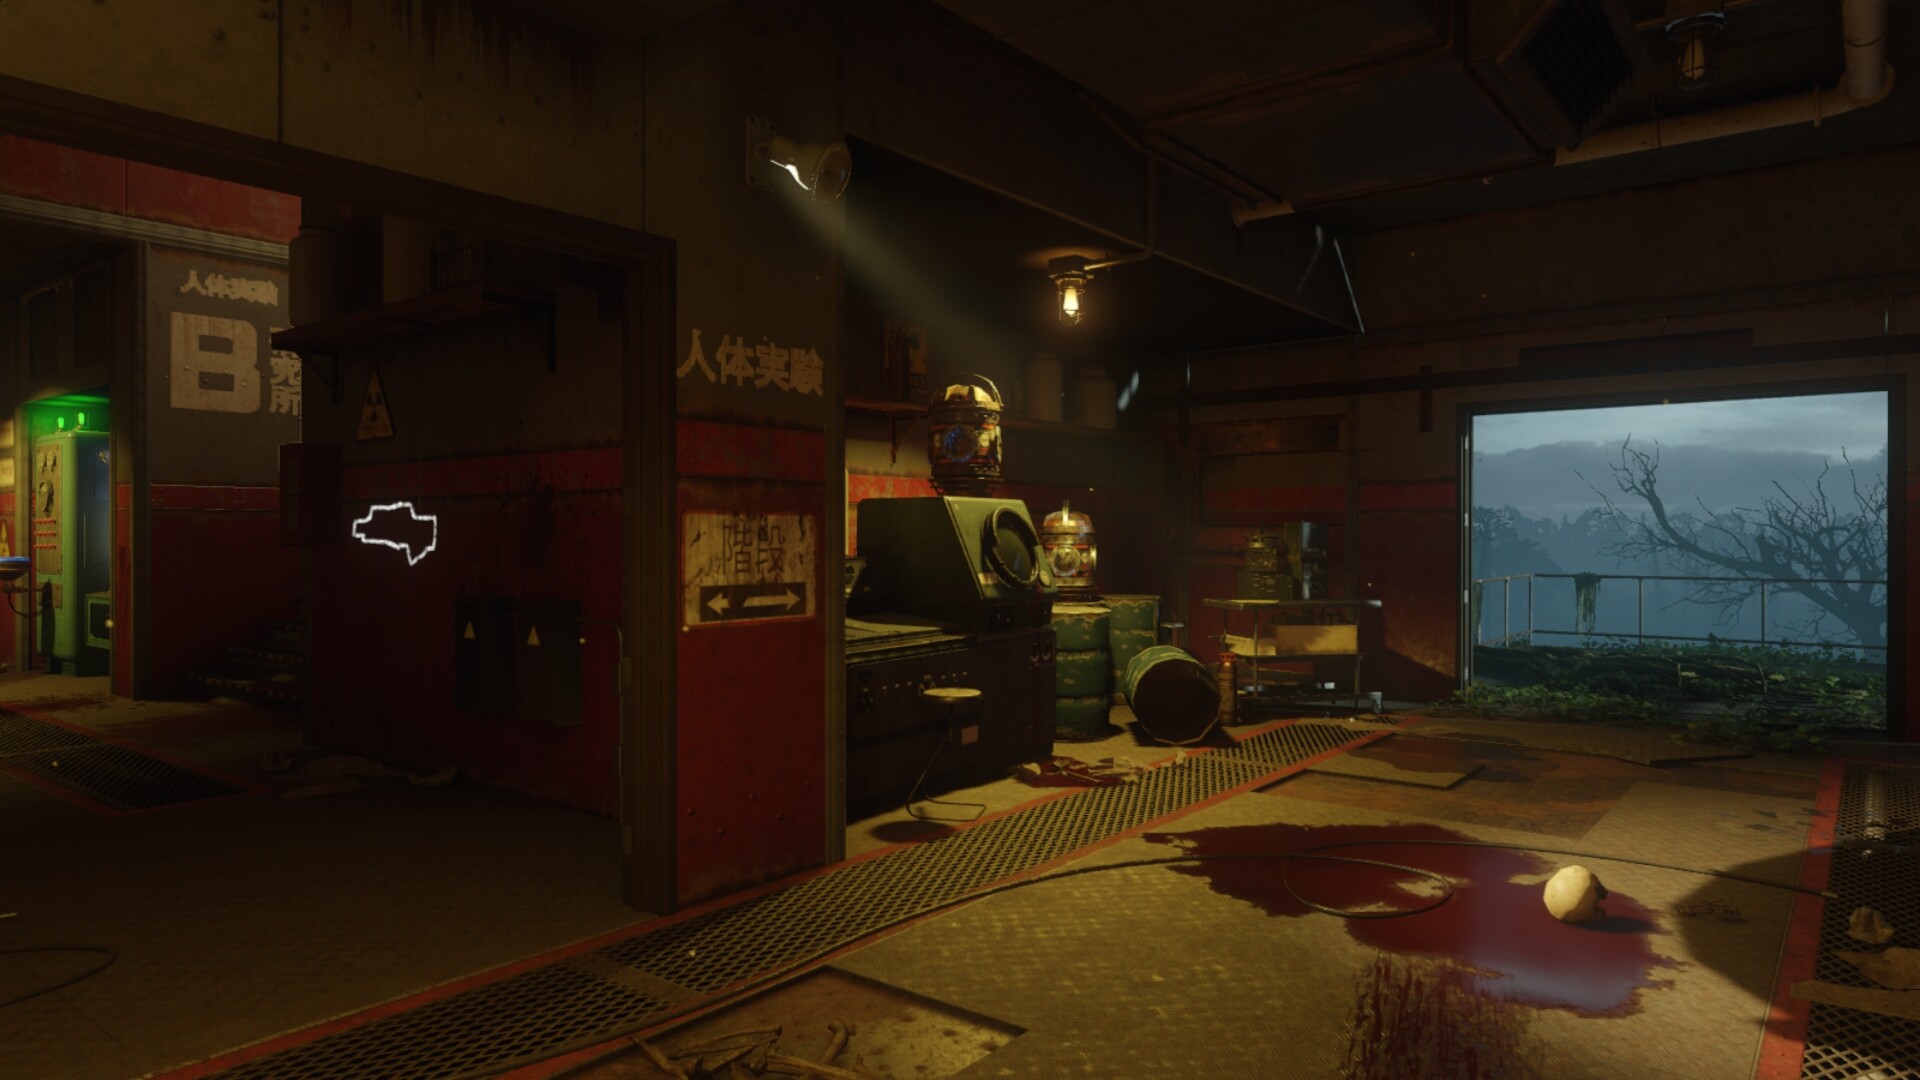
Wall Weapons include the Trip Mine, HVK-30, ICR-1, M8A7, KN-44, VMP, Vesper, Kuda, Argus, KRM-262, L-CAR 9, Pharo, Sheiva, and the RK5. Don’t forget to grab the Bowie Knife for 3000 points.
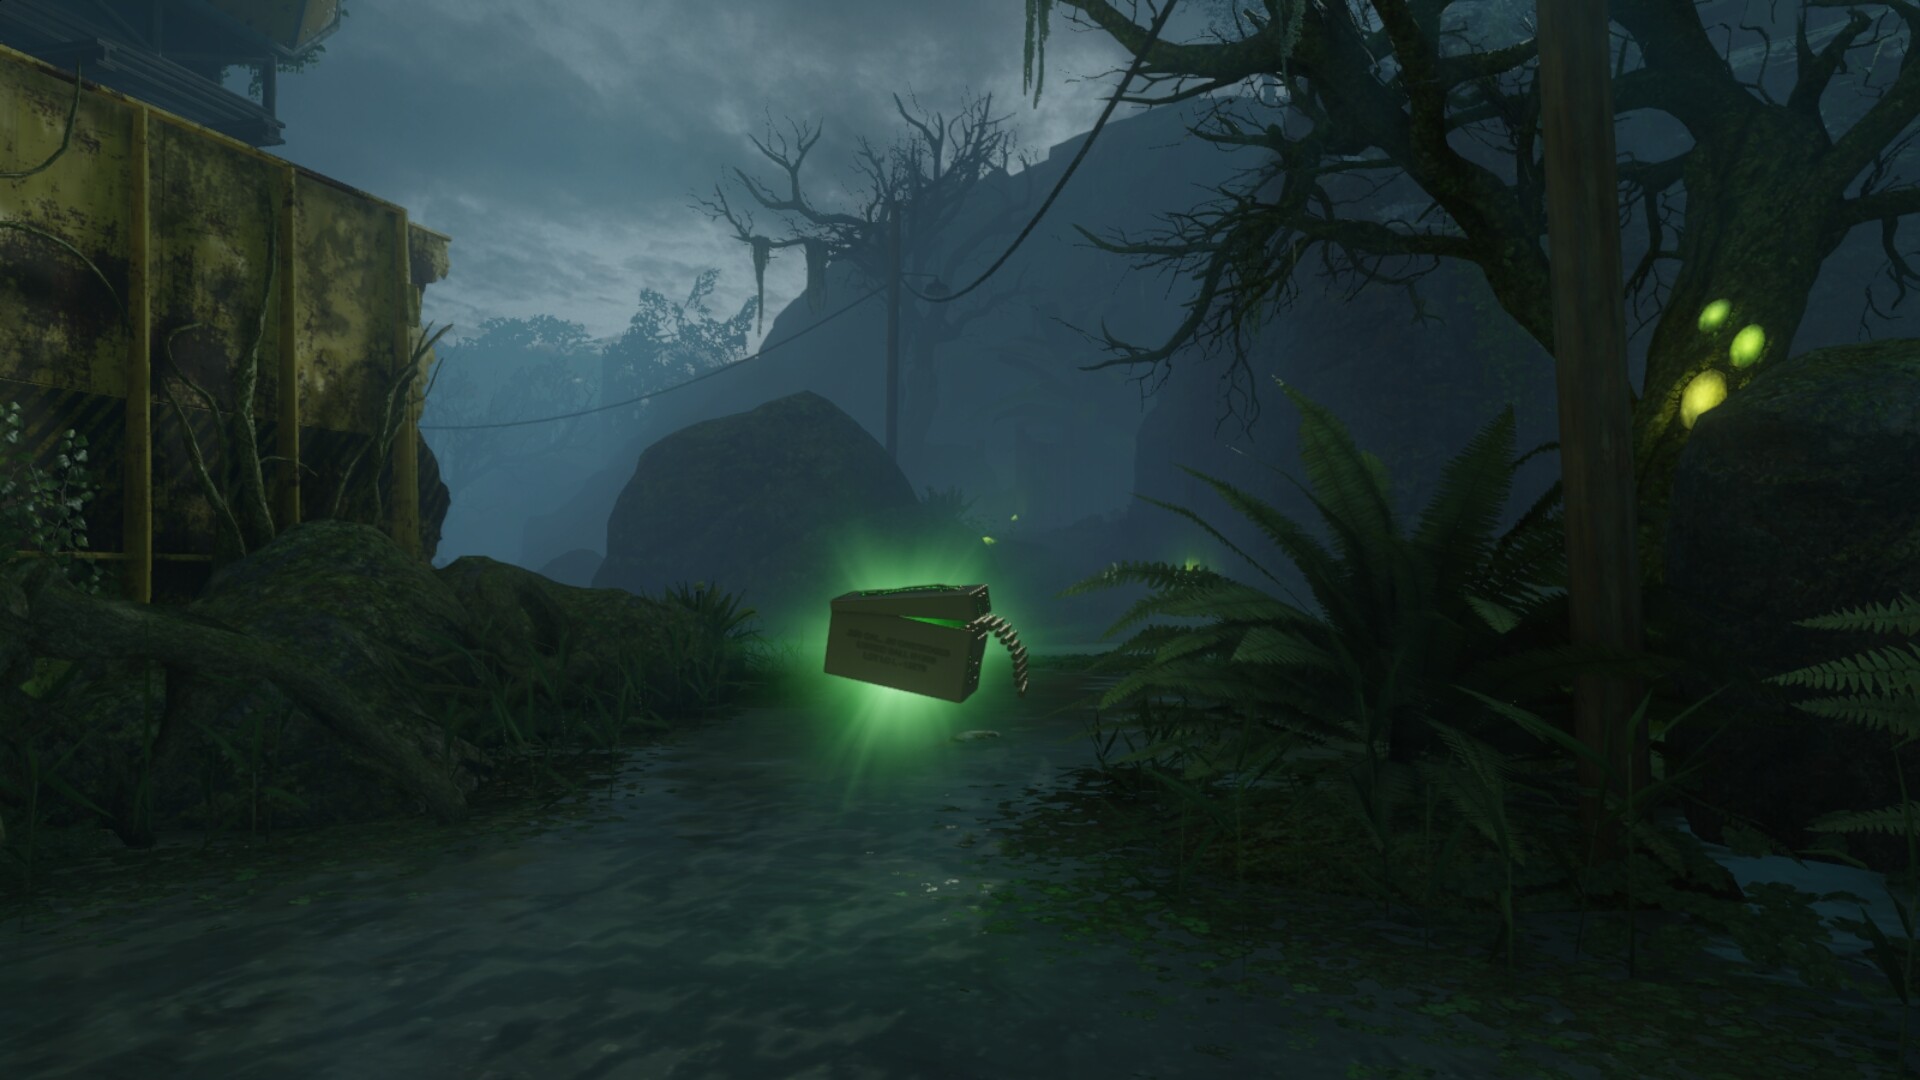
Mystery Box Weapons include the Ray Gun, Monkey Bombs and the new KT-4 Wonder Weapon but only after the players build one. Other weapons found in the box are the XM-53, VMP, Razerback, HG 40, Weevil, Pharo, 48 Dredge, Gorgon, BRM, Dingo, Haymaker 12, 205 Brecci, Argus, Marshal 16, HVK-30, M8A7, ICR-1, Man-O-War, KN-44, Sheiva, Drakon, Locus, SVG-100 and finally the MC Garand.

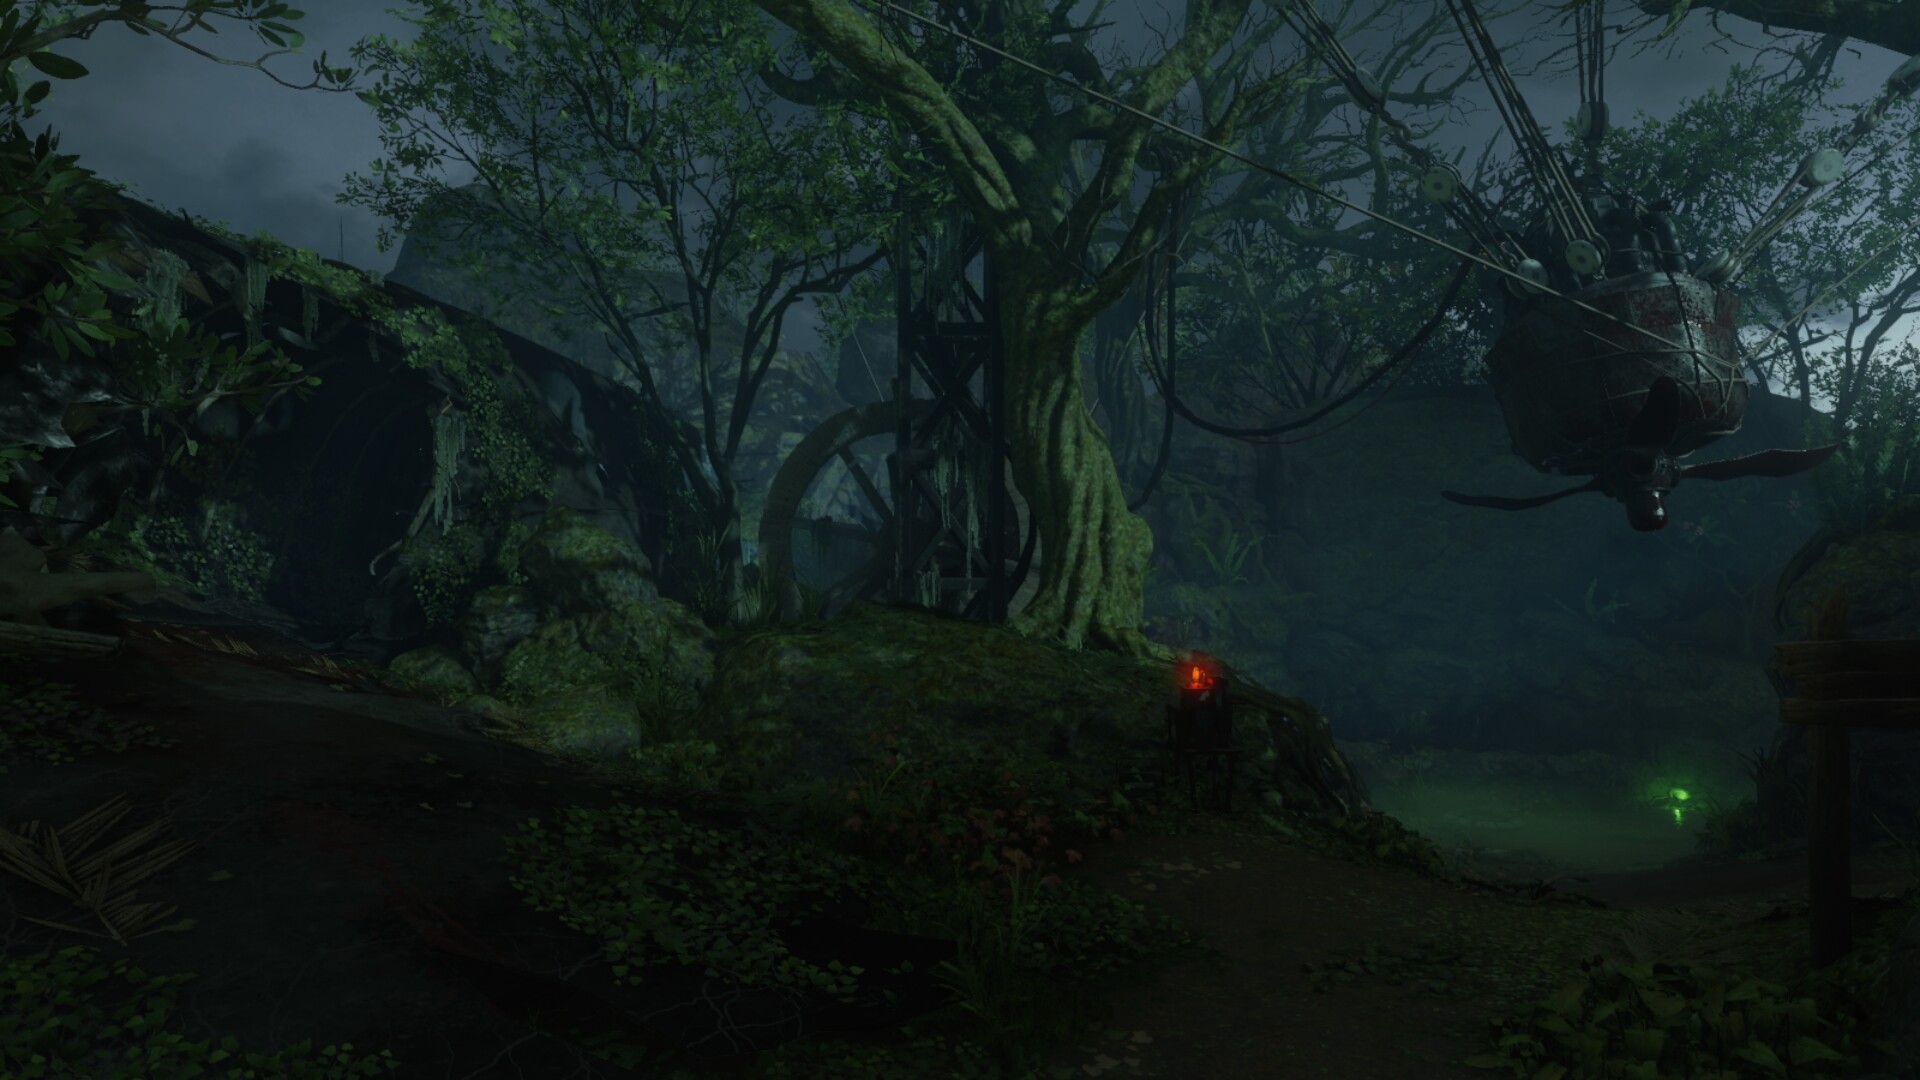
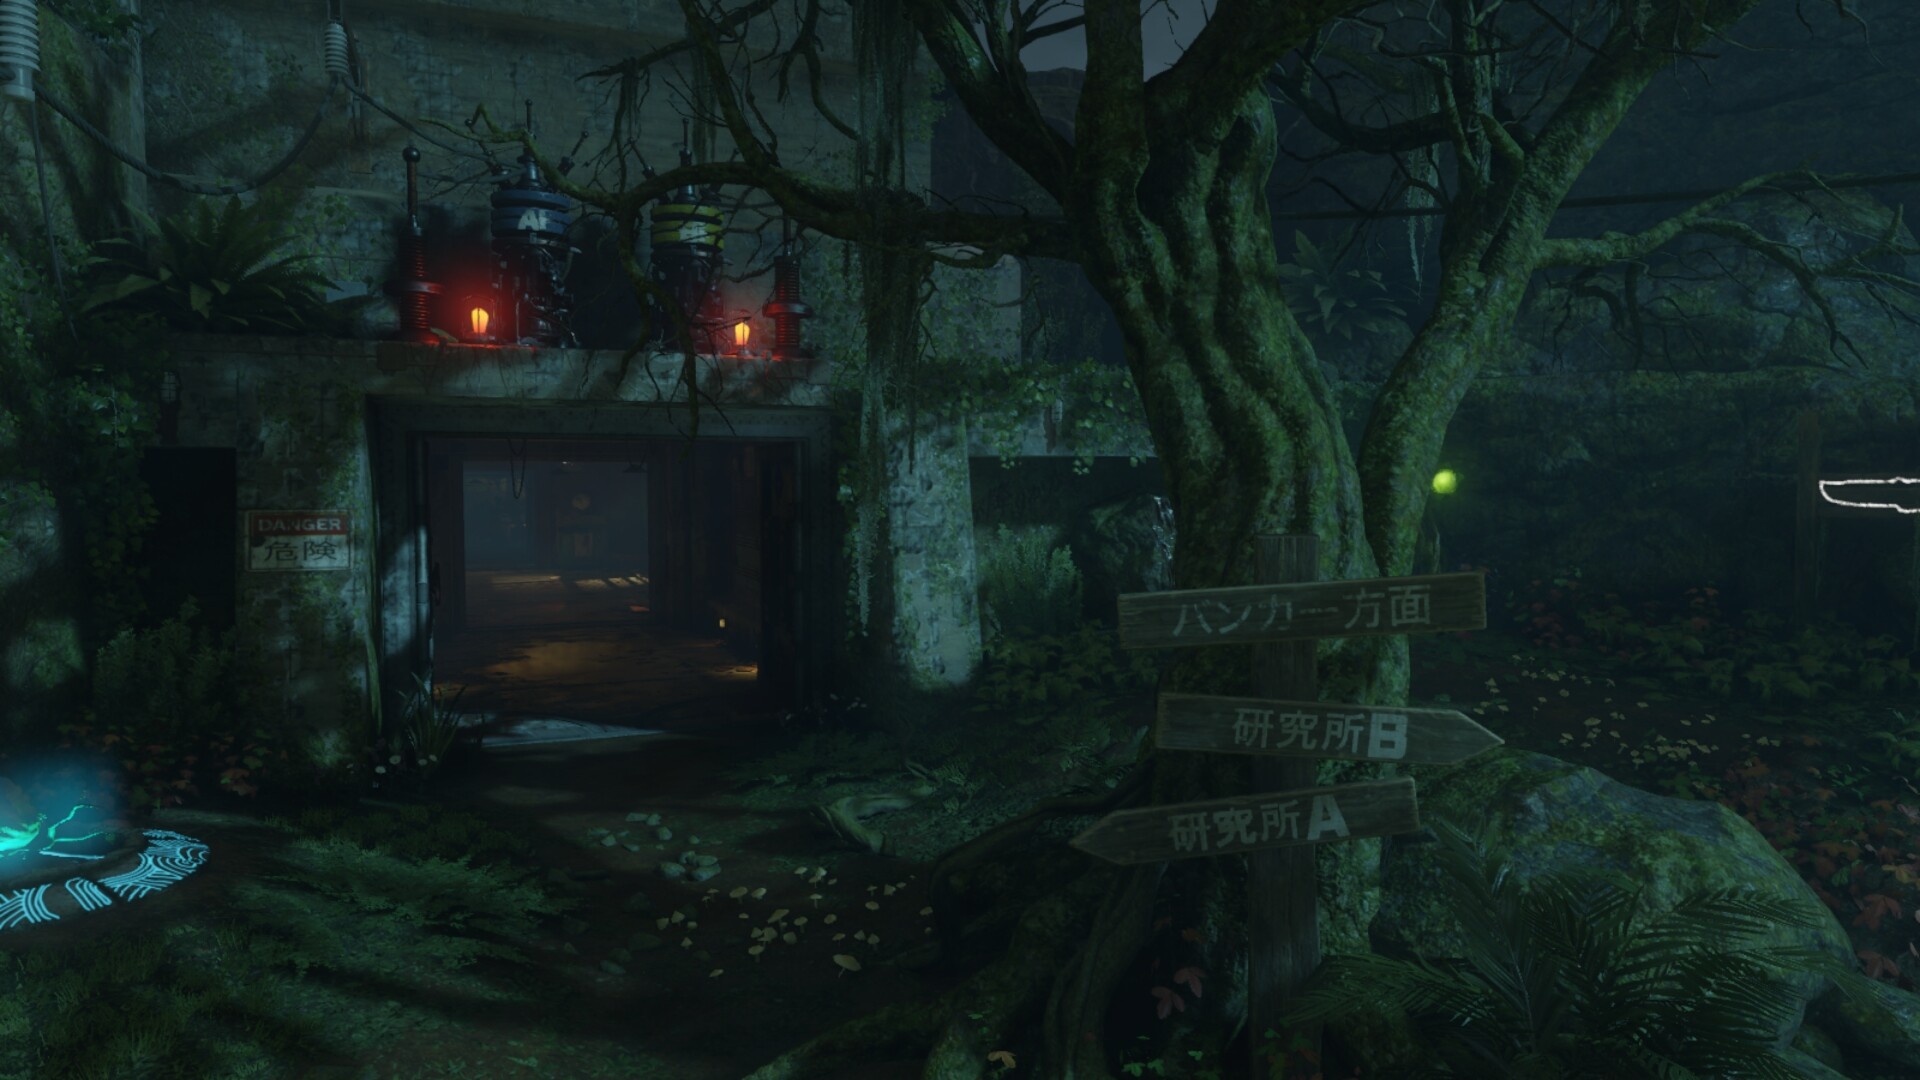
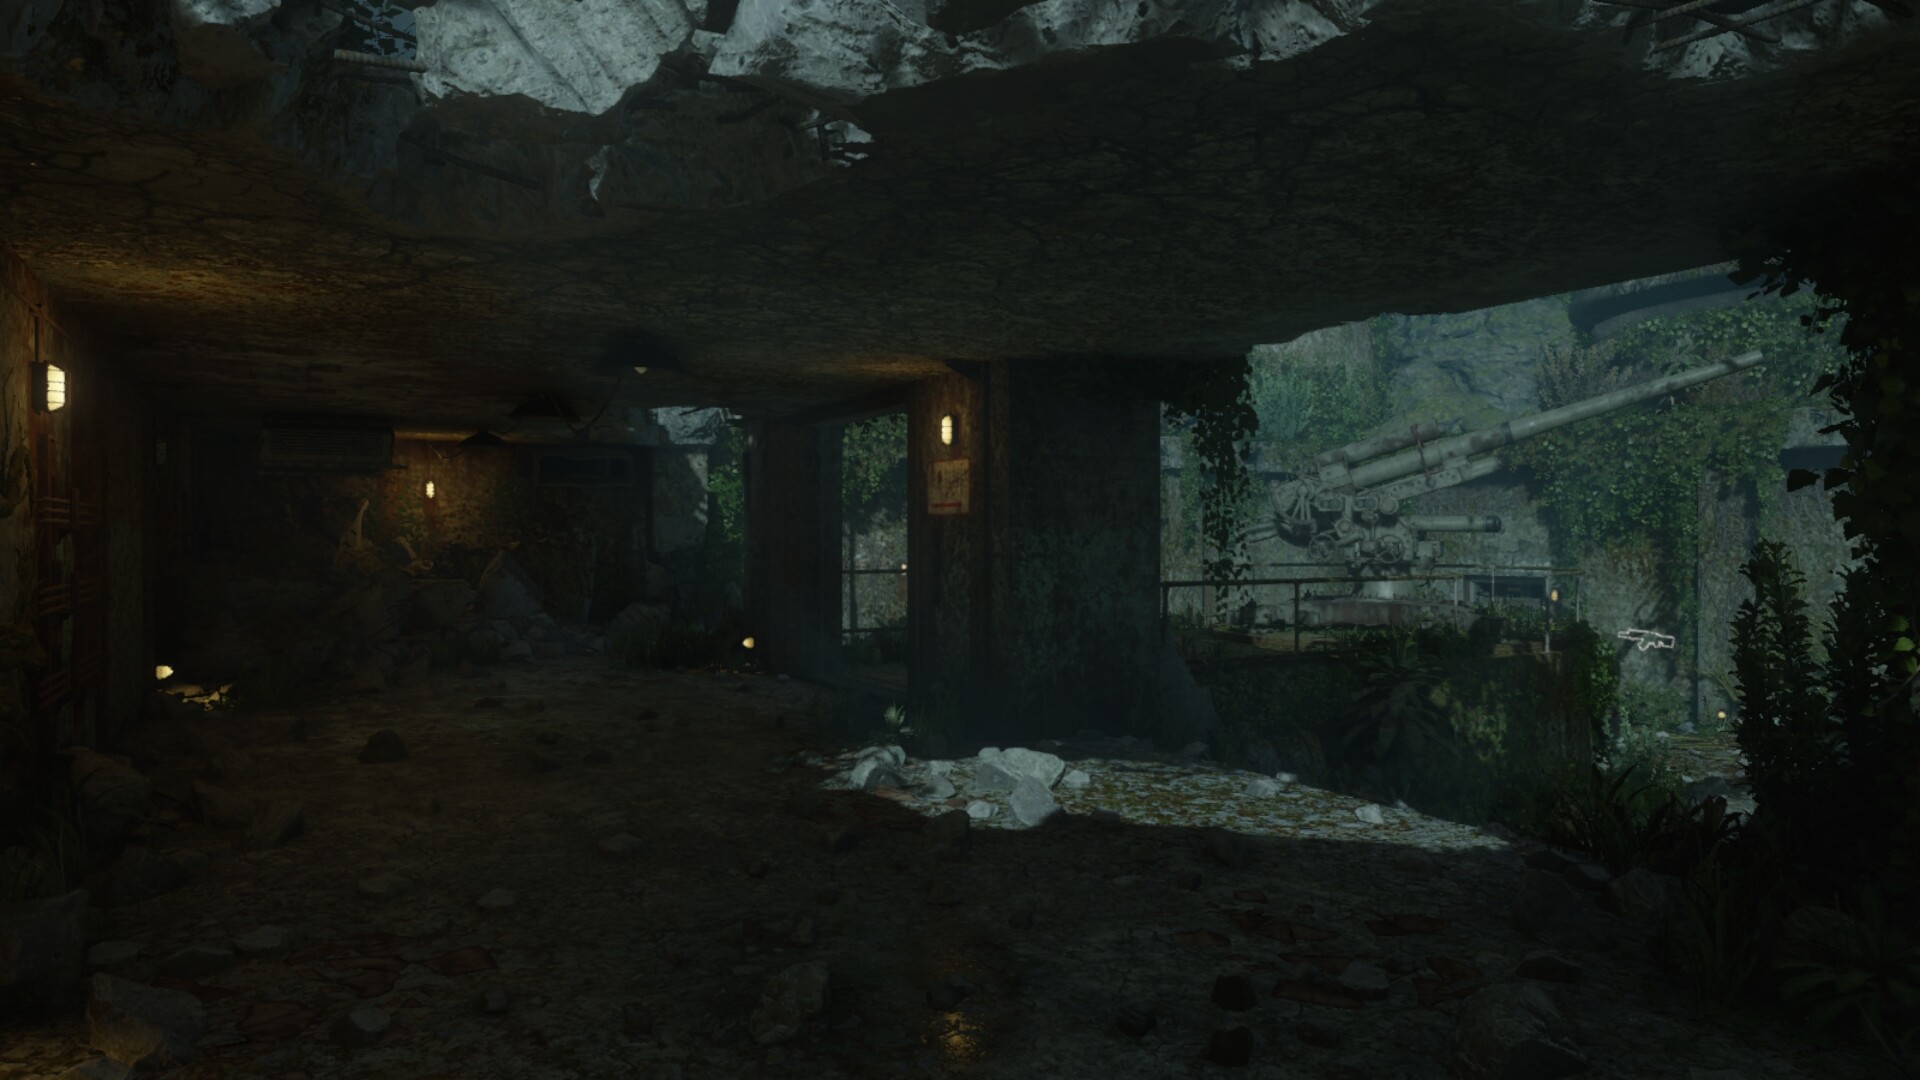
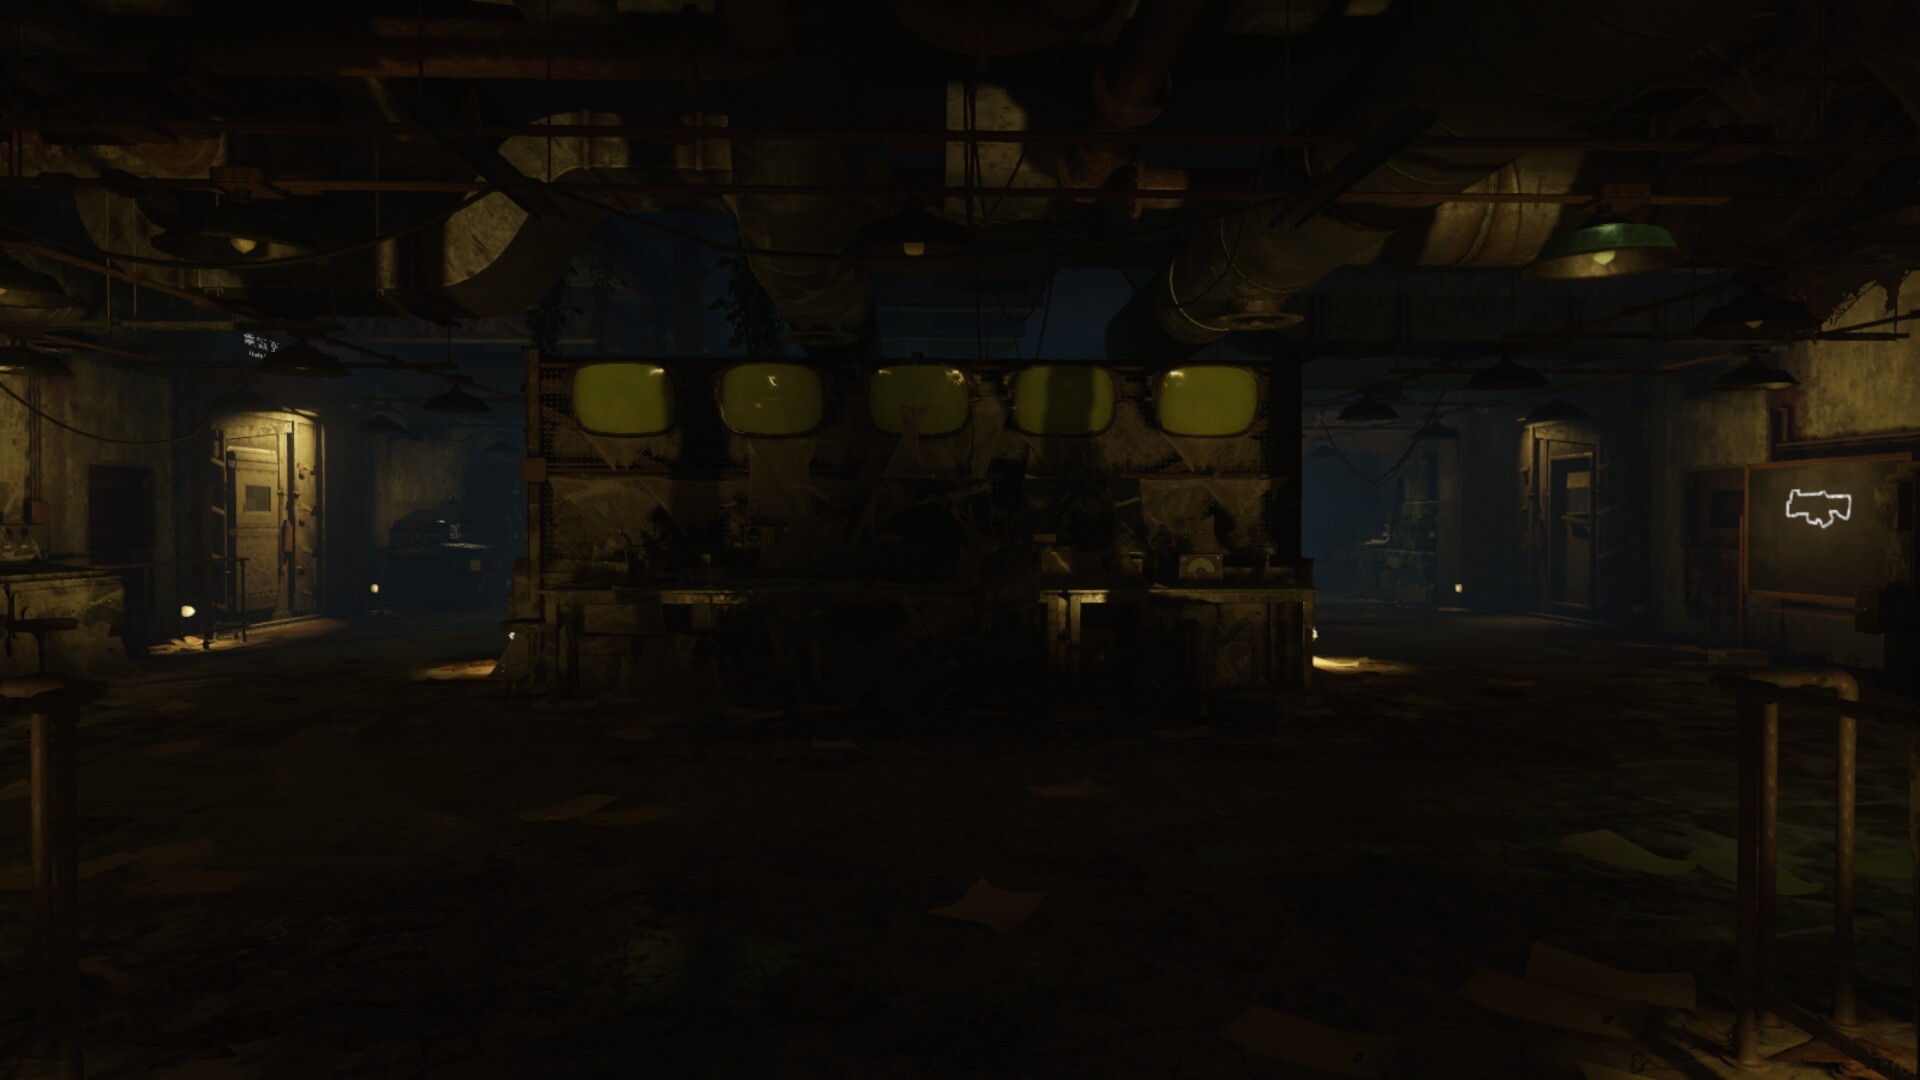
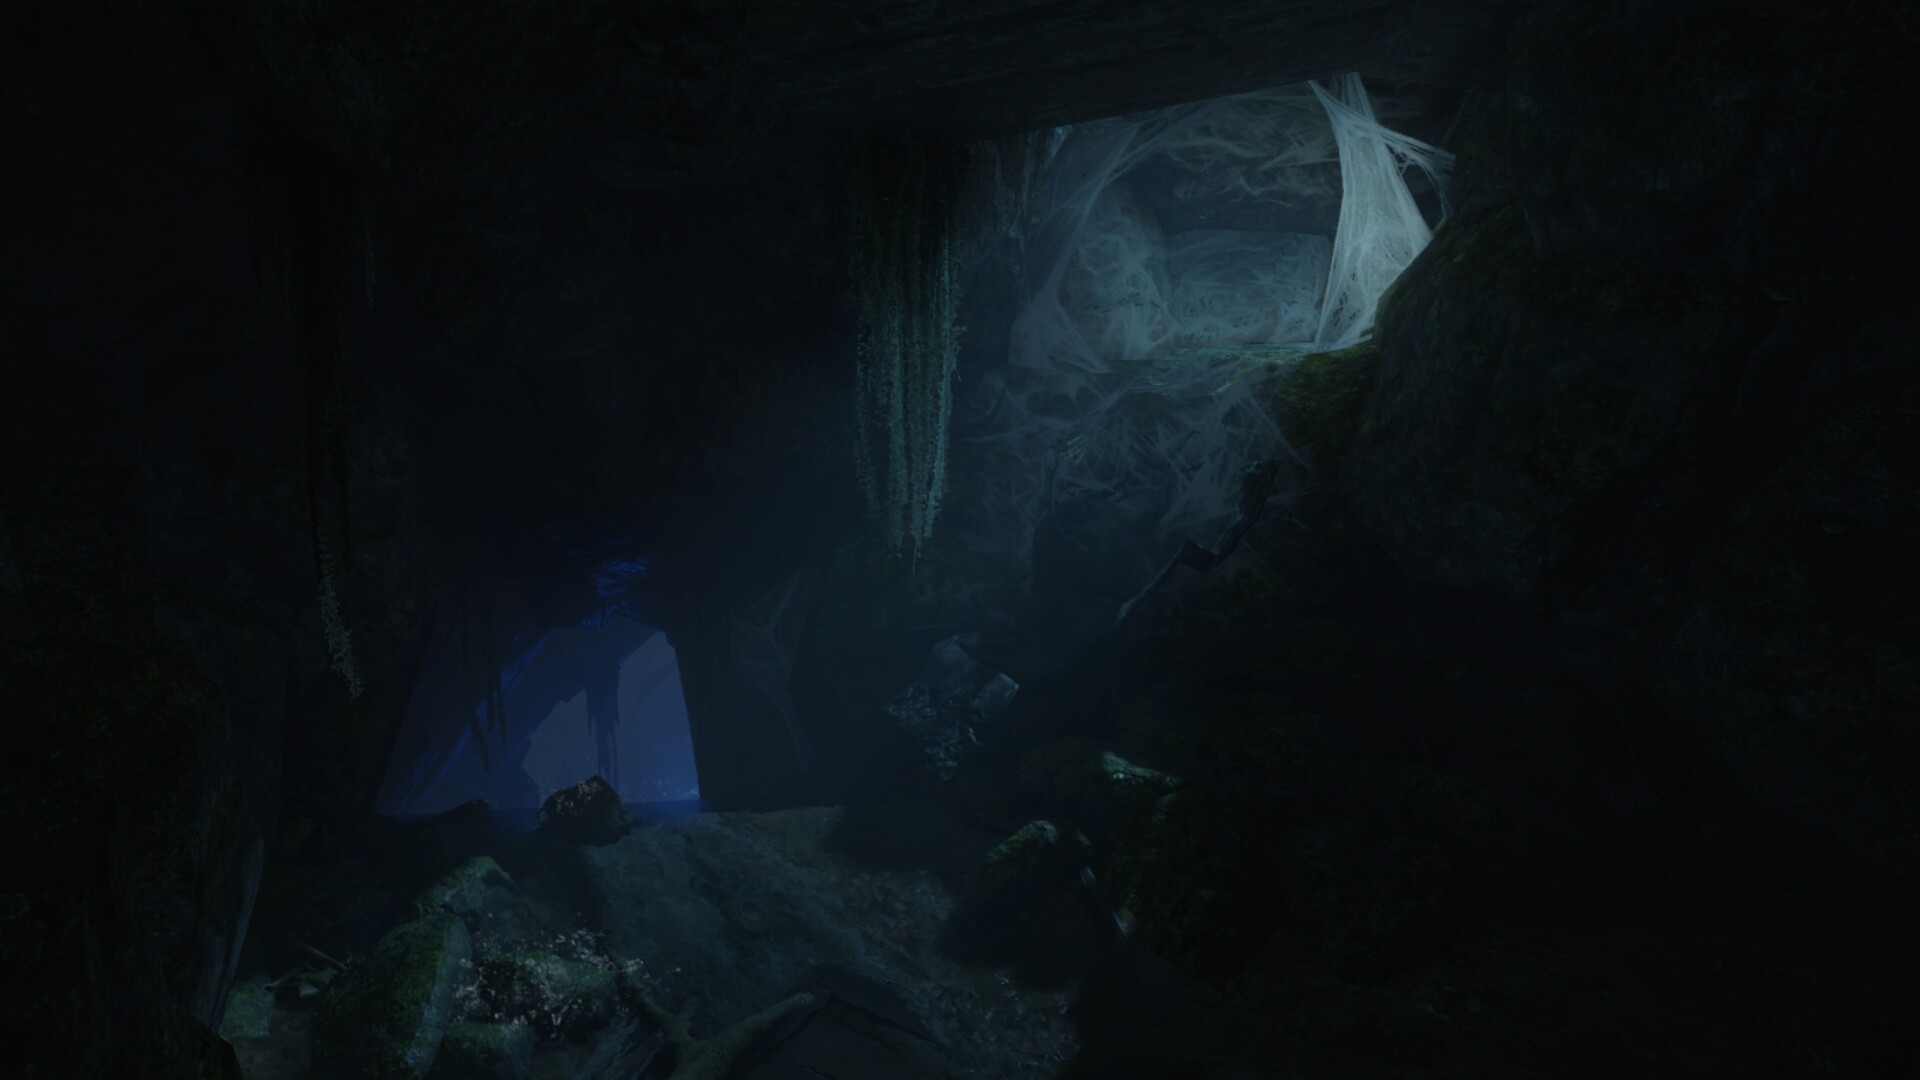
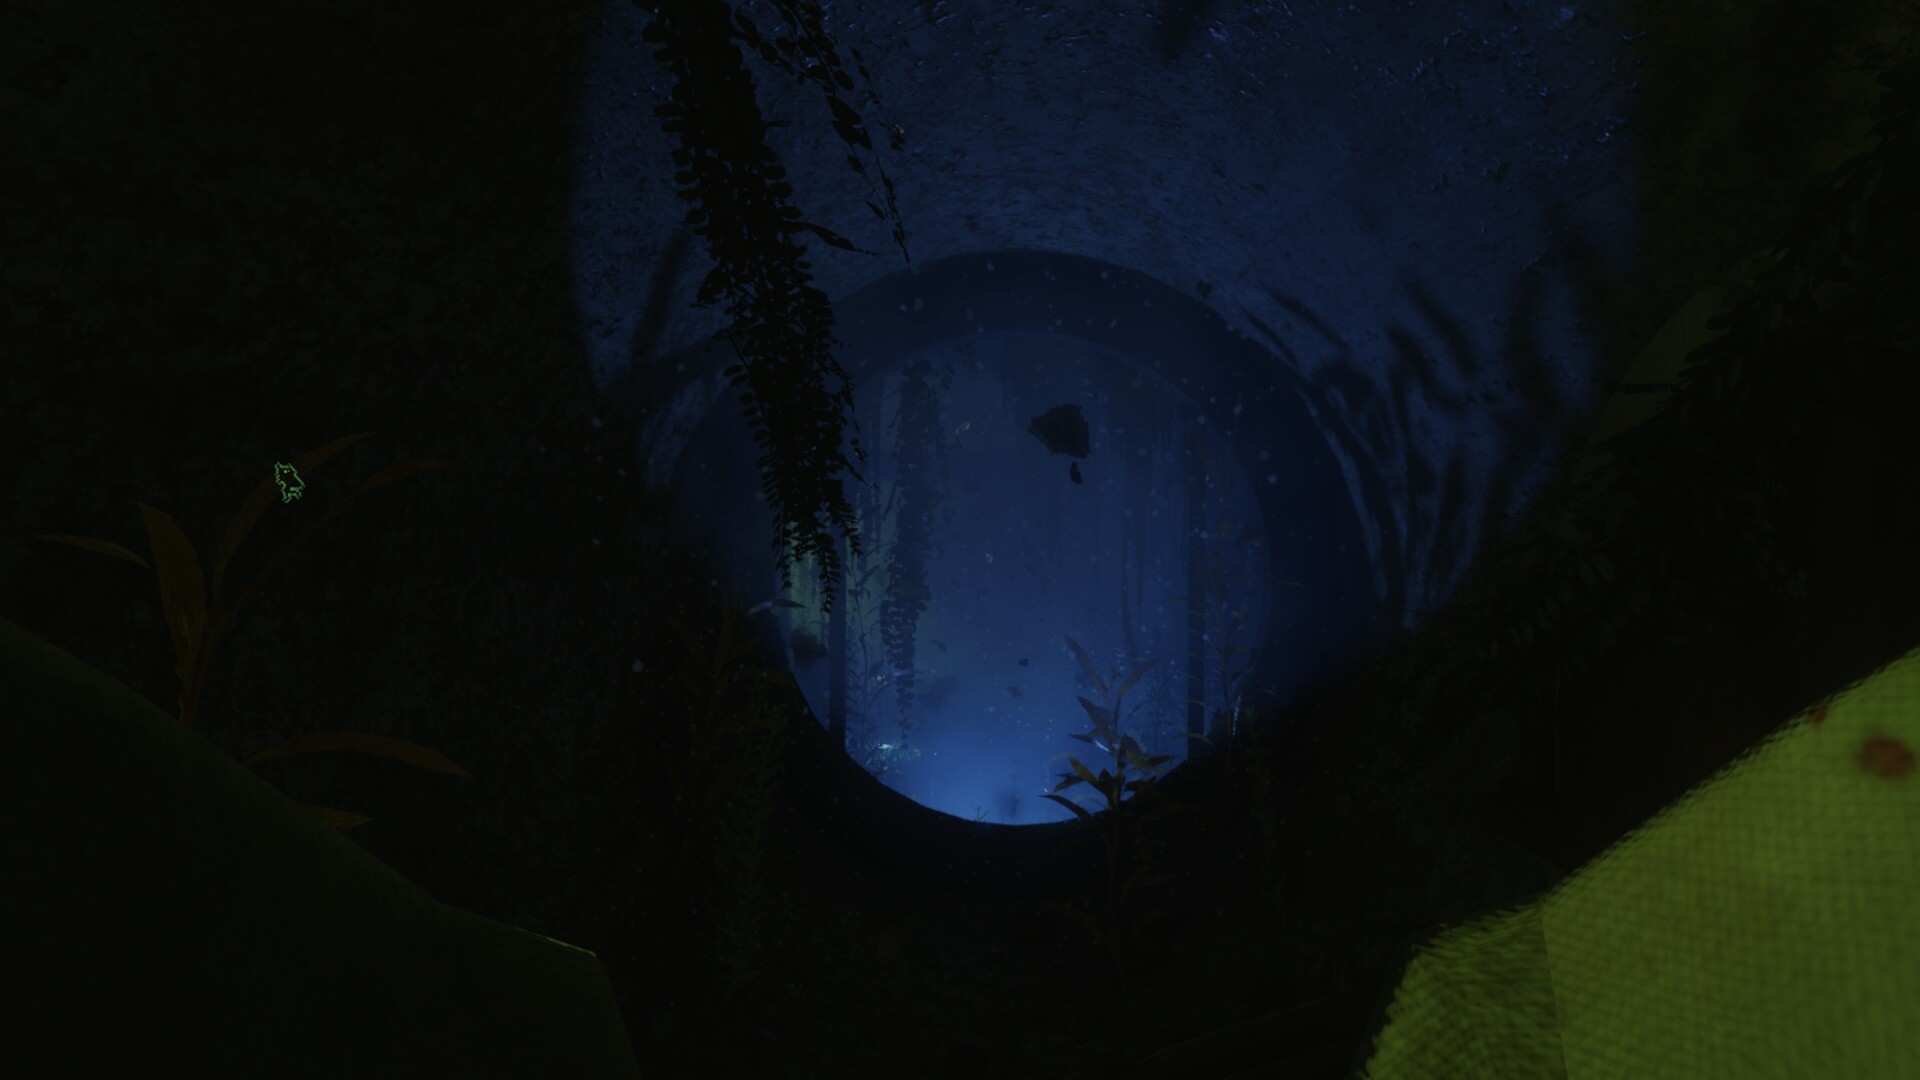
There is no main Power Switch. Instead, three generators need to be turned on. Each generator is located in; Lab A, Lab B, and in the Bunker. When turning on one Generator, it will power on nearby perk machines and traps. To power the Lab generators, players will need to collect a bucket and pour 115 water from nearby pools, which is essentially irradiated water. Then pouring the water into generators in Lab A & B. You will need to quickly turn them both on at the same time within the time limit. This will allow you to access the bunker area and turn on the power room’s last generator. The last generator is covered with a spider cobweb which can be melee’d away. Then kill nearby zombies to open the barrier blocking the generator switch. Interact with the switch to turn on the power.
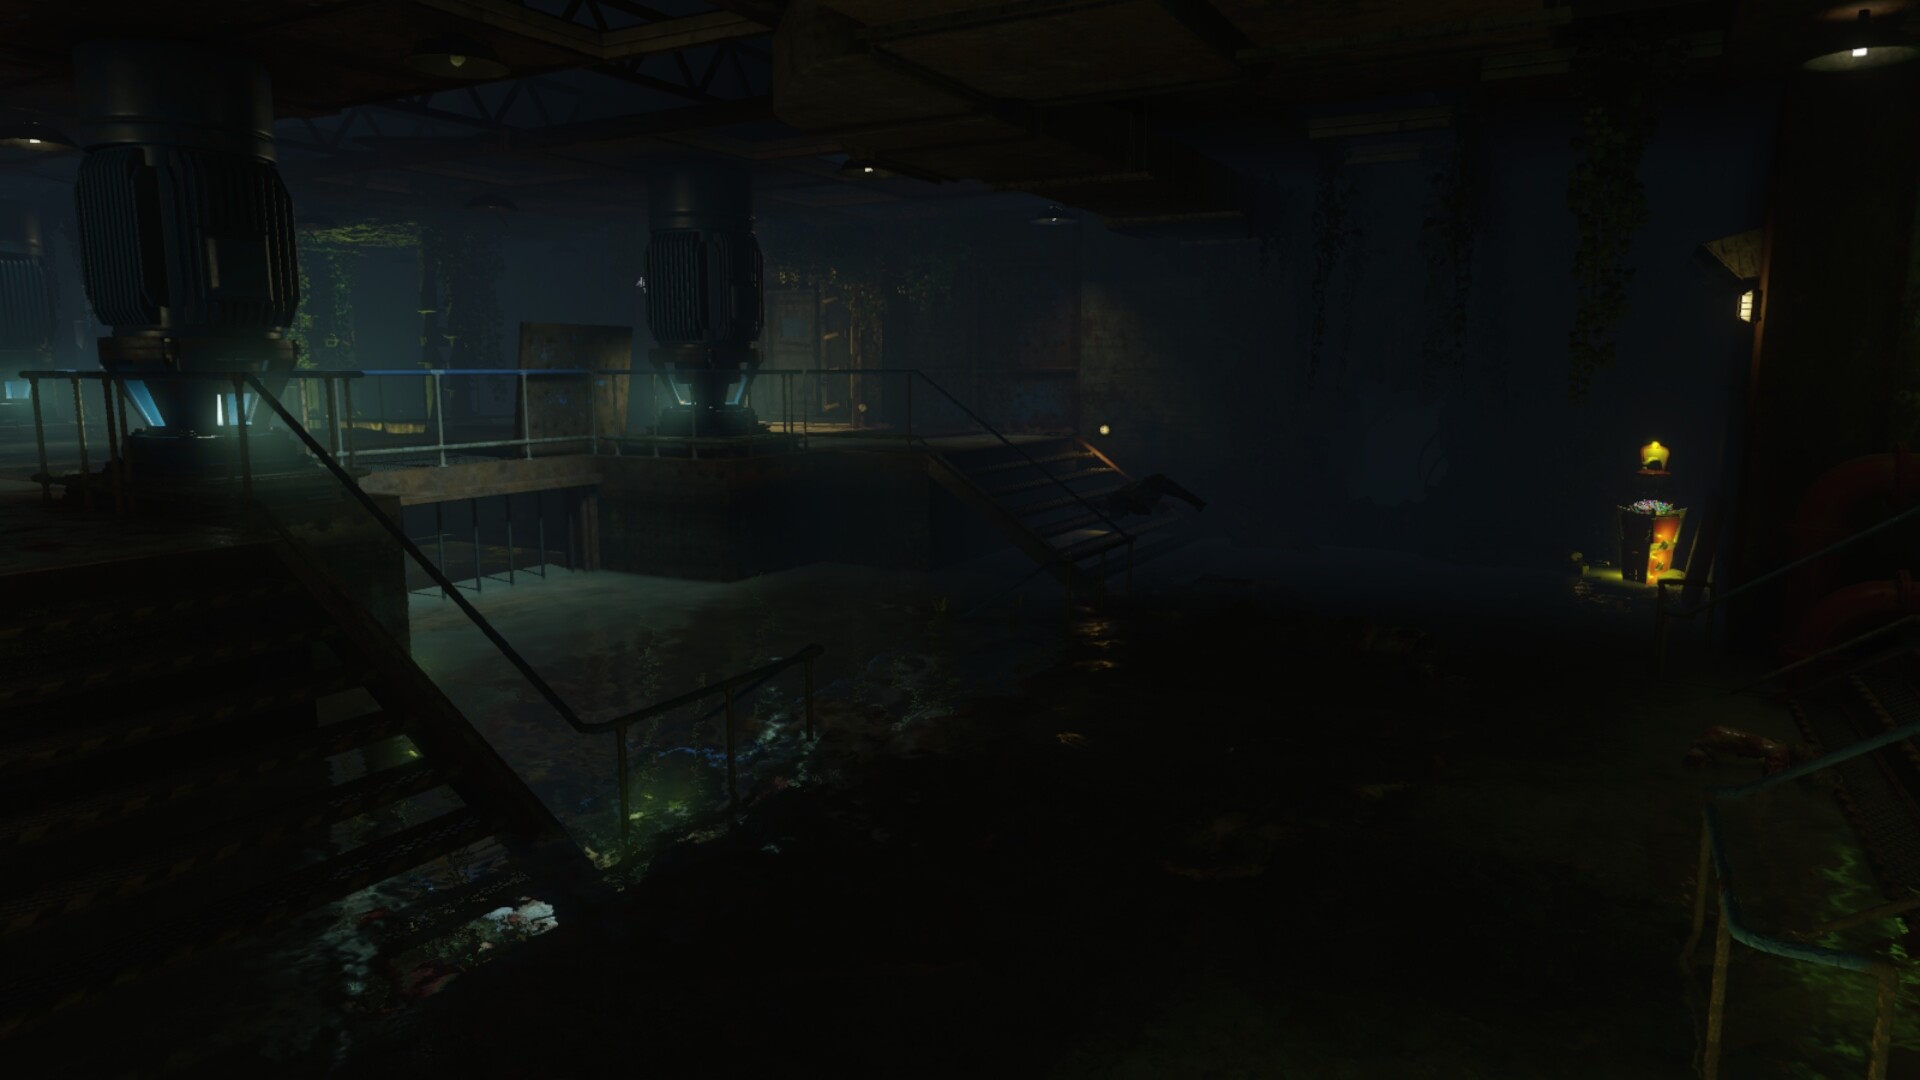
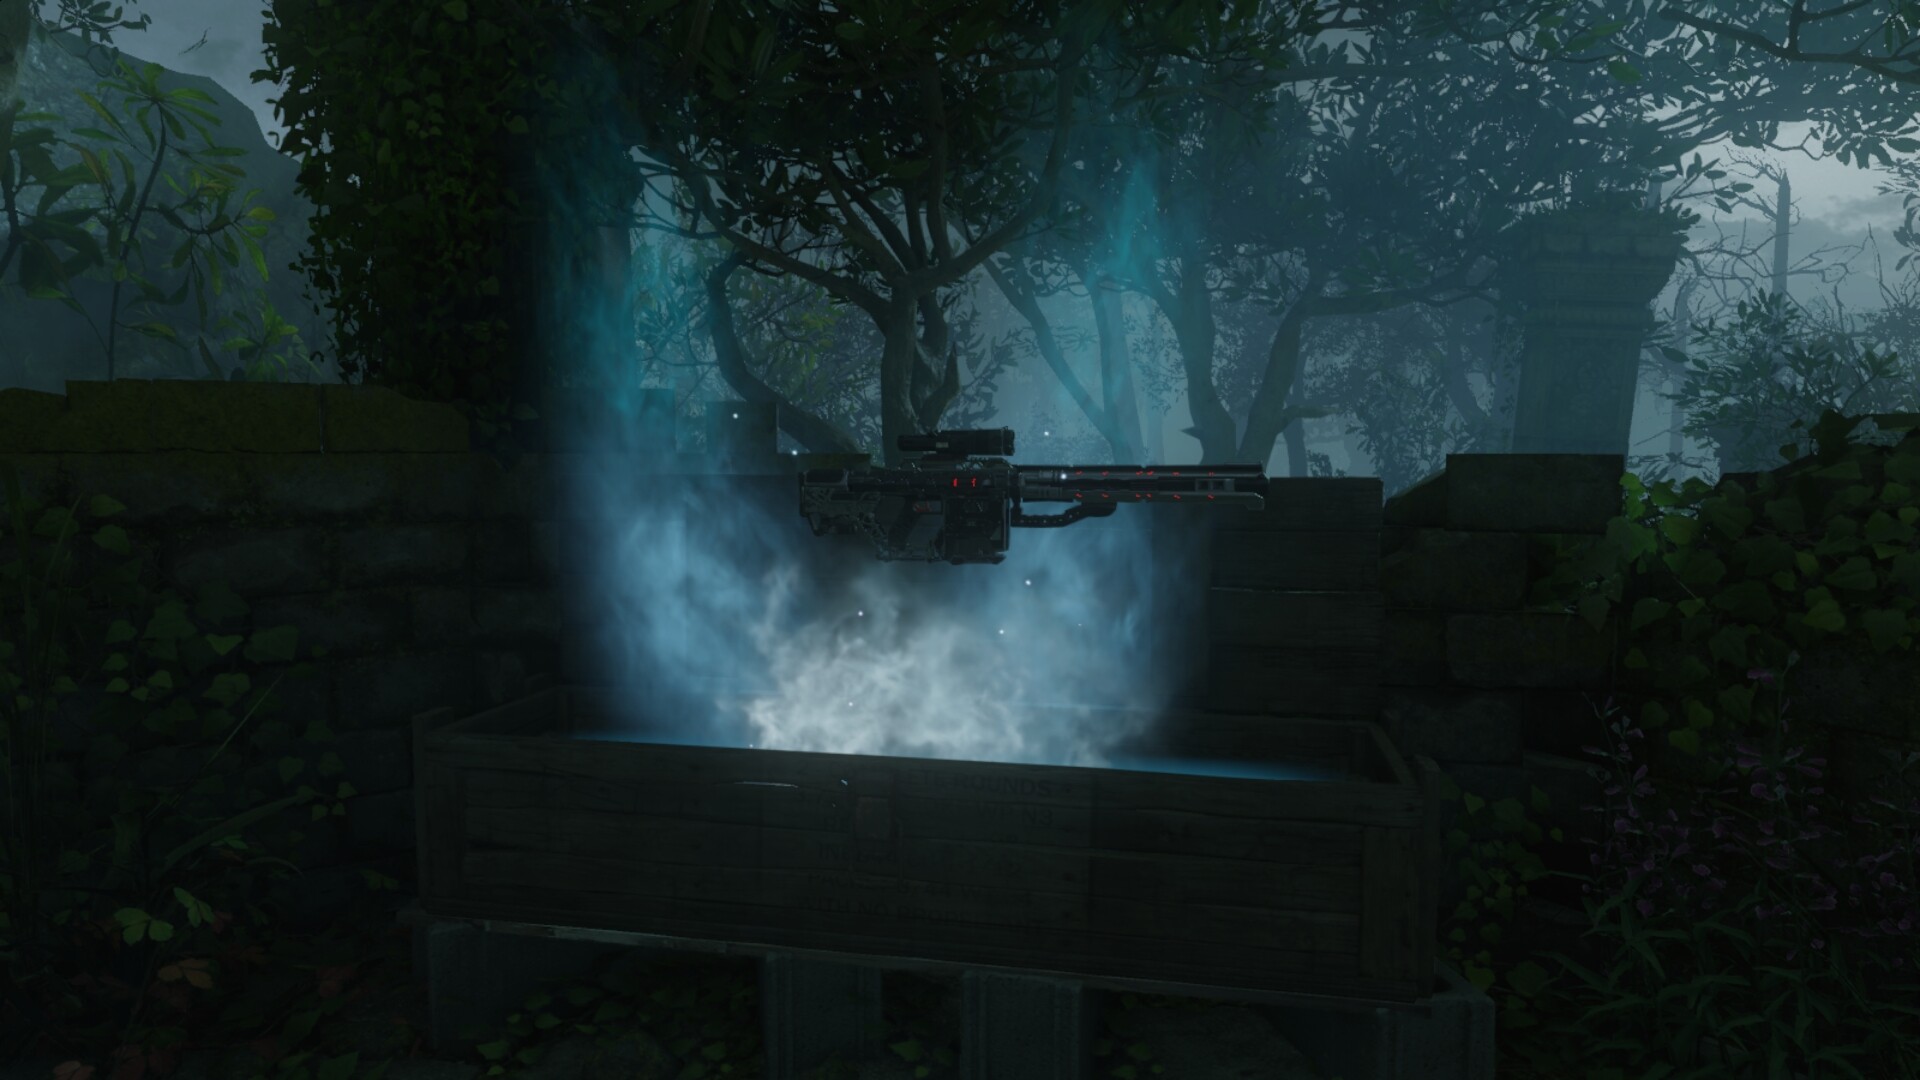
The Pack-A-Punch machine is underwater and will need to have the water drained before using it, drain the water by finding three parts, a wheel underwater, another part underwater after clearing the spider web, and lastly, knifing the bodies hanging next to the Pack-A-Punch room to expose the last part and head to the upper level of the Pack-a-Punch, repair the final pump machine to drain the water completely from the area. Weapons can be Pack-A-Punched again to add some extra effects, the cost is another 2500 points on top of the 5000 points already spent and will give the player one of the following bonuses.
1. Turned: Changes a random zombie back to human, this will send zombies in another direction.
2. Fireworks: A random bullet will cause fireworks to blast other surrounding zombies.
3. Thunder Wall: Random bullets have a Thunder Gun like effect, blasting back zombies.
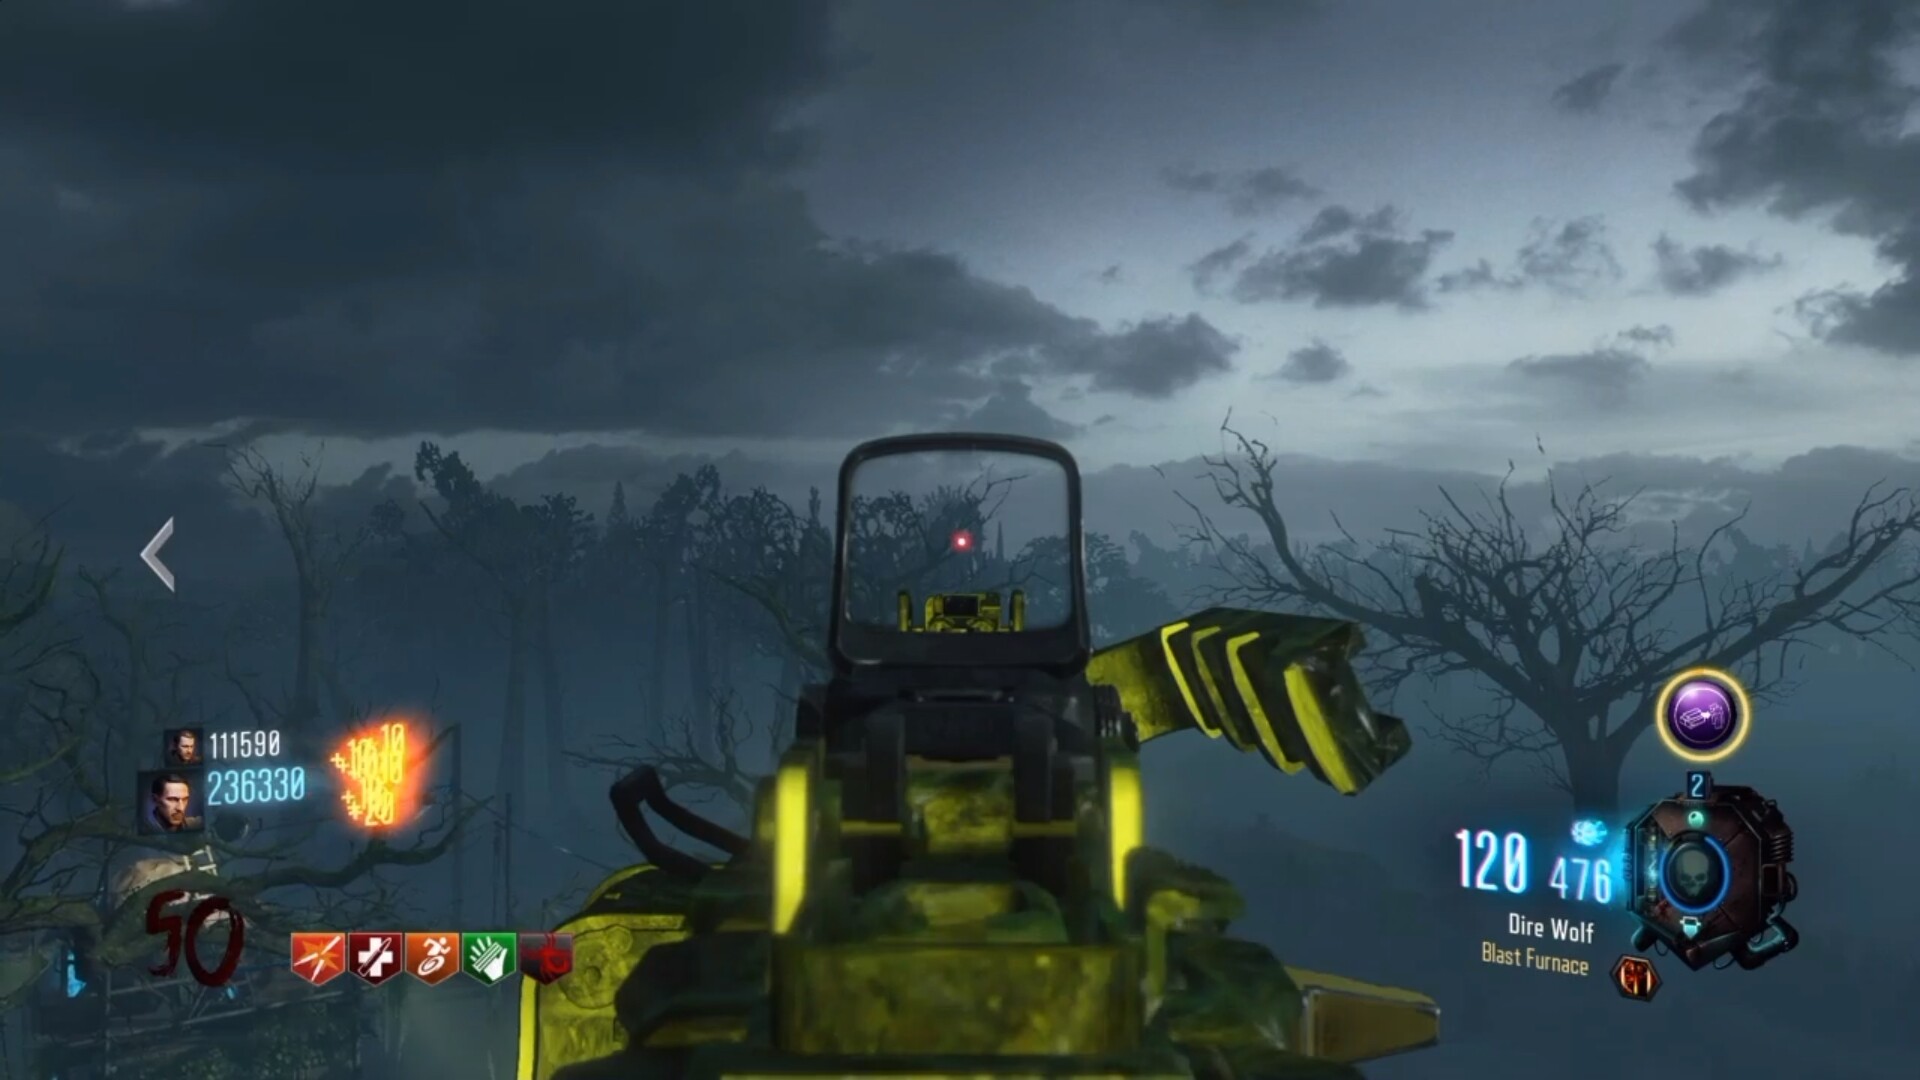
4. Blast Furnace: Causes a random zombie to explode and spread fire to other nearby zombies.
5. Dead Wire: A random chain of electricity will kill many nearby zombies.

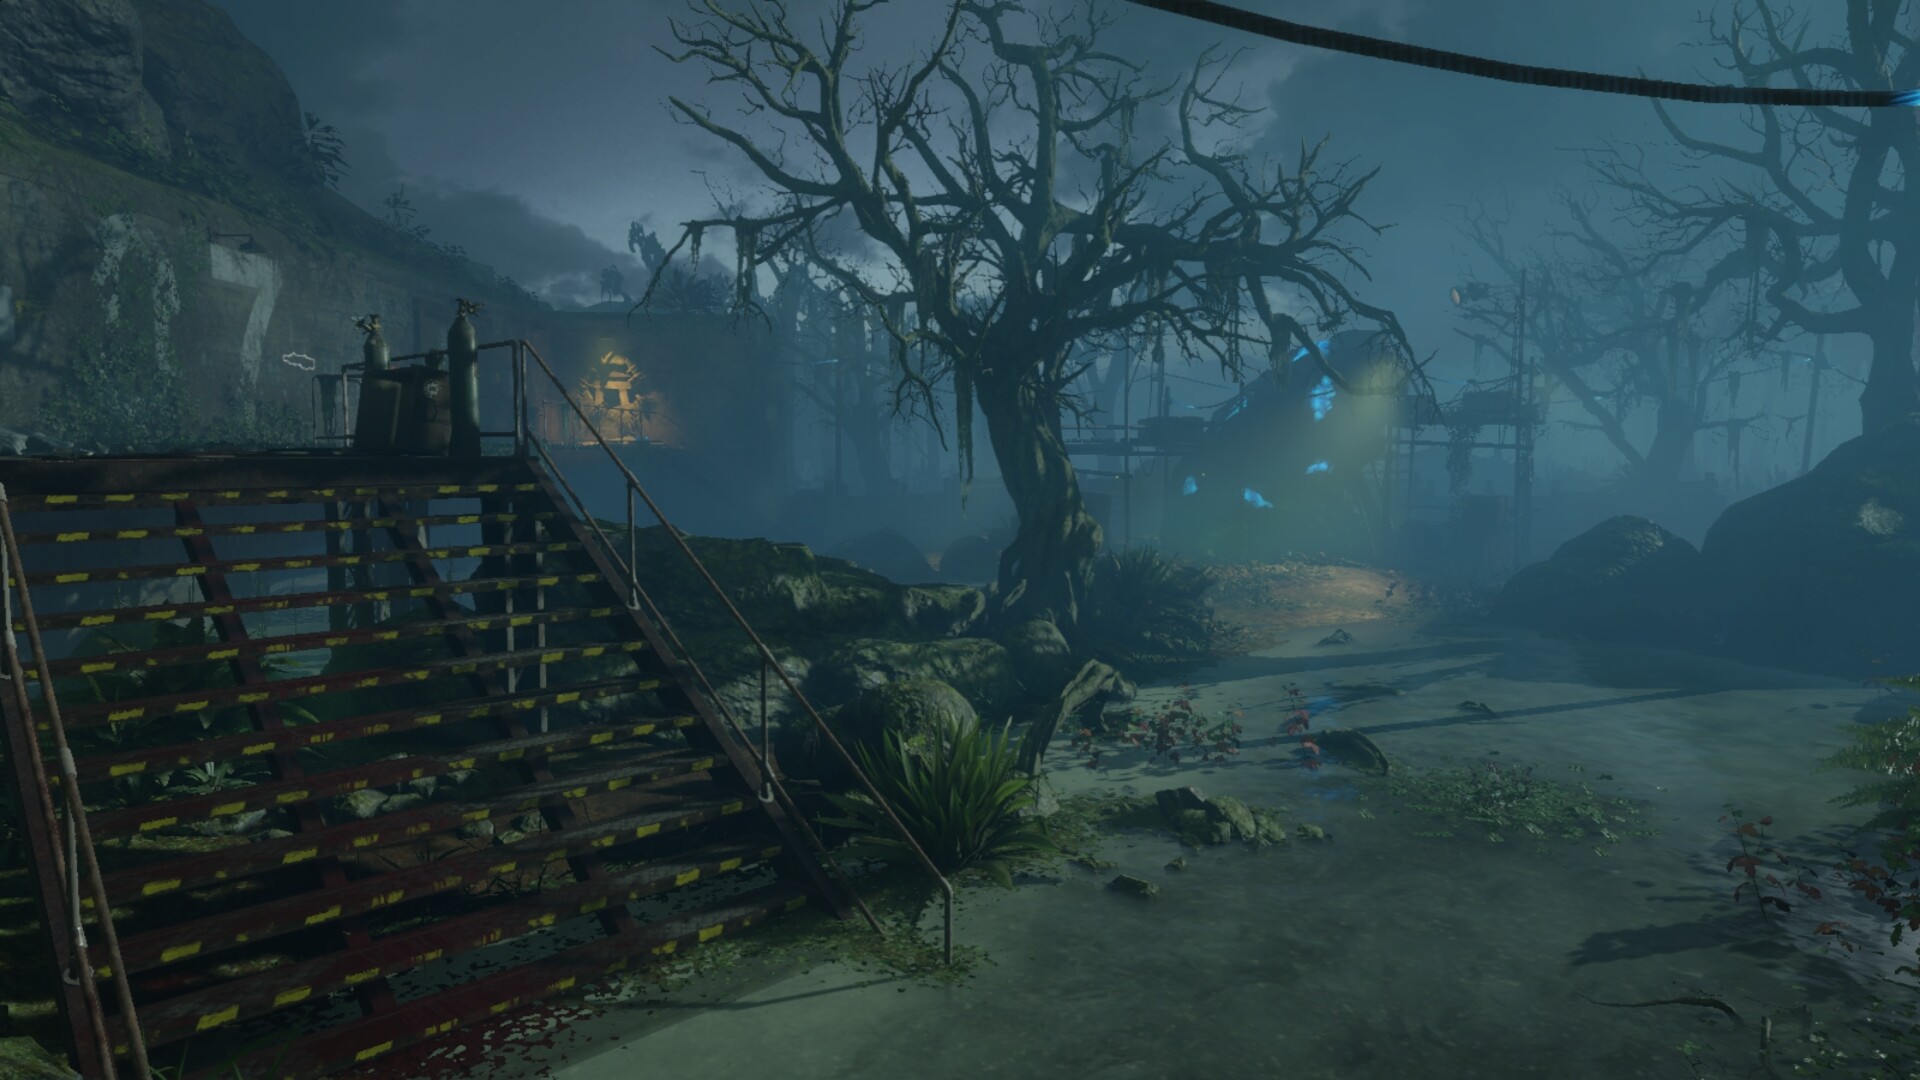
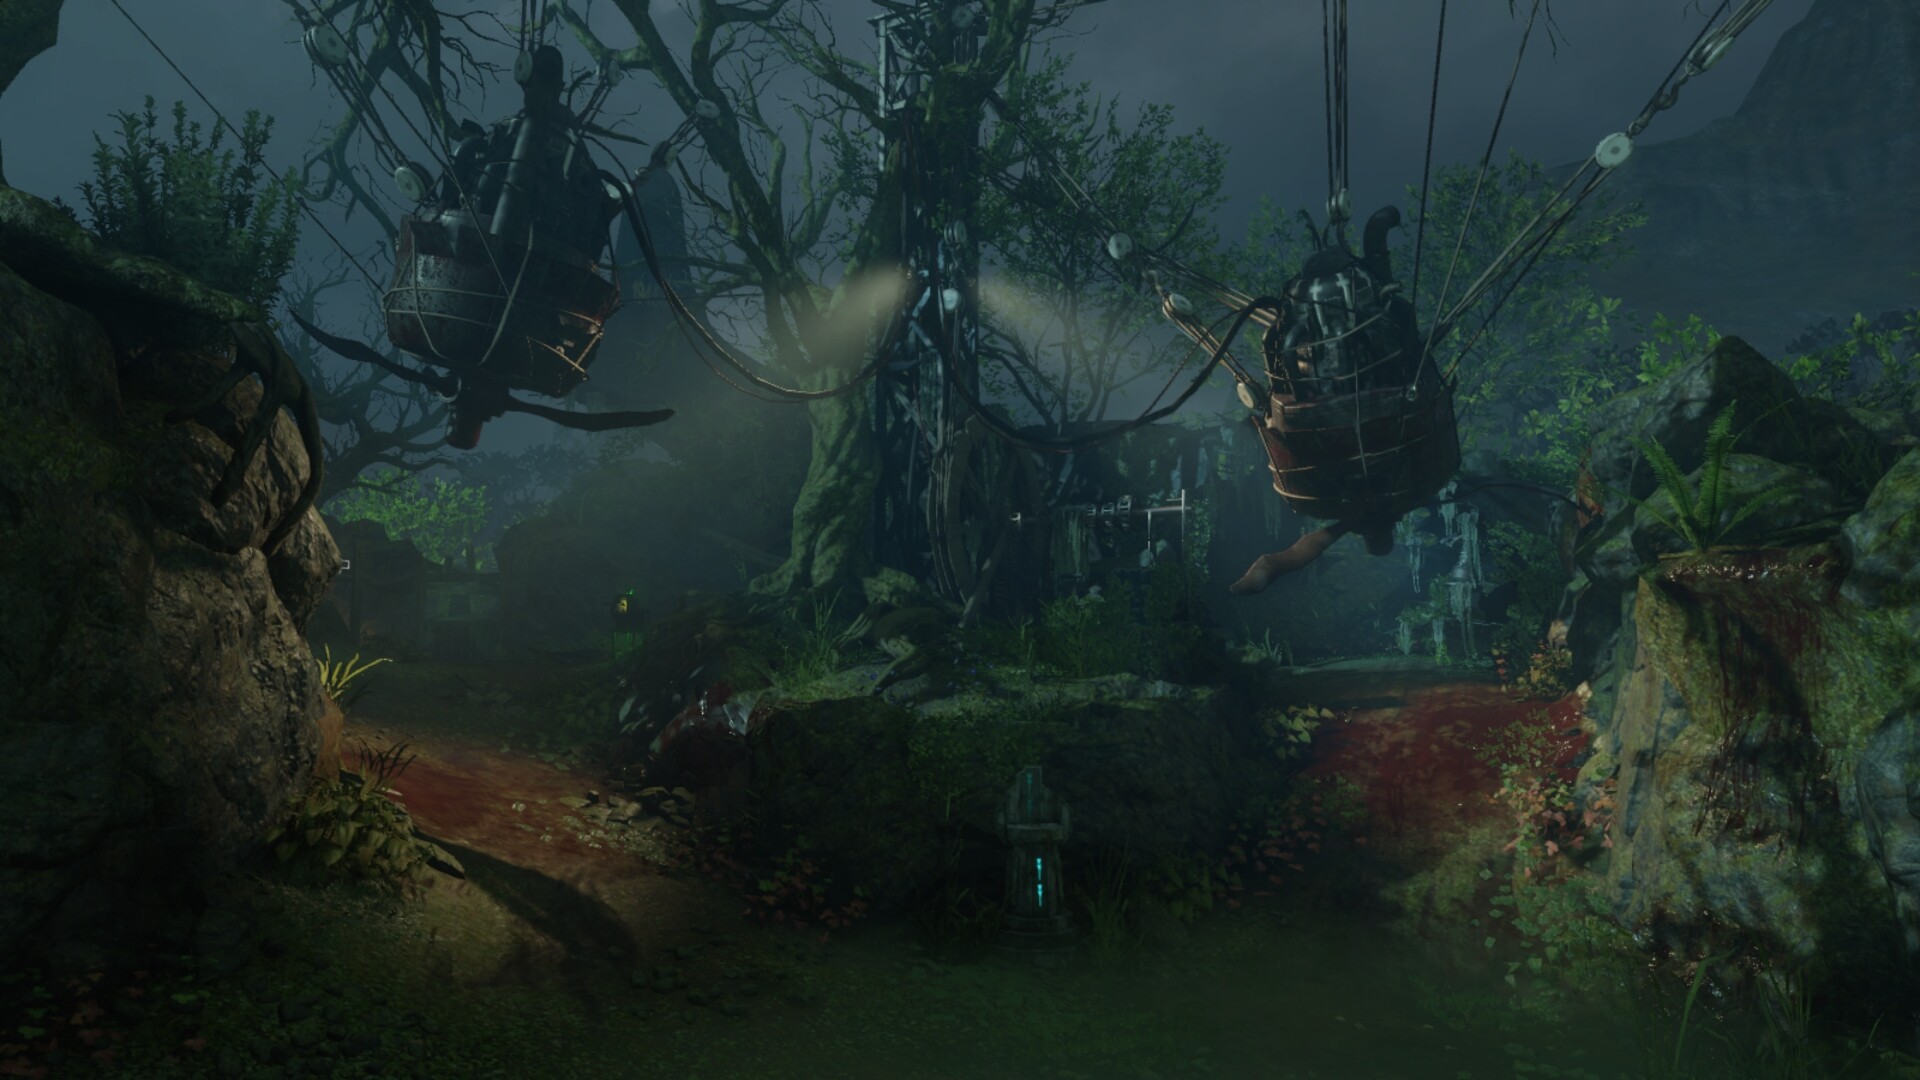
Ziplines make a return on Zetsubou No Shima, Players can use the zipline for 250 points and zipline from Lab A to the docks and back to Lab A. These are a great way to get from one point to another but only one player can use it at a time.
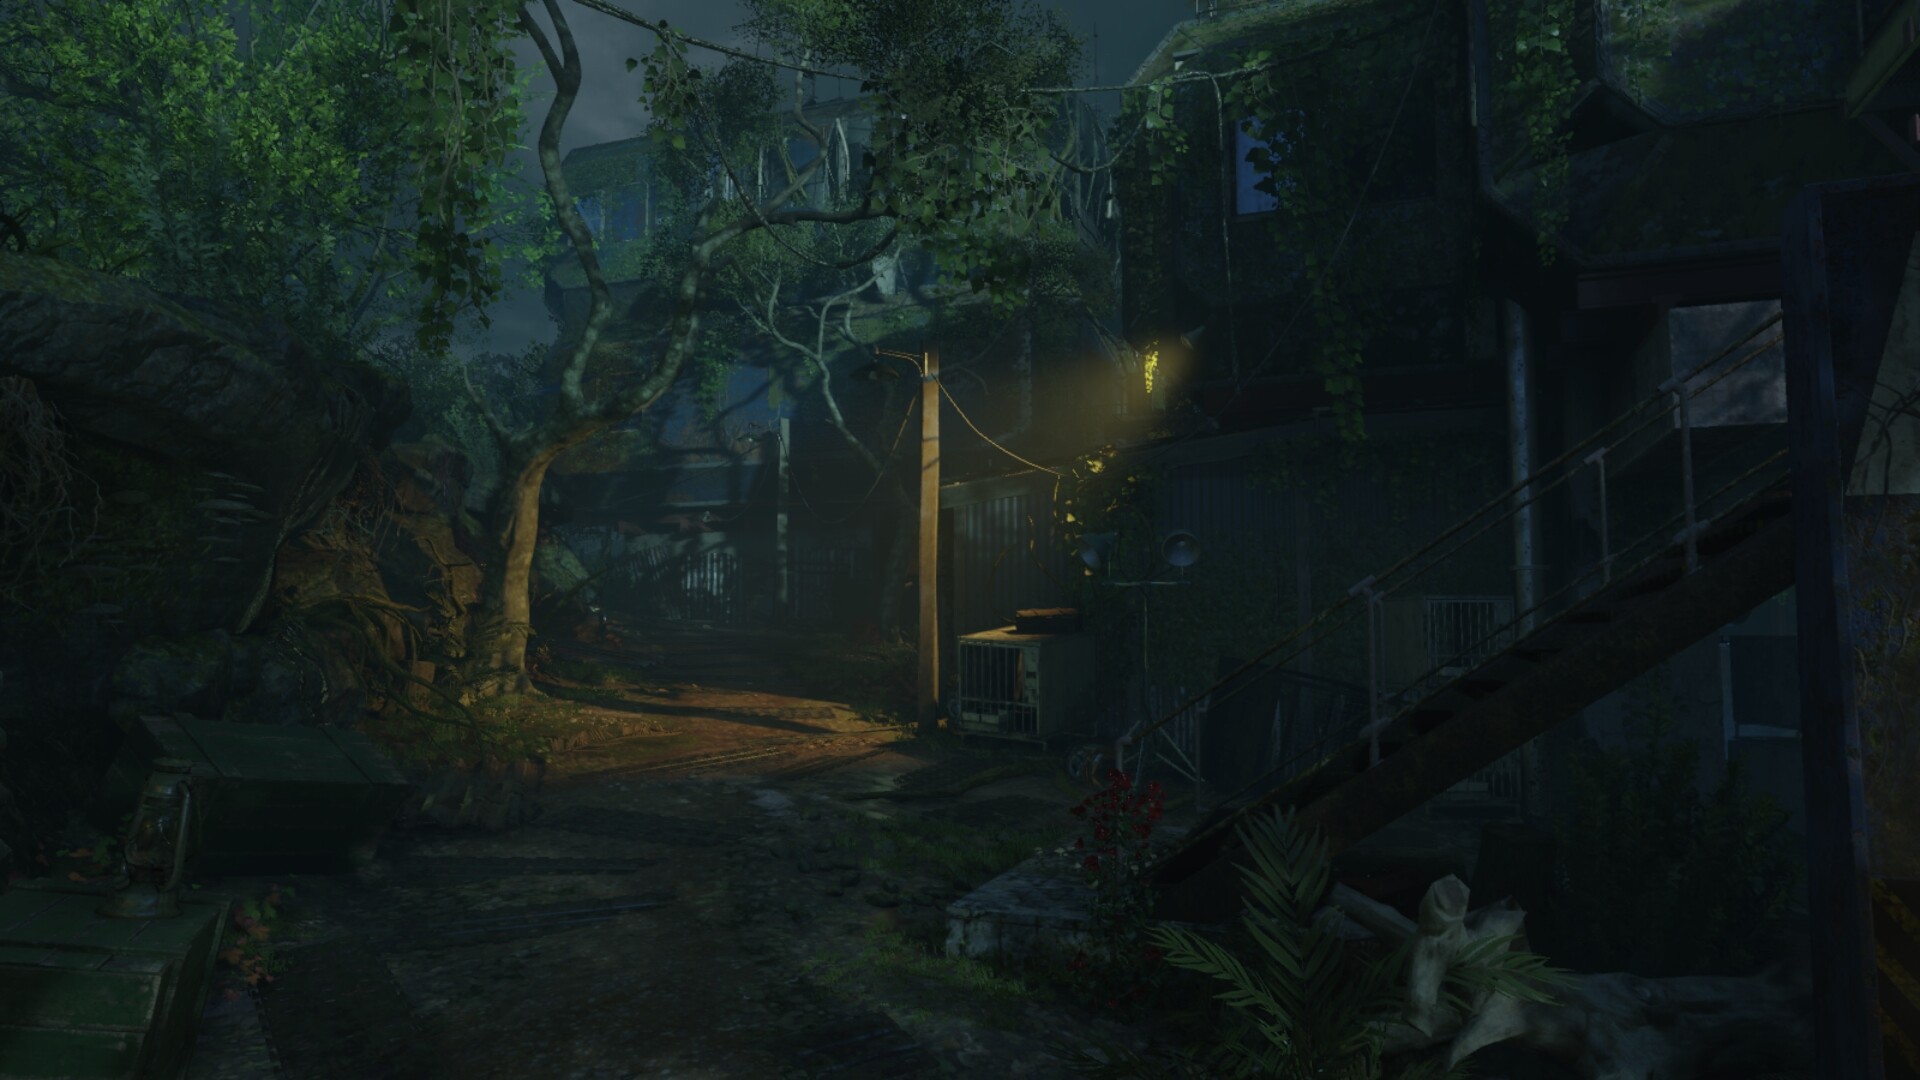
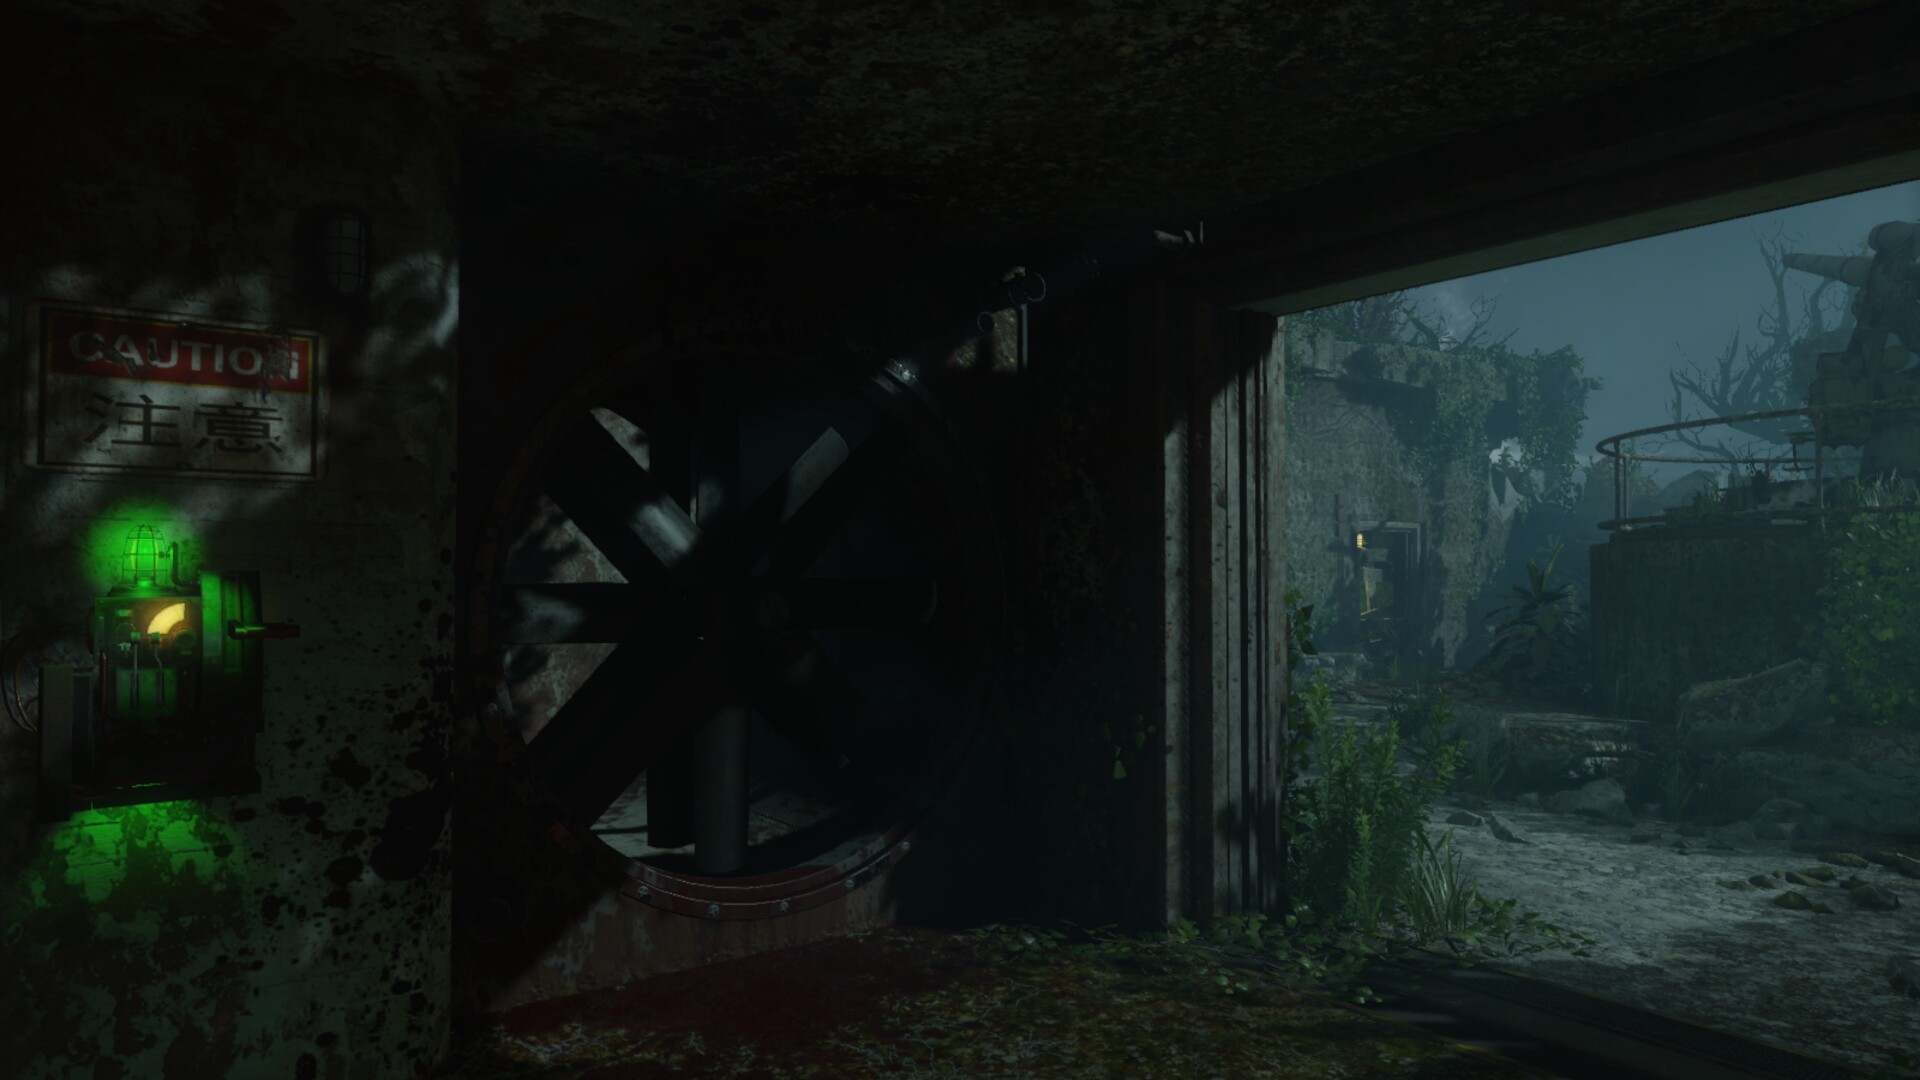
The Sewer Pipe is a mechanism that can be activated for 500 points. The pipe allows players to travel from Lab B to the Bunker and vice versa.
To activate the Propeller trap, players will need to spend 1000 points. The two propellors will then kill any zombies who walk beneath the suspended propellors.
The Fan Trap pulls zombies into its fan and kills them instantly. Players need to spend 1000 points to use the Fan Trap mechanism.
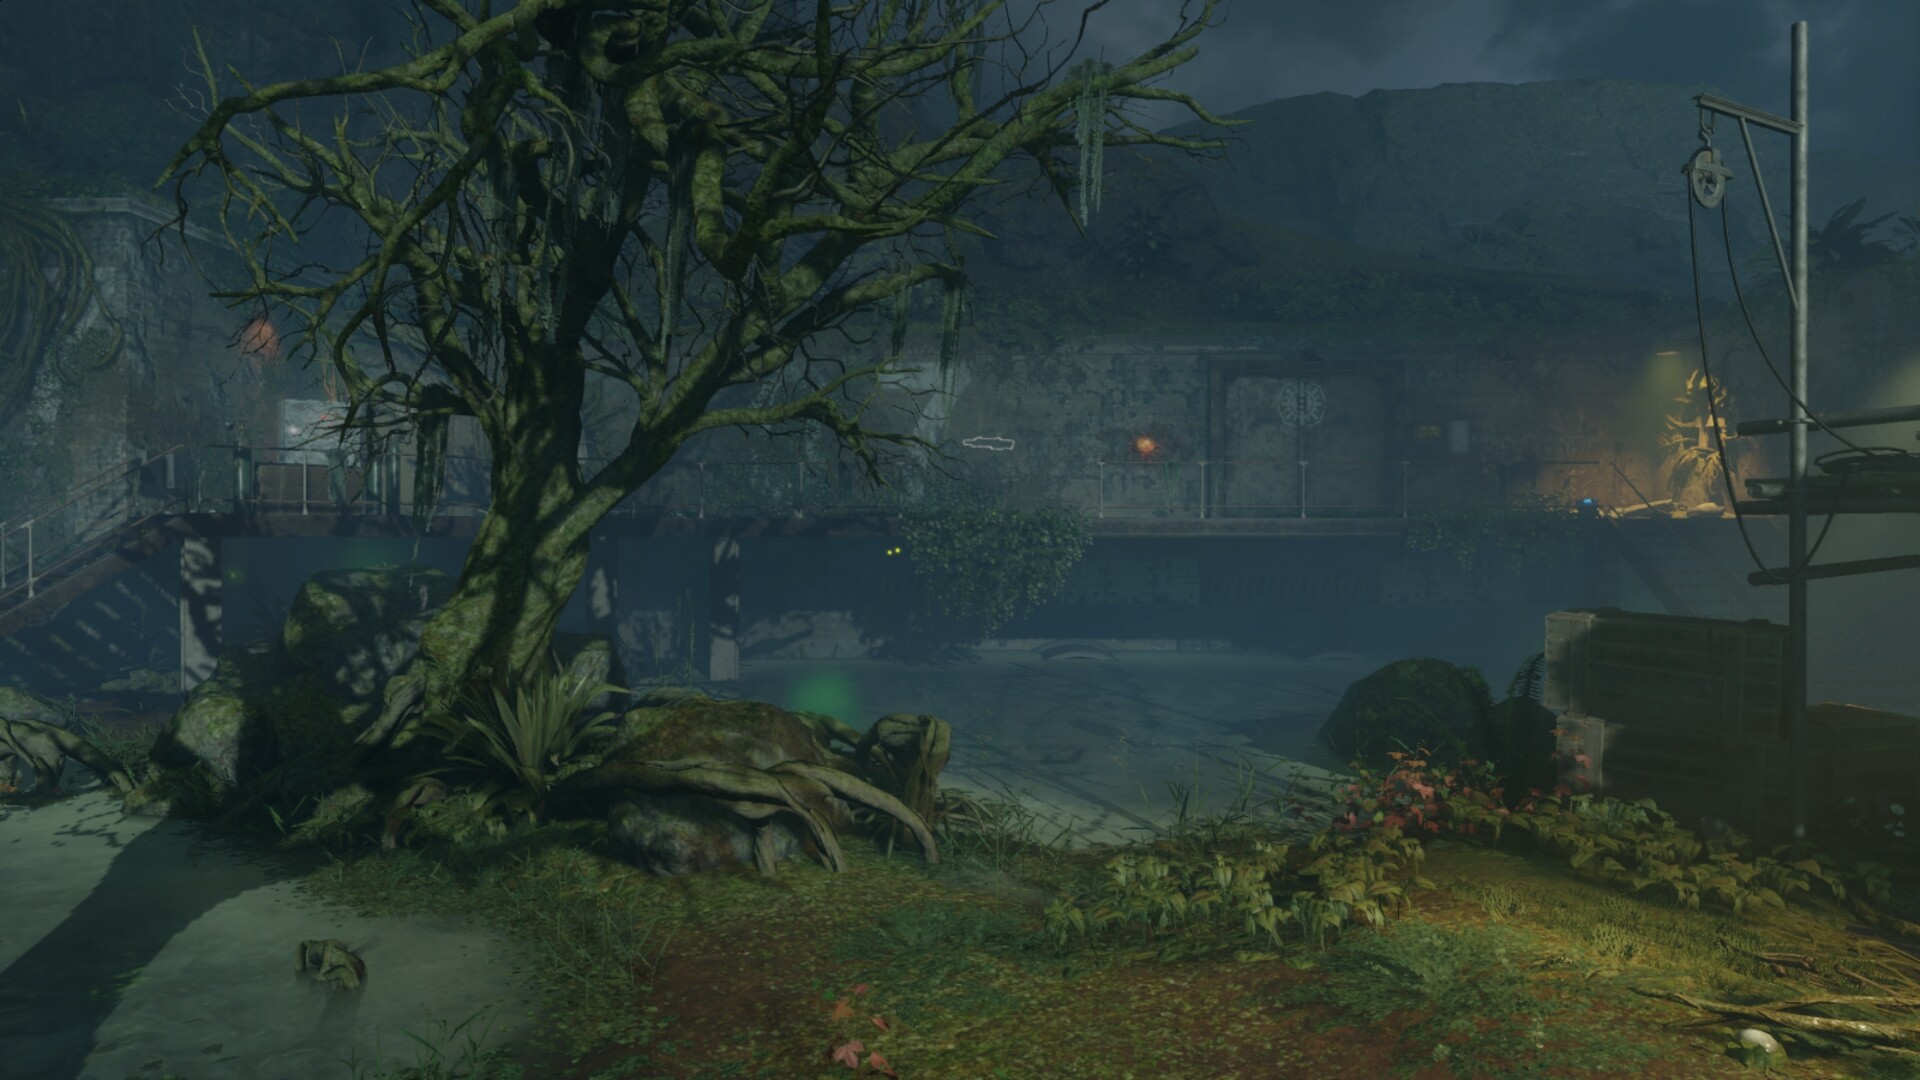
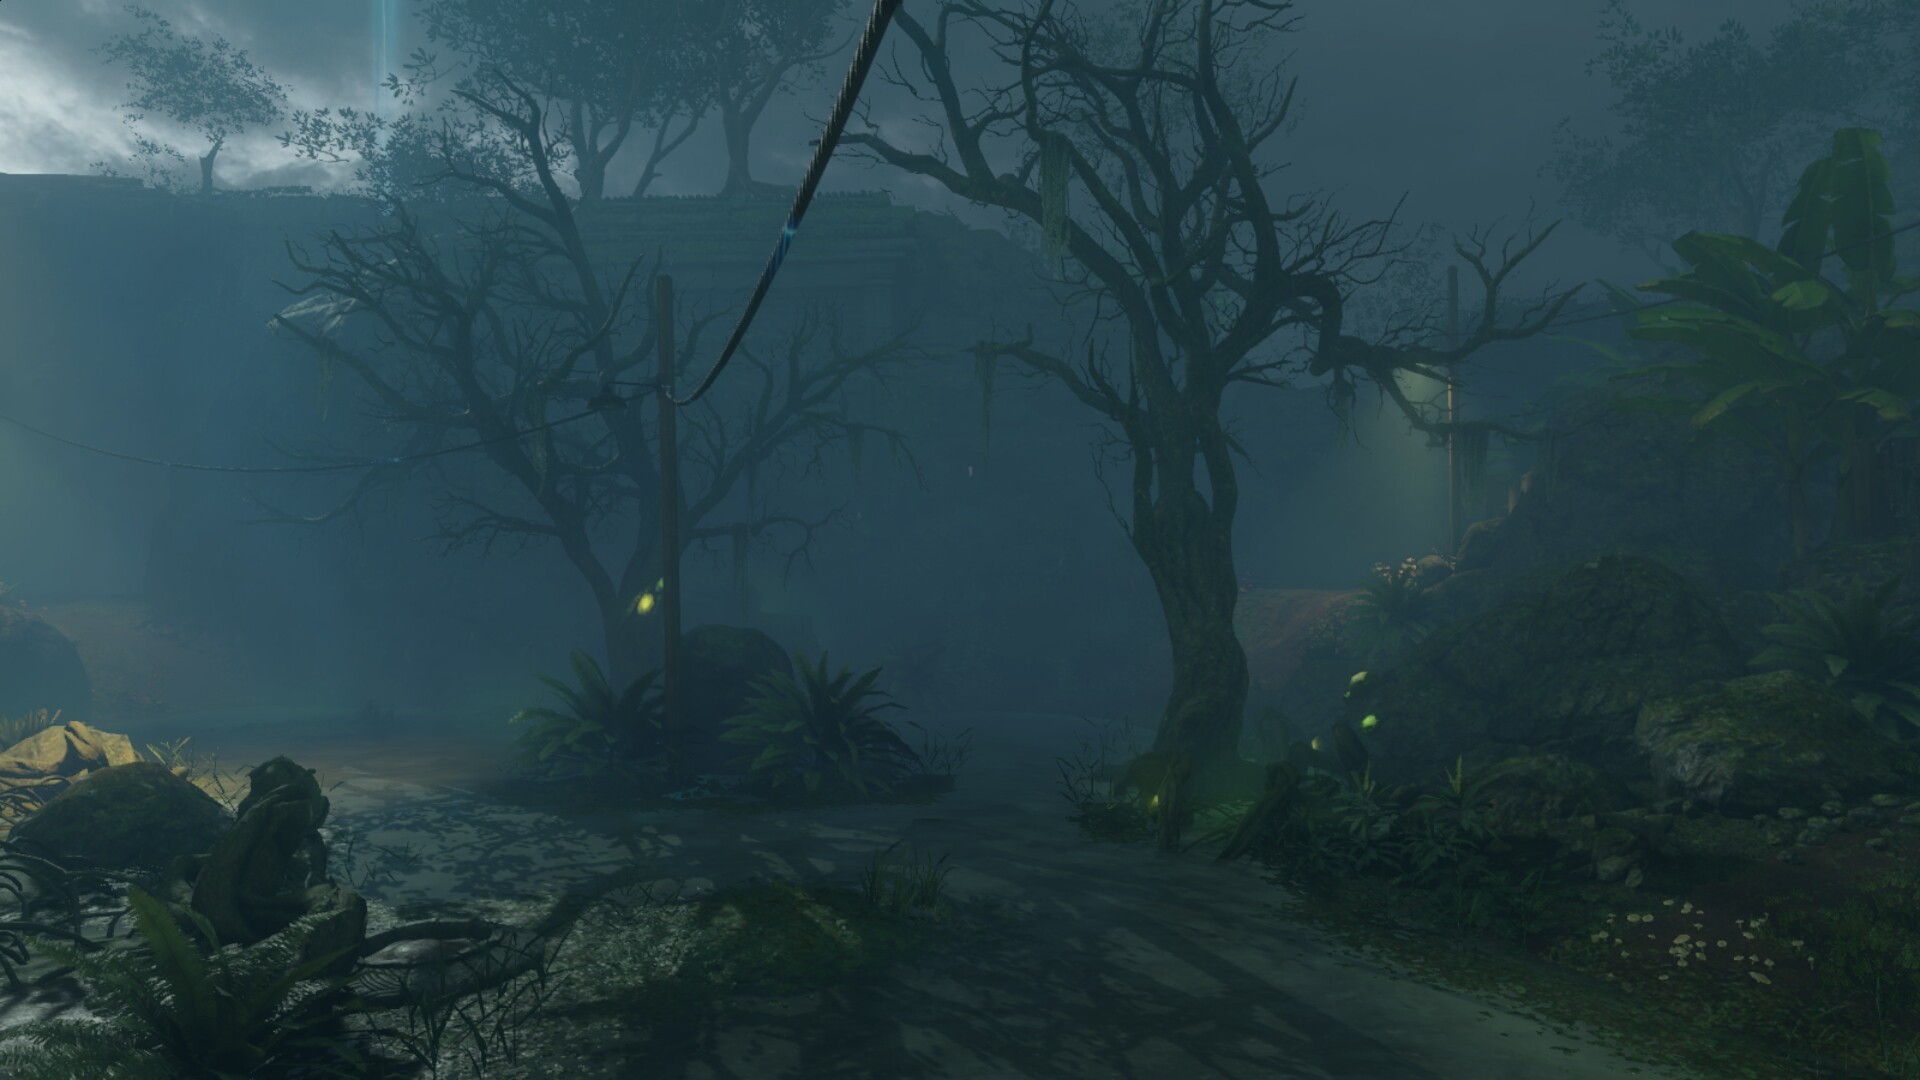
To build the Shield, you need to collect three parts scattered around the map. The first part is near a wall weapon below Lab A. The second part is placed on some trees in a swamp in Lab B. And the third part can be found near some windows in the bunker. The shield is a great way to protect your back and hit zombies when running low on ammo.
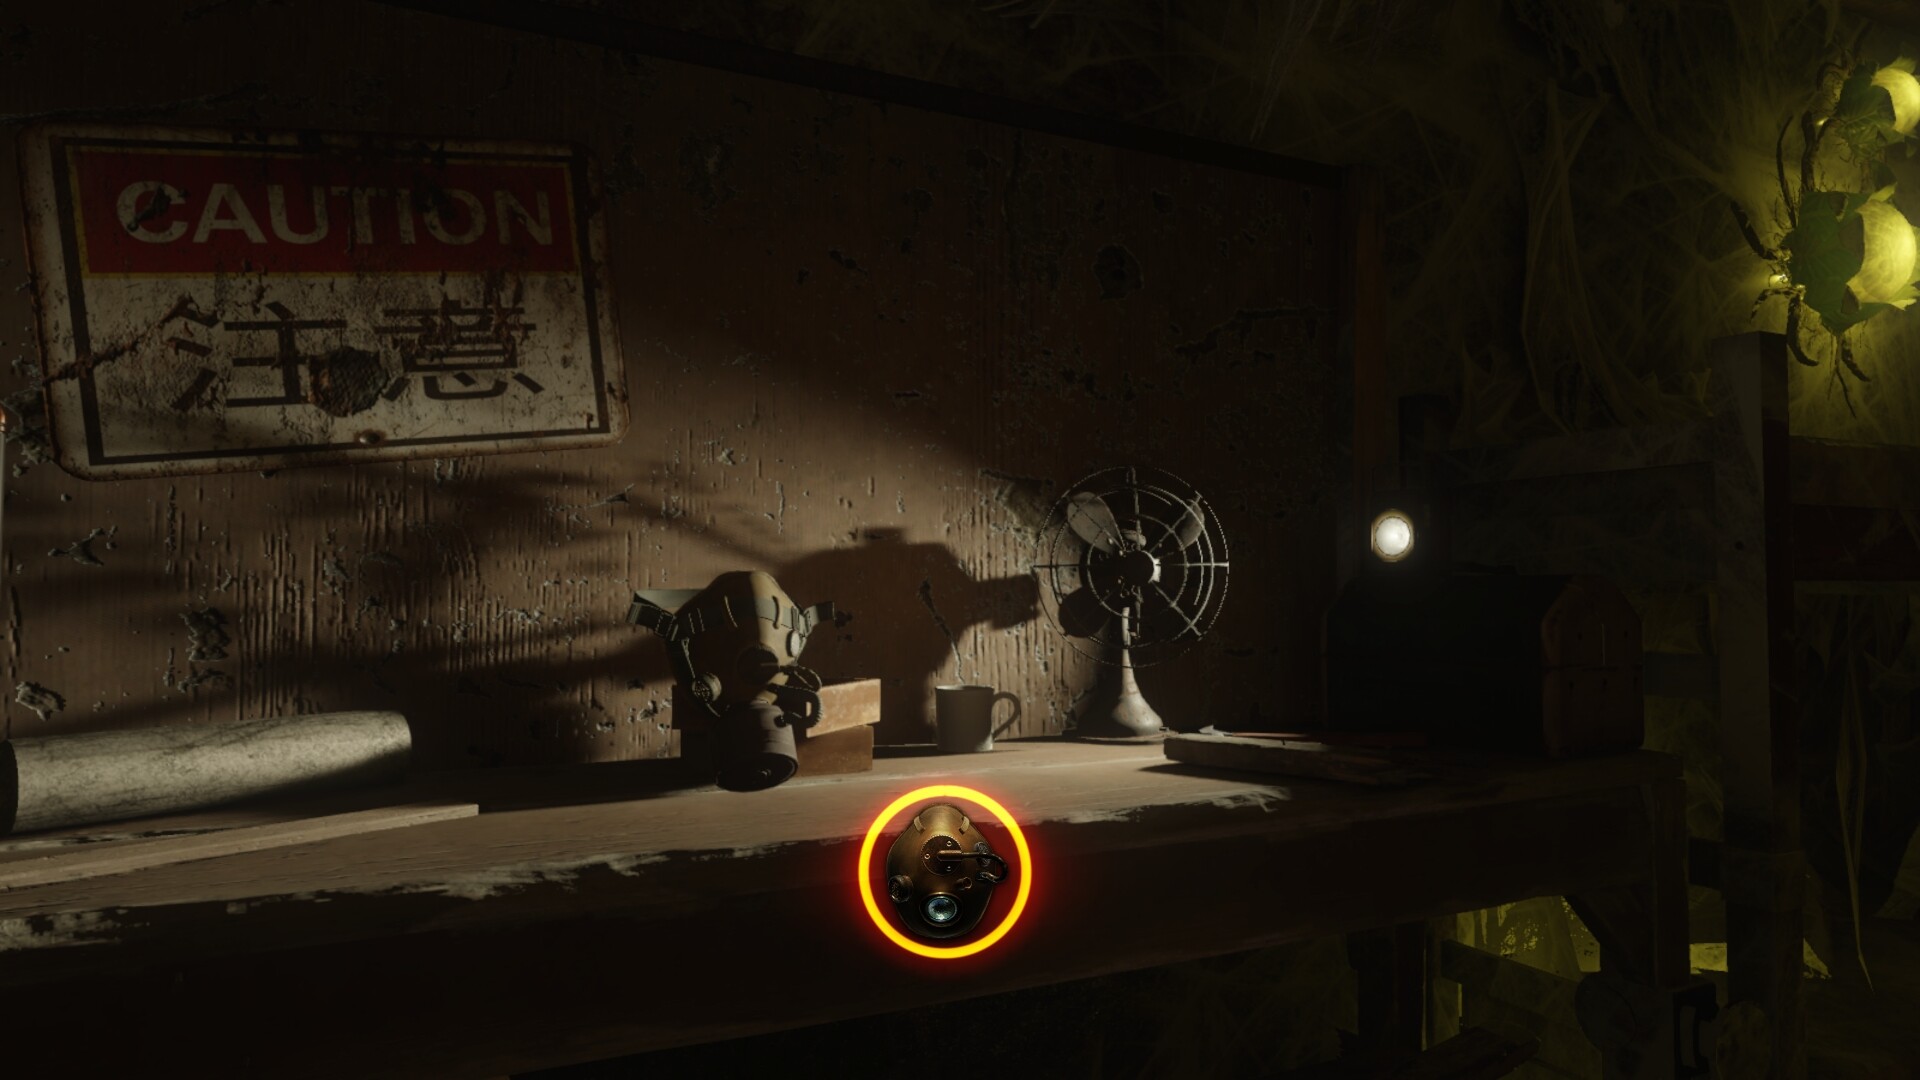
Using the Gas Mask protects players from gases emitted from spores and allows you to breathe better underwater. The Gas Mask needs three parts to be built. The mask cover part can be located around Green115 Lake. Next, the second strap part is near the Propeller trap utility. Finally, the last part can be found around the docks. Interact to pick them up and build the Gas Mask on a workbench. You can pick up a new one once the old one has lost its durability.

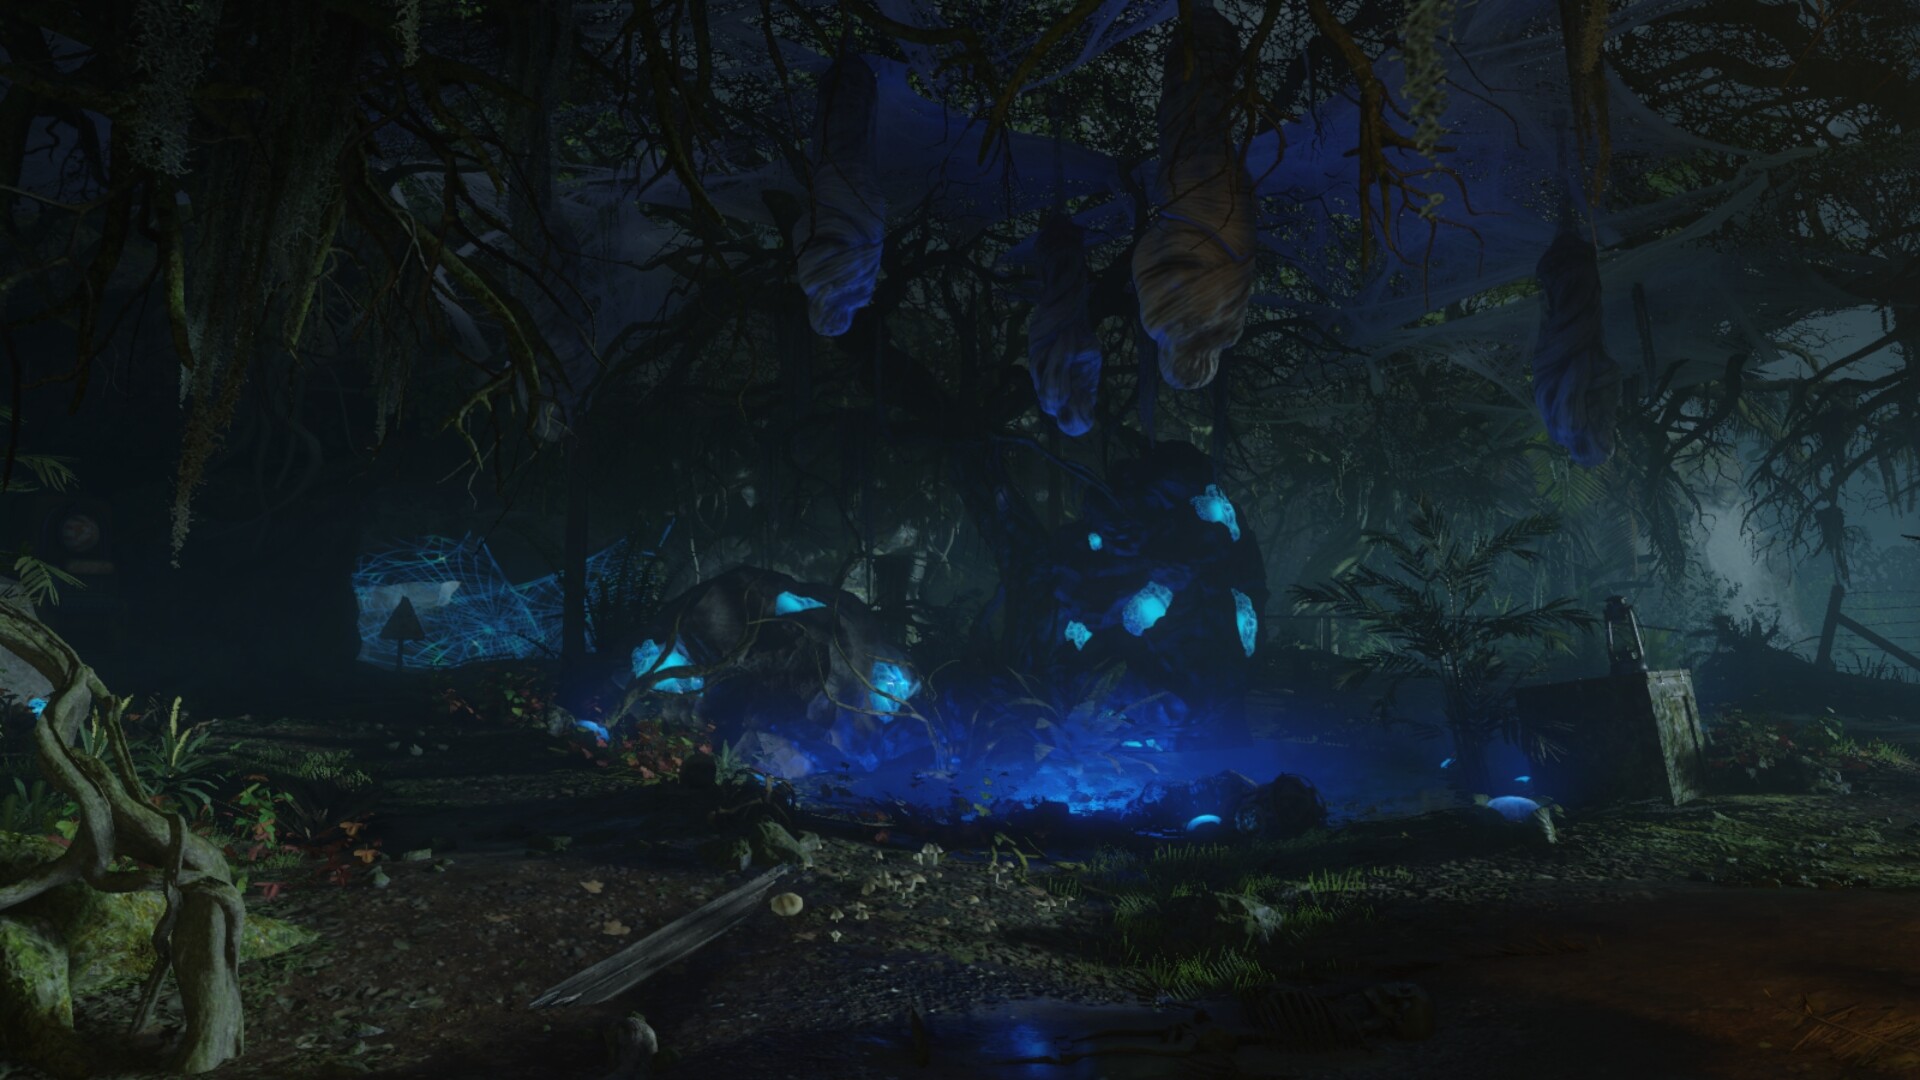
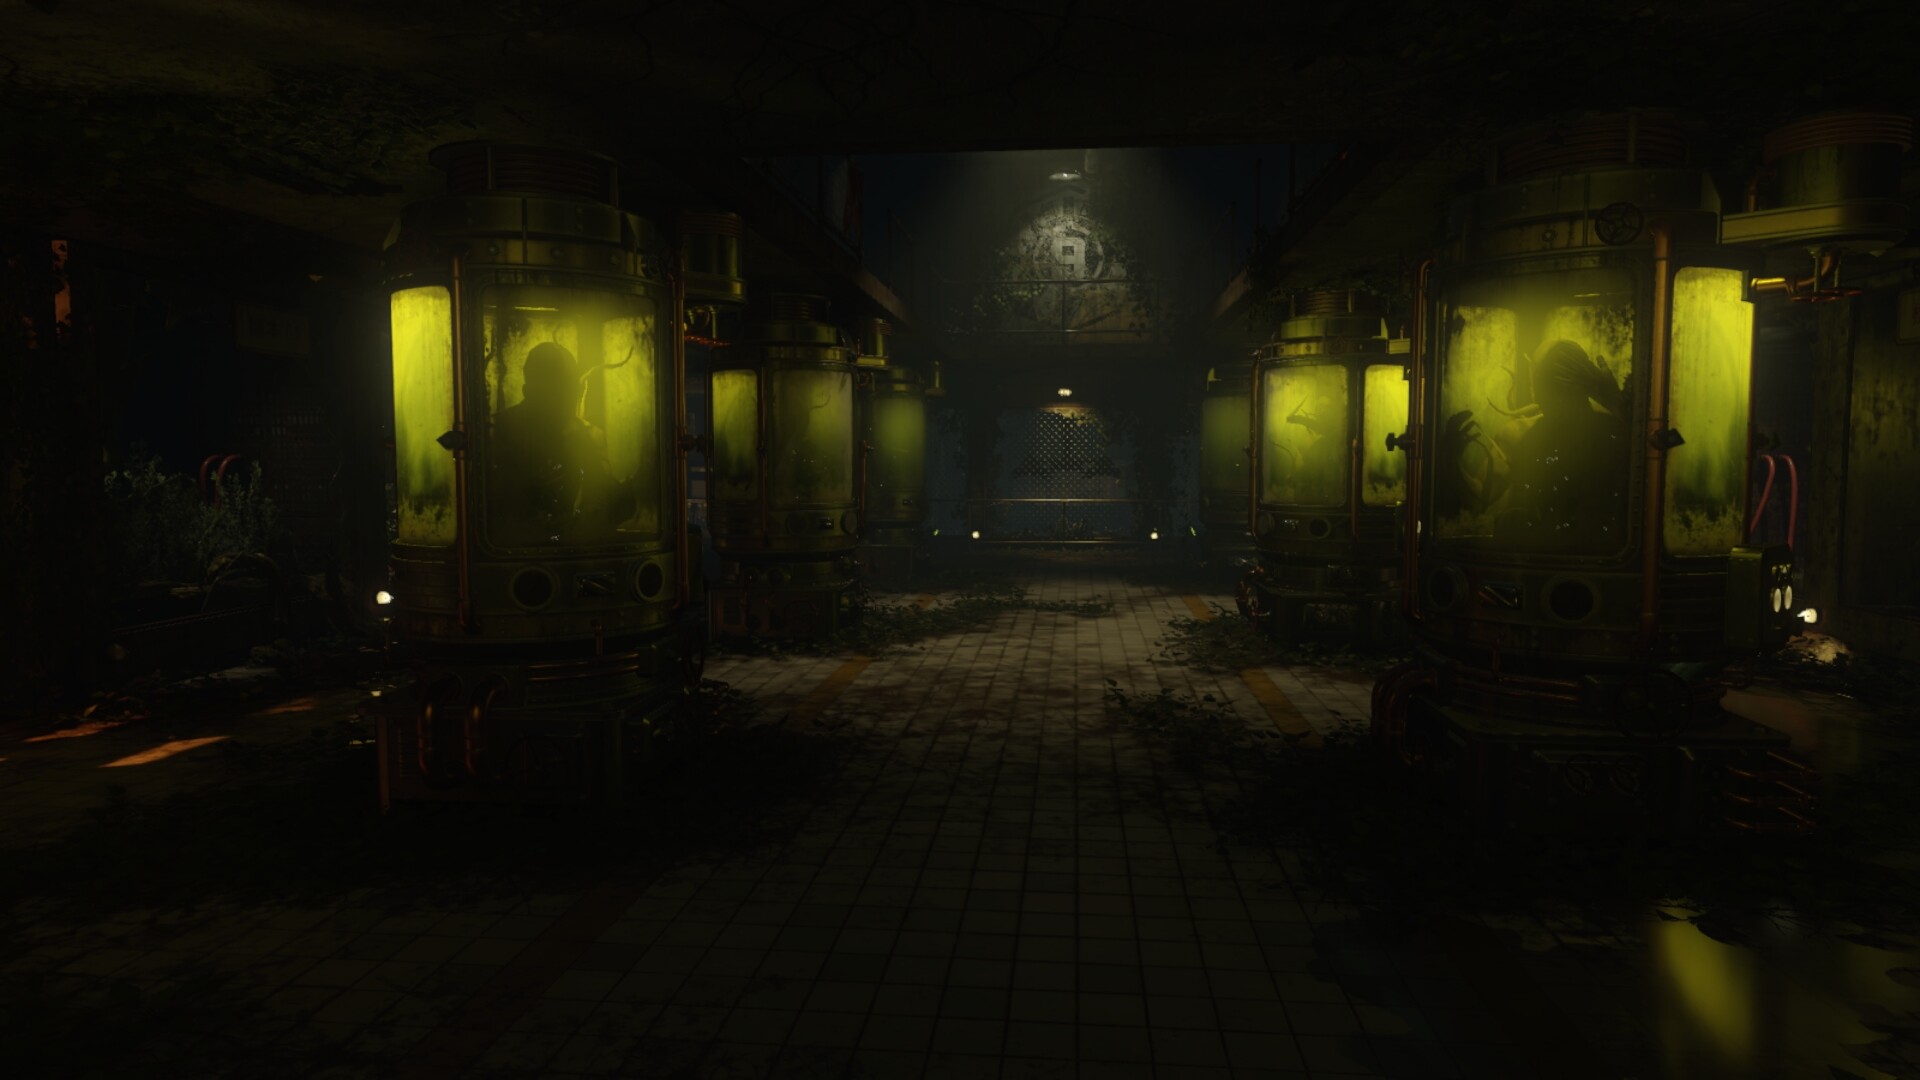
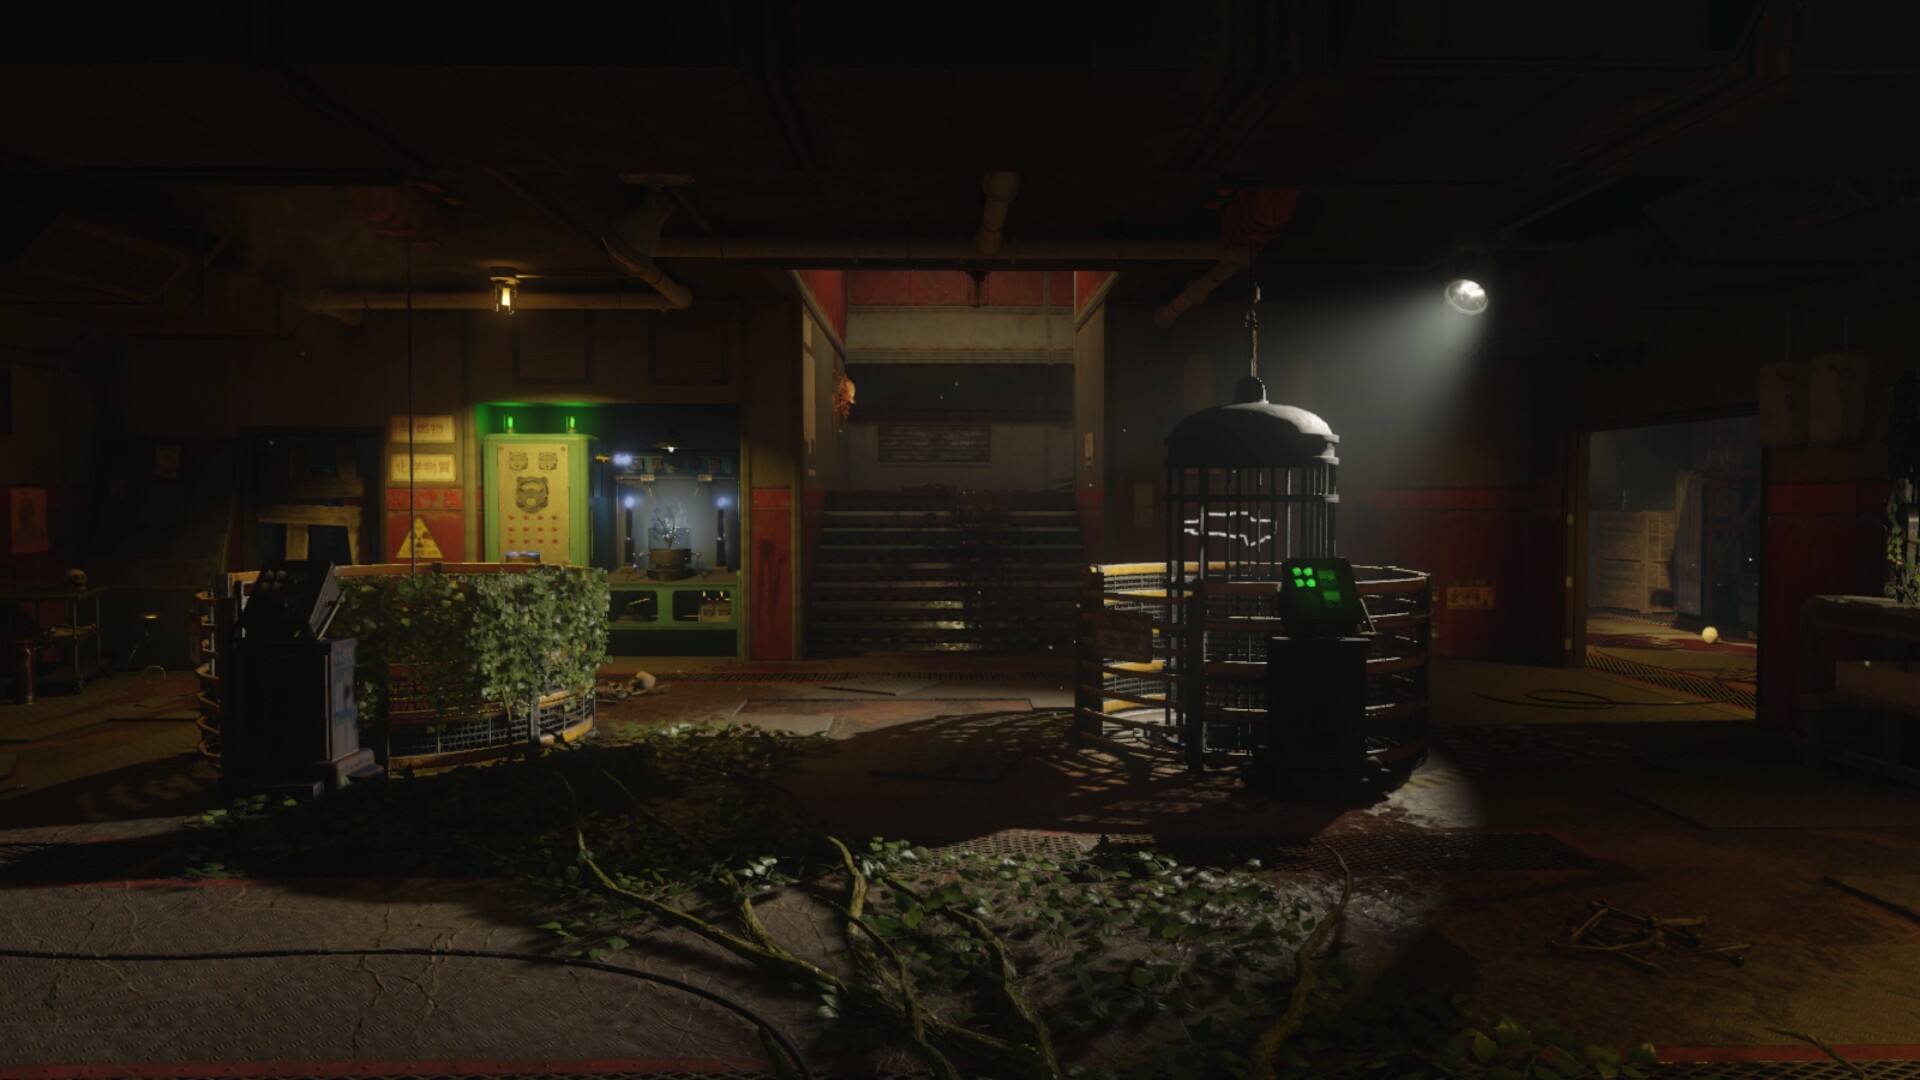
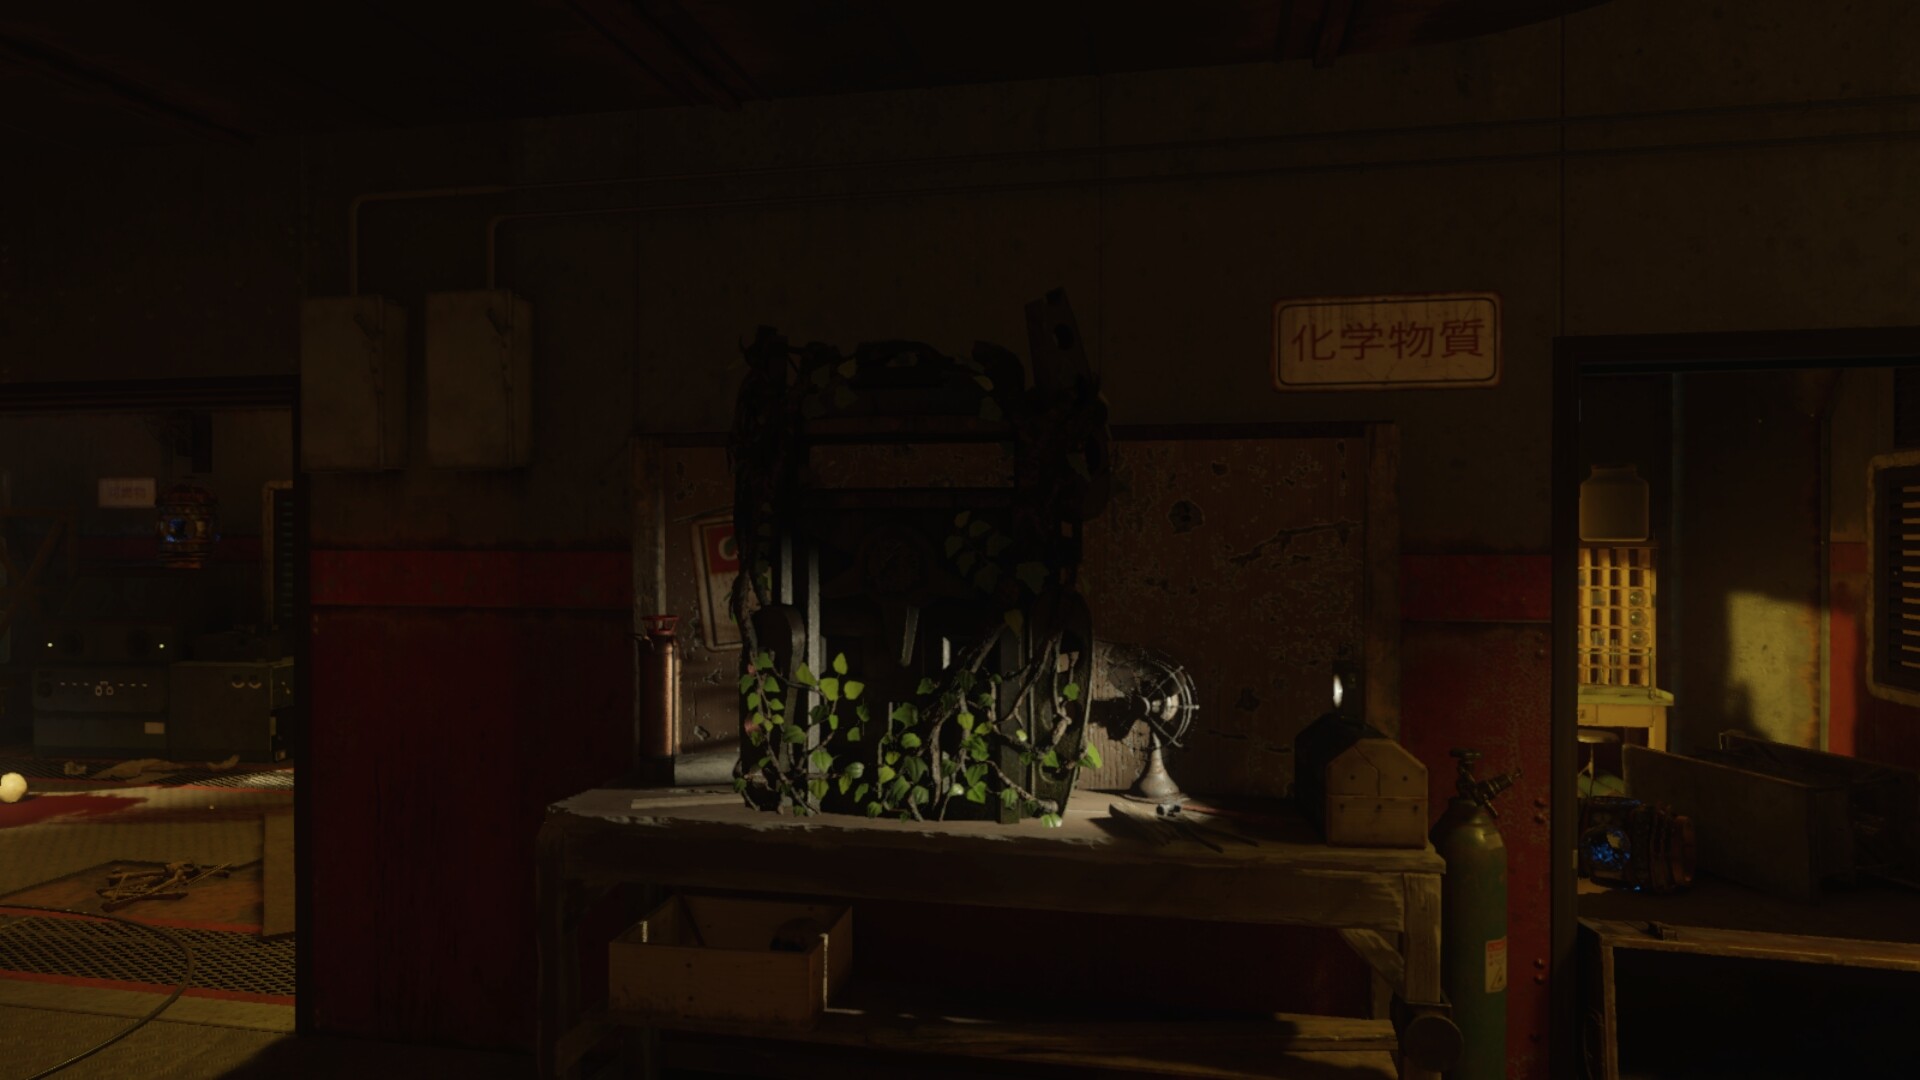
The upgradable KT-4 Wonder Weapon is a weapon that can be obtained through the mystery box or straight from the workbench once players build three ingredients at a workbench. The first vial part is dropped from a scientist zombie that is glowing a yellowish aura. The second plant part can be found in the Bunker waters at the end of the tunnel. The third part is in Lab A, although the power will need to be on to grab it. With the power on, a suspended cage will lower with the power on, allowing it to trap a lurking spider and then bringing the cage up. The cages will process the spider into a vial of venom.
To upgrade the KT-4 into the Masamune, you will have to find another three ingredients and mix them at another workbench. The first fang part is dropped from the Giant Spider. The second part is obtained from meleeing the control panel. Then entering the cage in Lab B, in which, you will be transported to the swamp and will need to pick up a glowing blue vial from a skeleton. The last part is where the second part was found for the non-upgraded KT-4, but will need The Skull of Nan Sapwe to make it appear. You will then need to water the new plant with water from the Sewer Pipes and water it three times over three rounds.

The Skull of Nan Sapwe allows players to attack zombies with two attacks; vaporize and mesmerize. The latter is also used for showing hidden items. To obtain the parts of the Skull of Nan Sapwe, you will find four skulls at the Trials of the Ancients altar. You will need to pick up one skull at a time and place it at their corresponding altars around the map. The skulls will have a matching symbol on the frontal lobe of the Skull to their matching altars. The altar locations are; near the propeller trap, near the center of the bunker dock, in the center of the Bunker Lab Area, and near the map spawn area. You will need to protect the skulls from waves of zombies and then return each skull to the Trials of the Ancients altar. A staircase will appear once you have cleansed all four skulls, where you’ll be able to pick up the Skull of Nan Sapwe. By interacting with the Skull, you will need to protect the skull and fight the Keepers’ last wave. At this point, the Skull will be fully charged and ready to be used.

The Thrasher is a large zombie boss that appears whilst completing the main Seeds of Doubt easter egg. Thrashers shoot paralyzing spores at players and can go into a berserk attacking mode downing you with one melee attack if you don’t have Juggernog. They will also eat players who are down. You will need to shoot spores on their bodies to kill them. Zombies may also mutate into Thrashers if they come close to a grown fungal spore. Shoot these fungal spores regularly to lessen the chance of zombies becoming Thrashers.
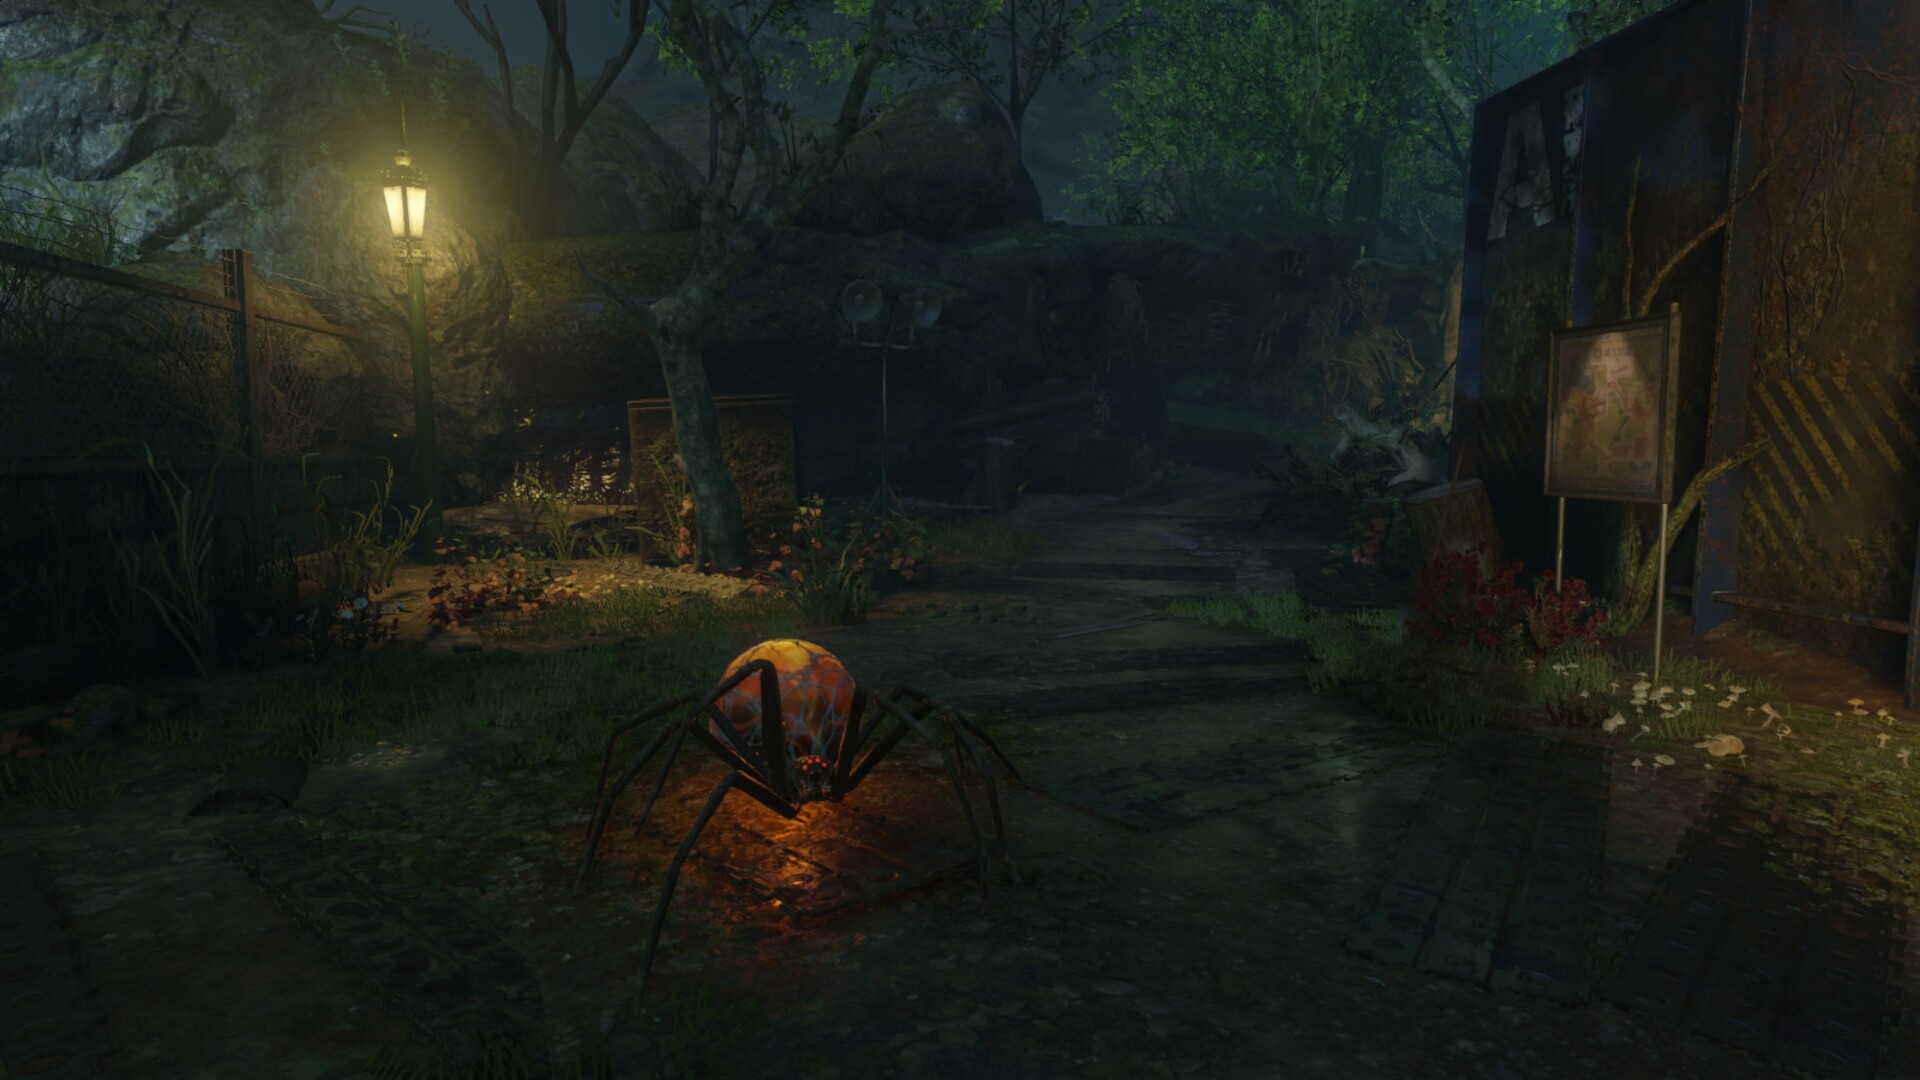
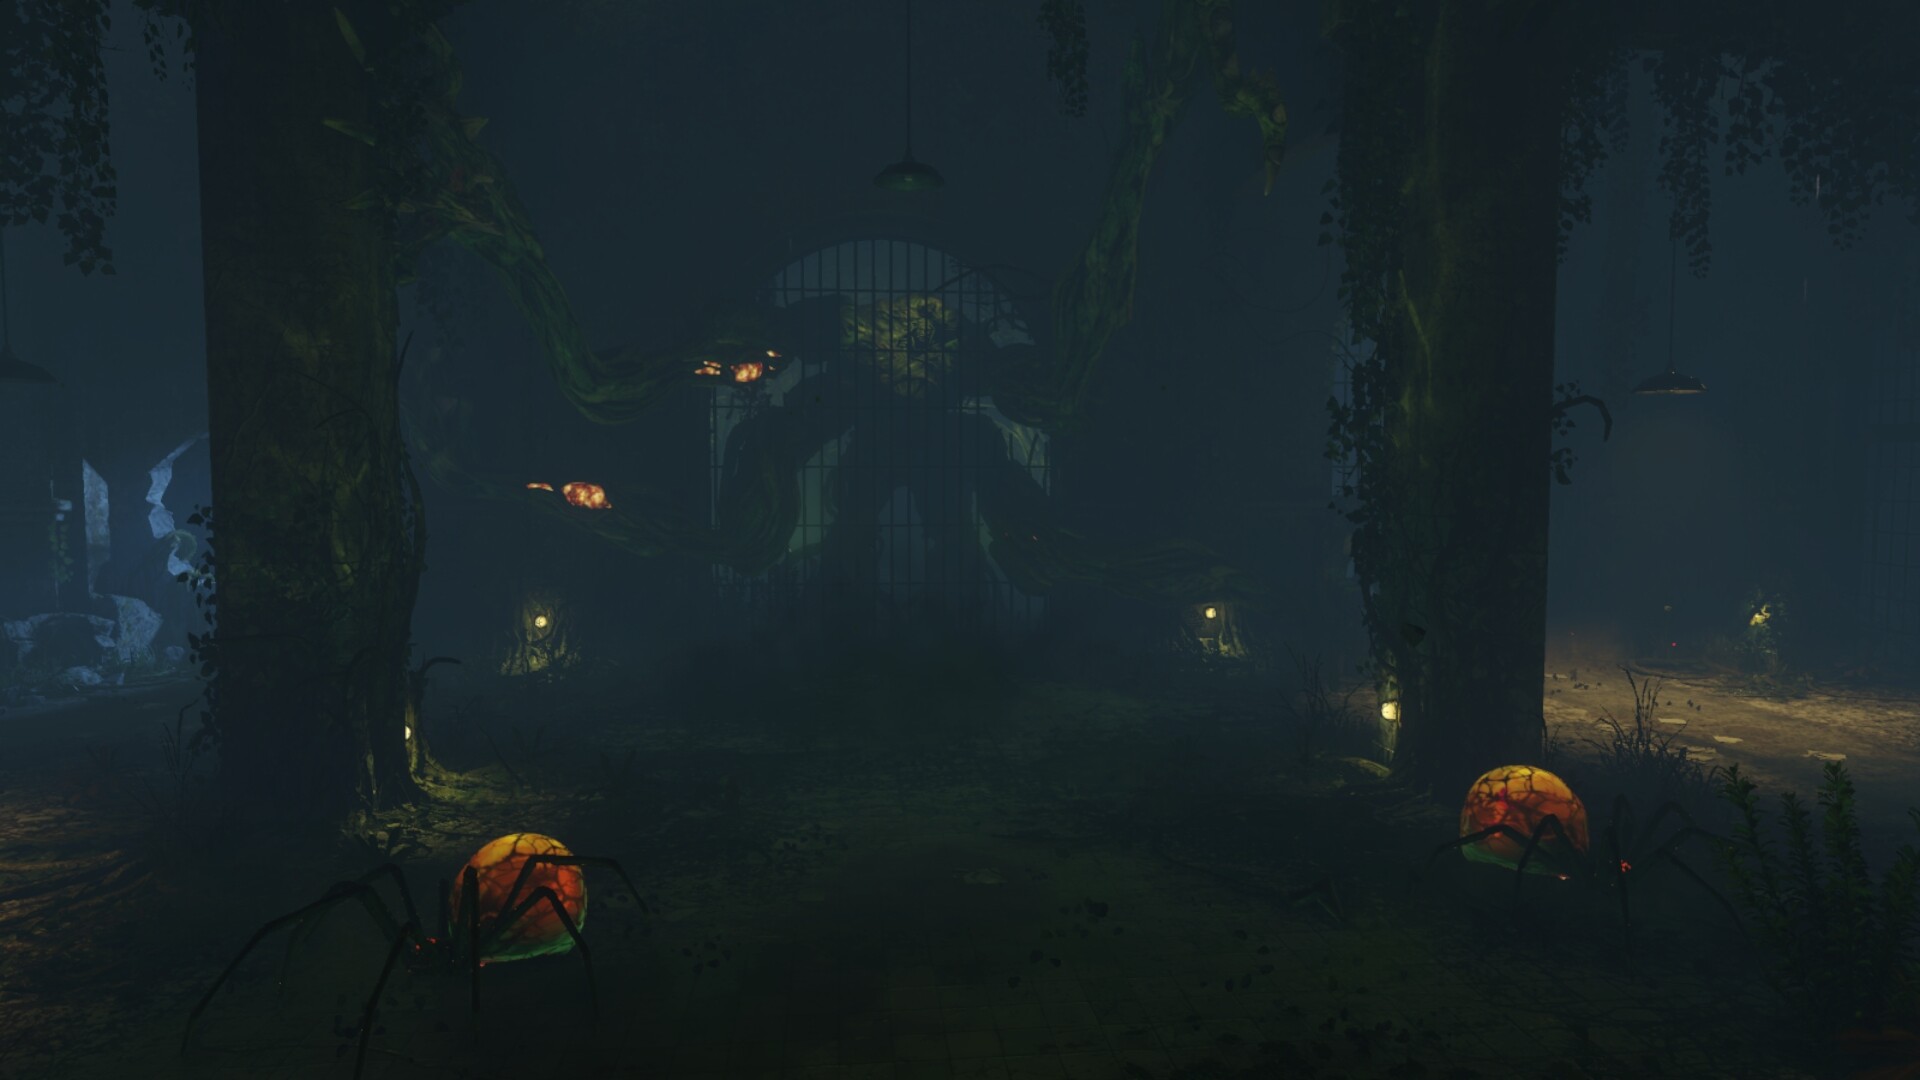
Spiders are enemies that appear throughout the map. You should avoid their web attacks, and melee away cobwebs if they shoot webs onto perk machines. Spiders usually appear around round 6 and reward 50 points per kill.
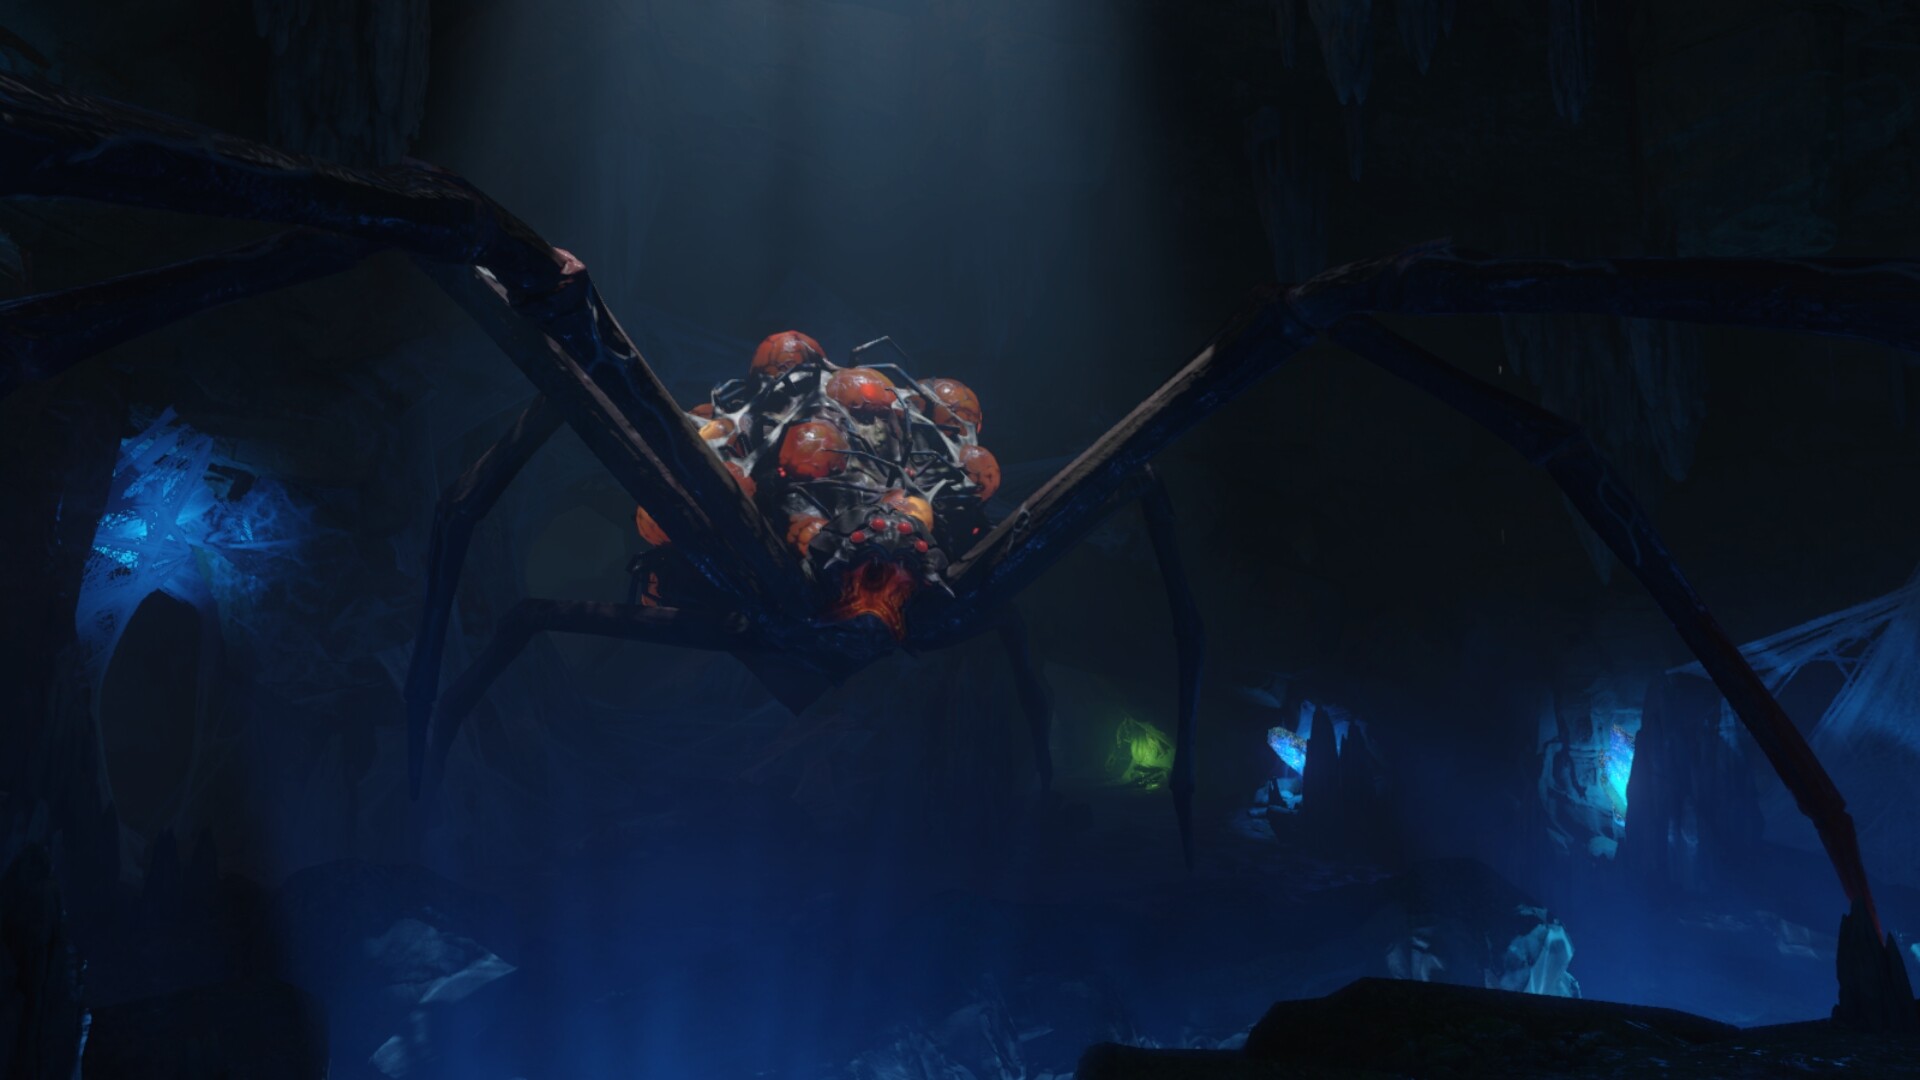
The Giant Spider is apart of the Sanguine Serum achievement and upgrading the KT-4. Use the non-upgraded KT-4 to shoot the blue web near the blue 115 water and go into the spider’s lair. You will need to dodge its attacks, shoot into its open mouth and survive the wave of small spiders. You can then collect one of the fangs for the Masamune wonder weapon.

An easter egg appears as a Jumpscare when using a sniper and aiming at the tubes in the bunker. A doppelganger of one of the playable characters will emerge standing, and scream at you, paralyzing you for a short moment.
After reaching round 50, a Large Monster can be heard and seen in the far distance outside of Lab B. The monster will continue to circle the map.
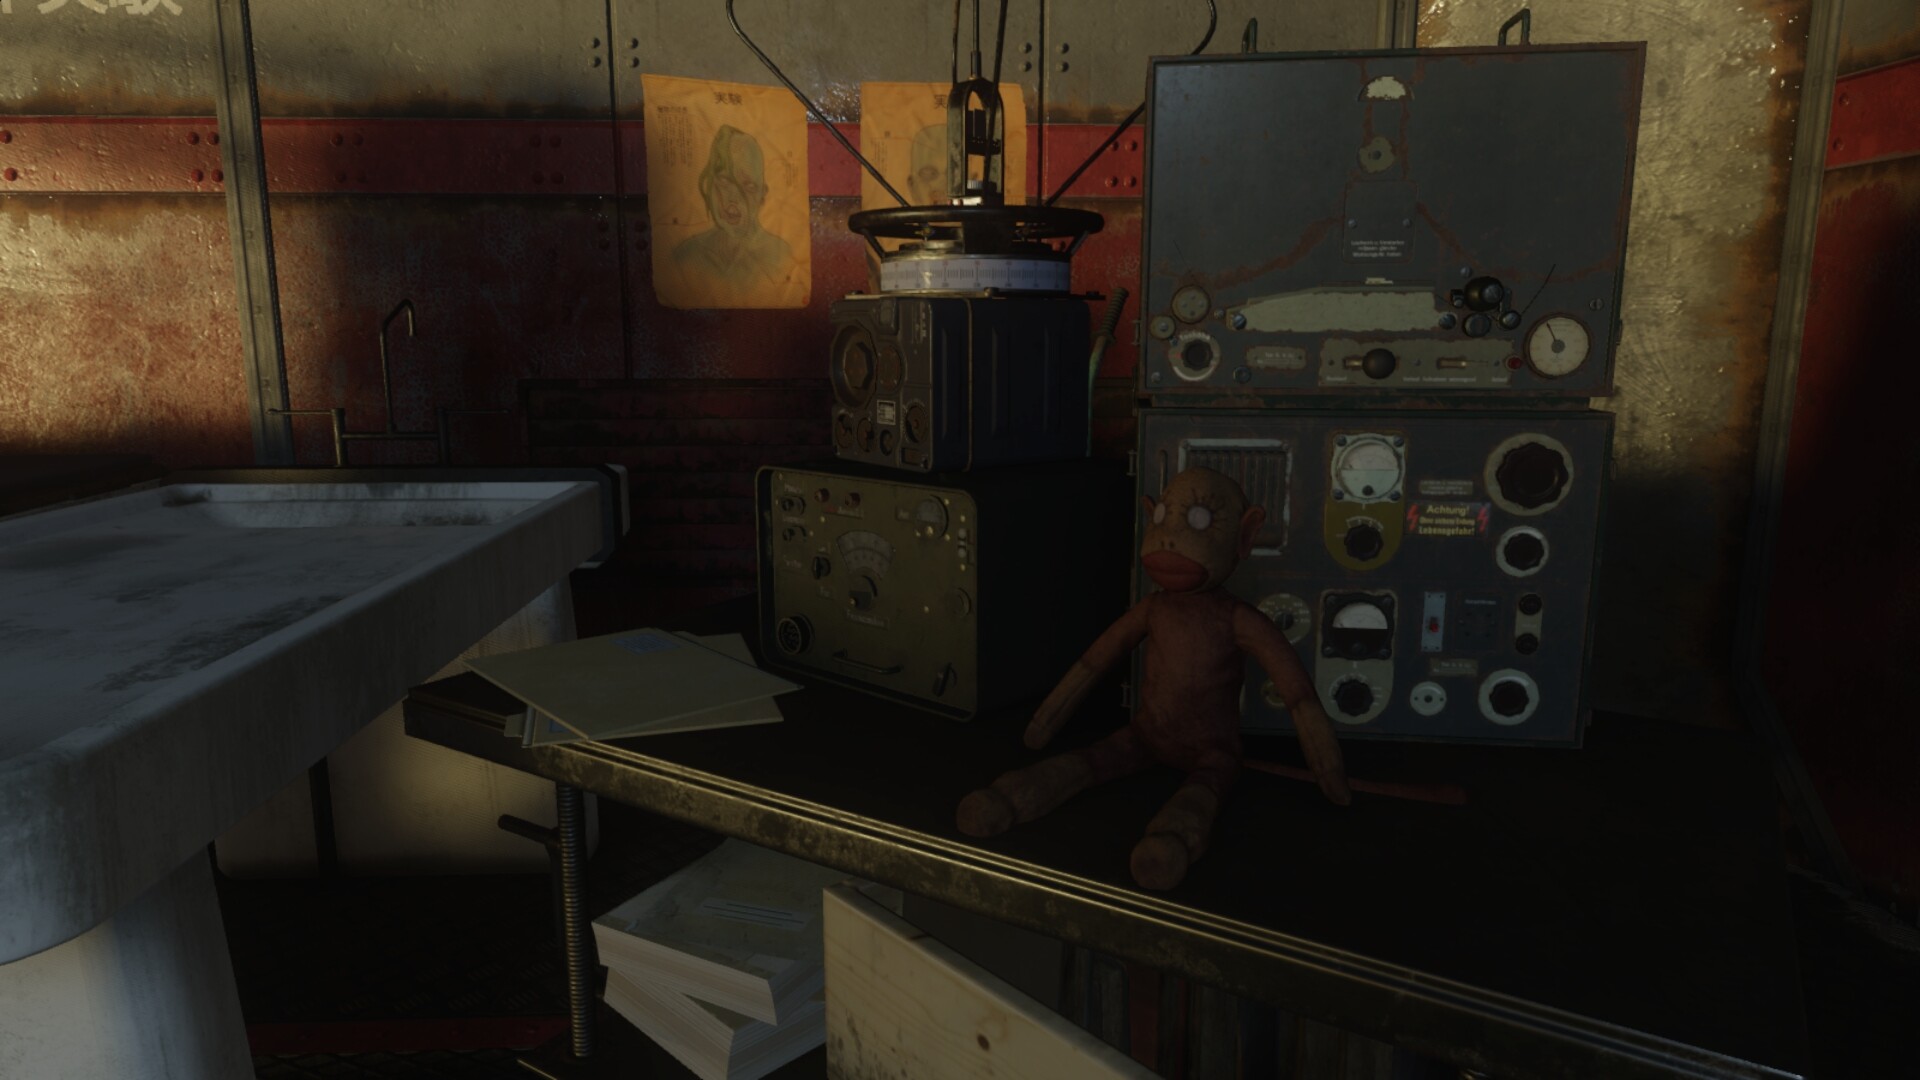
To activate the Dead Flowers Musical Easter Egg, you will need to locate and interact with three sock monkeys around the map. The monkeys are located near; the generator near the blue 115 water near the perk machine, placed on the table on the right of the KT-4 workbench in the bunker, and lastly on a table at the top floor of Lab B.
To play Samantha’s Lullaby Musical Easter Egg, you will need to fill seven melody bulbs on the wall next to the purple water. You will need to fill each bulb with different amounts of purple water, the order for each bulb is 1, 3, 5,6,7,5 then play the song by interacting with the last bulb.
To start the Seeds of Doubt Easter Egg all players must complete the Trials of the Ancients for obtaining the Skull of Nan Sapwe, fully upgrade the KT-4 into the Masamune, Build a Gas Mask, and Shield and have at Least One player have access to the “Anywhere but here!” Gobblegum.
Step 1: Use the Skull of Nan Sapwe’s mesmerizing ability to reveal a paper on a wall in the Living Quarters within the Bunker near the purple water. You should now be able to remove walls and doors on the map.
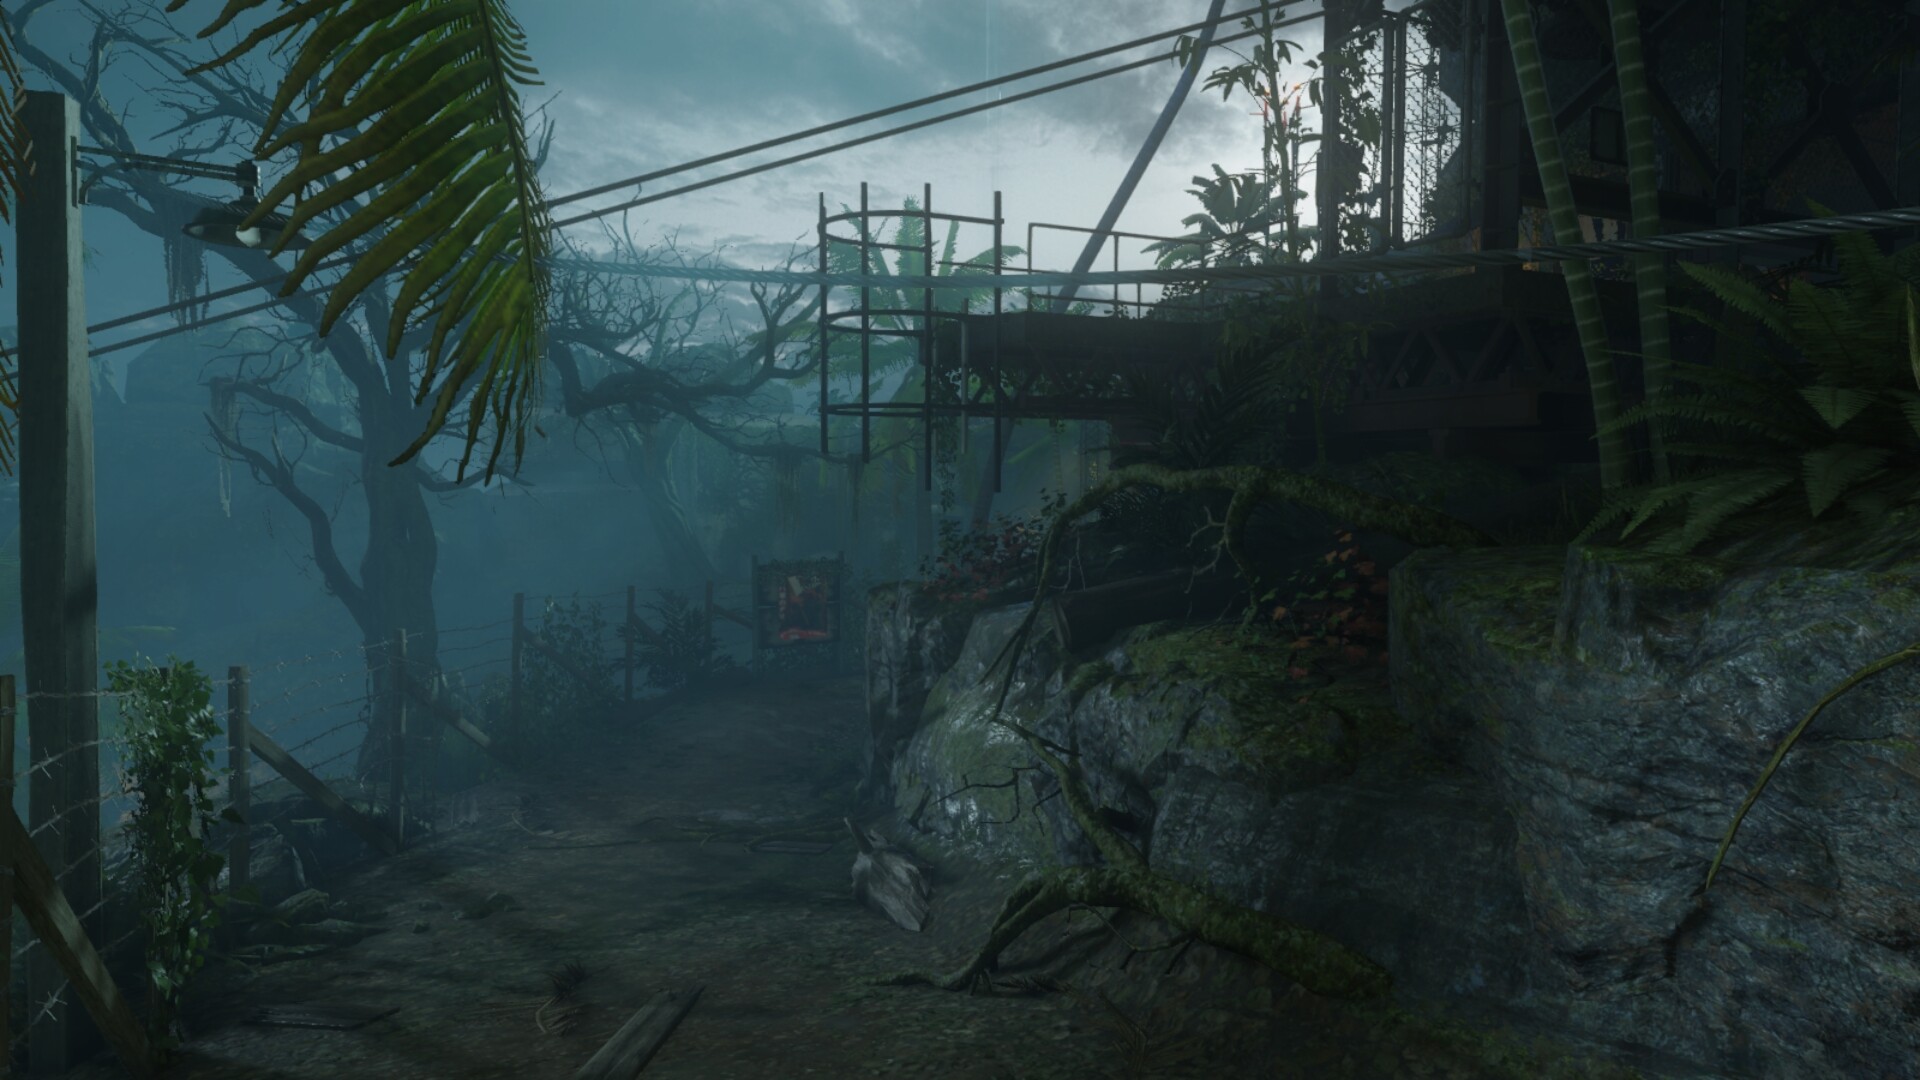
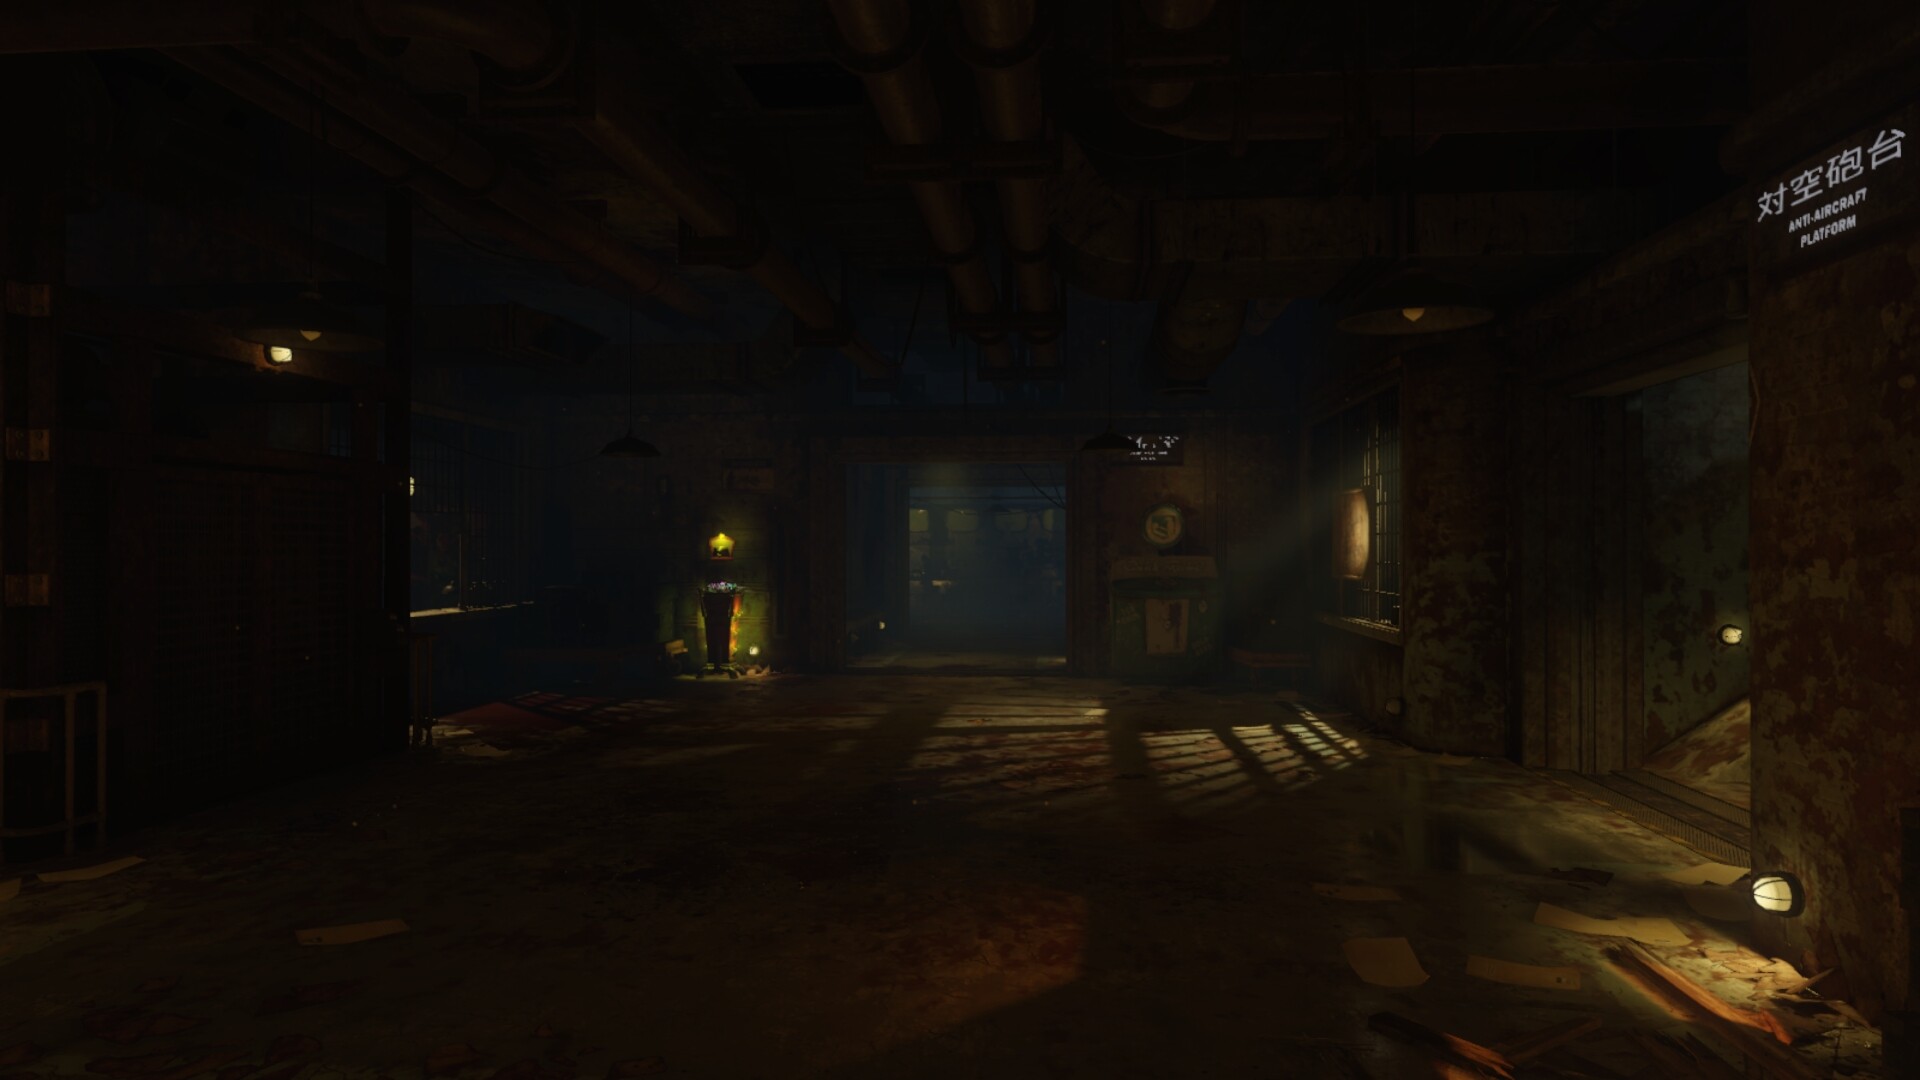
Step 2: Locate the broken generator that needs three cog parts near the anti-aircraft platform to the left of a broken elevator and use the Skull to reveal a wall where the broken generator is located.
Step 3: Find the first Cog part by using the Anywhere but Here! Gobblegum and be transported to an area above Lab A. And pick up the Cog on the ground. Exit by using the GobbleGum or an exit hole on the wall.
Step 4: Locate the second cog part by planting one seed, watering it with blue water for three rounds, and shooting the seed with the KT-4 until the plant is fully grown.
Step 5: Open the plant pods to reveal a flak shell for the FLaK 88 cannon located at the anti-aircraft platform. If a flak shell isn’t grown from a seed, you can plant many seeds at once for a maximum probability of getting a flak shell.
Step 6: Use the cannon to shoot a cargo plane that will eventually appear in the sky. If you successfully destroy the aircraft, you will be able to find the cog part near the entrance to the bunker, next to a meteor at Lab B, or the staircase that leads to the Zipline next to Lab A. If you fail to shoot the plane, you will need to grow a new flak shell from a seed.
Step 7: After each player has completed the Trials of the Ancients, wait for lightning to hit the altar and stand with an equipped Shield.
Step 8: Find the cog under the zipline on the dock by either; meleeing the control panel with the electrified shield, which was done in the previous step, and drop yourself over the dock by using the zipline OR have one player meleeing the control panel when another player is ziplining over the docks to make them fall onto the docks. Be careful, you will die if you do not accurately drop onto the dock.
Step 9: Insert the three cogs into the broken generator near the elevator which will then power up and use the elevator whilst wearing gas masks, and having the upgraded KT-4 equipped.
Step 10: Reach the bottom part of the Bunker, use the Masamune to shoot three vines that flow to a door at the end of a hallway. Enter the room, shoot the Masamune at a spore on the arm of the Thrasher, start the battle against the Thrasher boss trapped in the cage. Survive the waves of zombies, spiders, and thrashers.
Step 11: Shoot the spores on Thrasher’s arm with the Masamune and repeat until the last cutscene appears.
Congratulations you have Completed the Seeds of Doubt. You will be able to have unlimited perk slots and gain 5000 XP.