
| Release Date | December 11, 2018 |
| Location | Hampshire, United Kingdom |
| Remakes | None |
| Release Date | Location | Remakes |
| December 11, 2018 | Hampshire, United Kingdom | None |

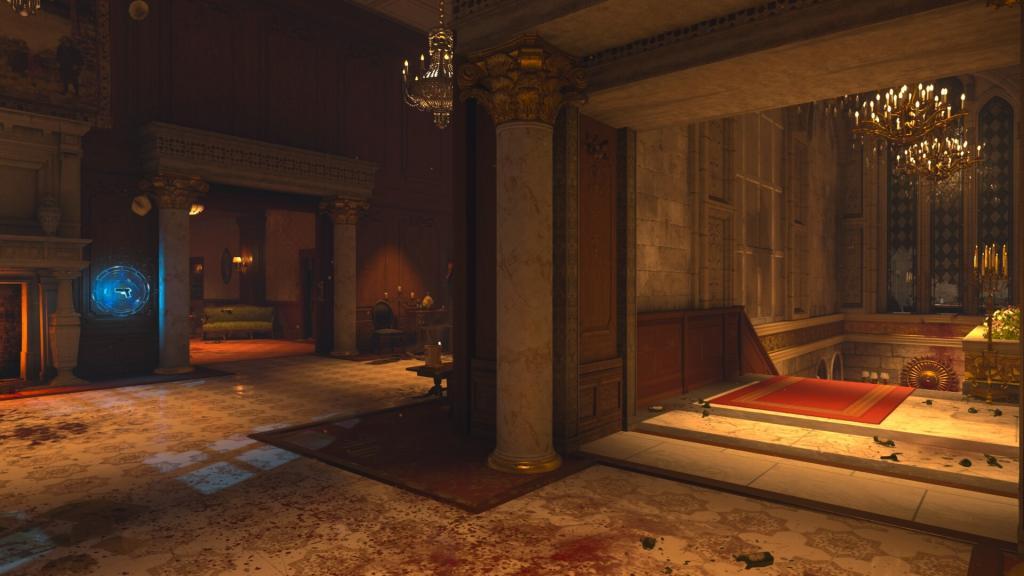
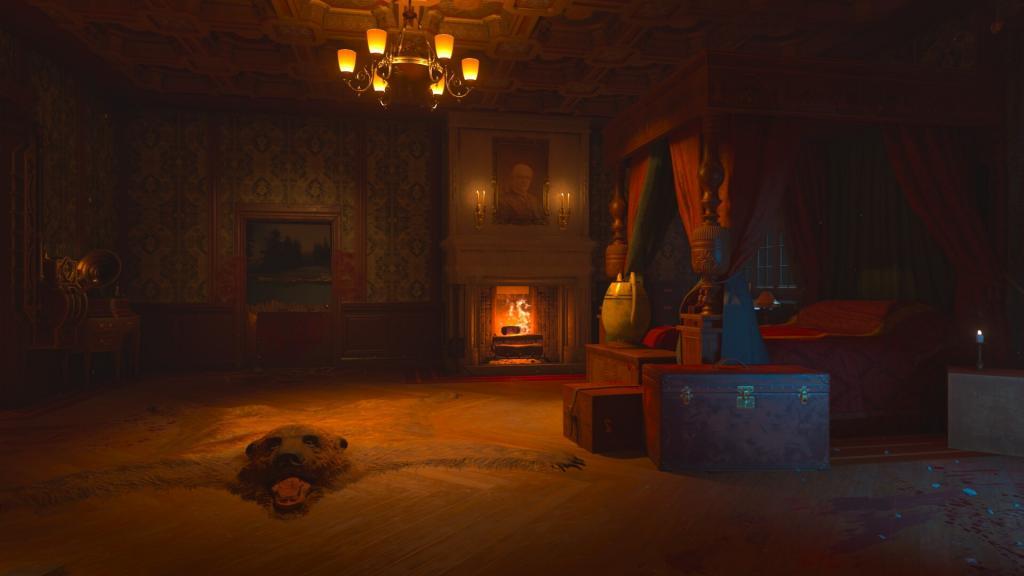
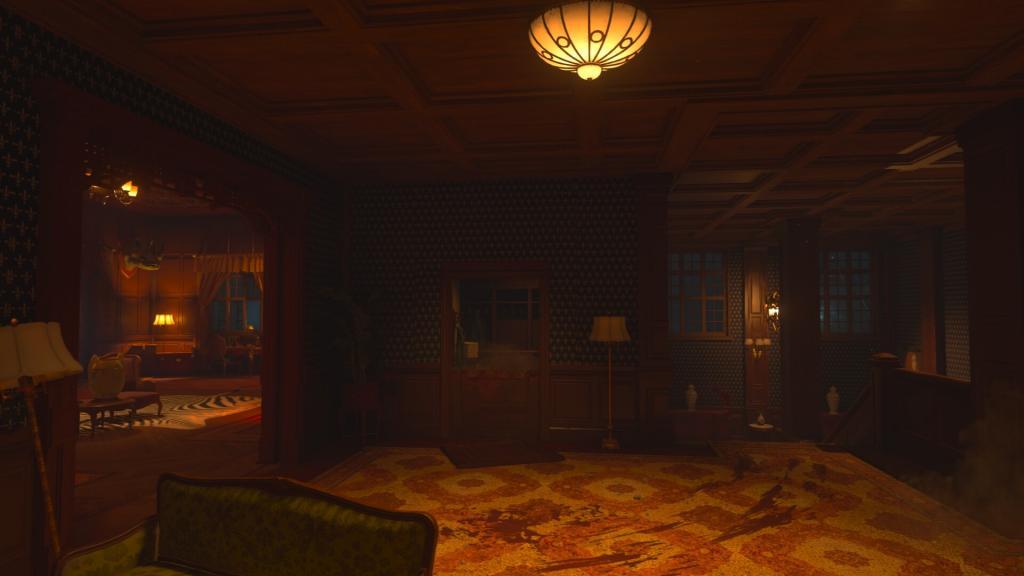
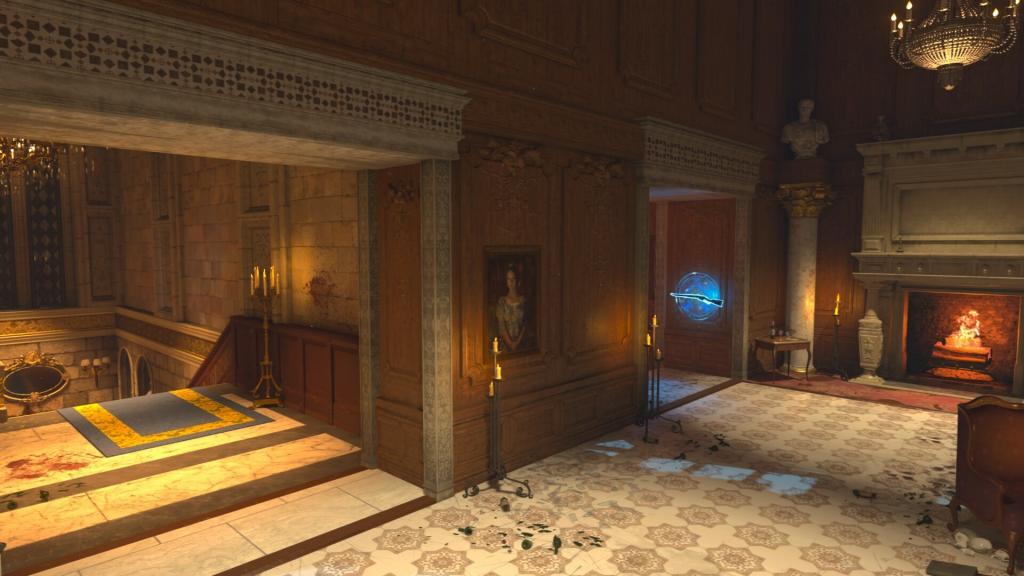
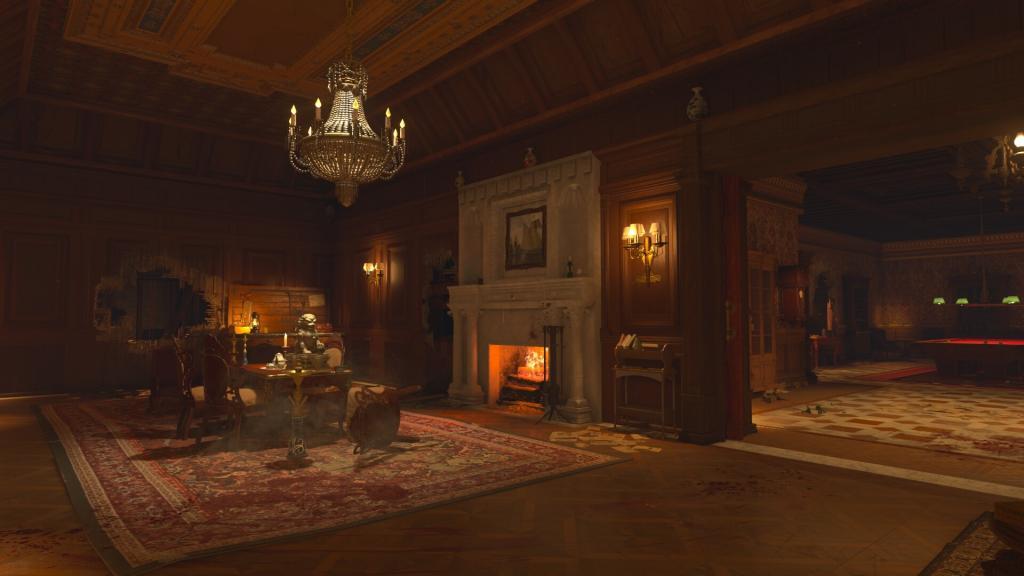
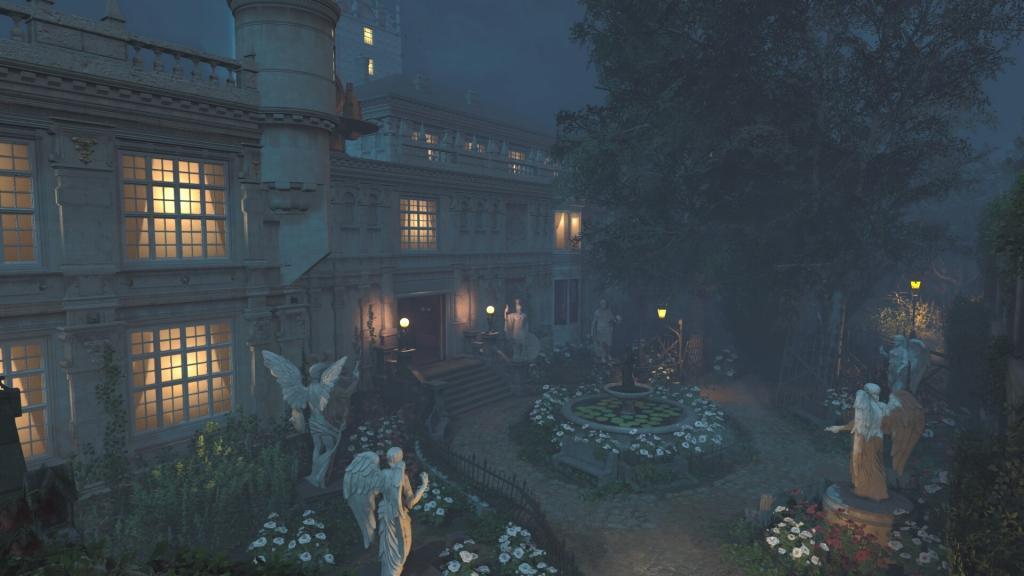
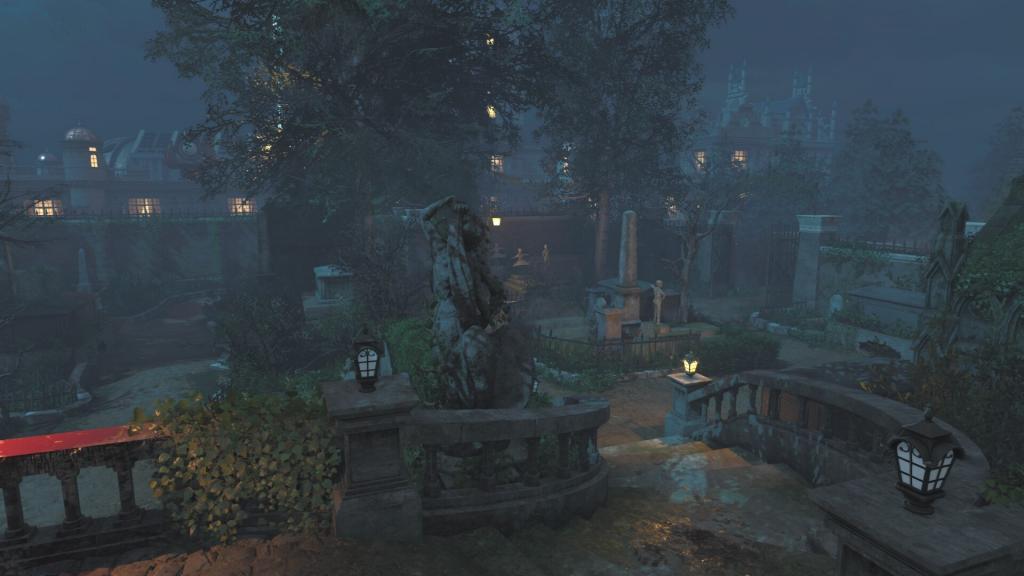
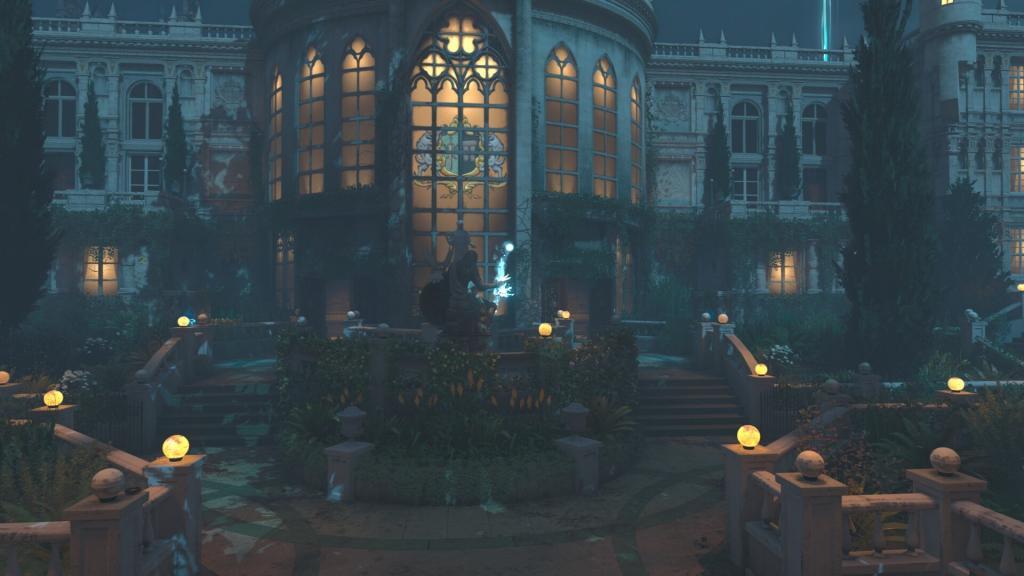
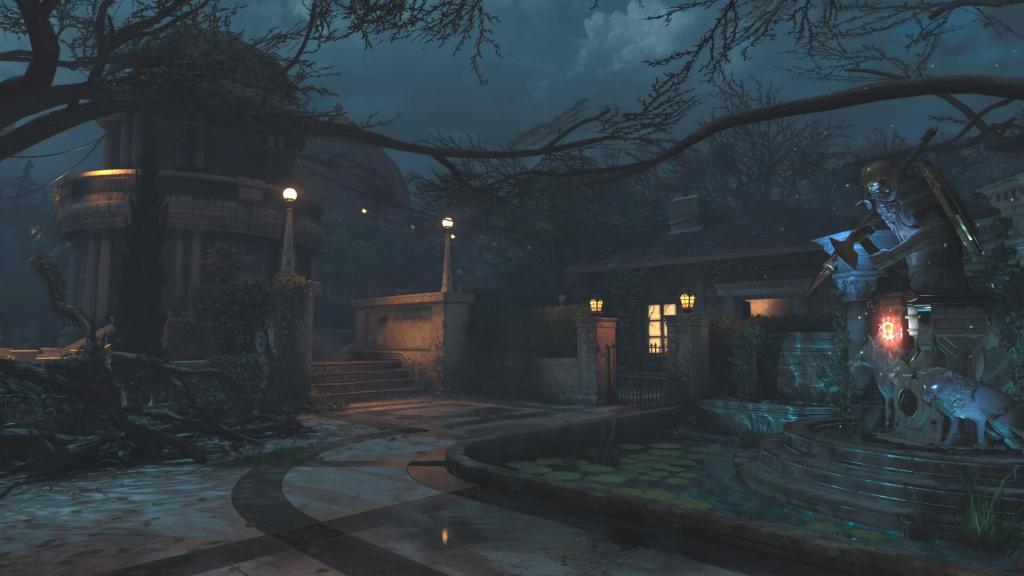
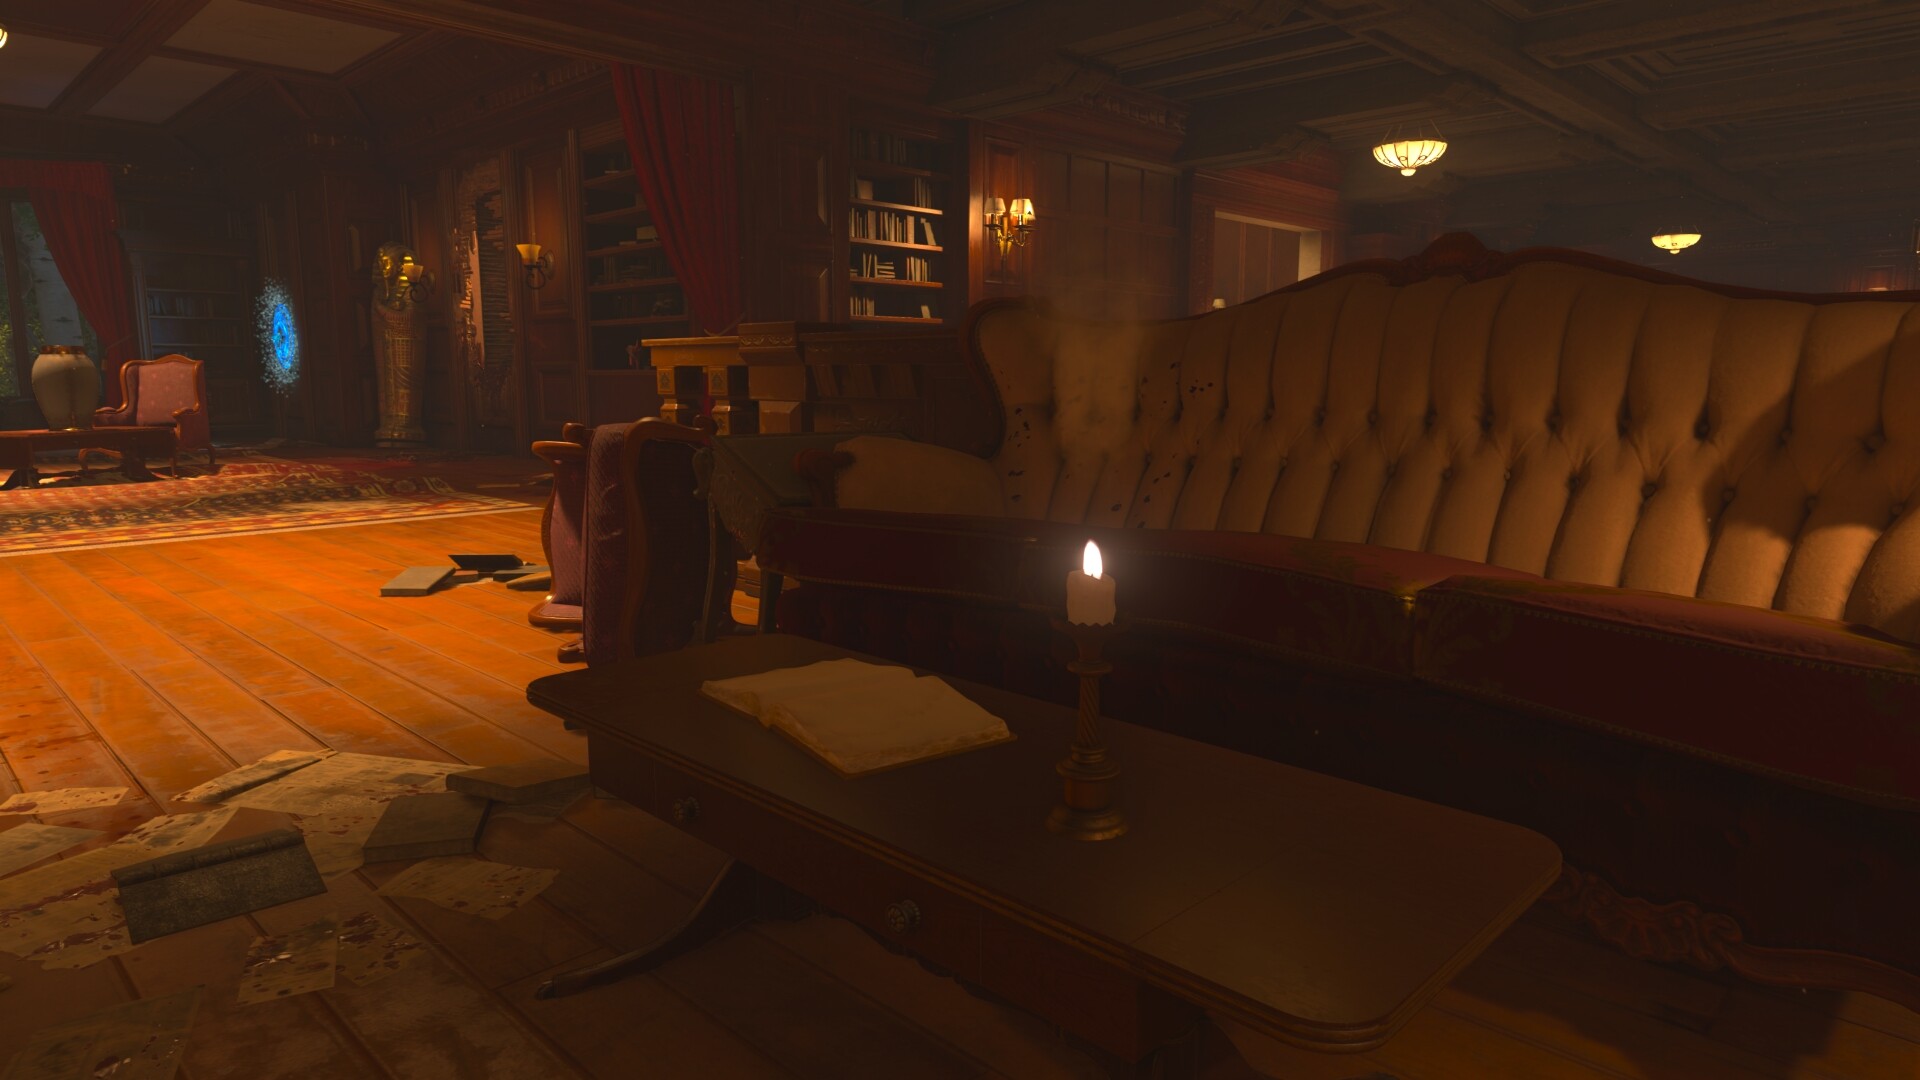
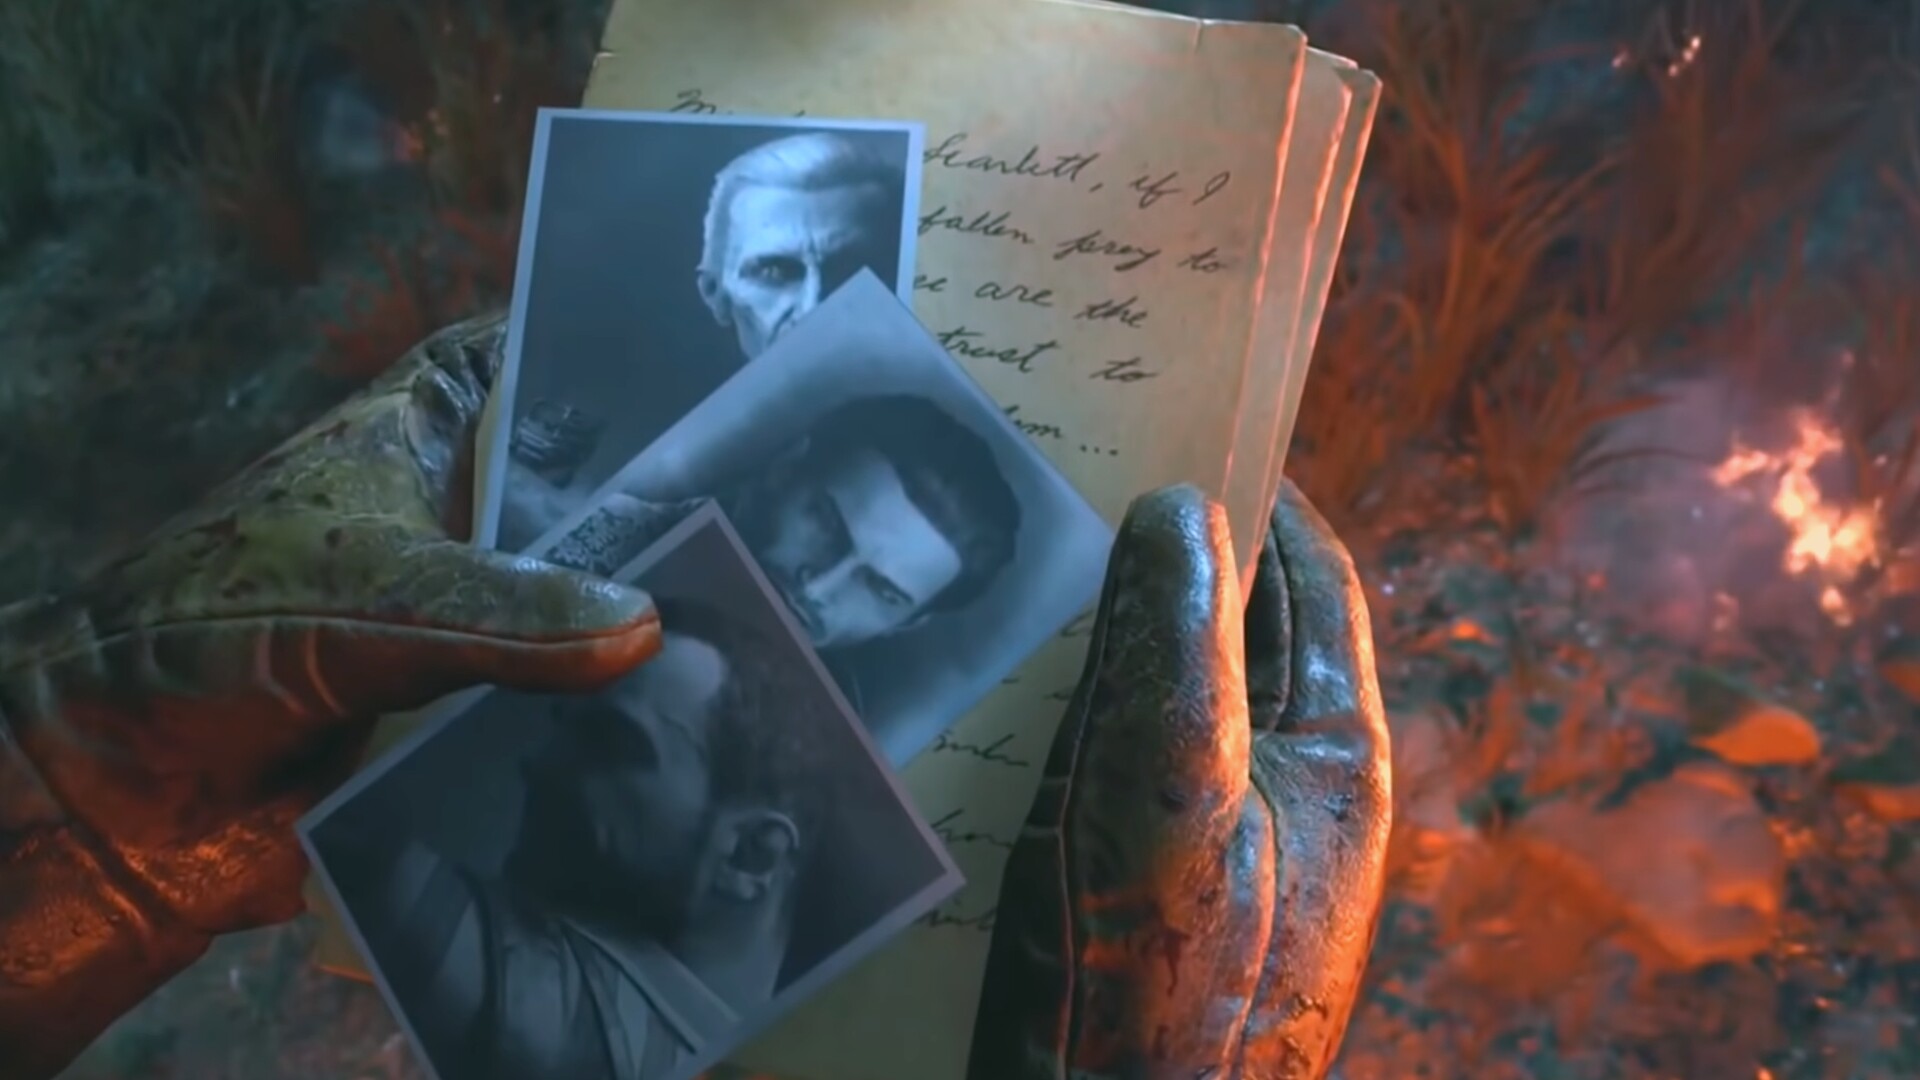
When a party at an English mansion turns into an undead bloodbath, a phony psychic, stage-show cowboy, retired general and bedeviled butler must fight for their lives. – Dead of the Night


Chakrams of Vengeance – AMMO: Infinite – Fire mode: Melee
Hammer of Valhalla – AMMO: Infinite – Fire mode: Melee
Scepter of Ra – AMMO: Infinite – Fire mode: Melee / Automatic
Viper and Dragon – AMMO: Infinite – Fire mode: Melee / Automatic
Alistair’s Folly – AMMO: 108 Shots – Fire mode: Double-Action (Semi-Automatic) – Type: Easter Egg
Savage Impaler – AMMO: 312 Shots – Fire mode: Automatic – Type: Easter Egg
Ballistic Shield – Fire mode: Melee – Type: Buildable
Stake Knife – Fire mode: Melee – Type: Easter Egg
Homunculus – AMMO: 2 Tactical – Fire mode: Thrown
Wraith Fire – AMMO: 2 Tactical – Fire mode: Thrown
Acid Bomb – AMMO: 3 Tactical – Fire mode: Thrown
The perks include Quick Revive, Stamin-Up, Mule Kick and many new parks like Timeslip, Death Perception, Ethereal Razor, Electric Burst, Dying Wish, Stone Cold Stronghold, Victorious Tortoise, Deadshot Dealer, Bandolier Bandit, Winter’s Wail, PHD Slider, Zombshell, Blood Wolf Bite, Blaze Phase and Secret Sauce: Receive a random Perk not assigned to another slot. View all details on our Perk Page.
Power-Ups on Dead of the Night include Insta-Kill: Allows all players to insta-kill all normal zombies, Max Ammo: Refills the ammo reserve of all held weapons for every player, Double Points: Players receive double the number of points for the duration of 30-seconds, Nuke: kills all zombies that have spawned onto the map, Bonus Points: Gives all players 500 extra points, Carpenter: Repairs all barricades around the map and refills the players shield, Fire Sale: Causes all box locations to be active and changes the cost to 10 points, Full Power: Gives the player that picked it up a refill on the specialist weapon meter.
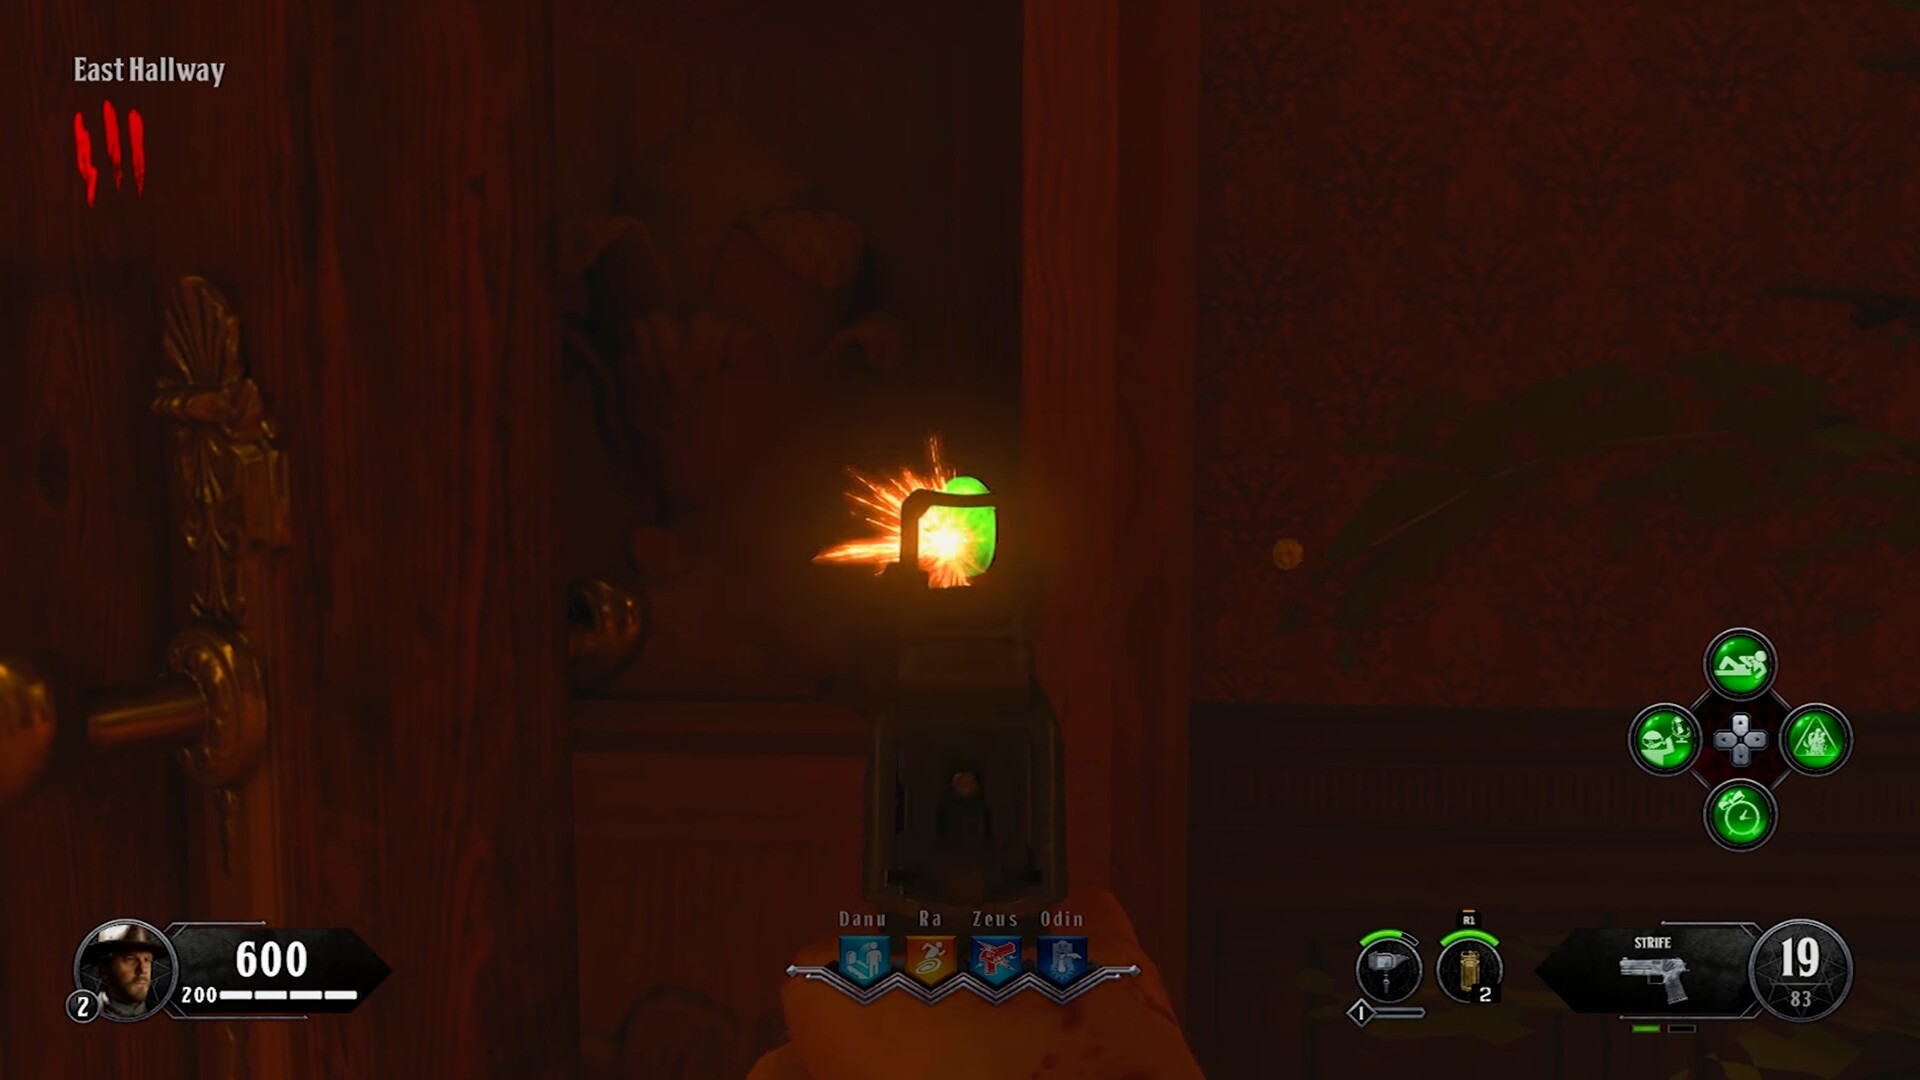
Wall Weapons on the map include the Strife, Essex Model 07, RK 7 Garrison, Saug 9mm, Escargot, MOG 12, Spitfire, Swordfish, Mozu, MX9, GKS, M1897 Trebuchet, Maddox RFB, KN-57, ICR-7, Vapr-XKG, Auger DMR, Titan, Koshka and of course the Bowie Knife.
Mystery Box Weapons include wonder weapons like the Alistair’s Folly, Homunculus, and the Savage Impaler. Other weapons include the ICR-7, Maddox RFB, KN-57, Hitchcock M9, Rampart-17, Vapr-XKG, Grav, Swat RFT, Peacekeeper, AN-94, Echohawk Dual Bore, Escargot, MX9, Spitfire, Saug 9mm, GK5, Cordite, MP-40, Daemon 3XB, Switchblade X9, VMP, MicroMG 9mm, Swordfish, Essex Model 07, ABR 223, Auger DMR, S6 Stingray, M16, Titan, Hades, VKM 750, Zwelhander, Tigershark, SDM, Paladin HB50, Koshka, Outlaw, Vendetta, Locus, Havelina AA50, Mozu, RK 7 Garrison, KAP 45, SG12, MOG-12, M1897 Trebuchet, Rampage, Argus, Hellion Salvo, Ballistic Knife and lastly the Reaver C86.
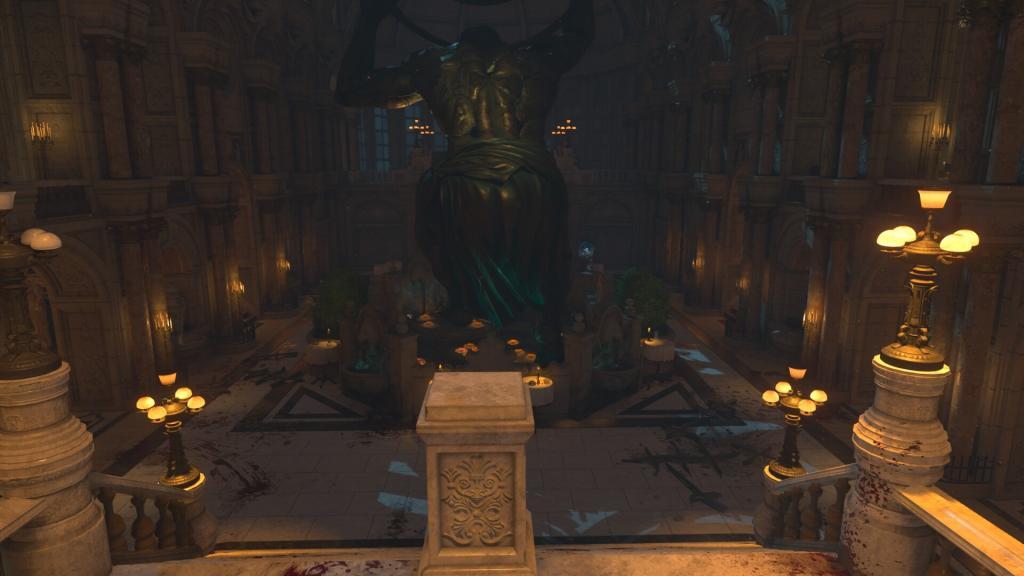
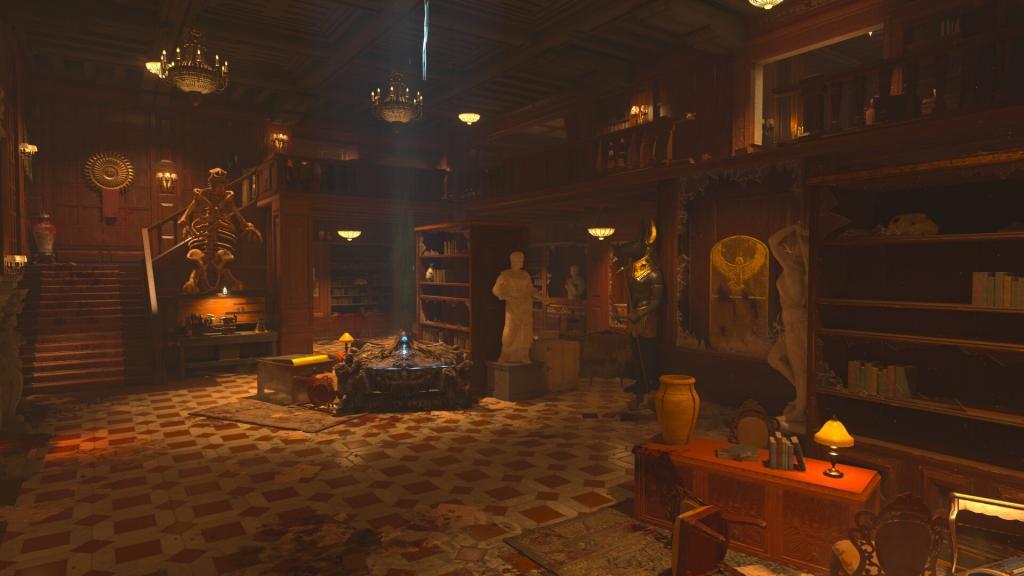
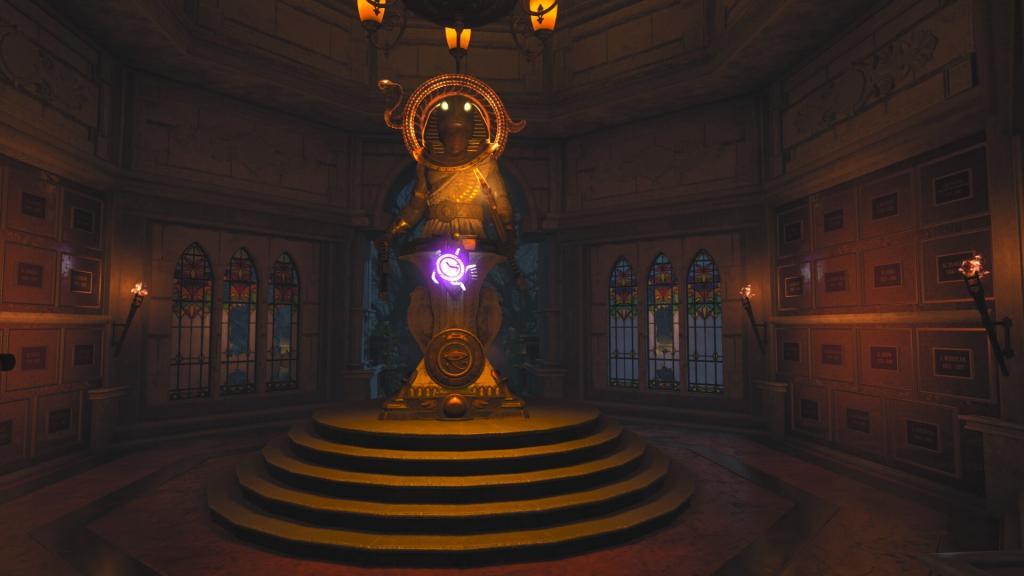
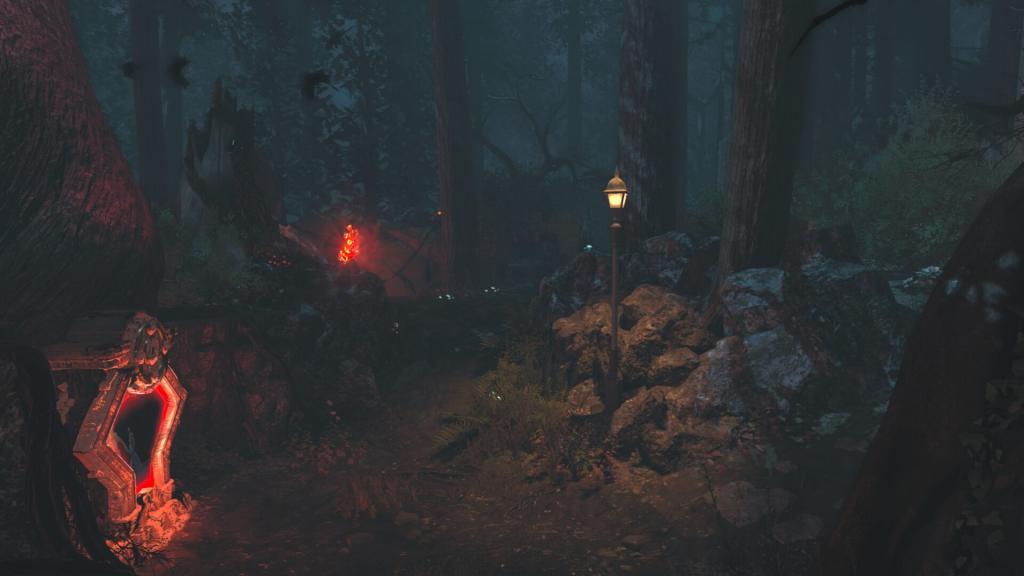
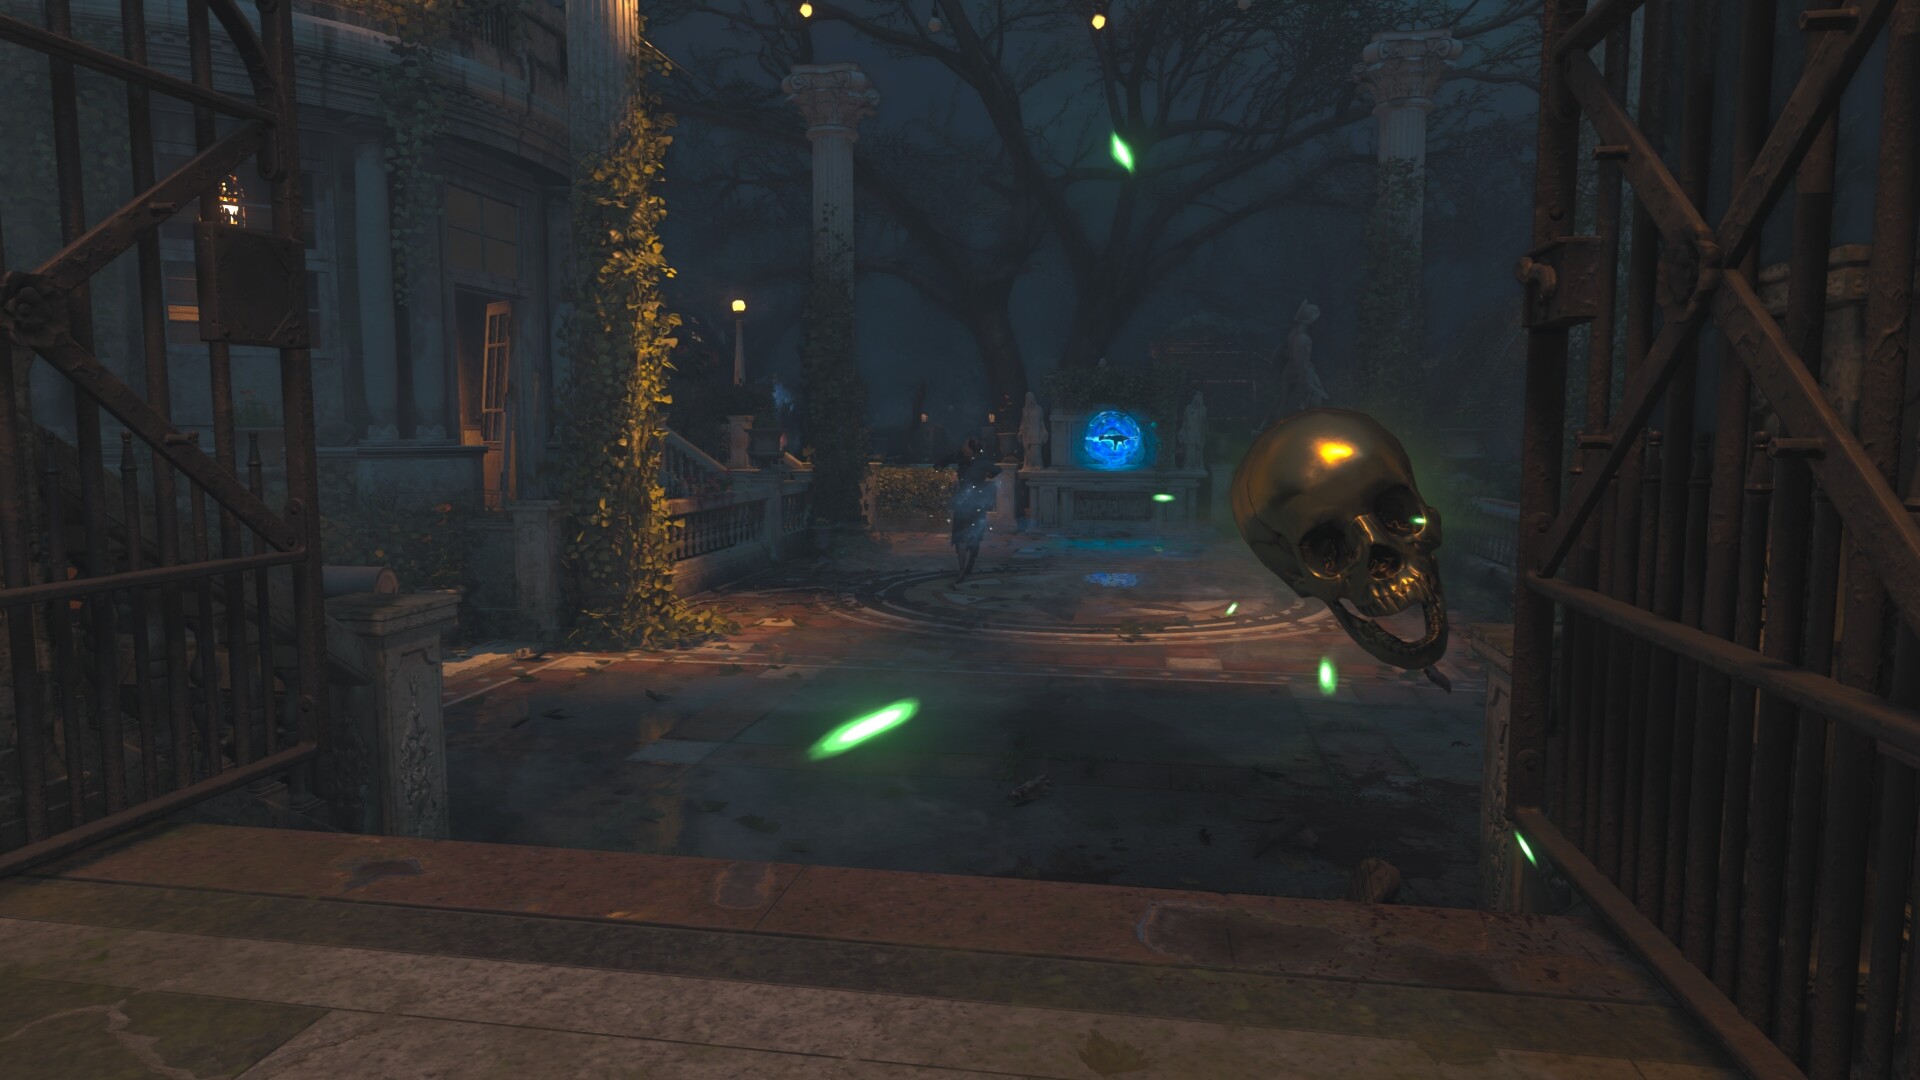
To turn on the Power on Dead of the Night, players will need to activate the glowing blue Sentinel Artifact. Players can find the Sentinel Artifact on the balcony, in the Grand Staircase area. Once activated, the Sentinel Artifact will send out red orbs into the air and destroy the mansion’s roof. Having the power on will unlock all doors, perk & utility machines.

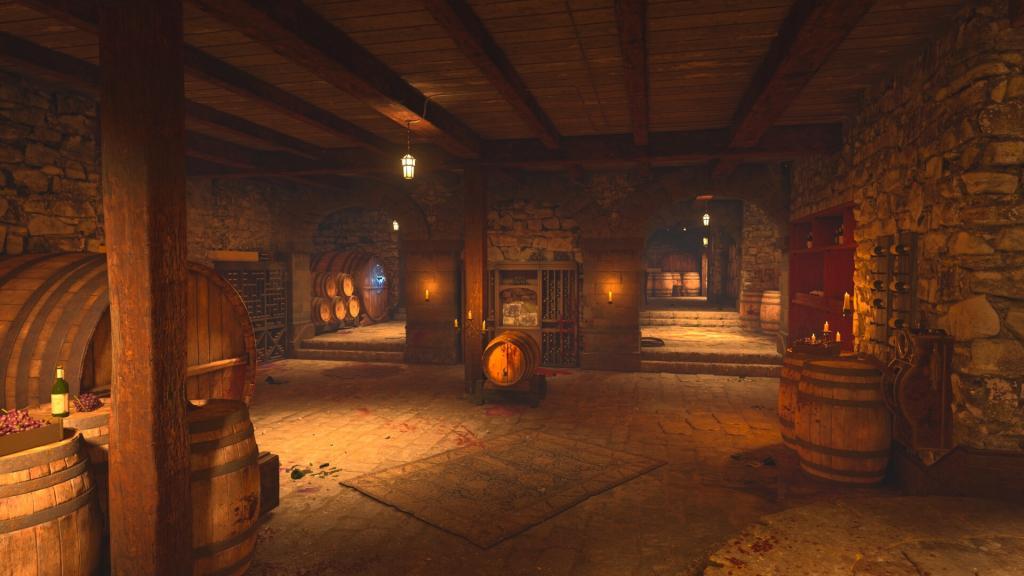
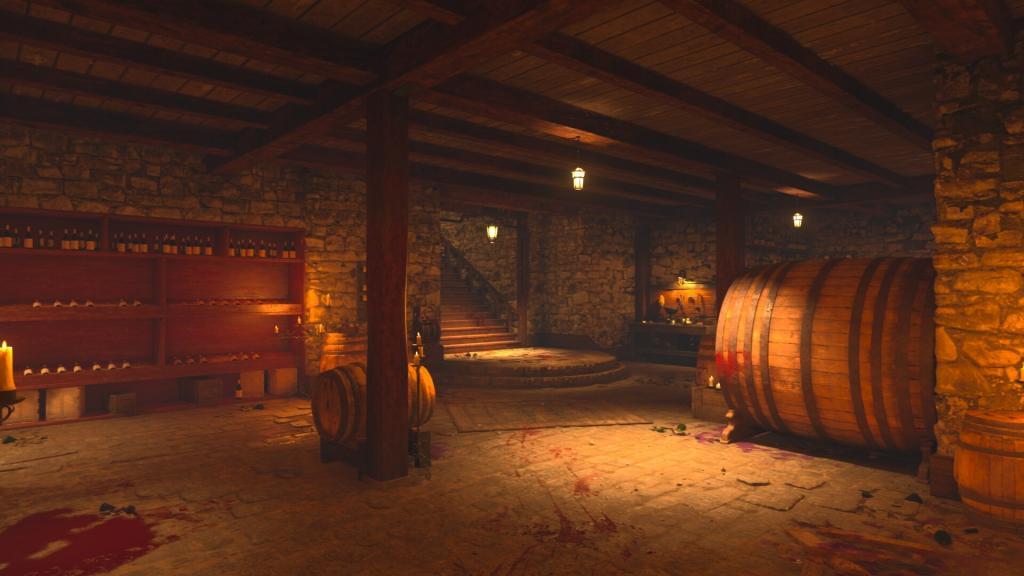
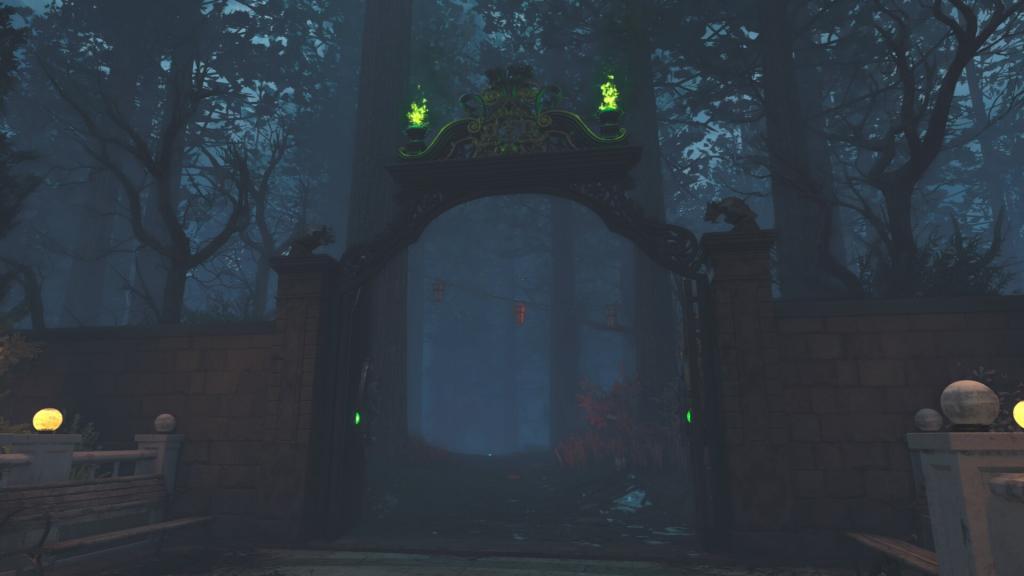
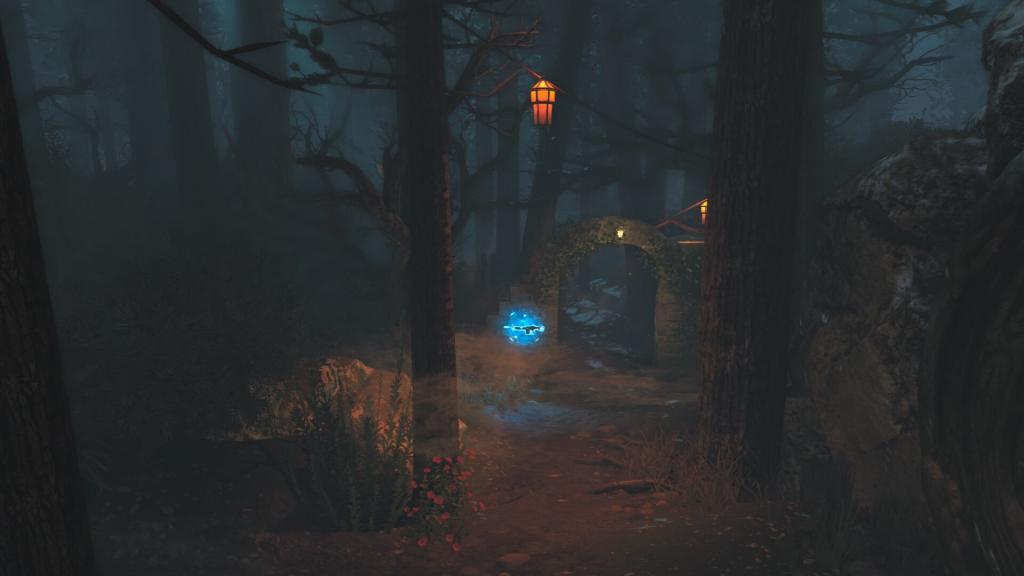
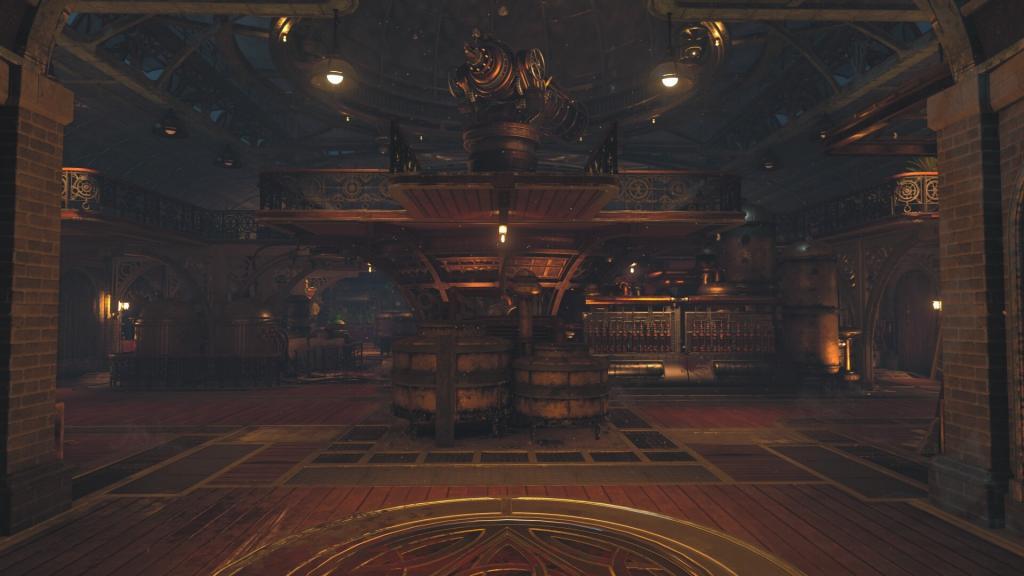
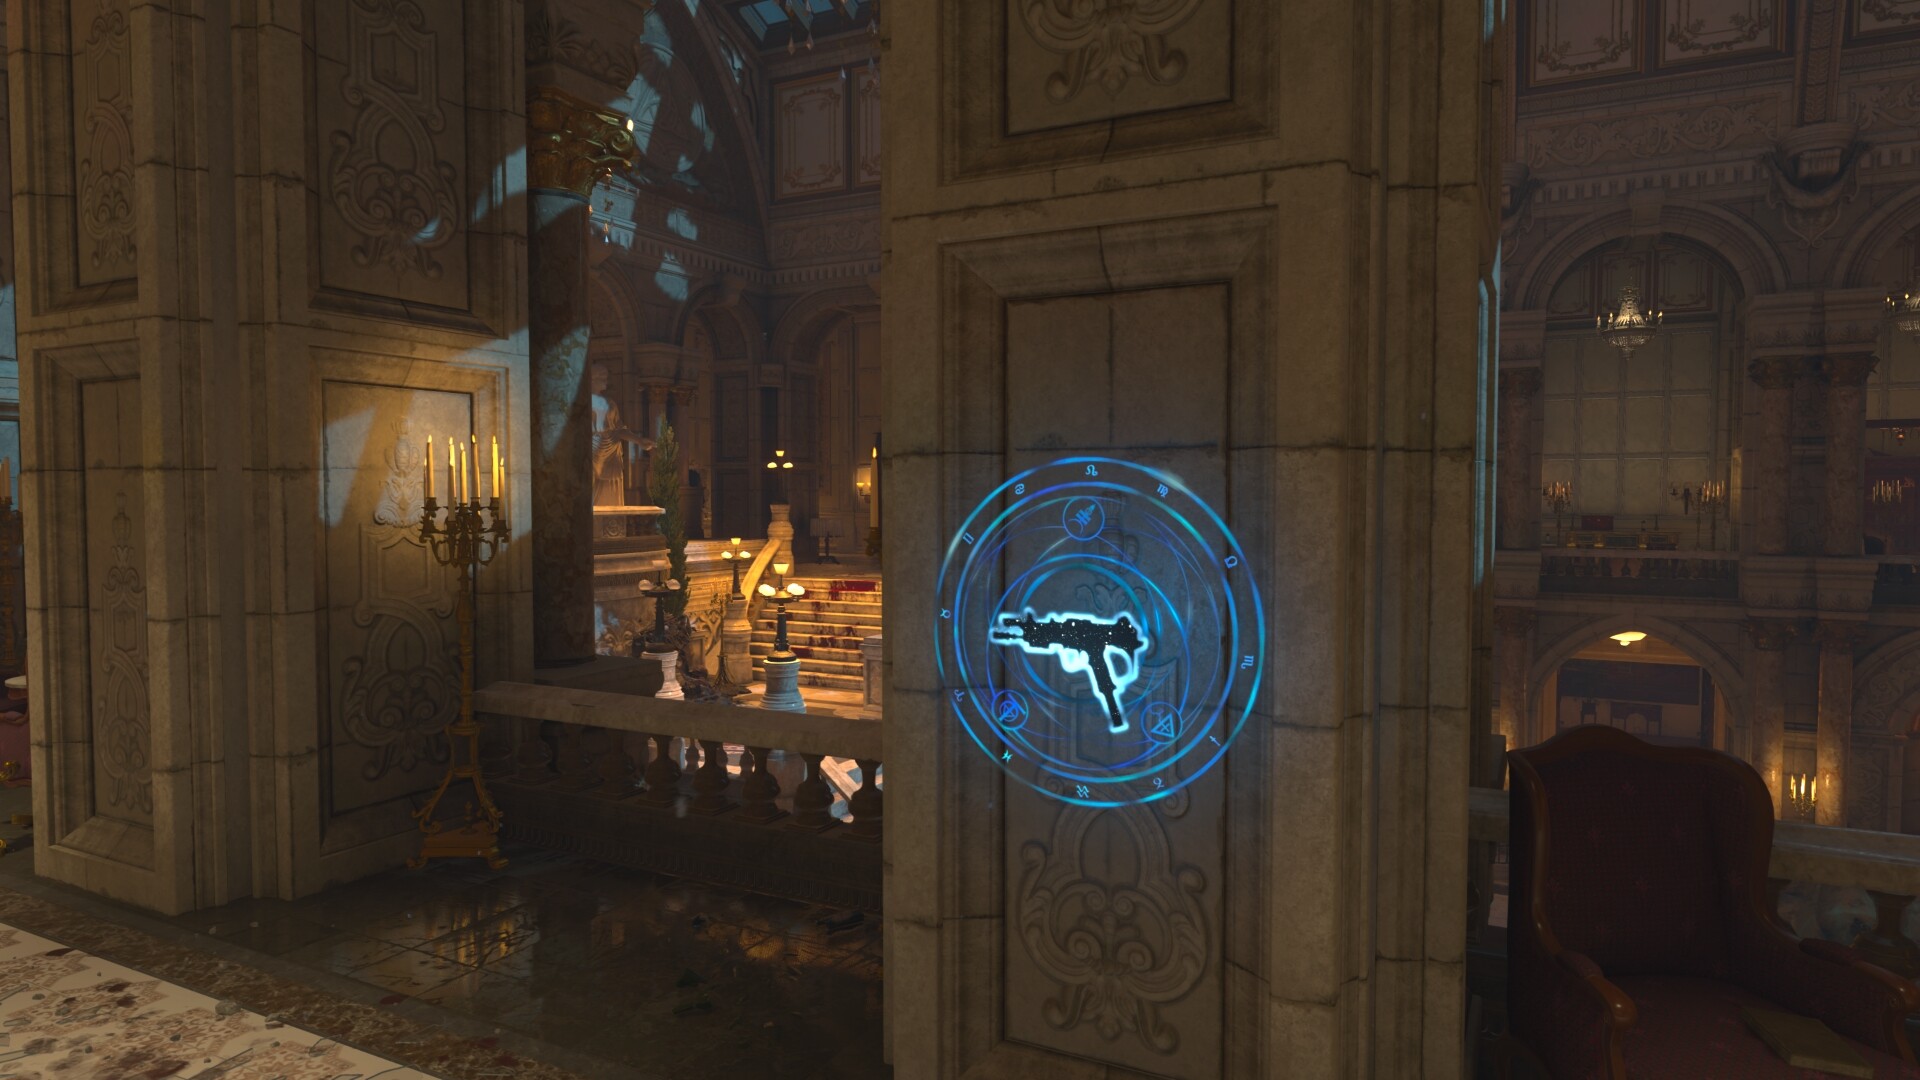
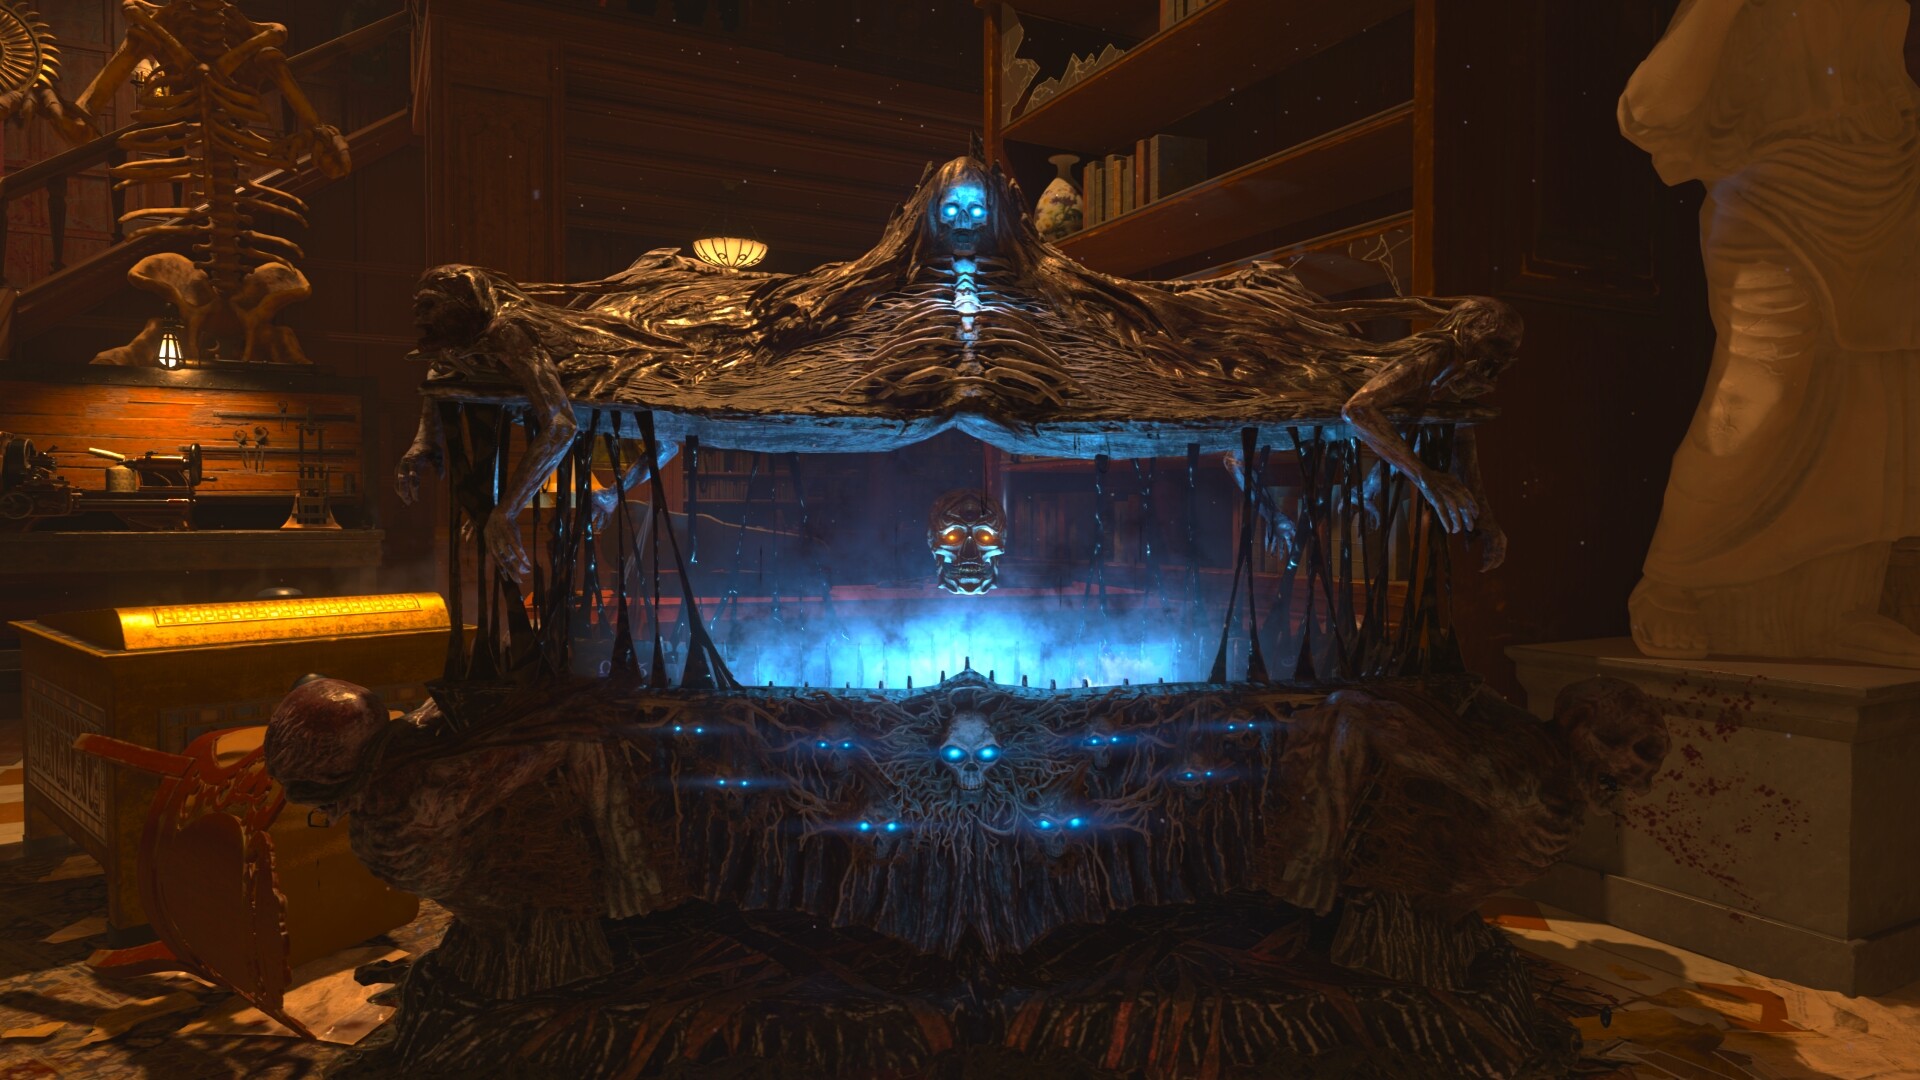
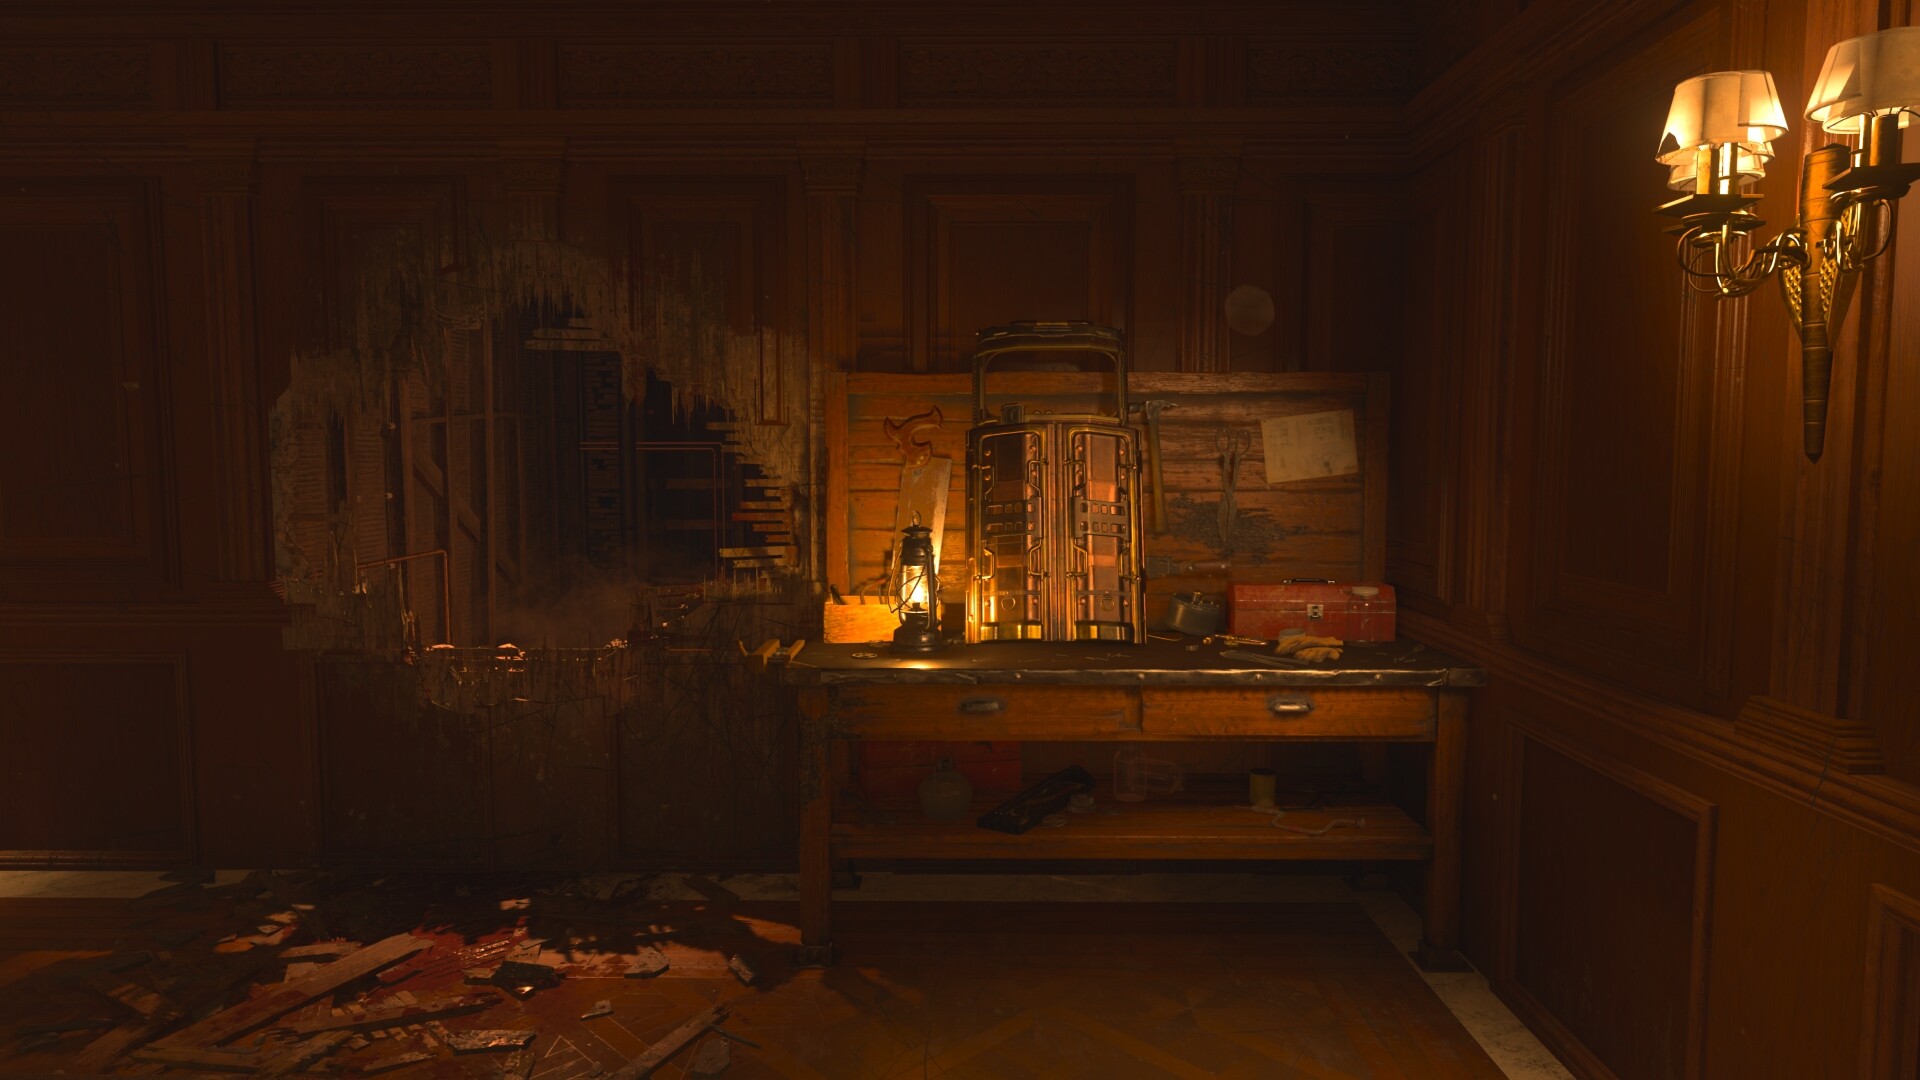
Players can use the Pack-A-Punch Machine to upgrade their weapons. To activate the Pack-A-Punch machine, players must turn the power on and activate three stones to complete each stone’s challenge, to access the Forest. Stones will be placed inside vases emitting a glowing light from the inside. Vases will typically be sitting on a table or bench in each area. Each of the three stones can spawn randomly in three spots. Players can locate the first Green Stone vase either in the; Study or in the Library. Next, the purple stone’s vase can be found in the; Bedroom Hallway, Master Bedroom, or Trophy Room on a table. The remaining Blue stone’s vase in the Wine Cellar. Each vase will need to be broken to reveal the stone. Afterwhich you will need to kill around four zombies nearby to let the stones absorb the zombie souls. After each stone is activated, you will be able to interact with the Stone. By interacting with the Stone, you will need to complete each of the stone’s challenges to receive one of three Tuning Forks. The Tuning Forks are used to unlock the Forest. By interacting with the Forest Terrace area’s black-orange barrier, you will be able to enter the Forest. You will need to defeat the spawned werewolf by shooting into his weak spots. The Pack-A-Punch will then be ready to be used at the end of the Forest.
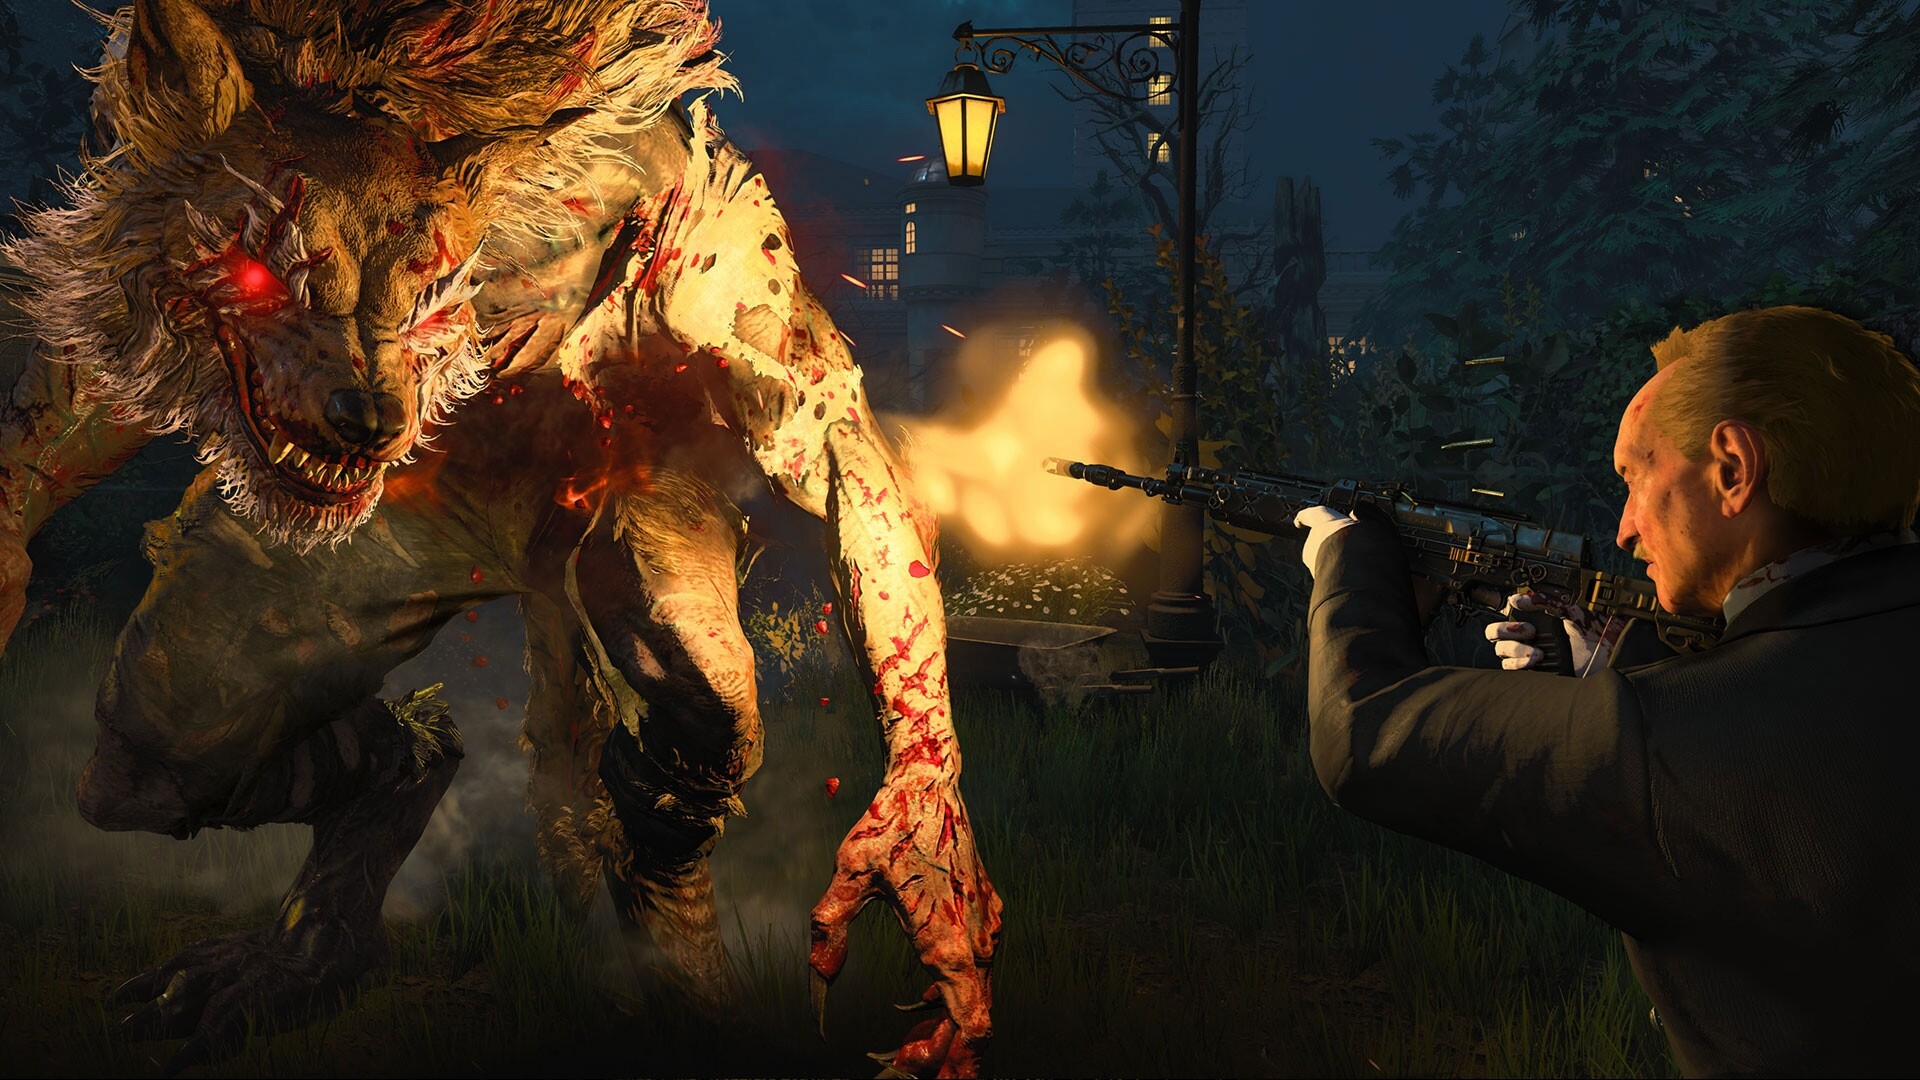
The Werewolf is a large zombie enemy that players will need to defeat when gaining access to the Forest during the Pack-A-Punch quest and the final boss fight. Silver Bullets are optimal when fighting a Werewolf and should be shot at his weak glowing spots around his body.
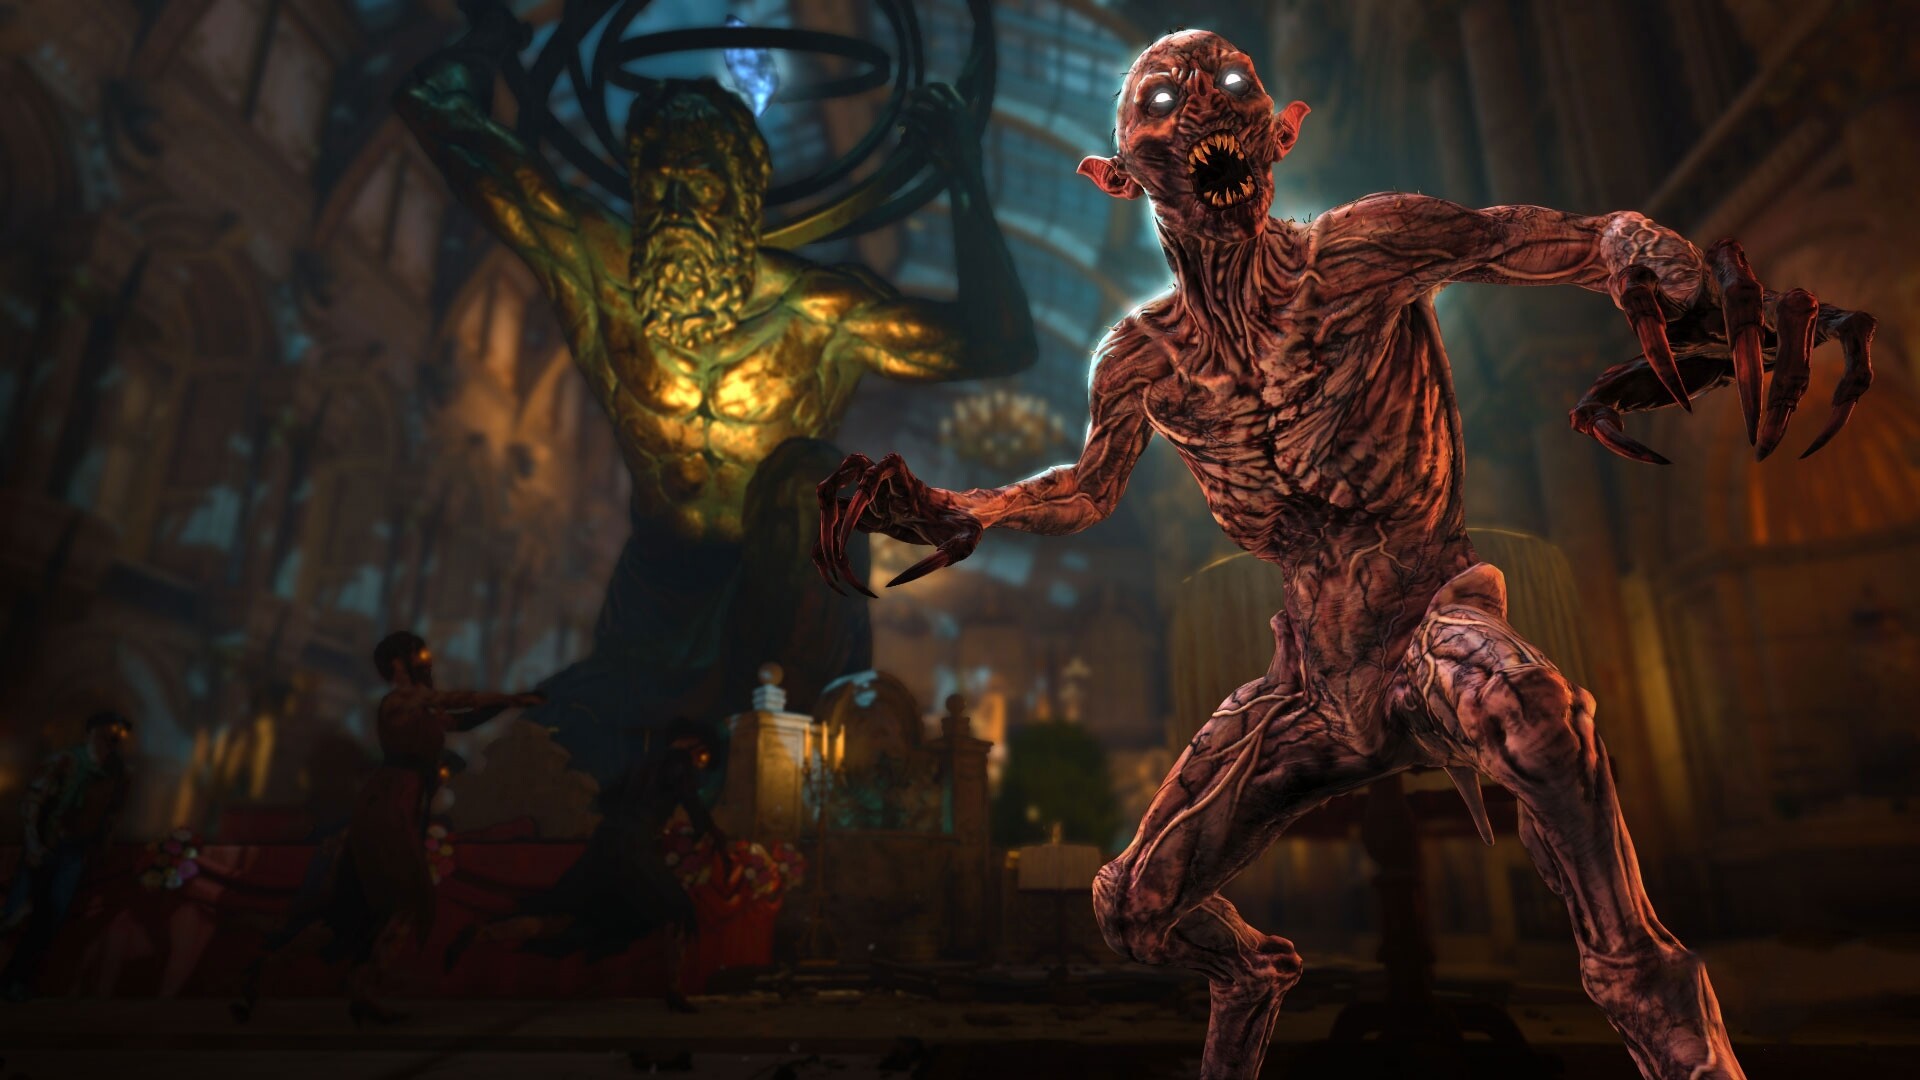
Crimson Nosferatu enemies can be distinguished by their goblin-like, red, dark features. They tend to spawn after a player has opened the coffin during the quest to collect Nosferatu Chaos Material needed to craft Alistair’s Annihilator. If players don’t open the coffin, they will spawn after round 35.
The Homunculus is a wonder weapon that can be obtained from the mystery box for 950 points. With only 2 charges, only one player in the lobby can have it equipped at a time. The Homunculus can be thrown, which will start yelling and attach itself to zombies while mashing their heads, killing them for about 20 seconds before vanishing.
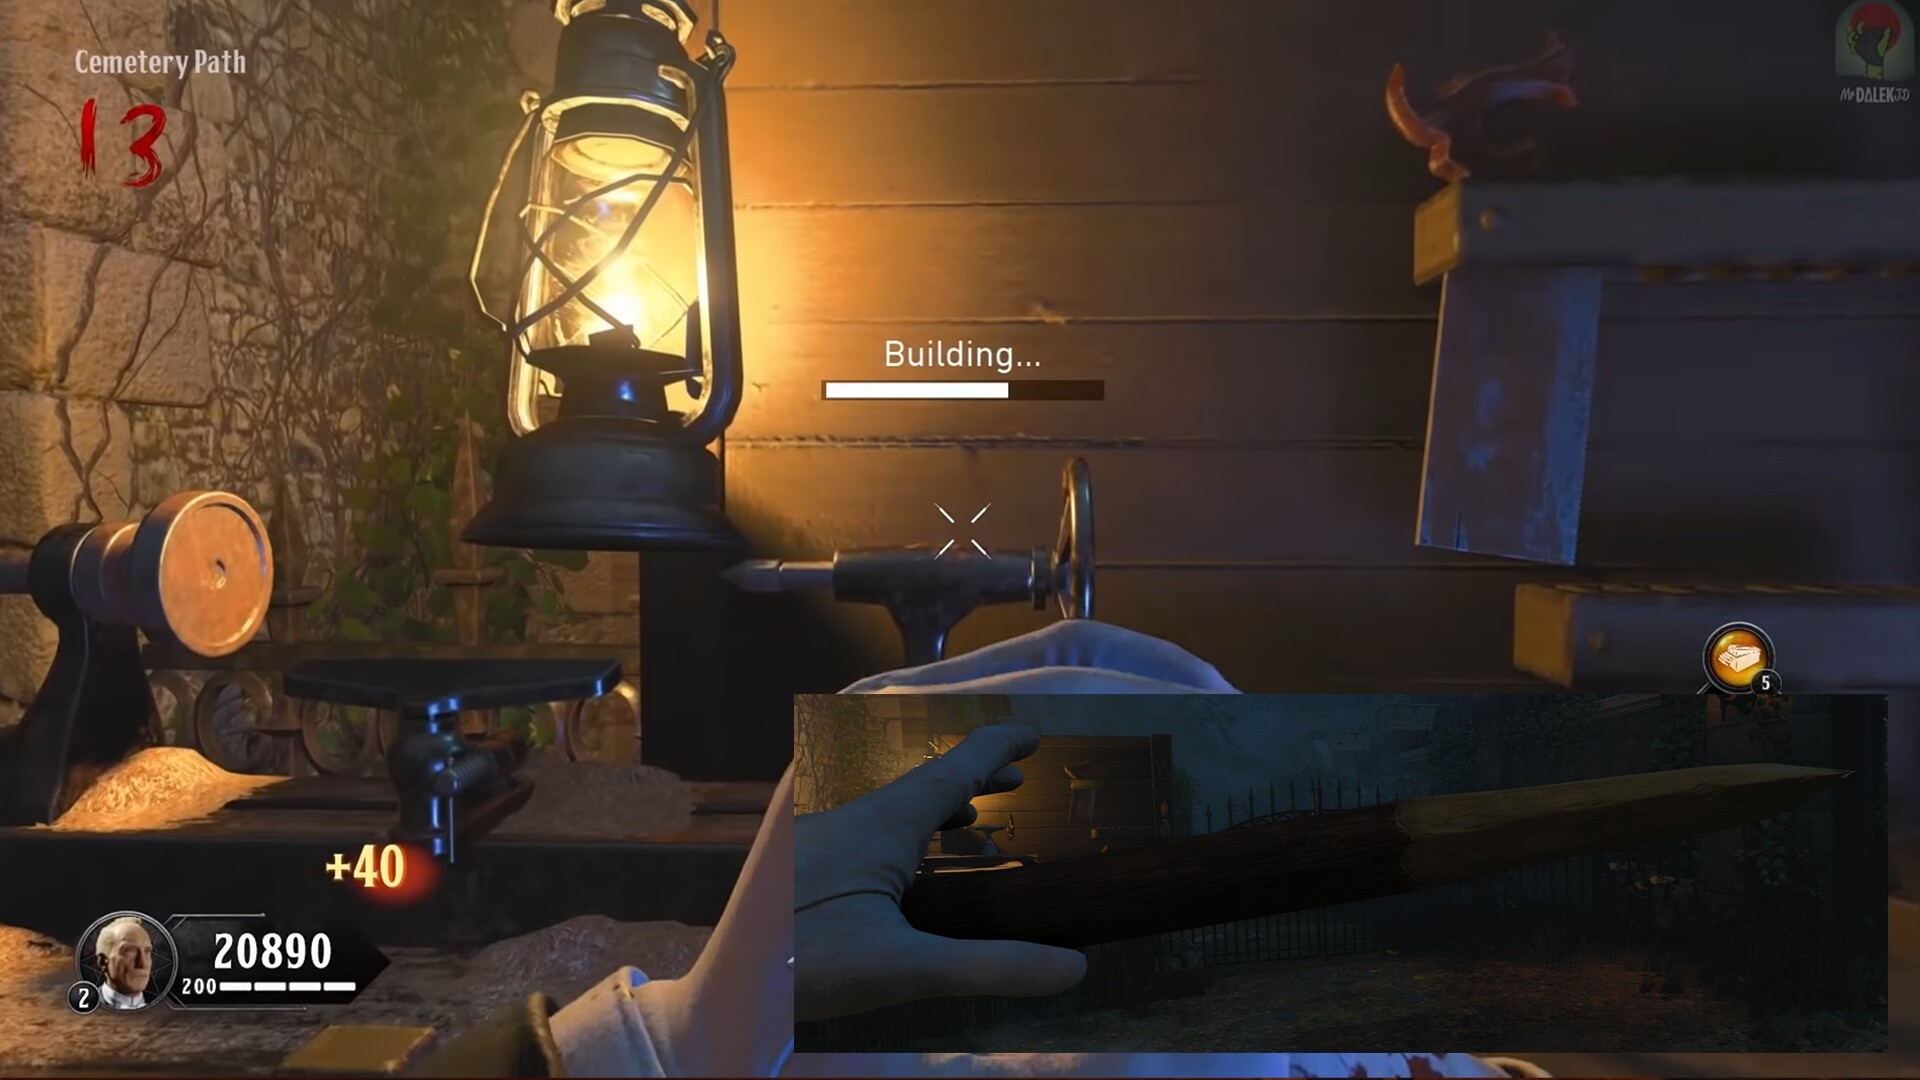
A Ballistic Shield can be built with three parts on a workbench in the Smoking Room. Players can locate the Handle piece in either three spots; on the East Balcony near the weapon wall buy, on a wall block near the Sentinel Artifact, or next to the RK-47 wall buy, in the West Balcony area in front of three windows. The second Counter piece can spawn either; in the East Hallway on a chair in the corner, in the Dining Room on the floor near the weapon wall buy or again in the Dining Room but near the staircase before entering the Master Bedroom. The third Window Piece can be located near the Study area entrance on a table with a painting hanging above, placed on a long couch in front of a staircase in the Library, or on the shelves of a broken bookcase in the Library.
Players can obtain the Savage Impaler wonder weapon by completing a small Easter Egg quest. The Savage Impaler can then be bought from the Mystery Box after the quest. Acting as a powerful crossbow, the Savage Impaler shoots out bolts, killing zombies quickly. To complete the Easter Egg, Players must blow out six candles around the map by meleeing them. These candles’ locations are usually on a table or bench in the following areas; The East Gallery, Master Bedroom, Music Room, Wine Cellar, The Study, and The East Hallway. You should hear an audio cue after each candle is blown out.
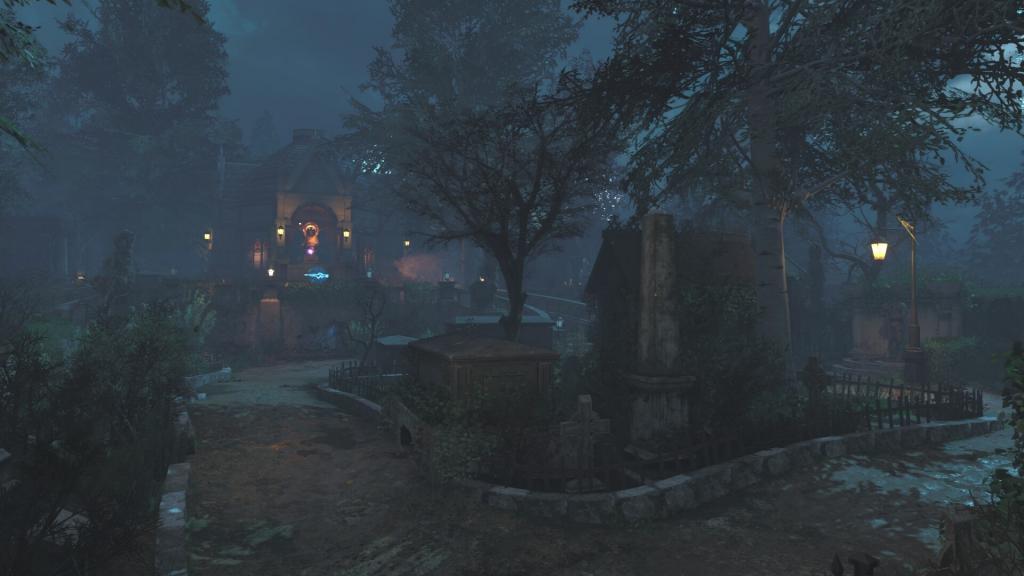
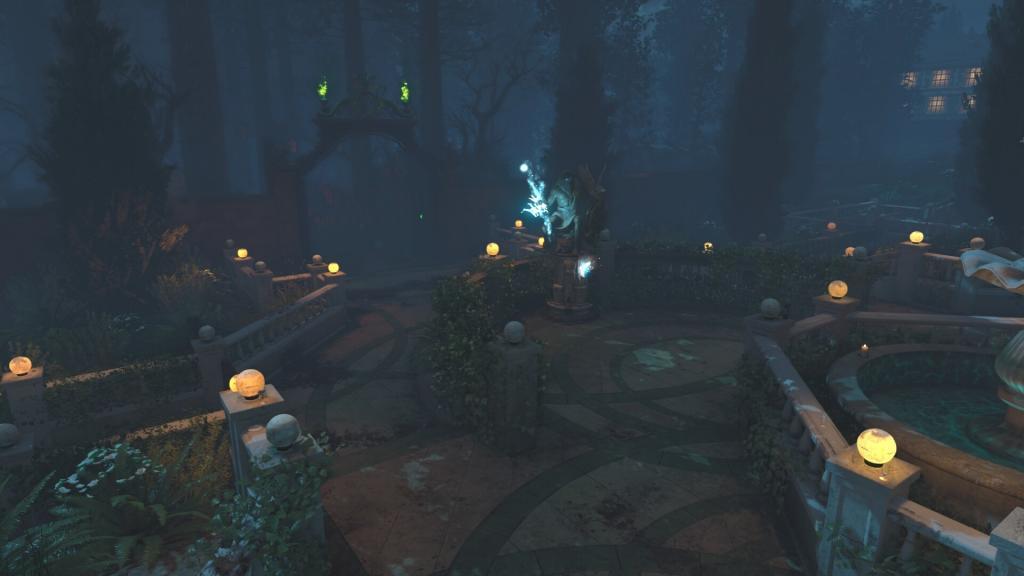
The last step requires players to travel to the Forest and interacting with a gravestone spilling water. Next to escort a ghost from the Mansion to the Mausoleum before the gravestone’s effect wears out. Then kill zombies that are glowing blue each time with a unique weapon such as a; regular weapon, shield, special weapon, wraith fire or Fire Gate, and equipment. Each zombie will drop 1 of 4 jewelry parts that will need to be placed inside the Mausoleum on four glowing symbols. Finally, you will need to kill approximately 8 Nosferatus, then interact with a stone coffin to reveal the crypt and kill more enemies when picking up the weapon to escape the crypt.
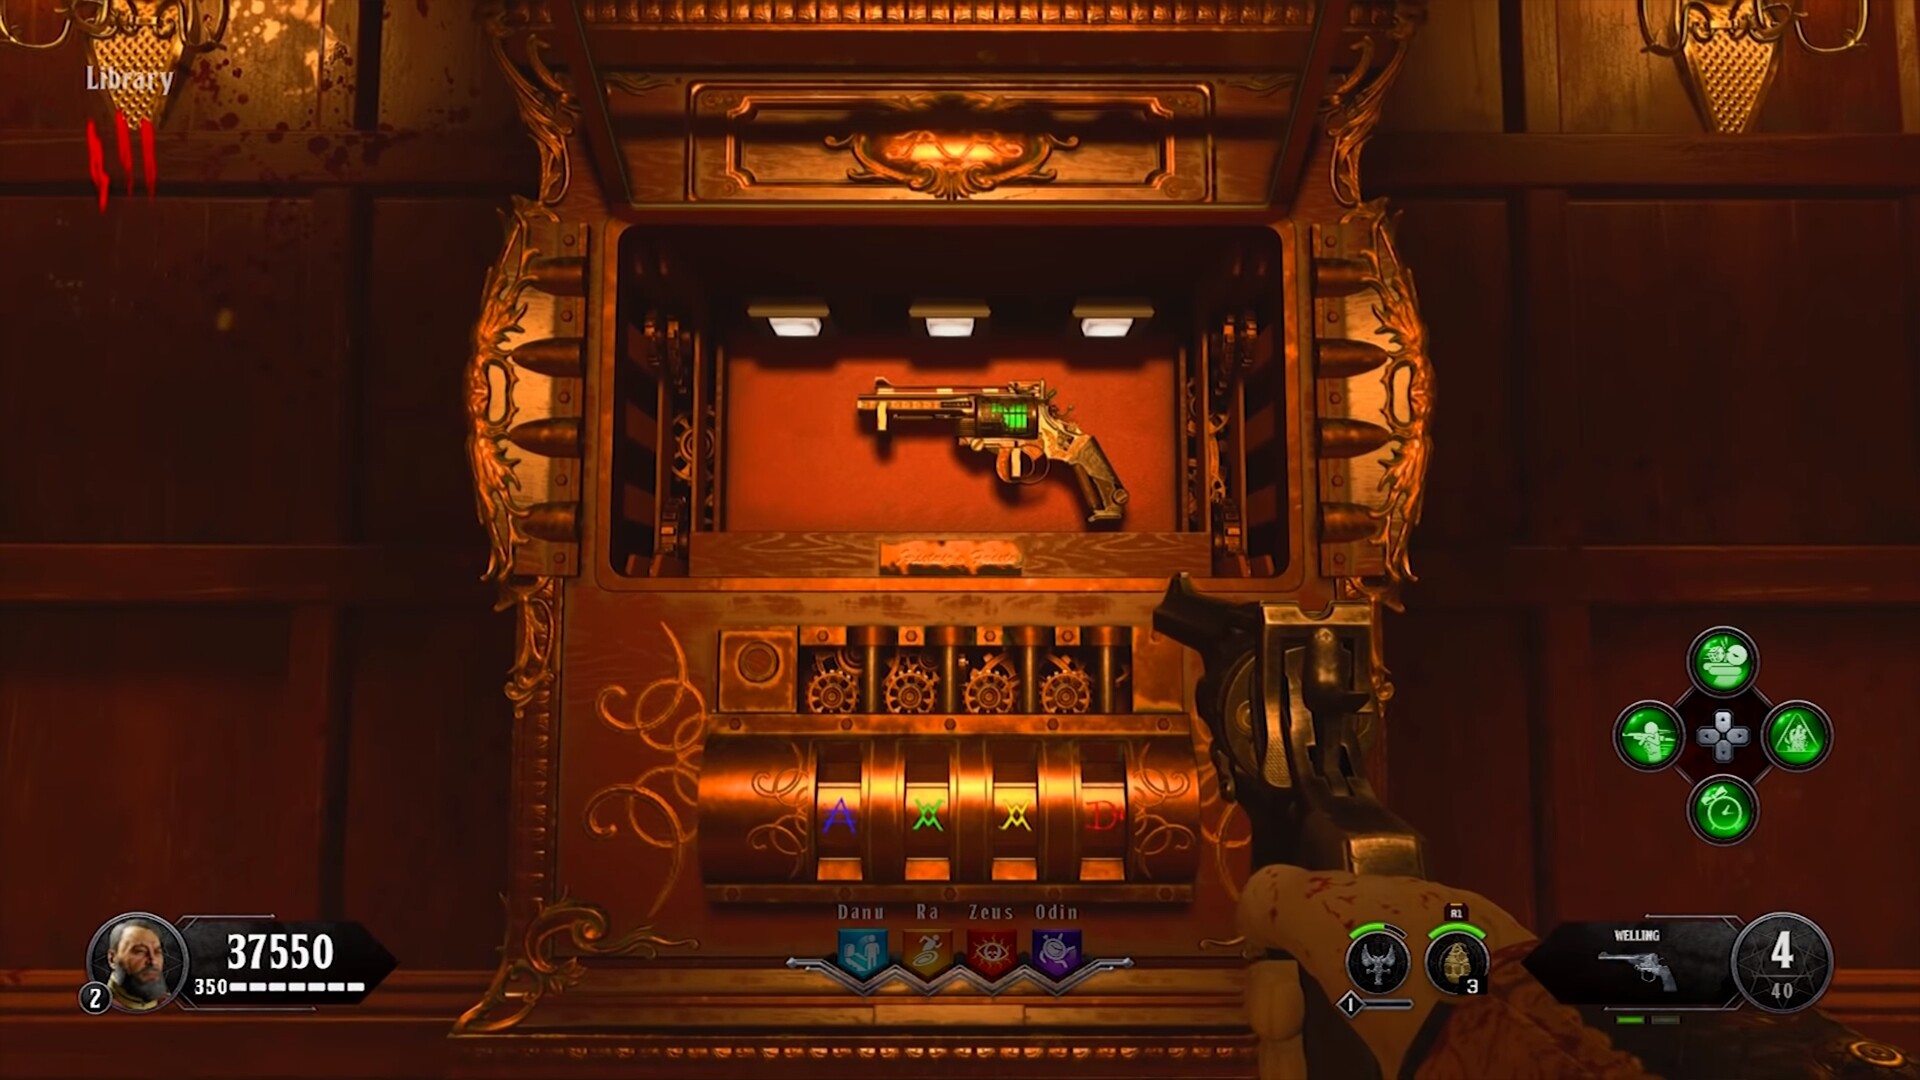
Alistair’s Folly is a Wonder Weapon that players can buy from the Mystery box or by completing a mini Easter Egg Quest. Alistair’s Folly is a revolver that shoots explosive projectiles. The wonder weapon can be upgraded two times into the Chaos Theory and then into the Alistair’s Annihilator. The Easter Egg quest requires players to find the revolver in a safe in the Library. You will need to locate four colored symbols needed to unlock Safe’s dial.
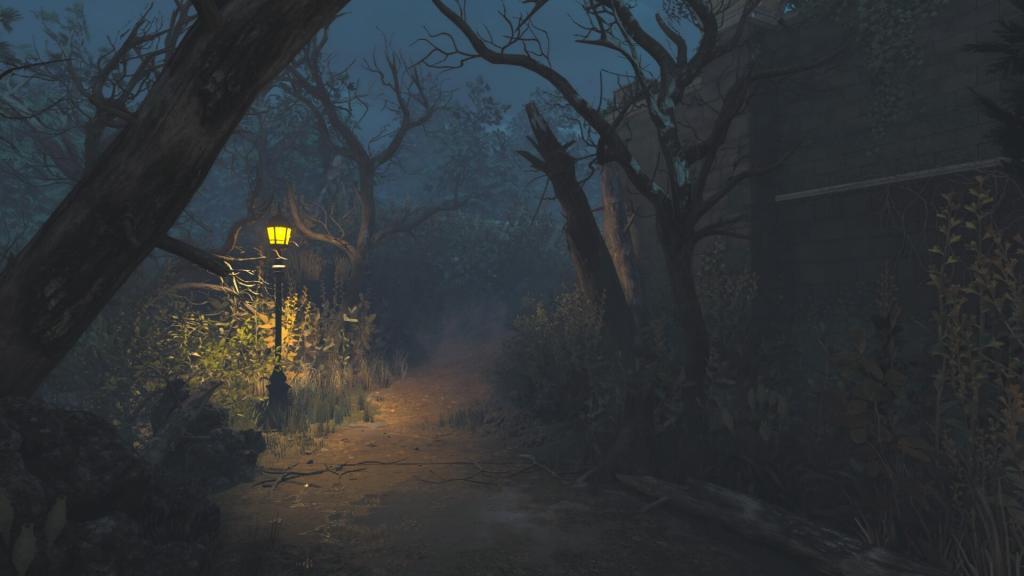
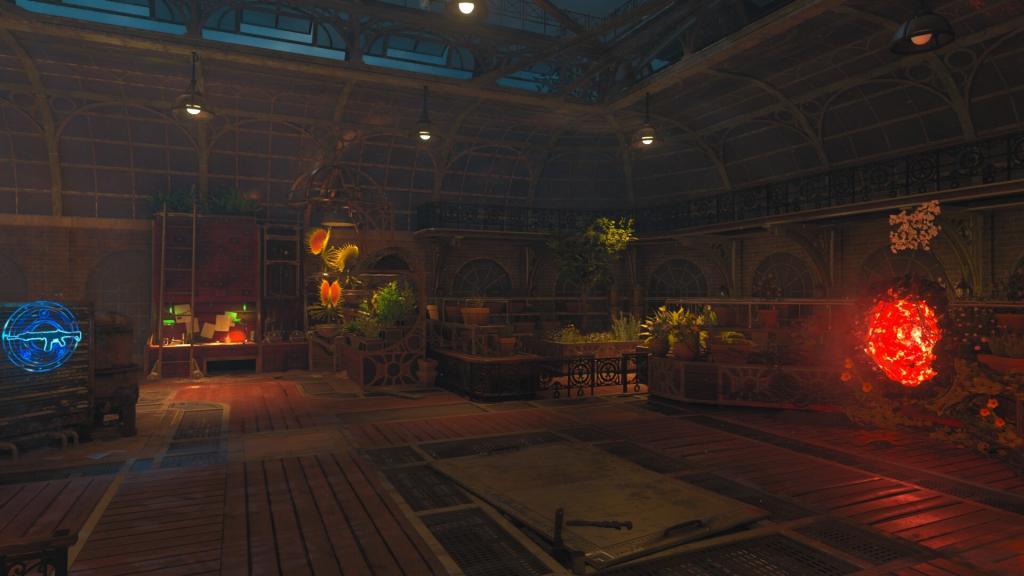
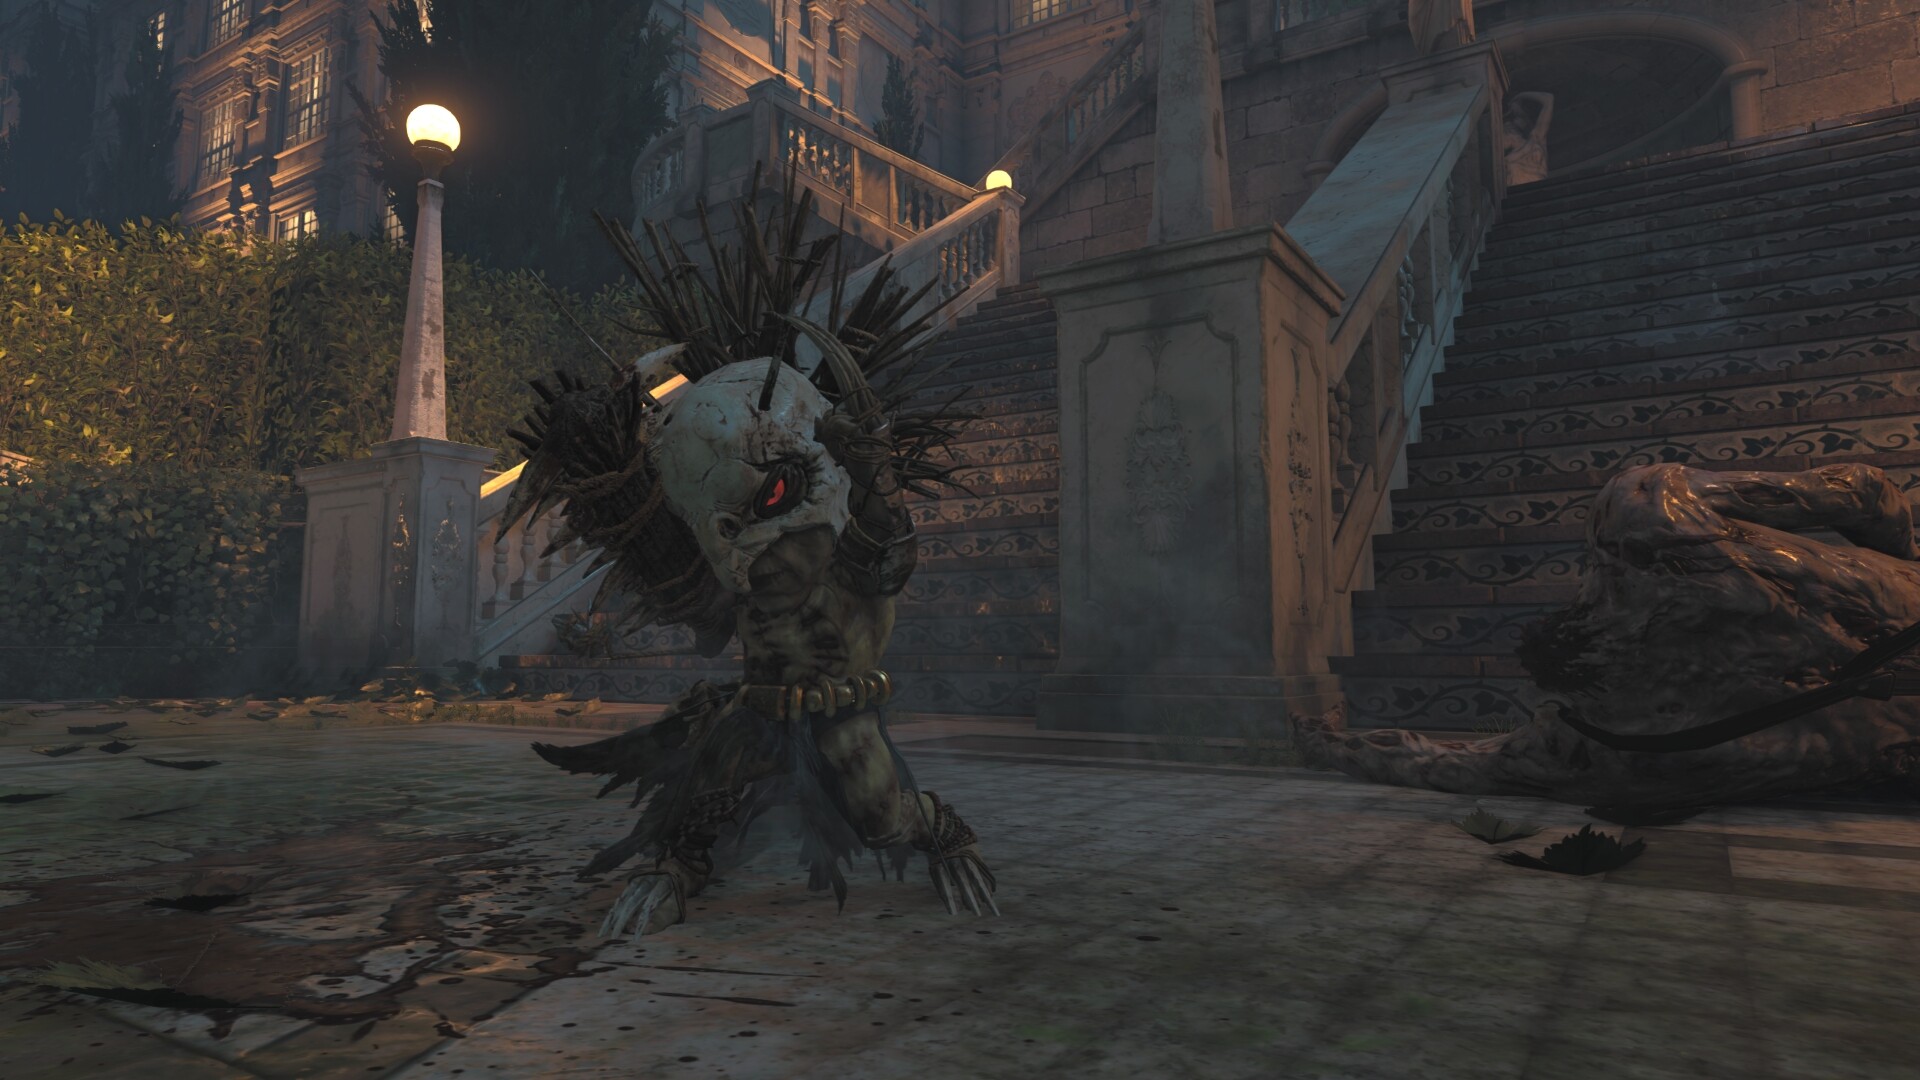
The Stake Knife Wonder Weapon is an effective melee weapon against non-regular zombies such as Nosferatu. Players can obtain the melee wonder weapon by completing a small Easter Egg quest. The power must be on to complete the quest, and access to the Forest should be available. The Easter Egg involves players finding four trees with a lantern in the Forest and memorizing the symbols’ order, left to right. Then, going to the Greenhouse and shooting four stones in the order of the trees’ elemental symbols. It’s essential to get the correct order, or the Stake will be unattainable for the rest of the game.
Successfully shooting in the correct order will cue a sparkle audio cue. Next, you will need to go back to the next tree after the first tree and use a bowie knife to melee the tree with the four elemental symbols in order. After the symbols have been crossed out, use the ballistic shield to melee 2 or 3 symbols to make a branch fall off. Take the branch to the Mausoleum’s Altar and kill 15 Nosferatus nearby to absorb the souls into the altar. Once the branch is emitting orange smoke, take it to the Mausoleum crafting table to craft the Stake Knife.
To activate the Musical Easter Egg “Mystery” on Dead of the Night, you will have to locate and shoot four hidden coins around the map. Players can find the first purple coin in the Main Hall. Crouch to see the coin under a clothed table near the Grandfather Clock. The second blue coin can be located in the Wine Cellar, inside a broken barrel. The third green coin is located in the East Hall, behind the door that goes towards the Dining Room. Finally, players can view the red coin from the second floor of the Study by looking down near the Statue.
The Trial by Ordeal is the main Easter Egg on Dead of the Night, after turning on the power and activating the Pack-A-Punch go back and interact with each of the three stones used when activating the Pack-A-Punch machine. Look at each of the three images when gazing into the stones and complete each stone’s quest.
Quest 1: The Telescope stone quest
Step 1: Go to the Mausoleum and get all players to use Silver Bullets to shoot a rod above the Mausoleum. After which, you should see a light beam shining at the rod, making the rod vanish.
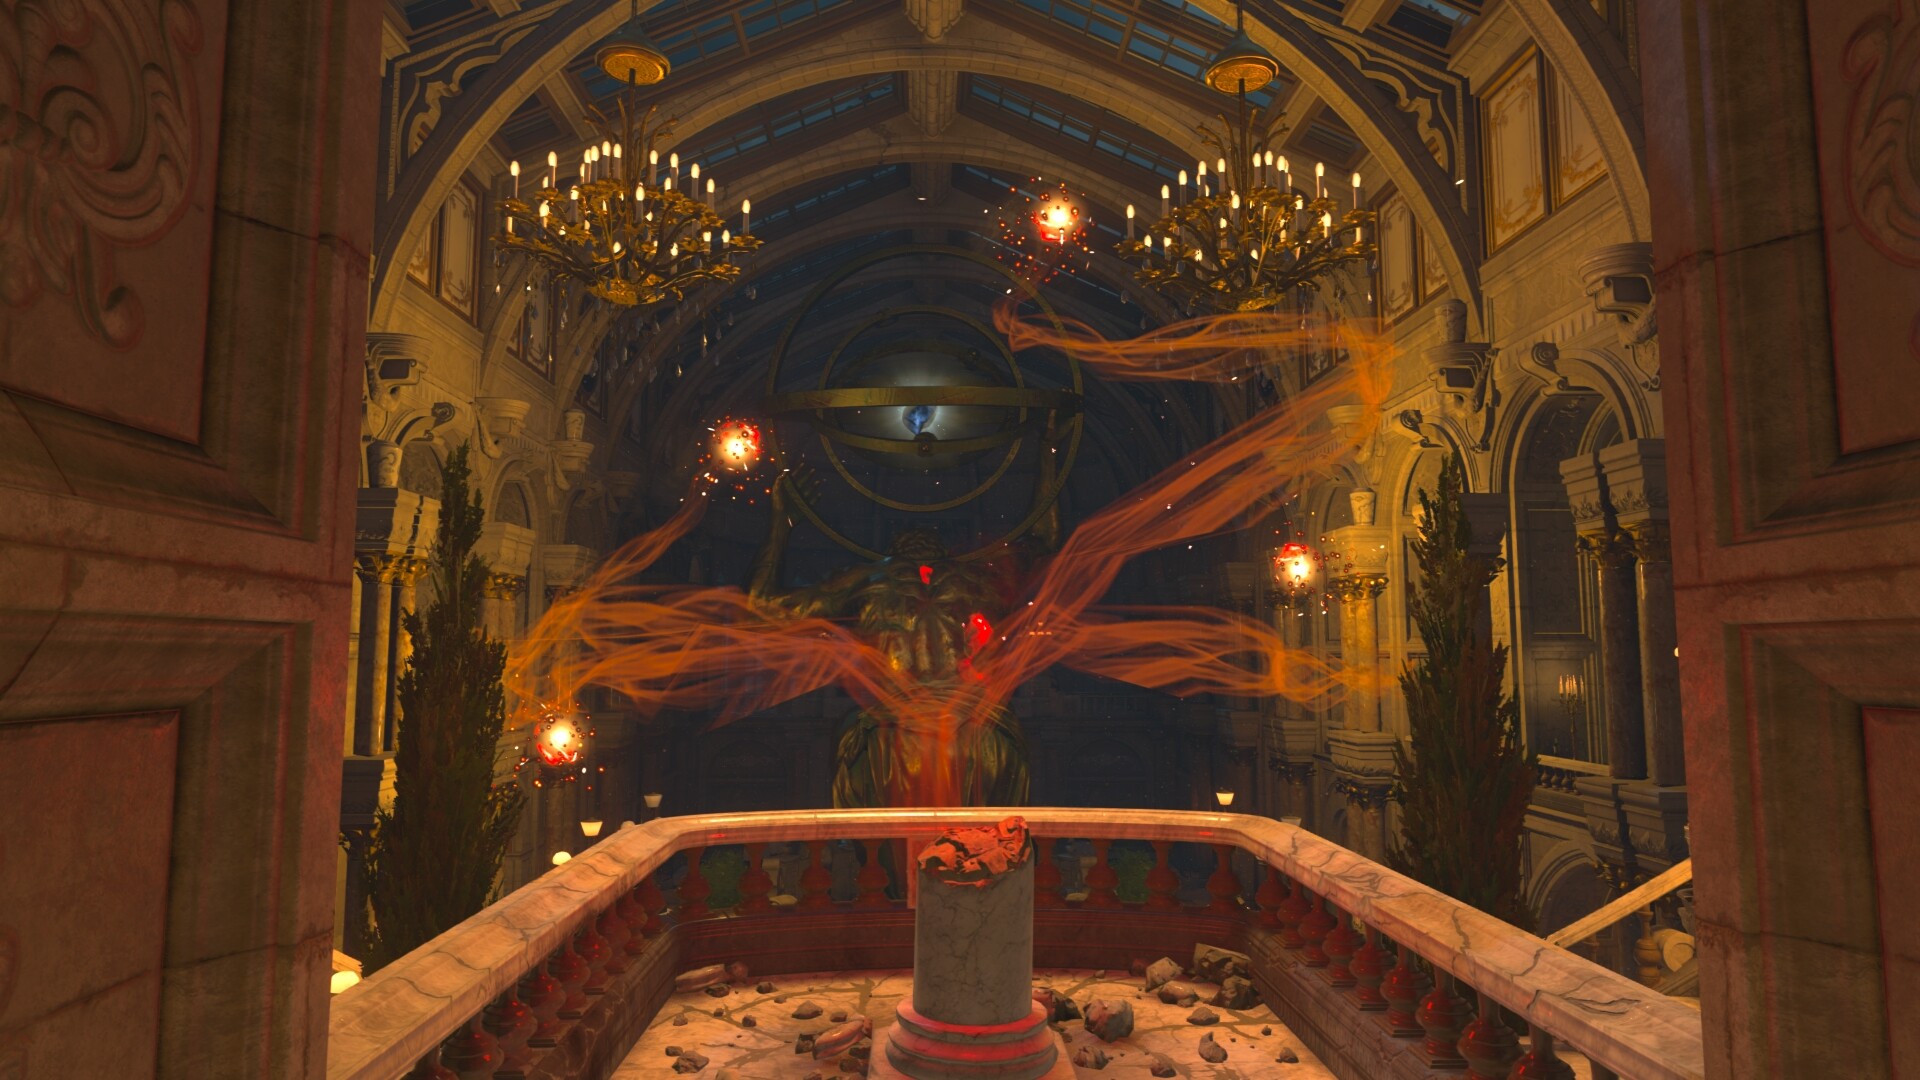
Step 2: Now go to the North Atrium Bridge panel and interact with the panel to make the wheels positioned. In the correct order, the order of the wheels is; the middle wheel must push the green light, the Left wheel must make the blue light be positioned correctly, and the right wheel should make the red light be placed perfectly. The puzzle will be complete when the beam destroys Atlas’s head.
Step 3: Find three zodiac symbols and count how many corresponding scratch marks are nearby. Typically, there is a max of three scratch marks per zodiac symbol. Count the number of scratch marks found in each area corresponding to one zodiac sign and order each of the zodiac signs from least to highest of found scratch marks.
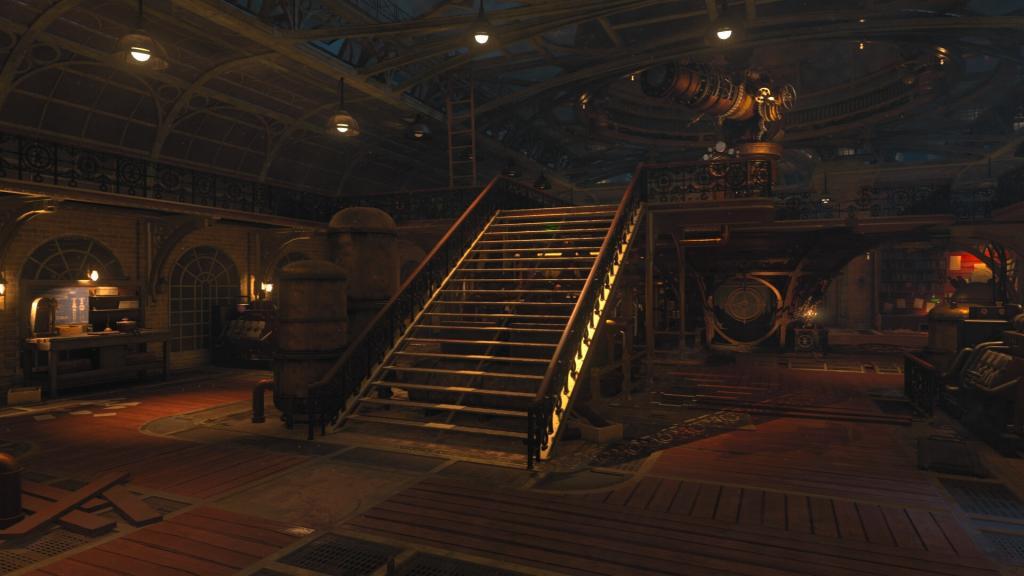
Step 4: Find the telescope in the Greenhouse Laboratory area and proceed to find the panel with zodiac symbols and order them from step 3, and knife the panel to complete the puzzle. If successful, the symbols will be replaced, and if not, they won’t change.
Step 5: Use your shield to interact with the dome crank to open the roof and then once more to click the roof in place. After this, find the electric trap and get all players to use their shields to walk through the trap. A beam should be shot above to show the moon.
Step 6: Get all players to interact with a stone pad downstairs under the telescope to initiate the zombie wave. Kill and survive the wave of zombies to complete the Telescope Questline.
Quest 2: Knight Quest Line
Step 1: Activate the Fire Gate Trap, and use Alistair’s Annihilator to shoot the flames, this will turn them blue. Walk through the fire with your shield. Use your burning fire shield to melee four fireplaces around the map in the correct order to collect a crystal after the final fireplace to collect a total of three crystals.
Step 2: The first fireplaces are located in the following areas: the Smoking Room, the right side of the trap, then the left in the Library, and one in the Billiards Room. Next, the order of fireplaces’ to be meleed is as follows: left of the main hall, one in the East Gallery, right of the main hall, and in the West Gallery. The last order of fireplaces to be meleed are located in the; Trophy Room, Master Bedroom, Music Room, and Dining Room.
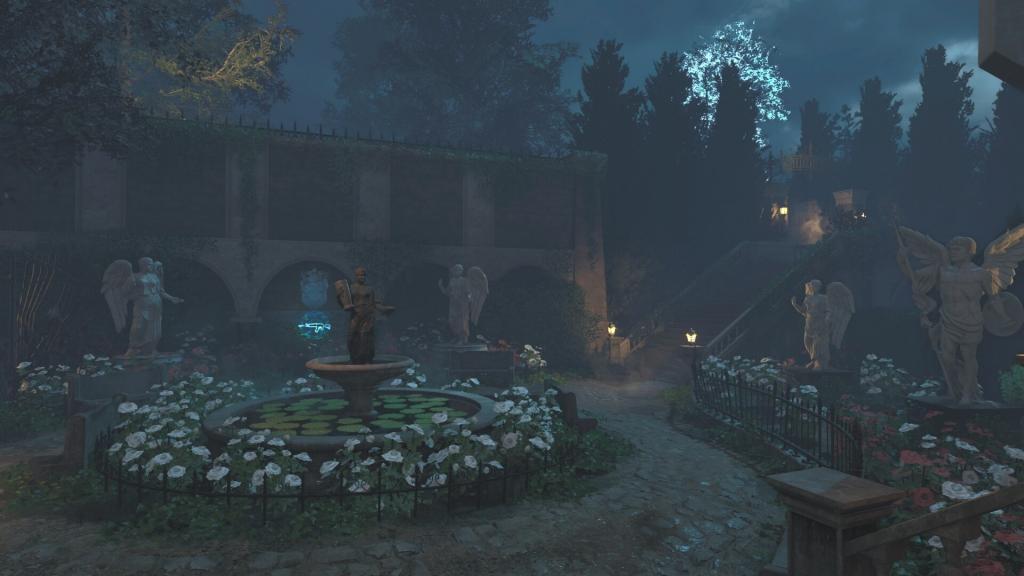
Step 3: Find three knights around the map, in the Main Hall, Greenhouse Terrace, and the Graveyard, and escort the crystals spawned from each knight into the Forest. Find the corresponding symbol on the ground to position each crystal in the right place to make three ghost knights spawn.
Step 4: Make the knights move towards the Pack-A-Punch area by killing zombies near each knight and kill the werewolf in the triangle once all knights are at the Pack-A-Punch machine.
Step 5: Interact with the spawned stone slab by all players to initiate and survive a wave of zombies. Pick up the stone slab once you have successfully killed all zombies to complete the Knight Questline.
Quest 3: Effigy Quest Line
Step 1: Collect five fallen branches by shooting the white birch trees in the graveyard and enter Spirit mode by interacting with the 1912 engraved gravestone.
Step 2: Shoot the ground in front of the Effigy with Alistair’s Annihilator fireball charge whilst the player in spirit mode interacts with the flaming Effigy.
Step 3: The afterlife player will need to go to the Mansion and find a female ghost in perk machines or near barriers and escort her to the graveyard’s effigy.
Step 4: Look for the spawned stone slab on the floor and get all players to interact with the stone slab. Survive the wave of zombies to complete the Effigy Questline.
The End:
Step 1: Interact with the door in the Forest to activate the final boss fight. During the boss fight, Interact with statues bordering the green square to face their light beams. Now escort the werewolf into the square by standing within the square to trap it and then shoot him.
Step 2: The next phase involves players having to survive a round of zombie enemies until the werewolf comes back into the court to be shot at. The last phase involves players having to interact with the statues to make the white beams turn green.
Step 3: Once the statues are aligned, and the light beams turn green, escort the werewolf into the trap and shoot at him whilst he is trapped. Once the Werewolf is killed, you will have completed the Trial by Ordeal Easter Egg on Dead of the Night. Congratulations!