
| Release Date | April 16, 2013 |
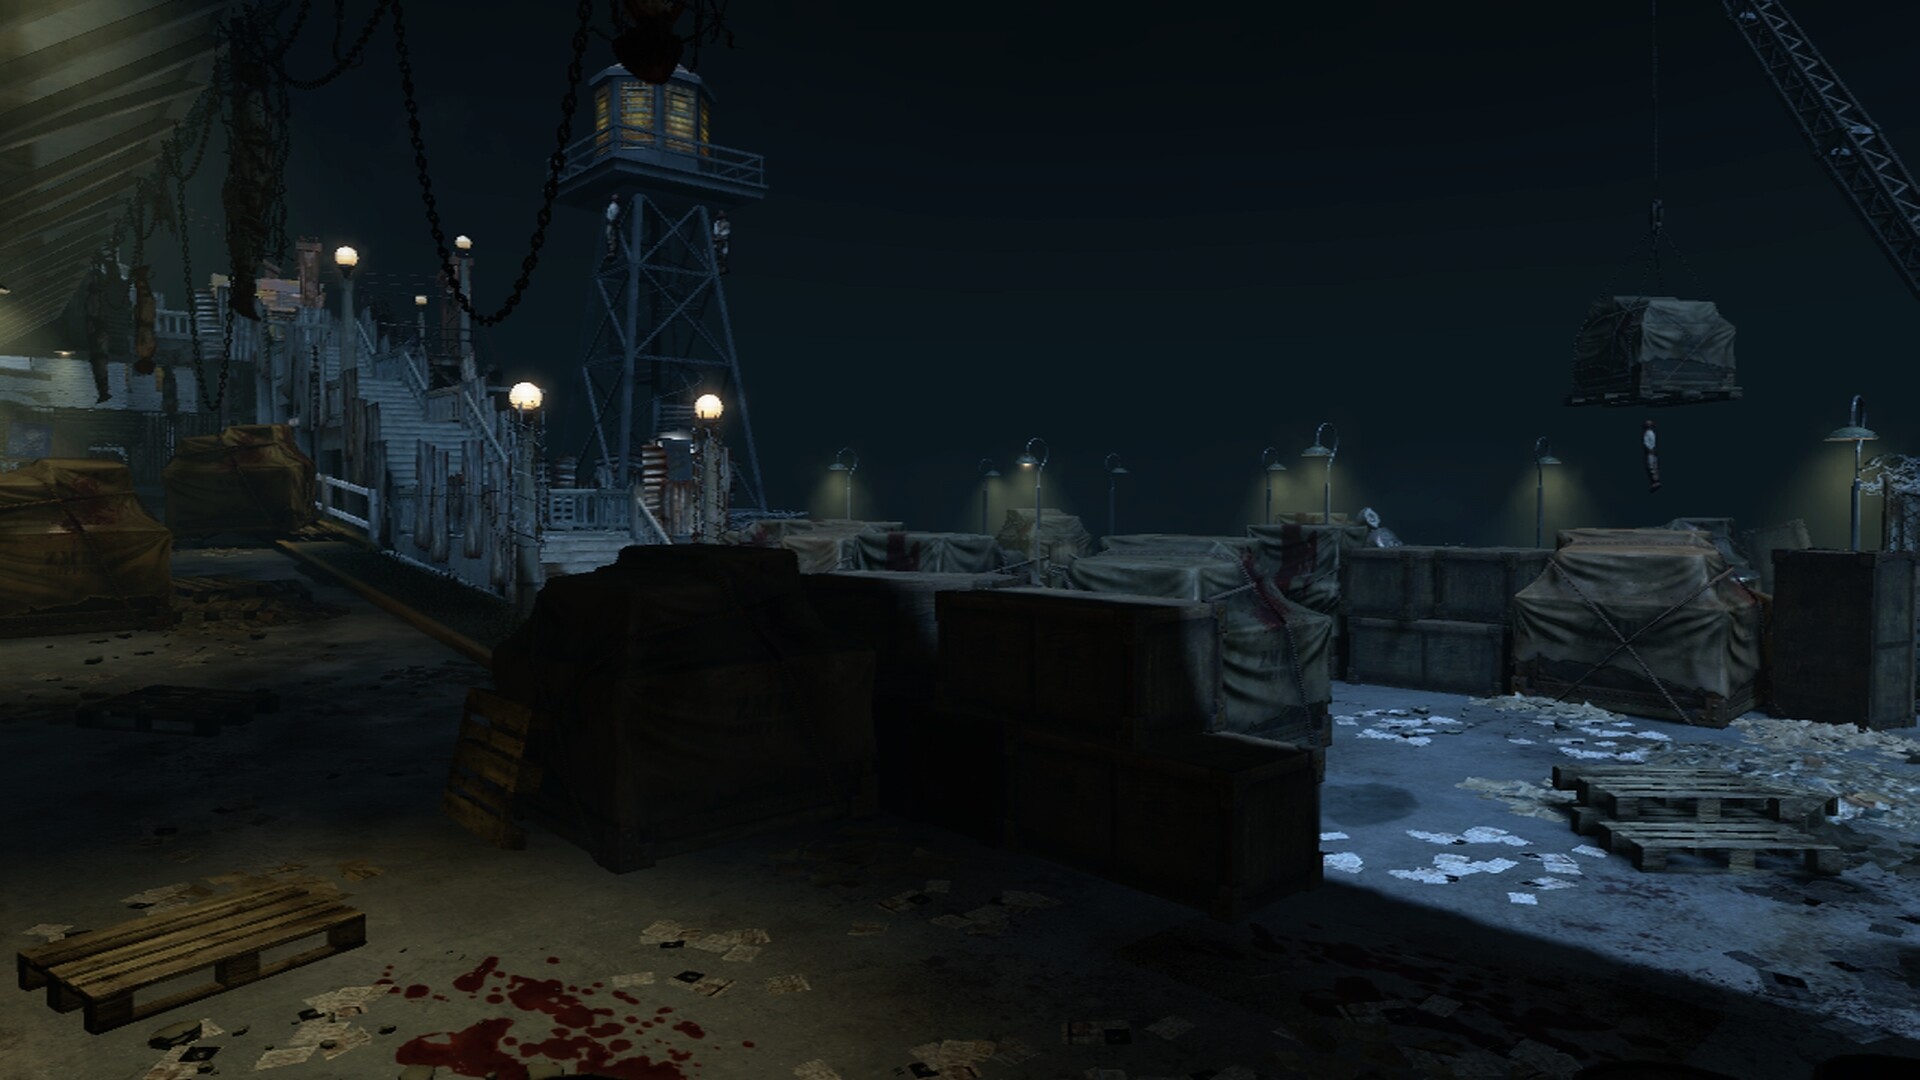
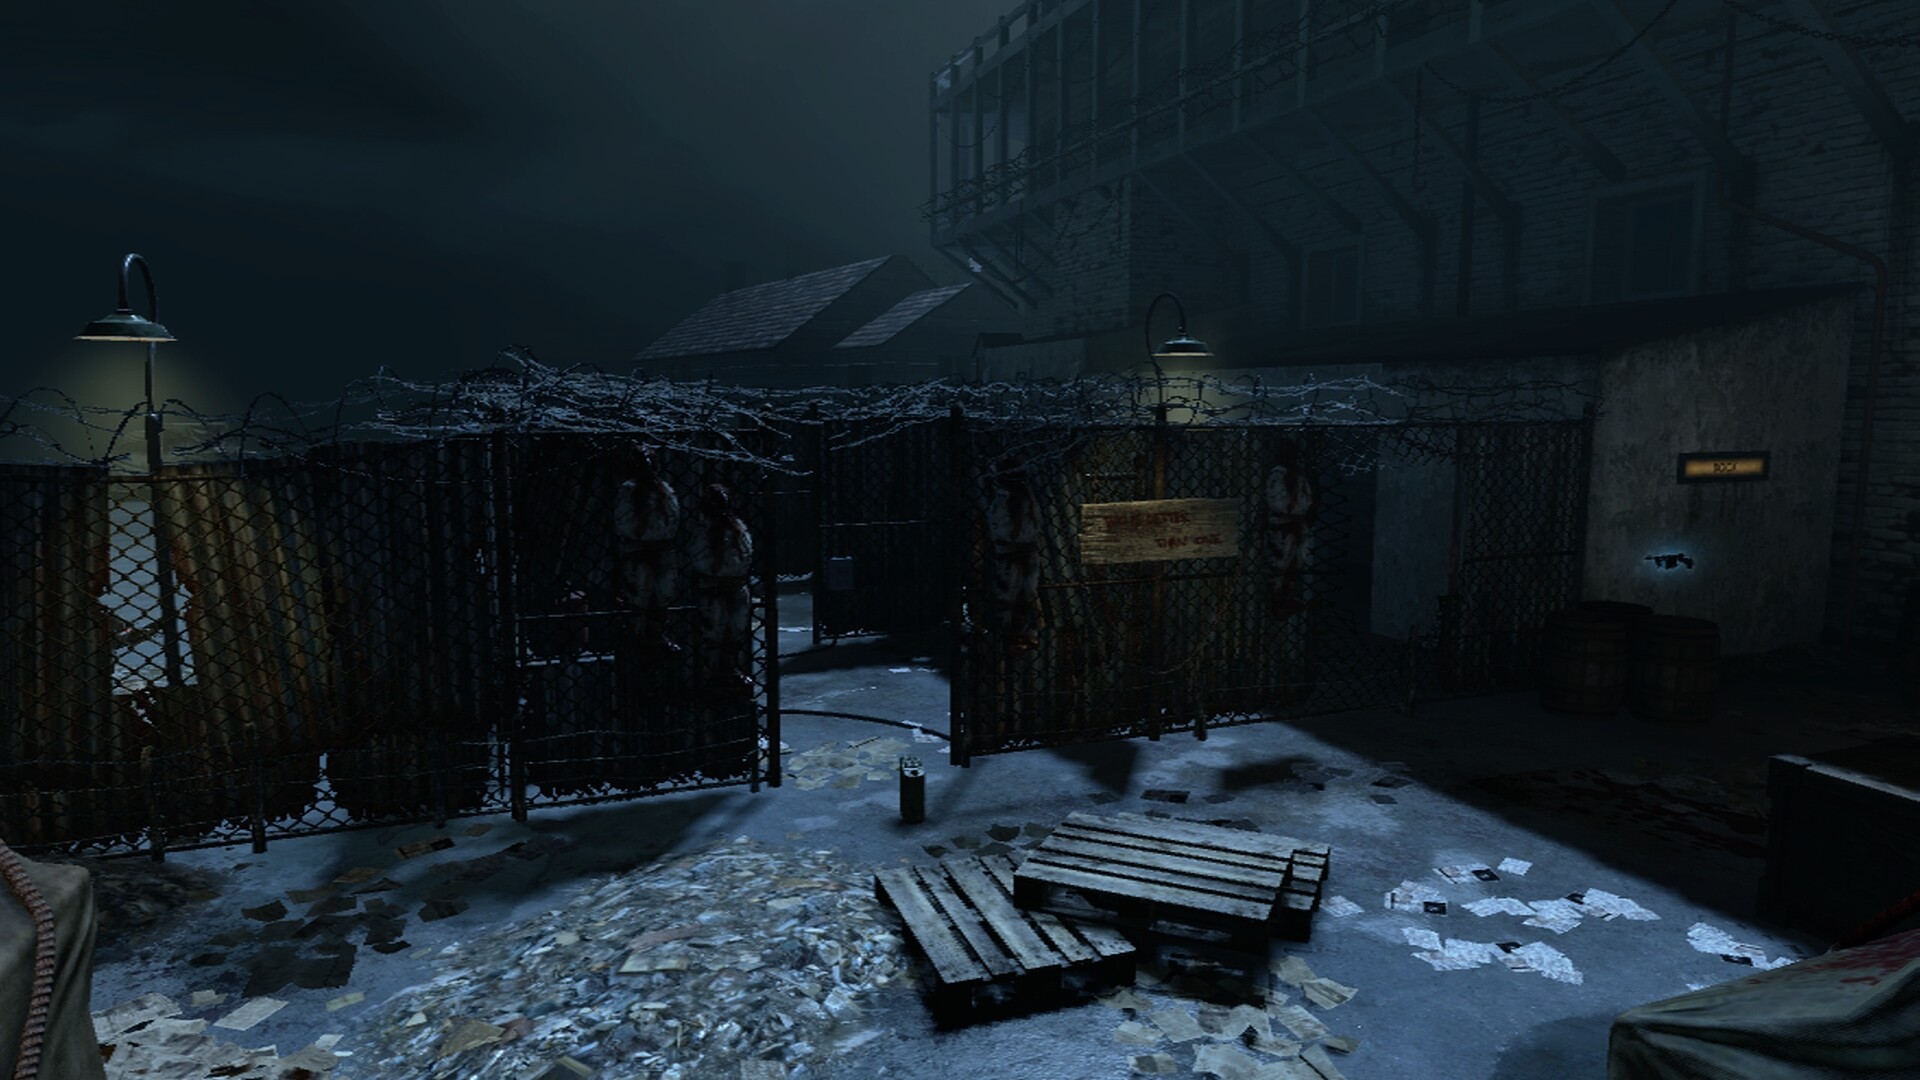
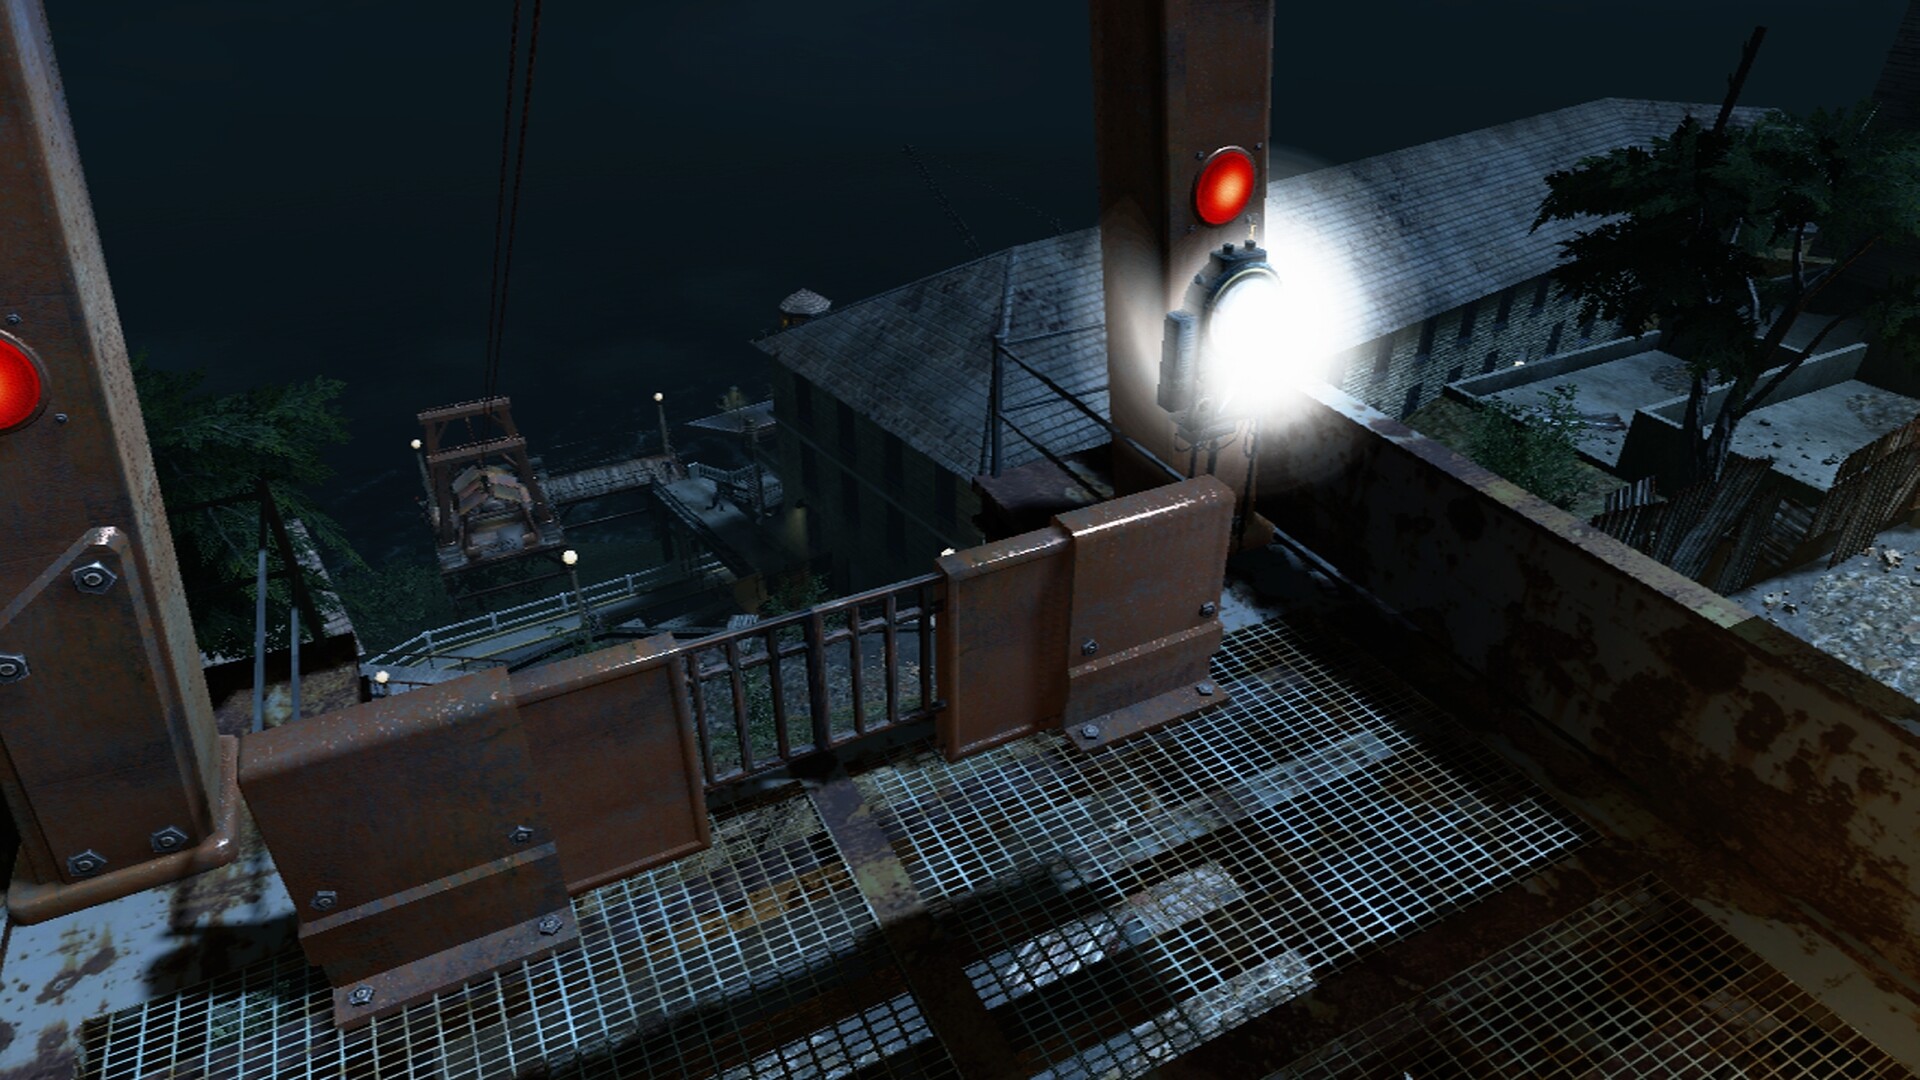
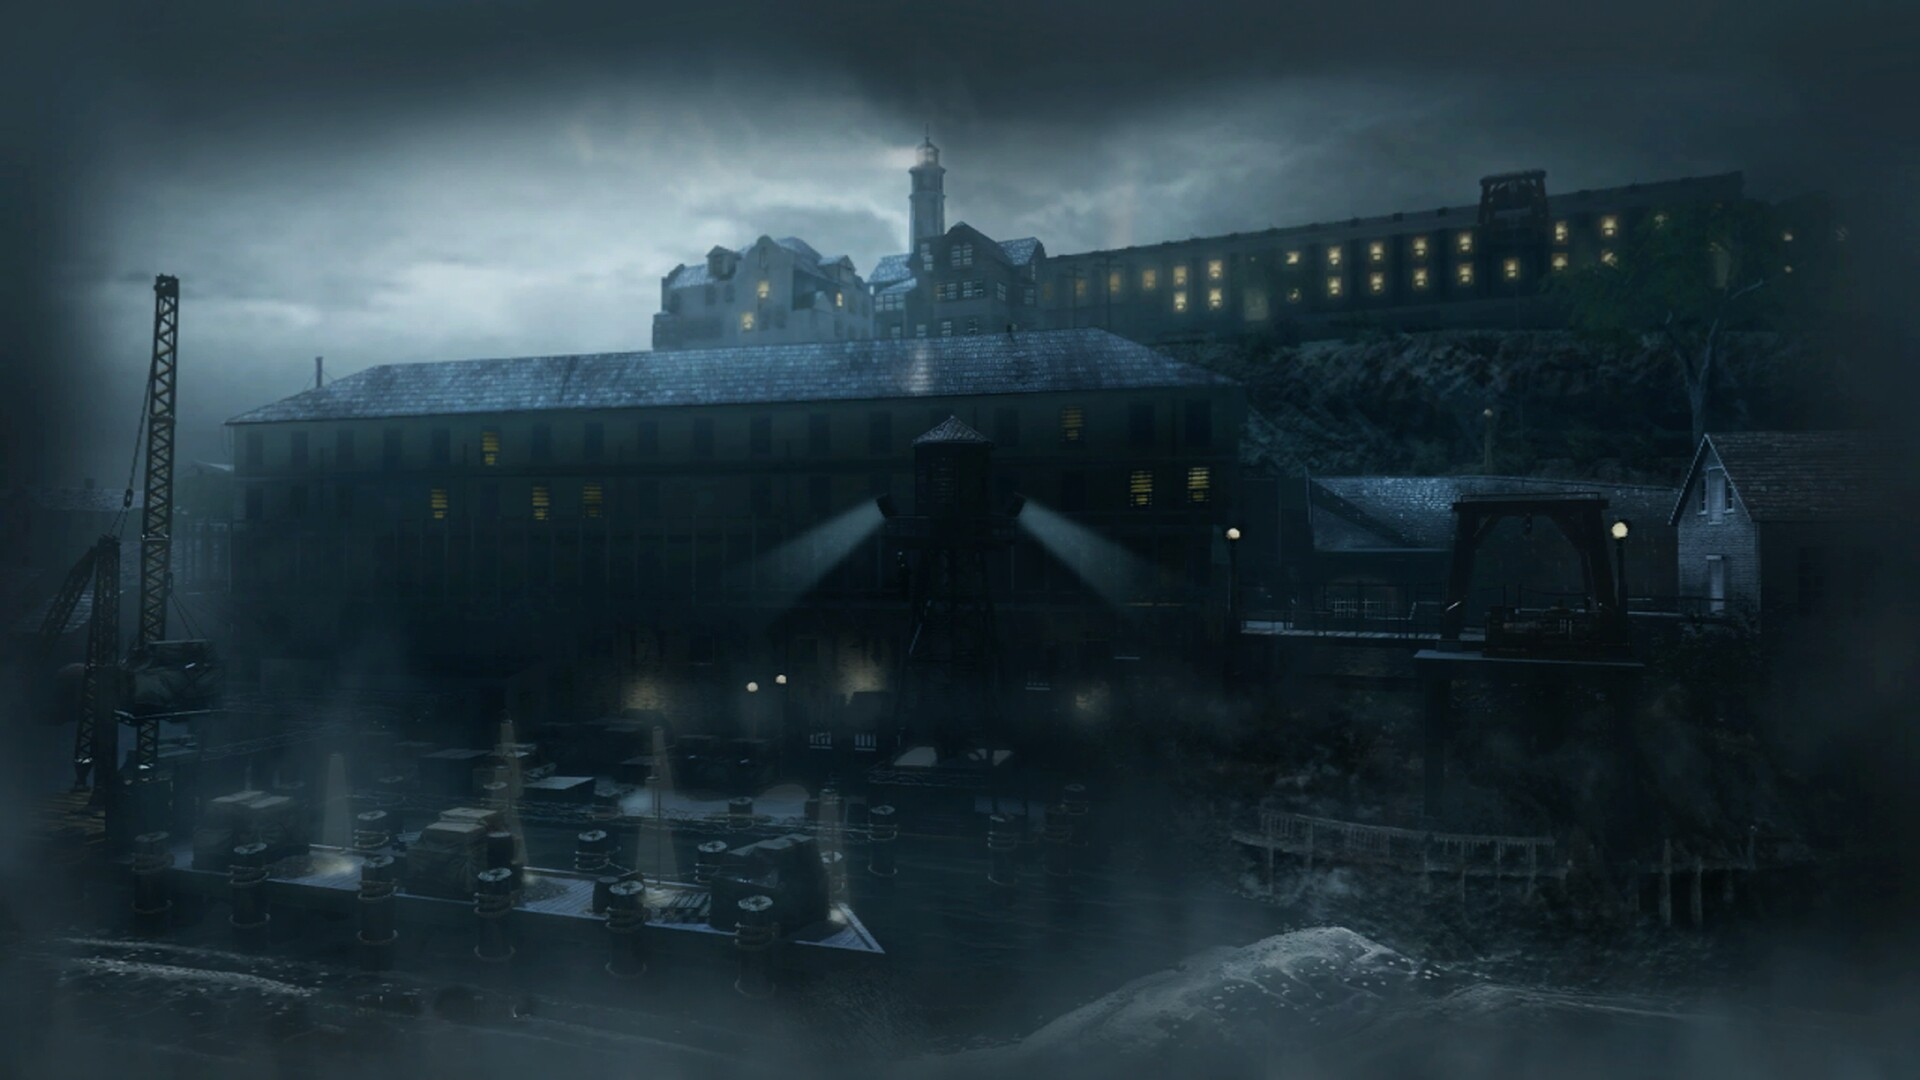
| Location | Alcatraz Island |
| Remakes | View All |
| Release Date | Location | Remakes |
| April 16, 2013 | Alcatraz Island | View All |

Battle the undead as you attempt to break free from the physical and metaphorical incarceration of Alcatraz Prison. – Mob of the Dead


Raygun – AMMO: 180 Shots – Pack-A-Punched: 240 Shots – Reload: 3 Seconds – Fire Mode: Automatic.
Ray Gun Mark II – AMMO: 183 Shots – Pack-A-Punched: 243 Shots – Reload: 2.9 Seconds – Fire mode: 3-Round Burst.
Blundergat – AMMO: 60 Shots Pack-A-Punched: 122 Shots Reload: 3.2 Seconds Fire mode: Single-Shot.
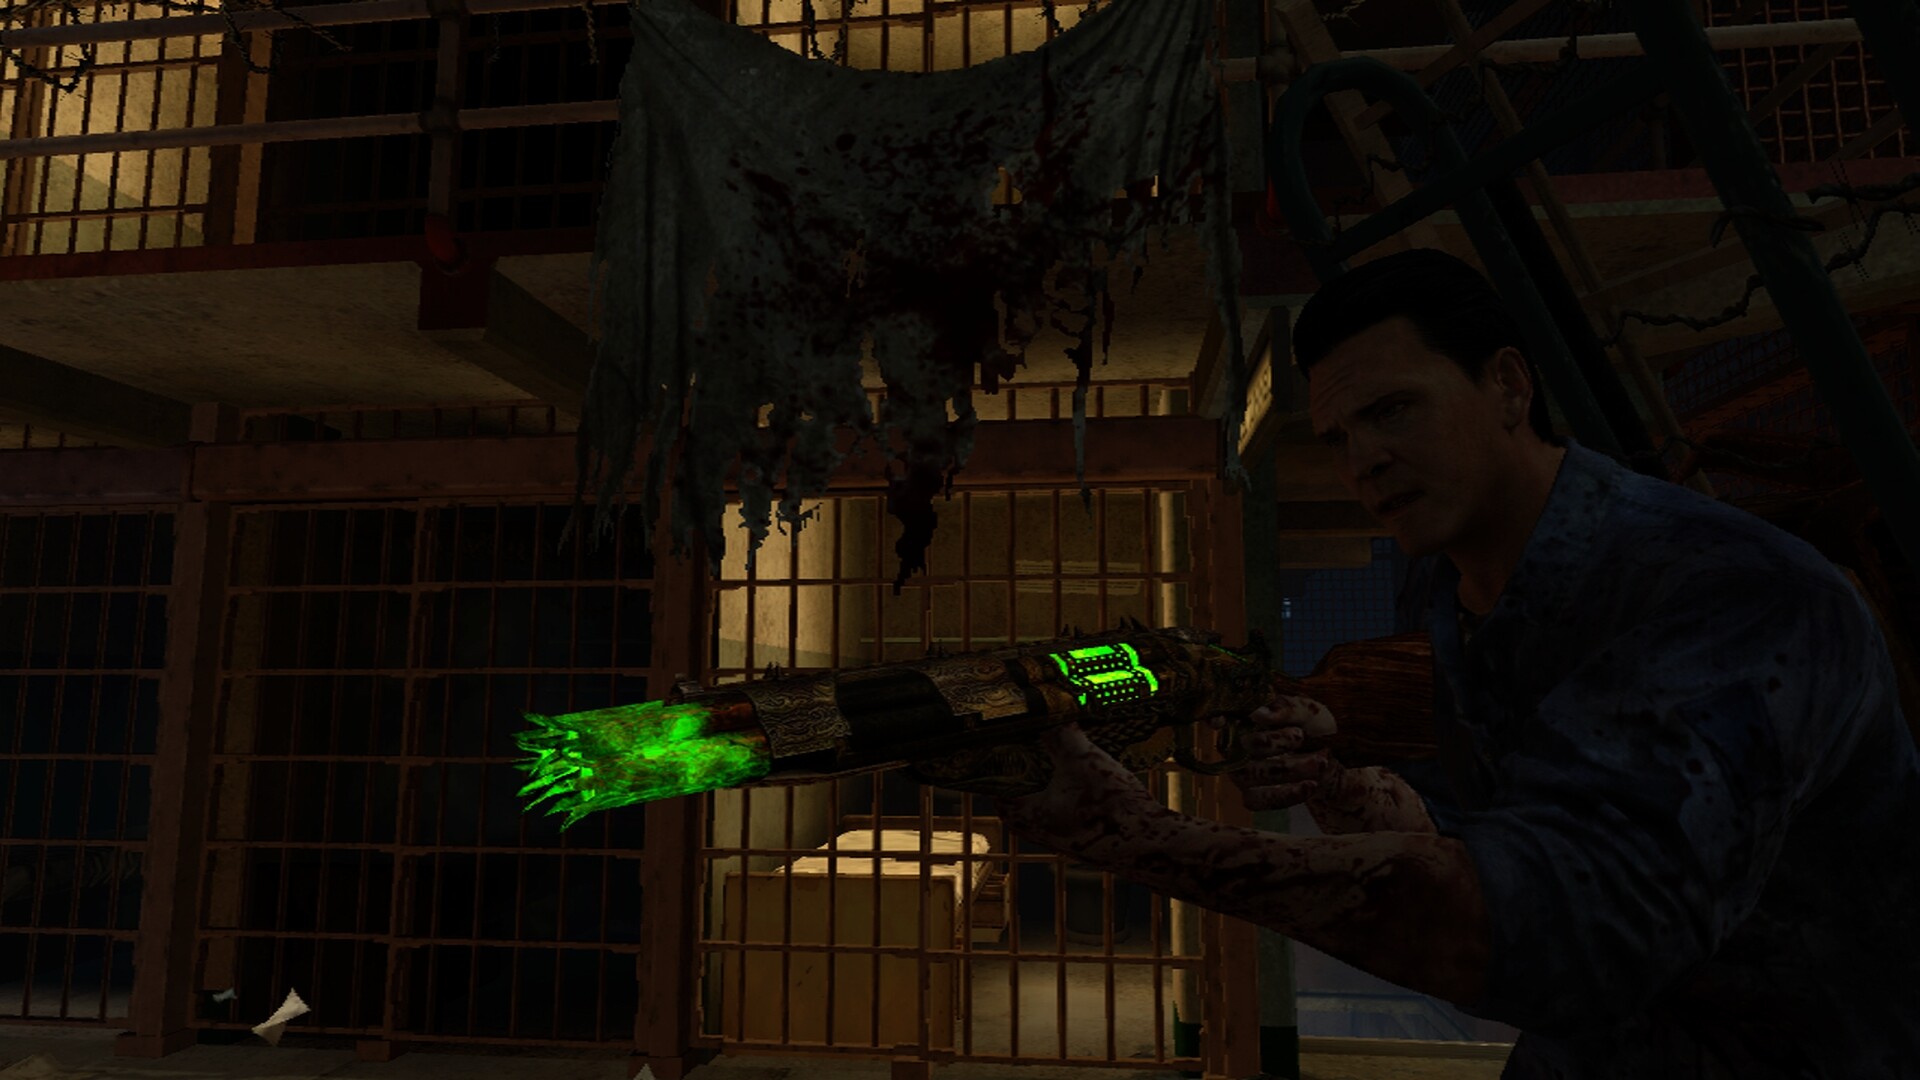
Acidgat – AMMO: 93 Shots Pack-A-Punched: 153 Shots Type: Buildable Fire mode: 3-Round Burst
Zombie Shield – Fire mode: Melee – Type: Buildable
Hell’s Retriever – AMMO: 1 Tactical – Reload: Recharge – Fire mode: Thrown
Golden Spork – Fire mode: Melee – Type: Easter Egg
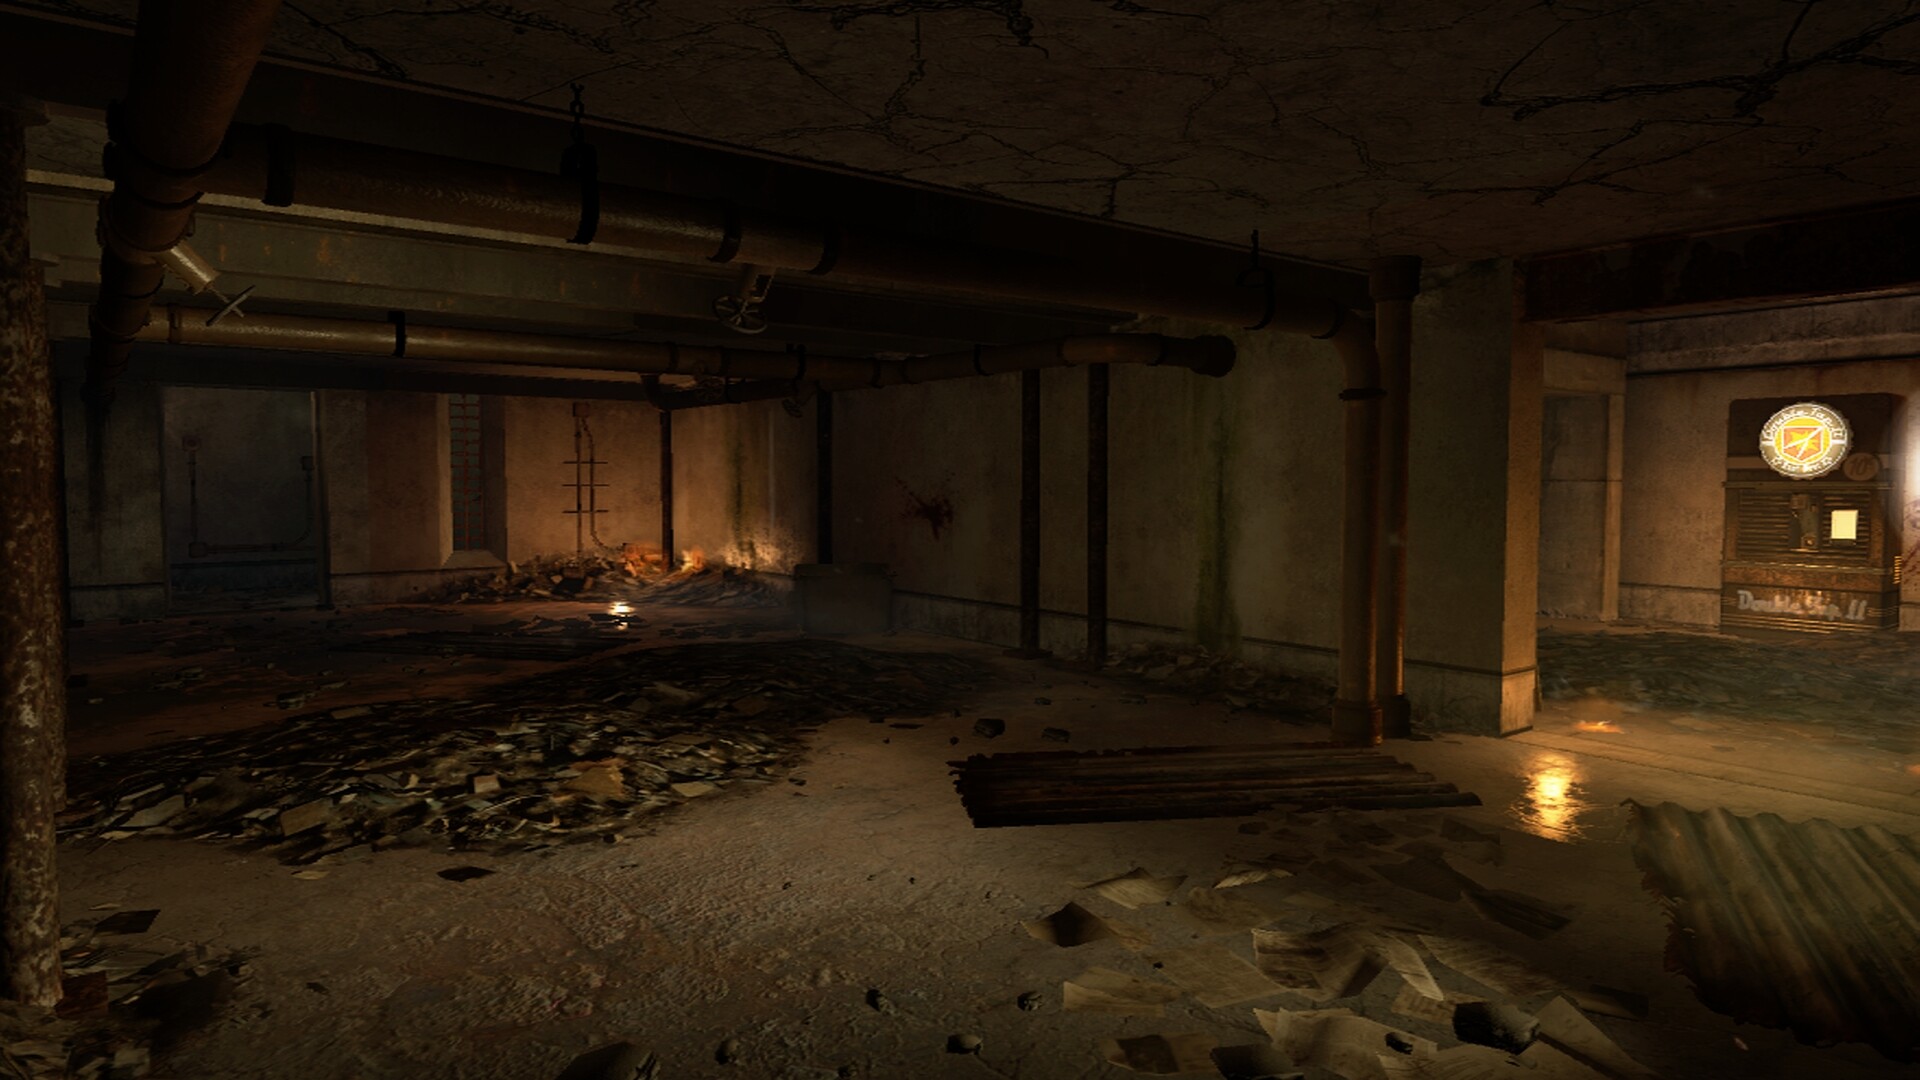
Juggernog: Increased health from 100 to 250.
Speed Cola: Cuts reload time in half and builds barriers by 60% faster.
Double Tap Root Beer II: Increases bullet weapon damage by 33%.
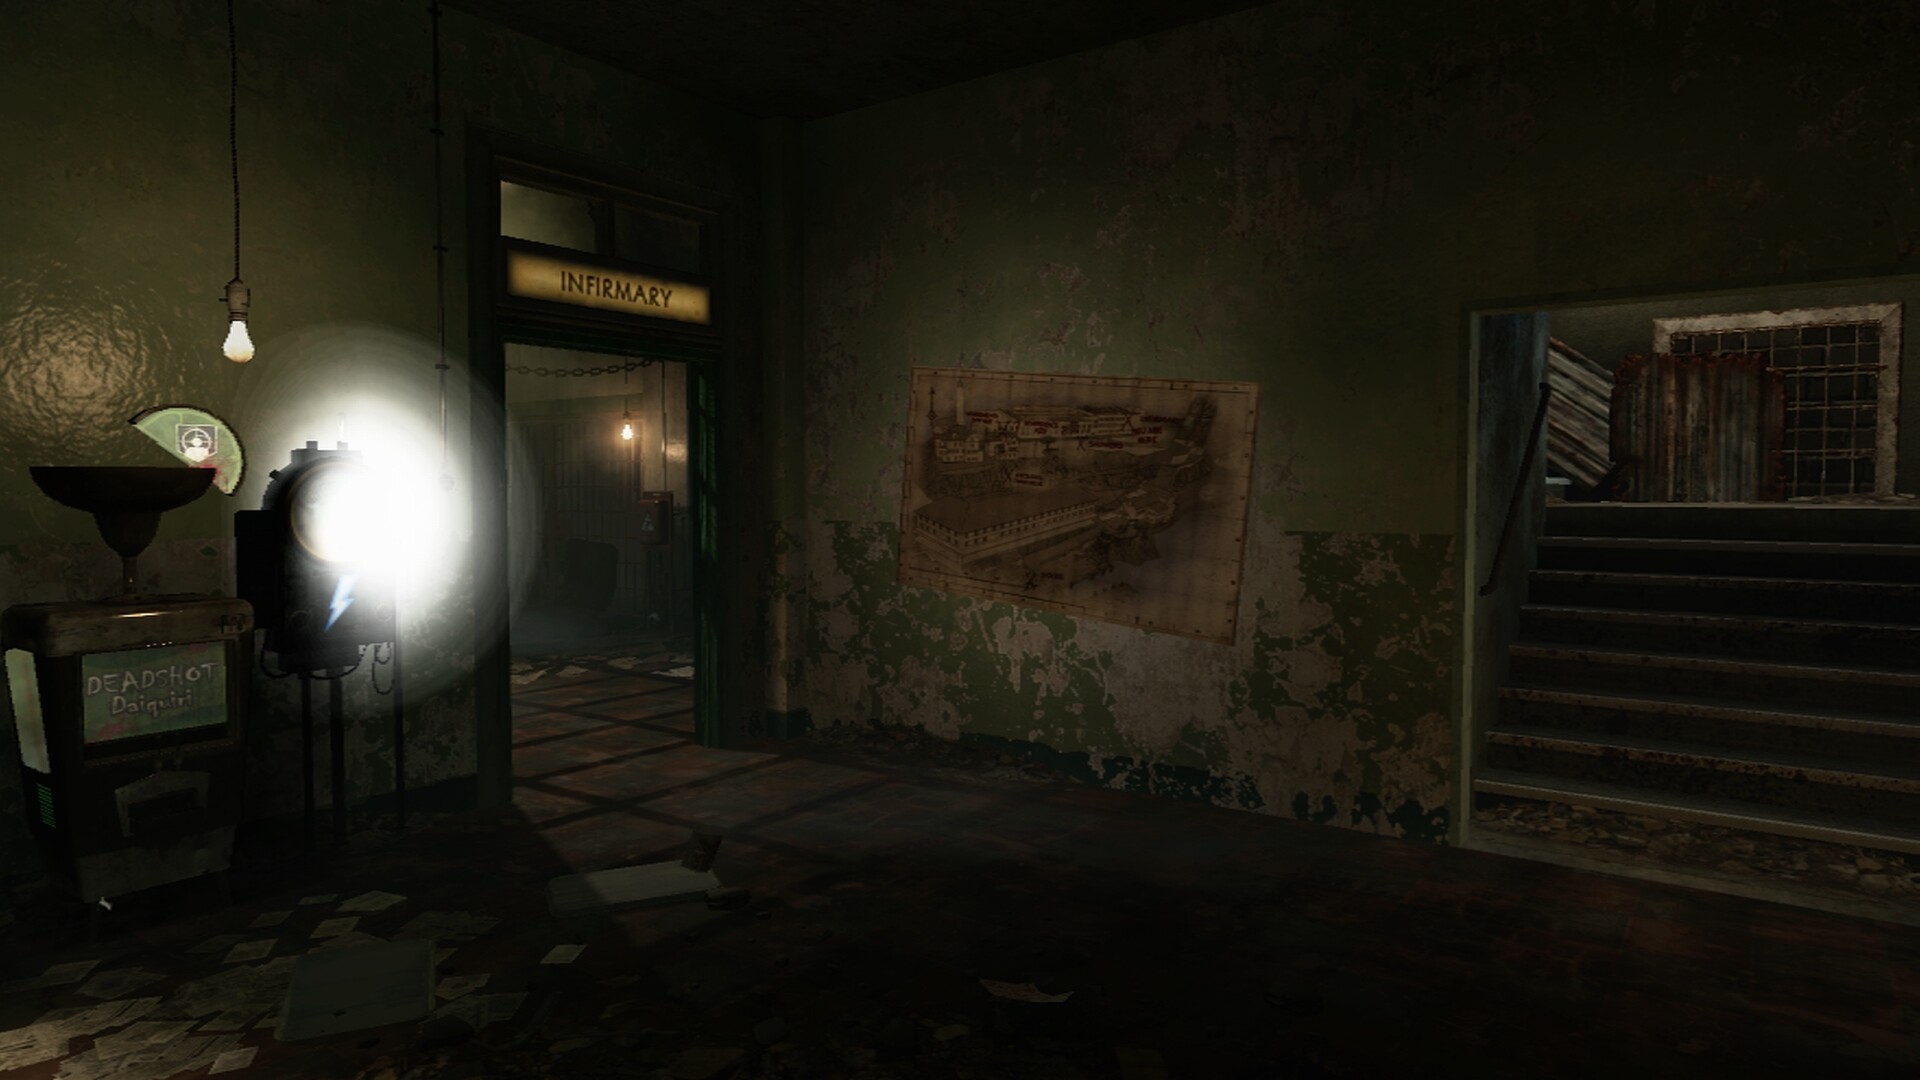
Deadshot Daiquiri: Auto aims weapons at the head, increases hip-fire accuracy by 35%, and reduces weapon recoil.
Electric Cherry: Electric Shock surrounding player upon reloading. lower the magazine bigger the Shock.
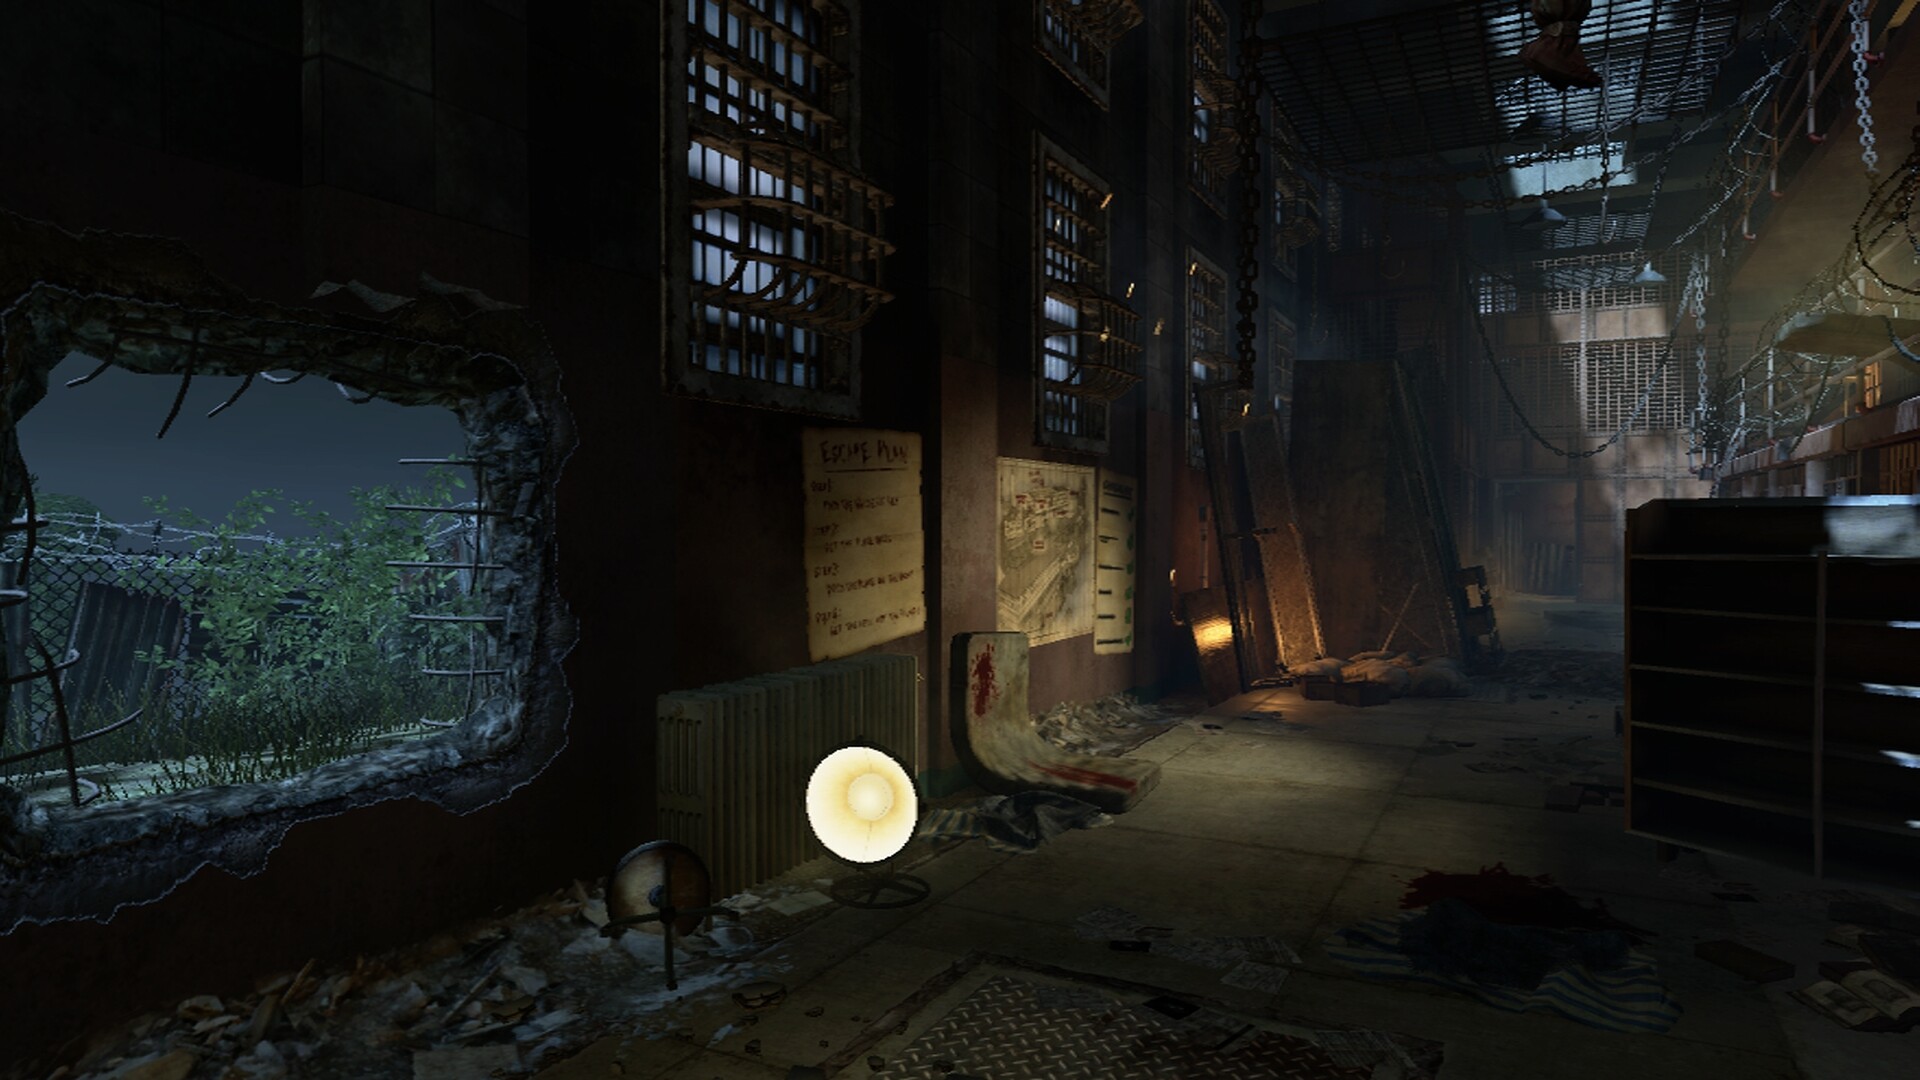
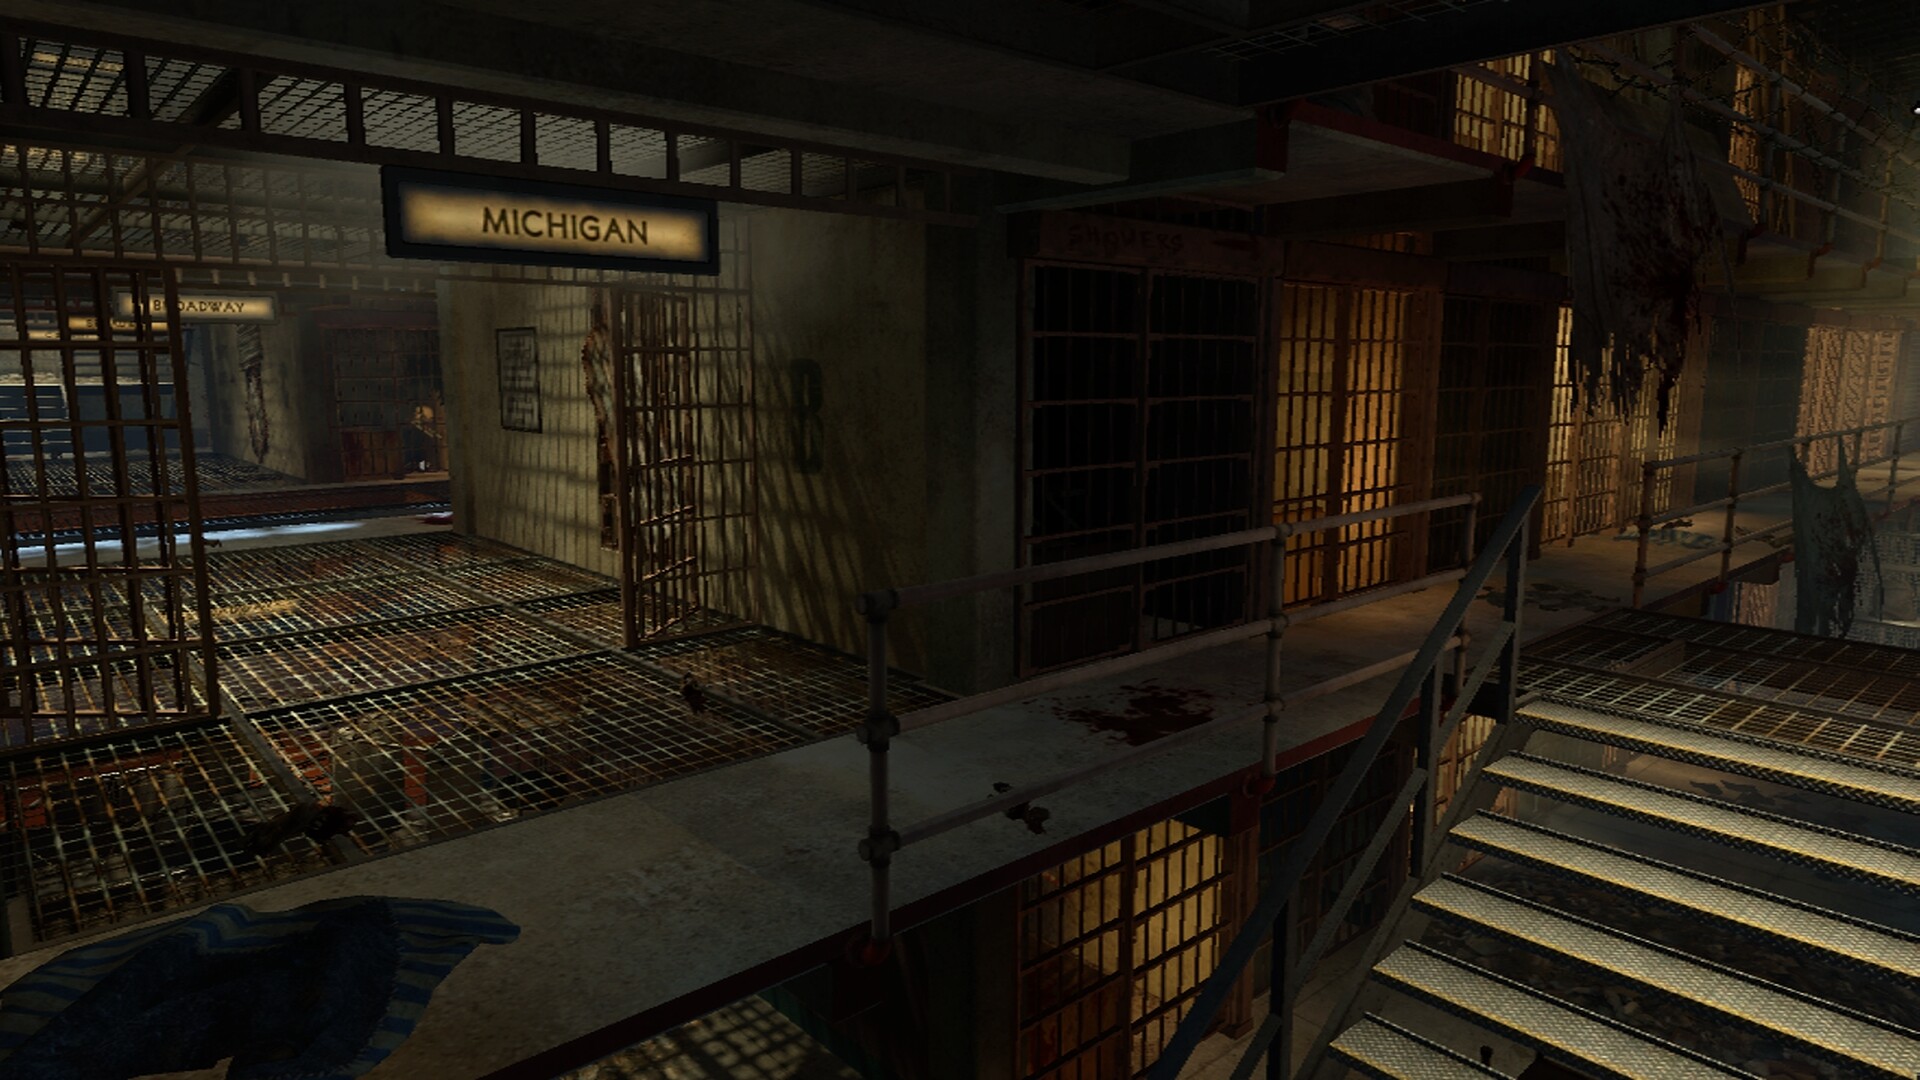
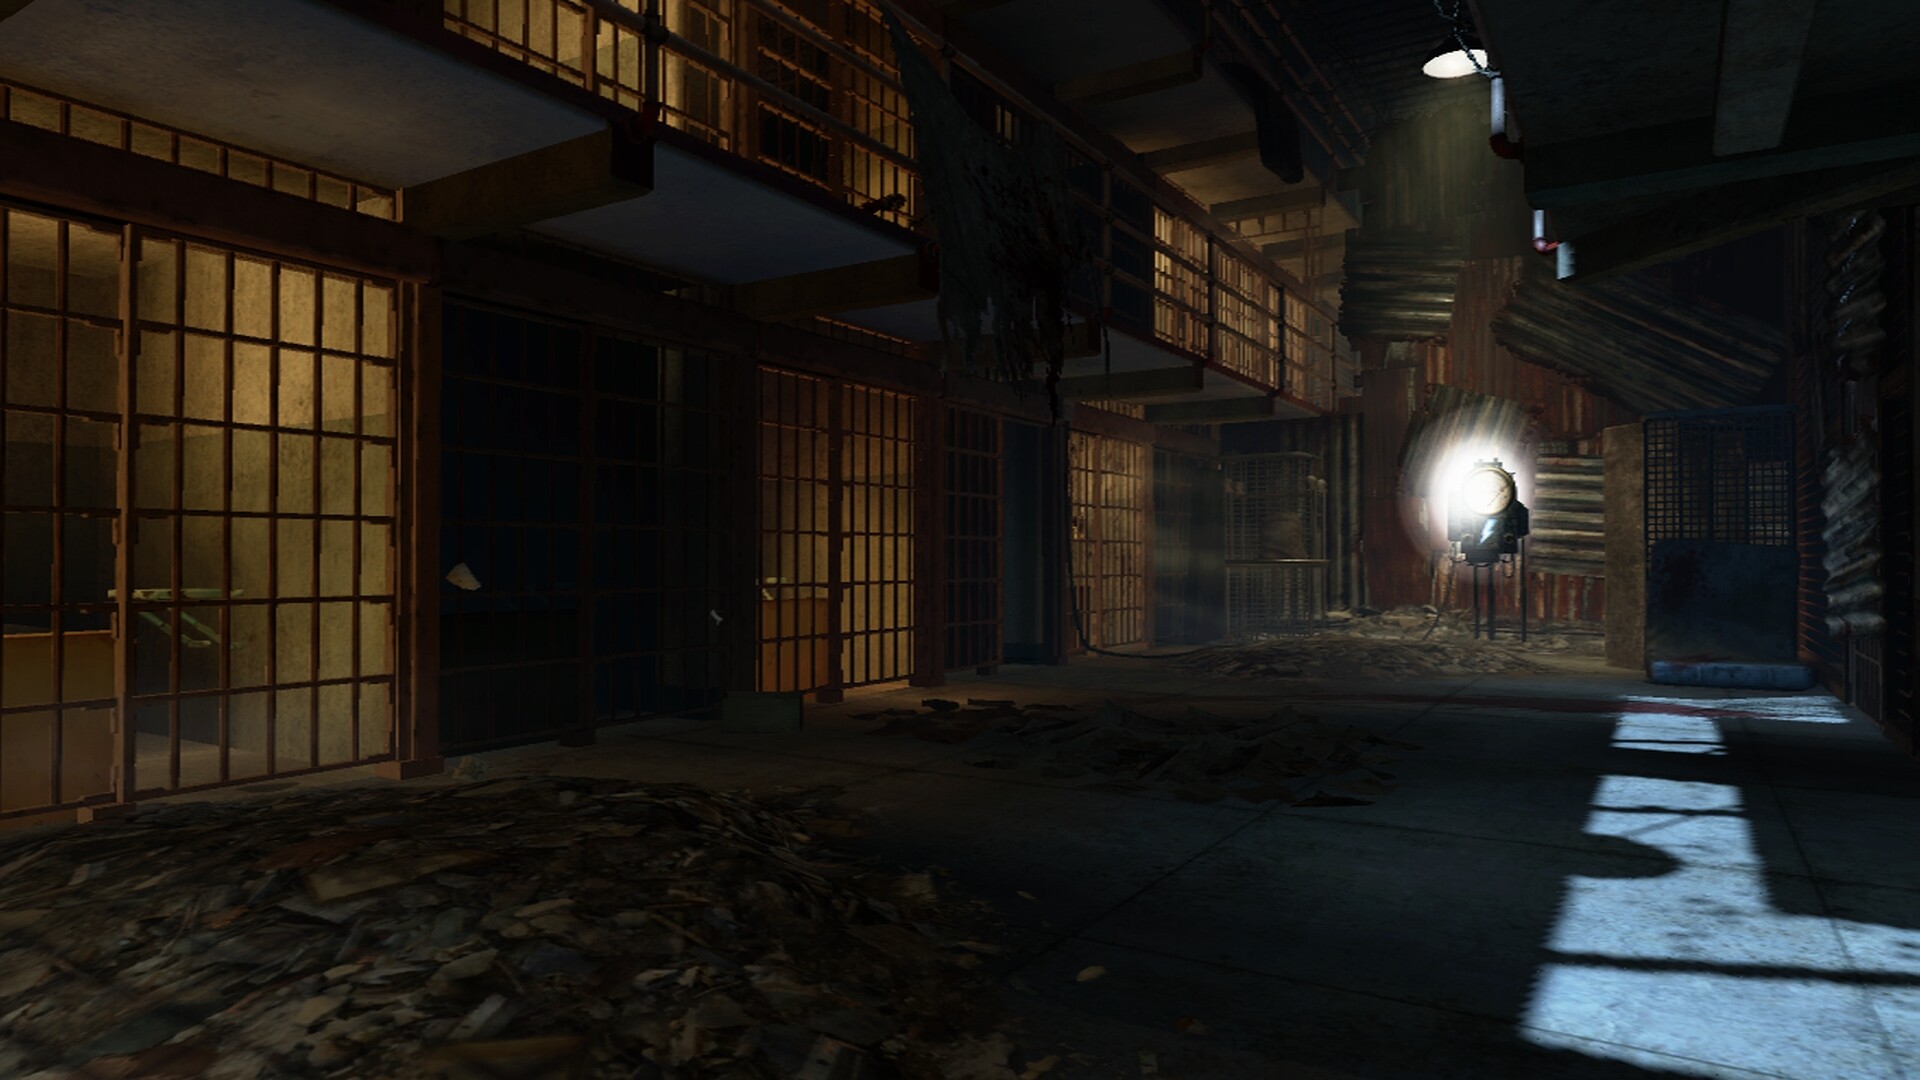
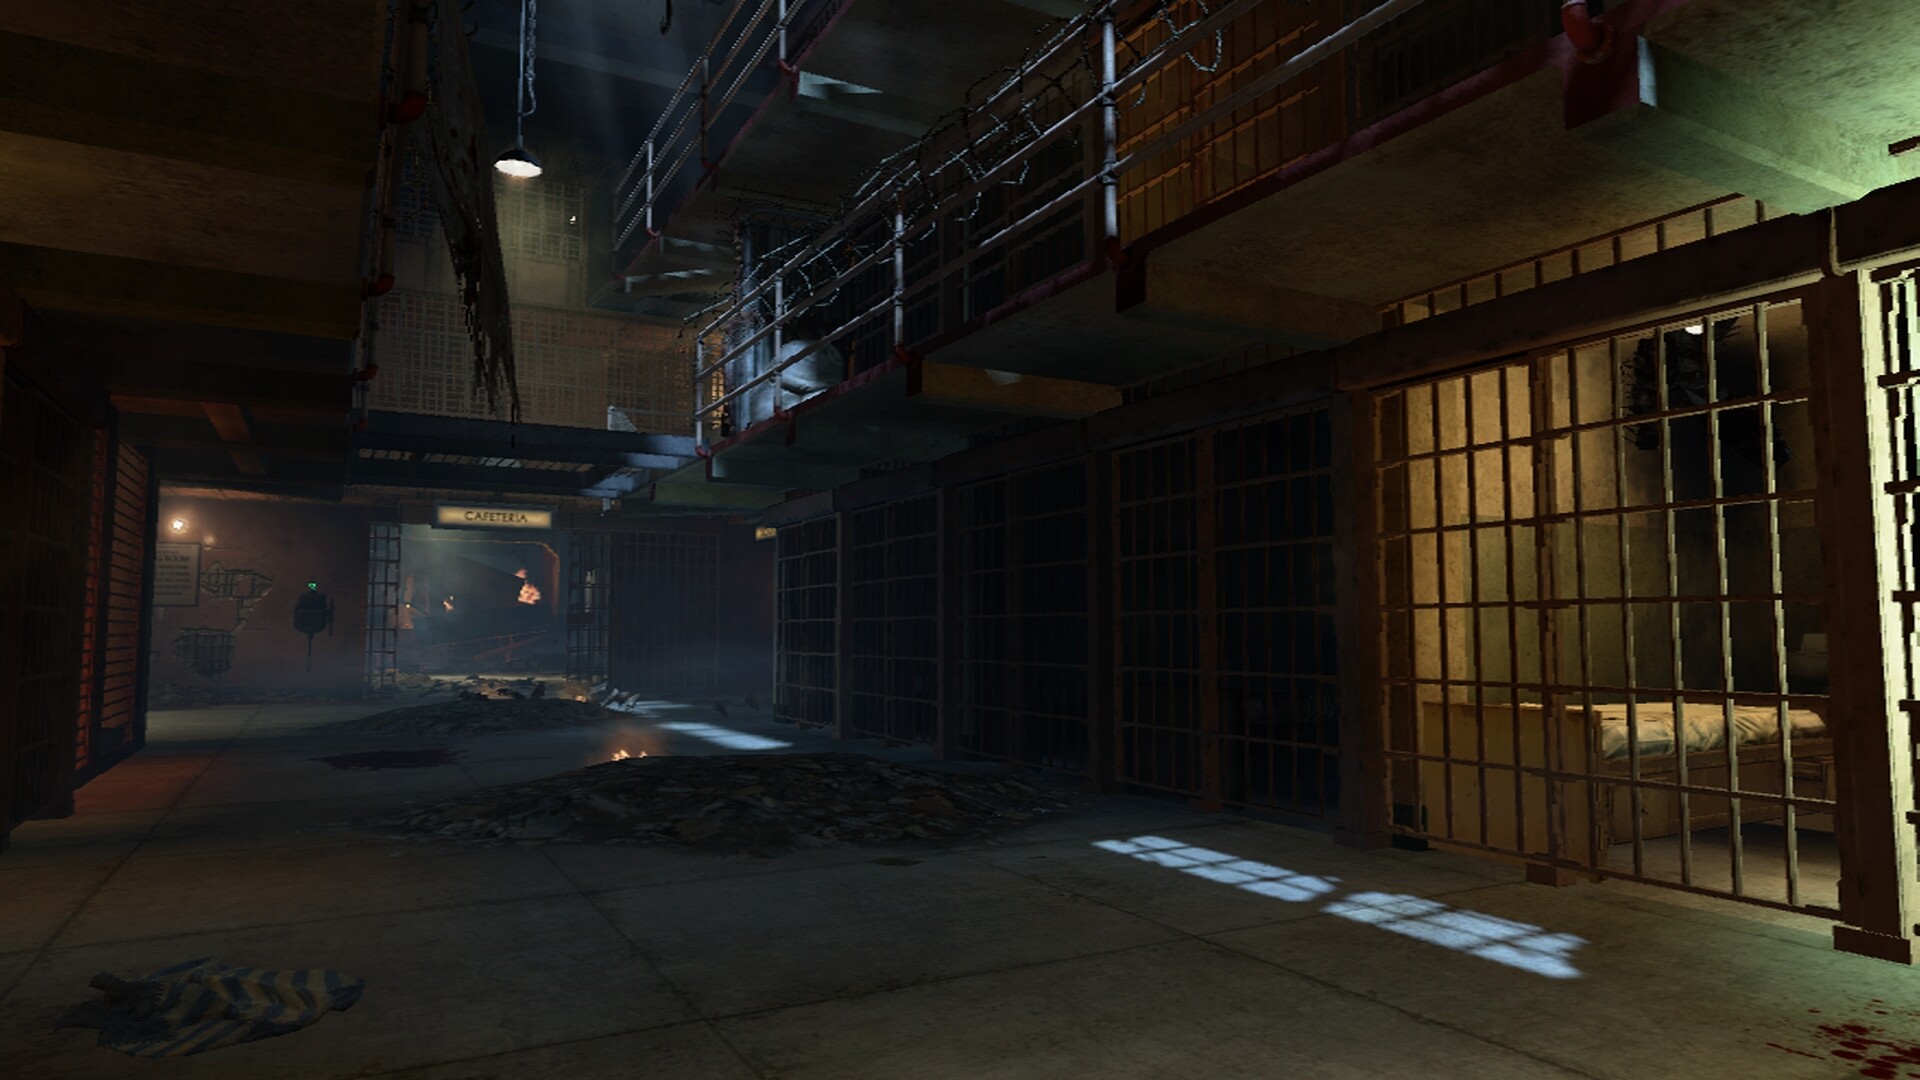
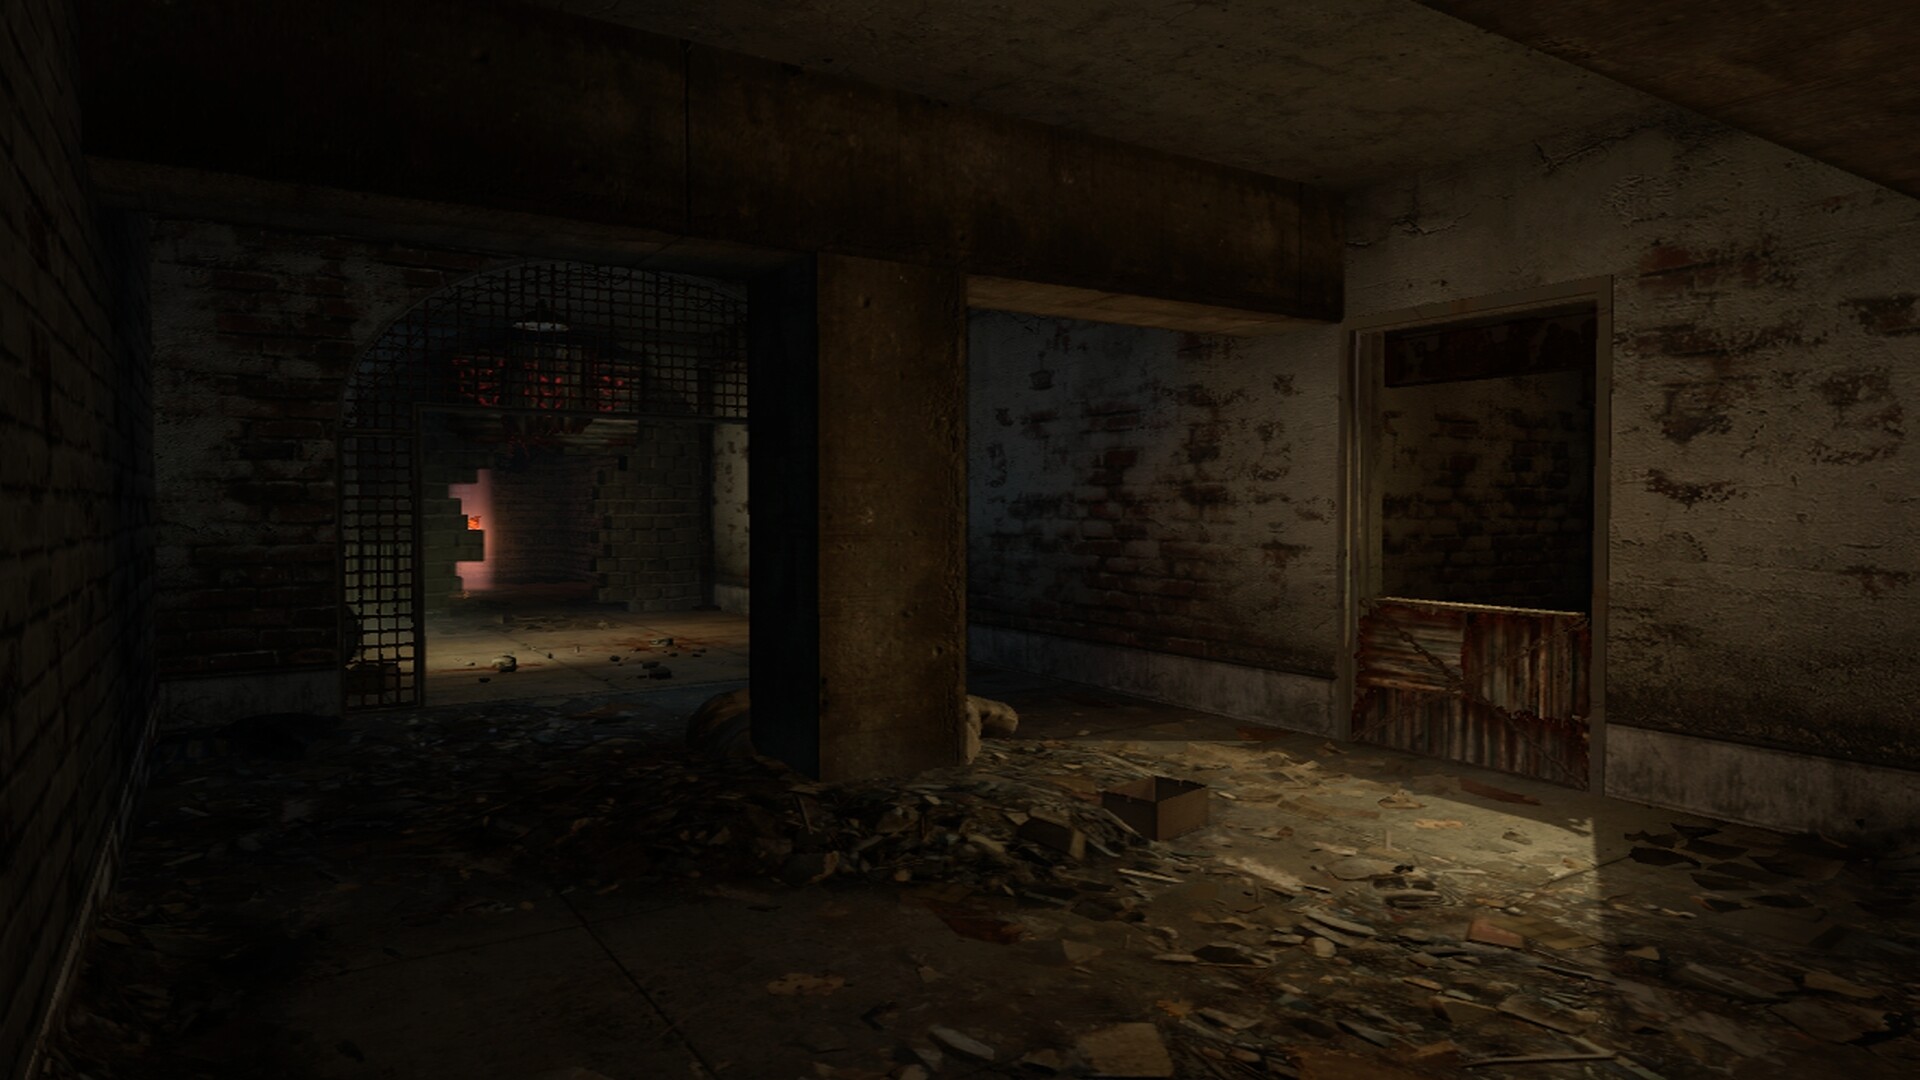
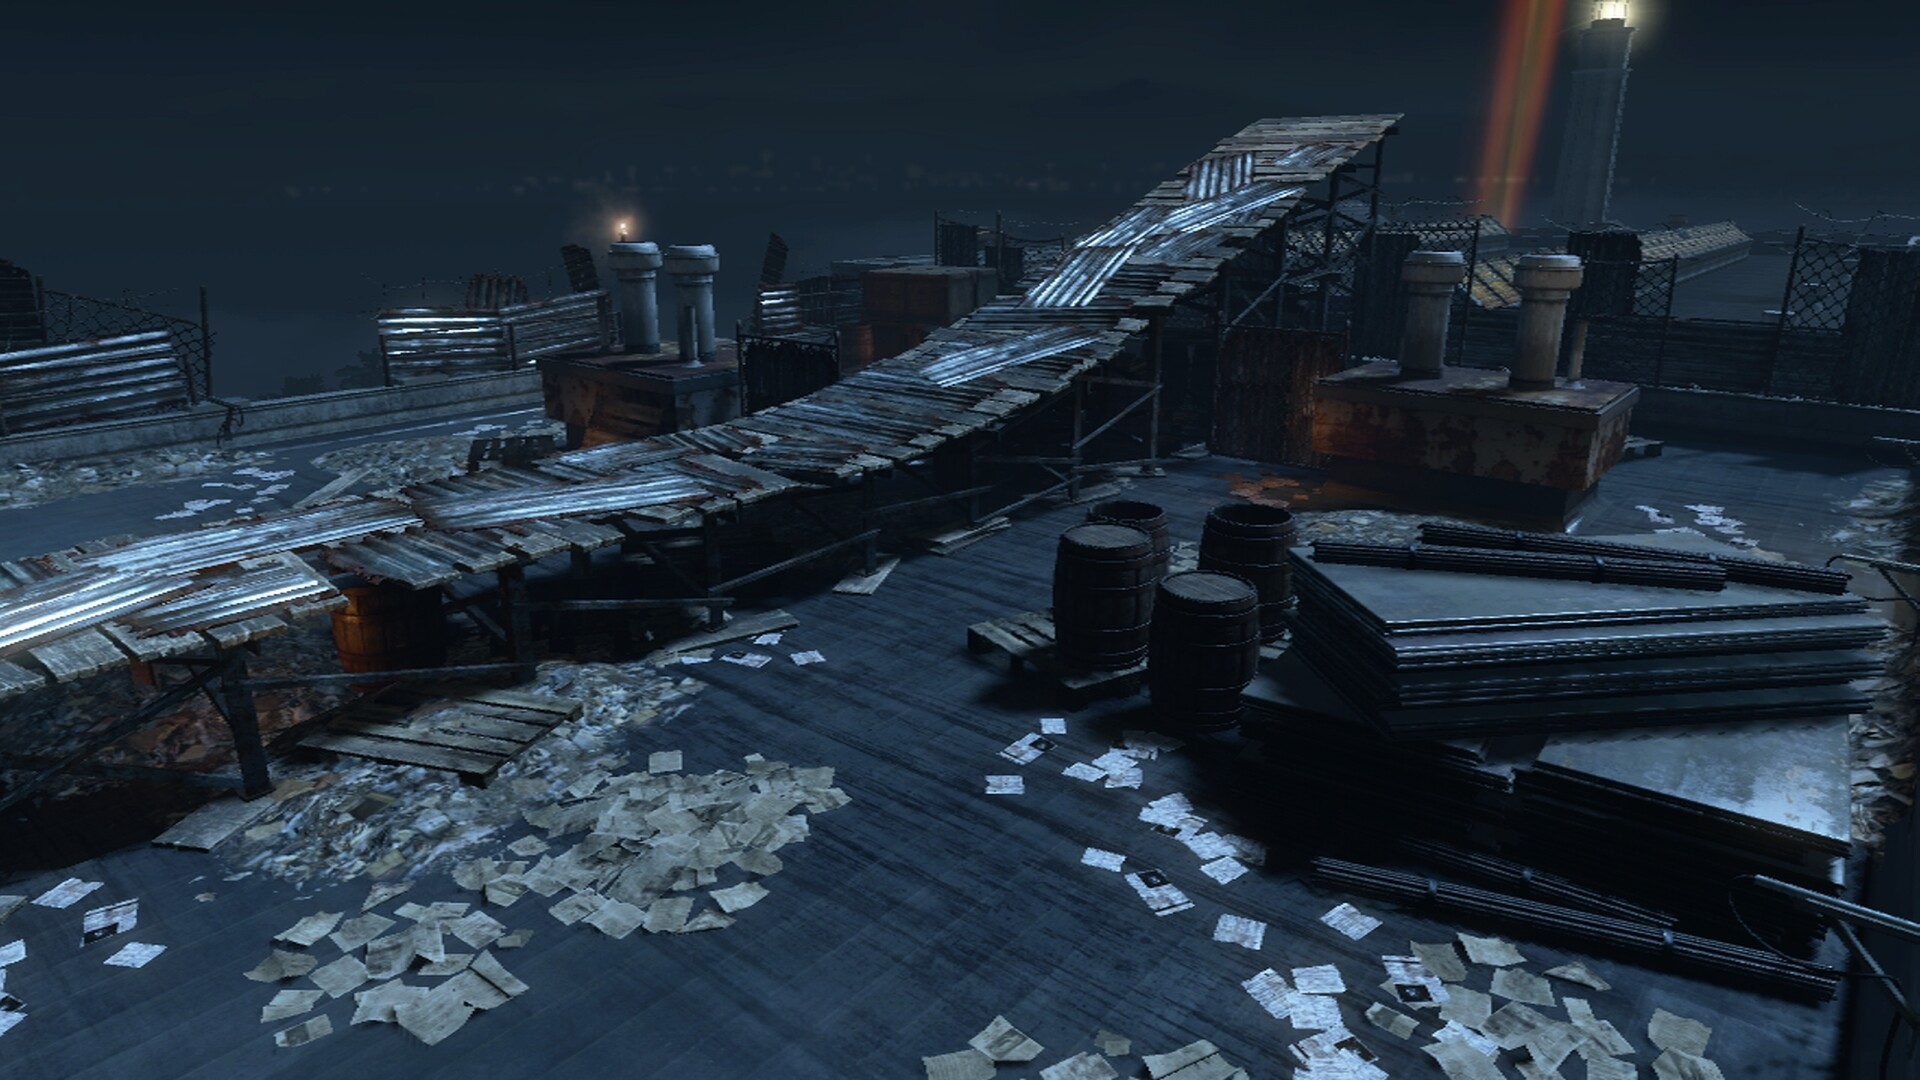
Game modes include the Standard Mode on the full map or Grief in the Cell Blocks.
Grief: Fight the undead WITH or AGAINST the other team. But in the end, only one team survives…

Power-Ups include Fire Sale will spawn all Mystery Box locations and change the cost from 950 points to 10 points, Carpenter rebuilds all the barriers across the map, Max Ammo will give all teammates full ammo, Double Points will grant every player with double the points fill kills and boarding up windows, Insta-Kill will instantly kill zombies with any bullet type for a limited time and Nuke will kill every zombie on the map including zombies that just spawn outside the map area.
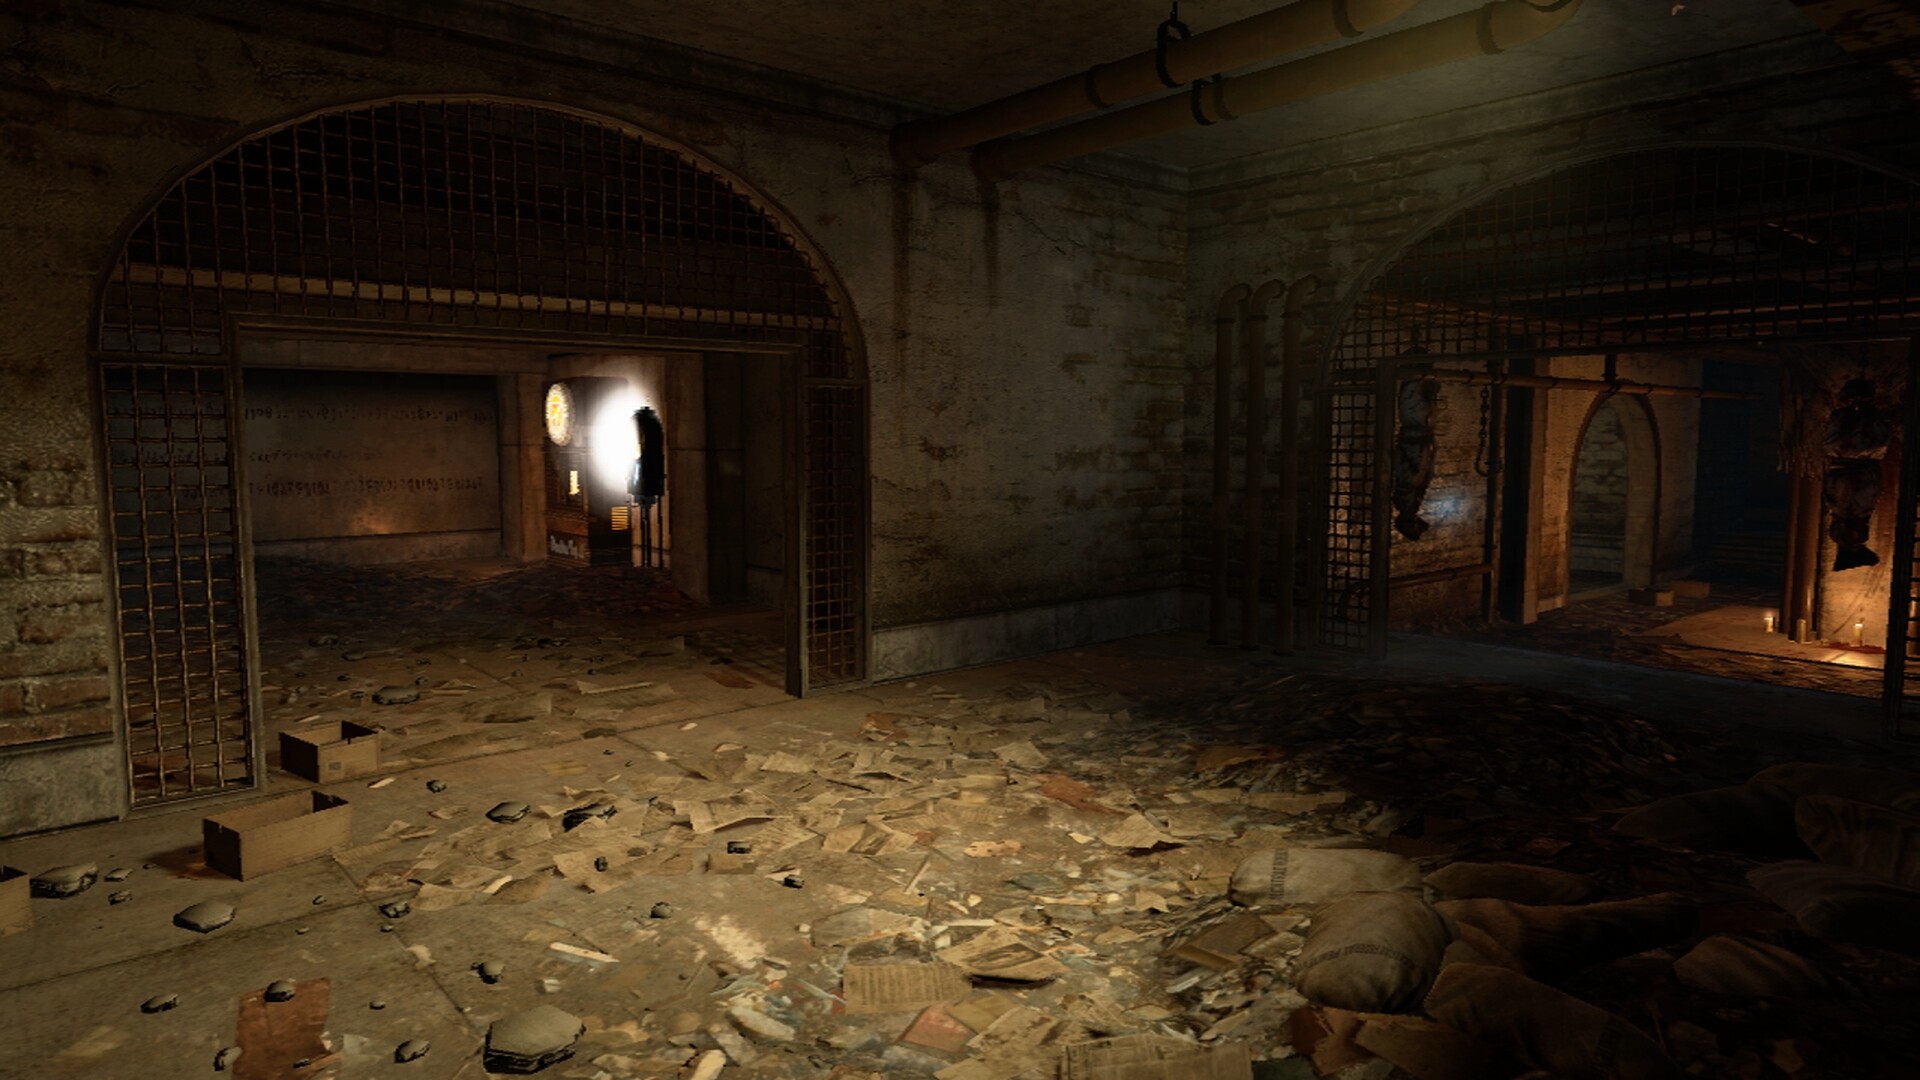
Wall Weapons on Mob of the Dead include the M14, Olympia, B23R, MP5, Uzi, Remington 870 MCS, Claymores and the old fashioned M1927.

The Mystery Box Weapons include the new Bludergat and other Wonder Weapons. The standard weapons in the box include the M1911, Five-Seven, Executioner, PDW-57, M1927, FAL, MTAR, AK-47, Galil, Remington 870 MCS, S12, Barrett M82A1, DSR 50, LSAT, RPG, and a Death Machine.

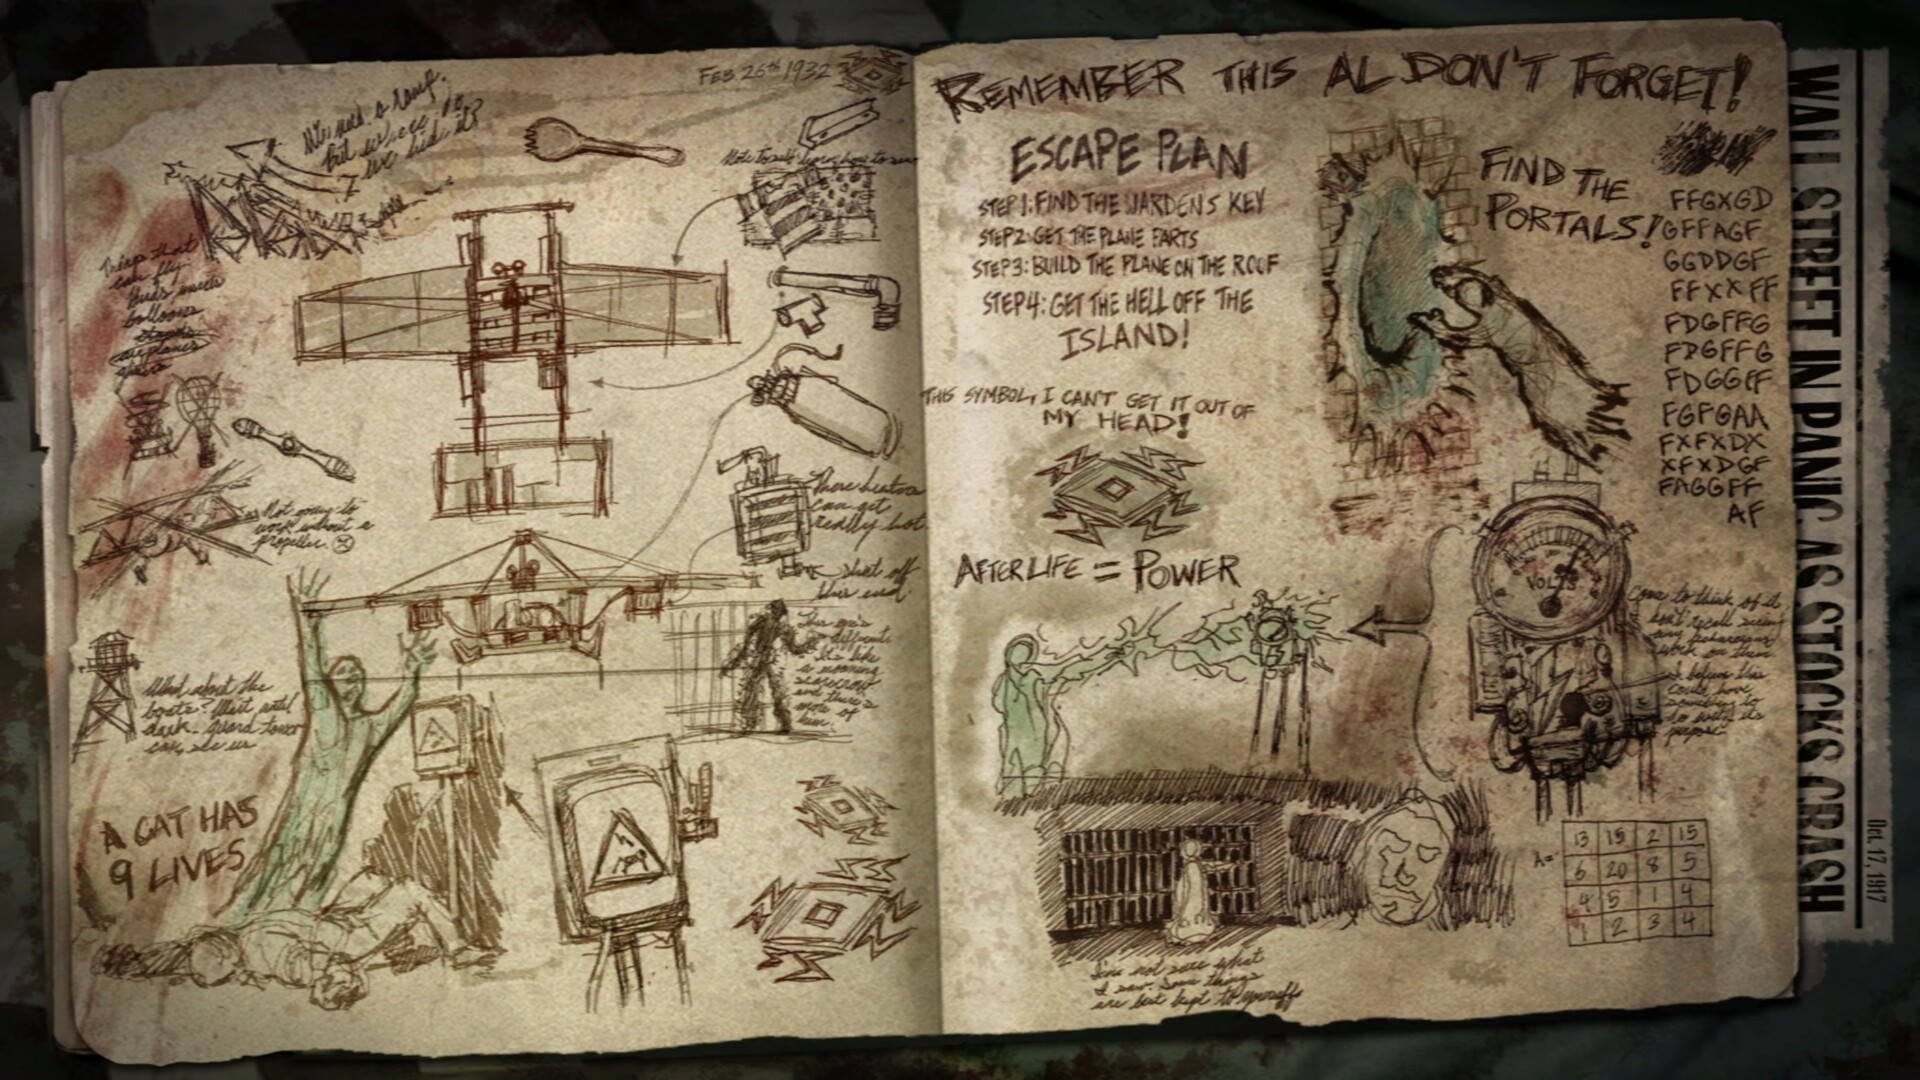
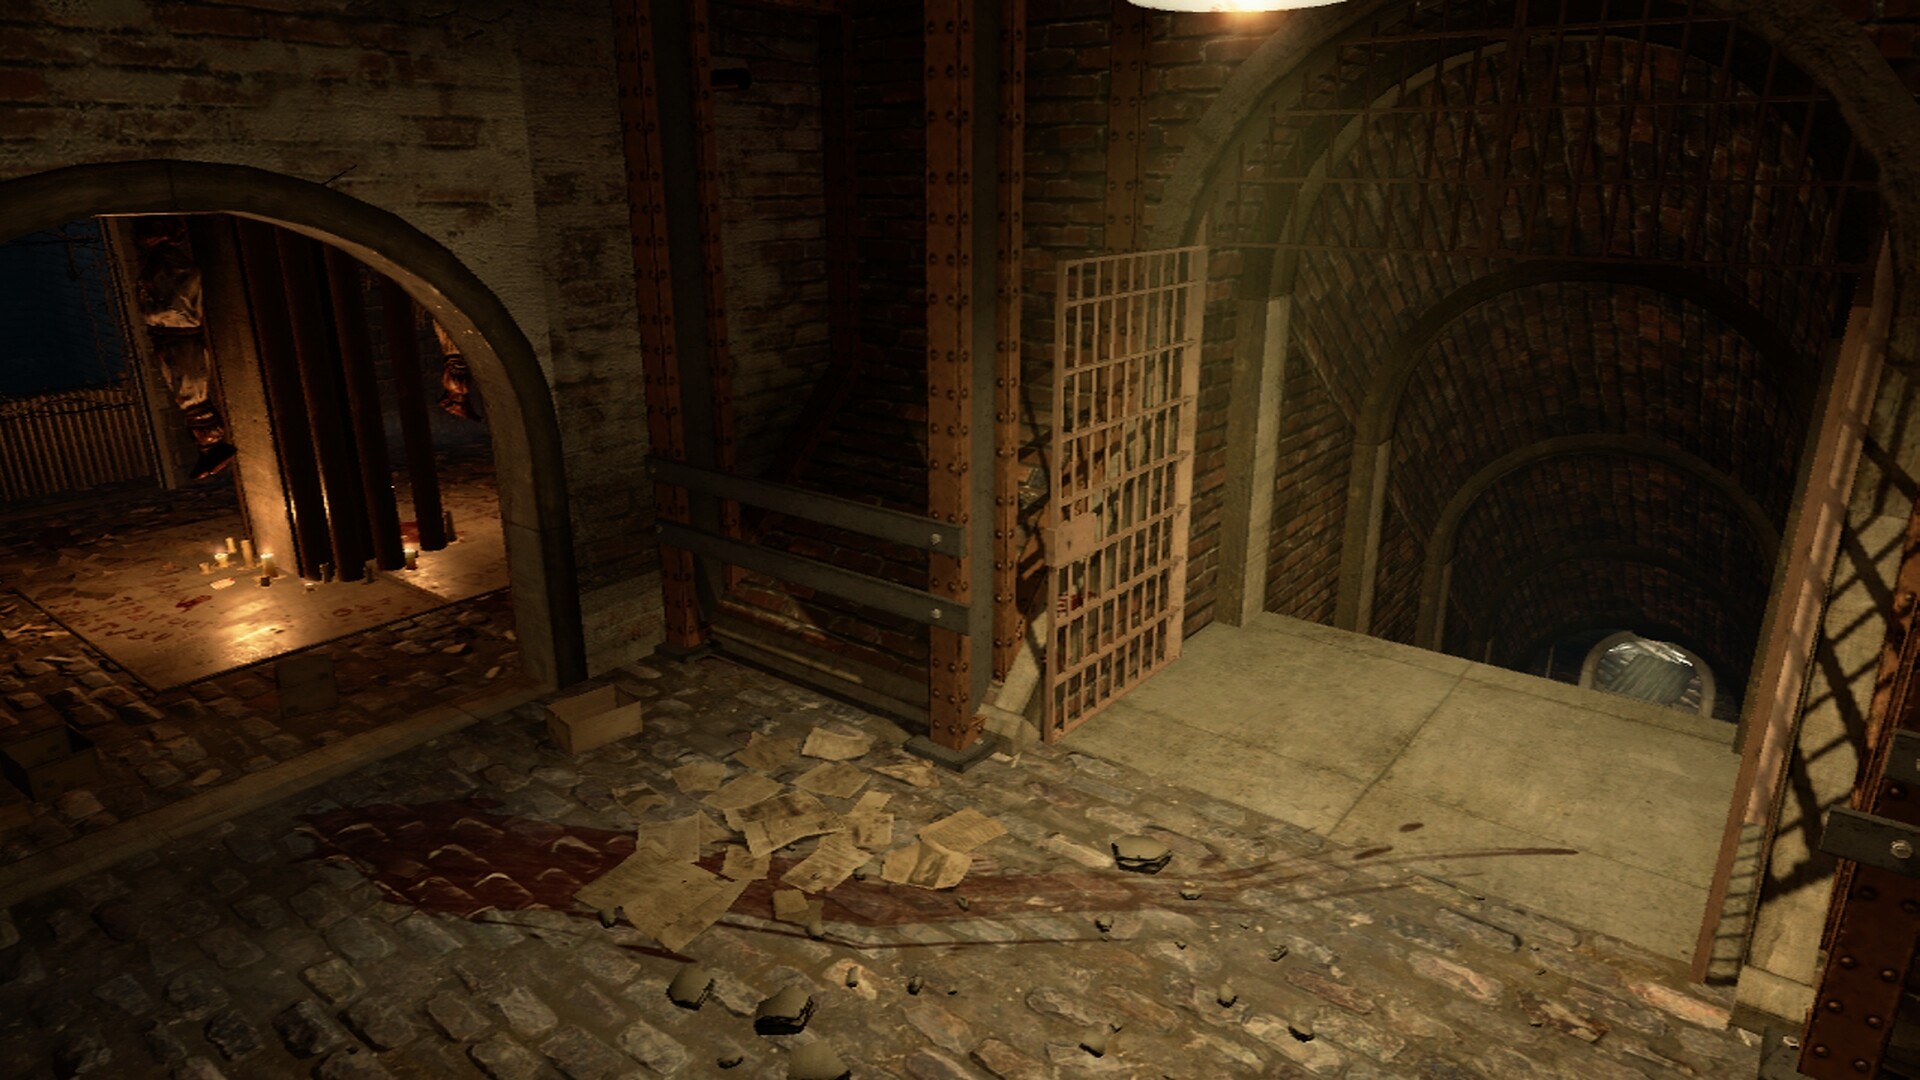
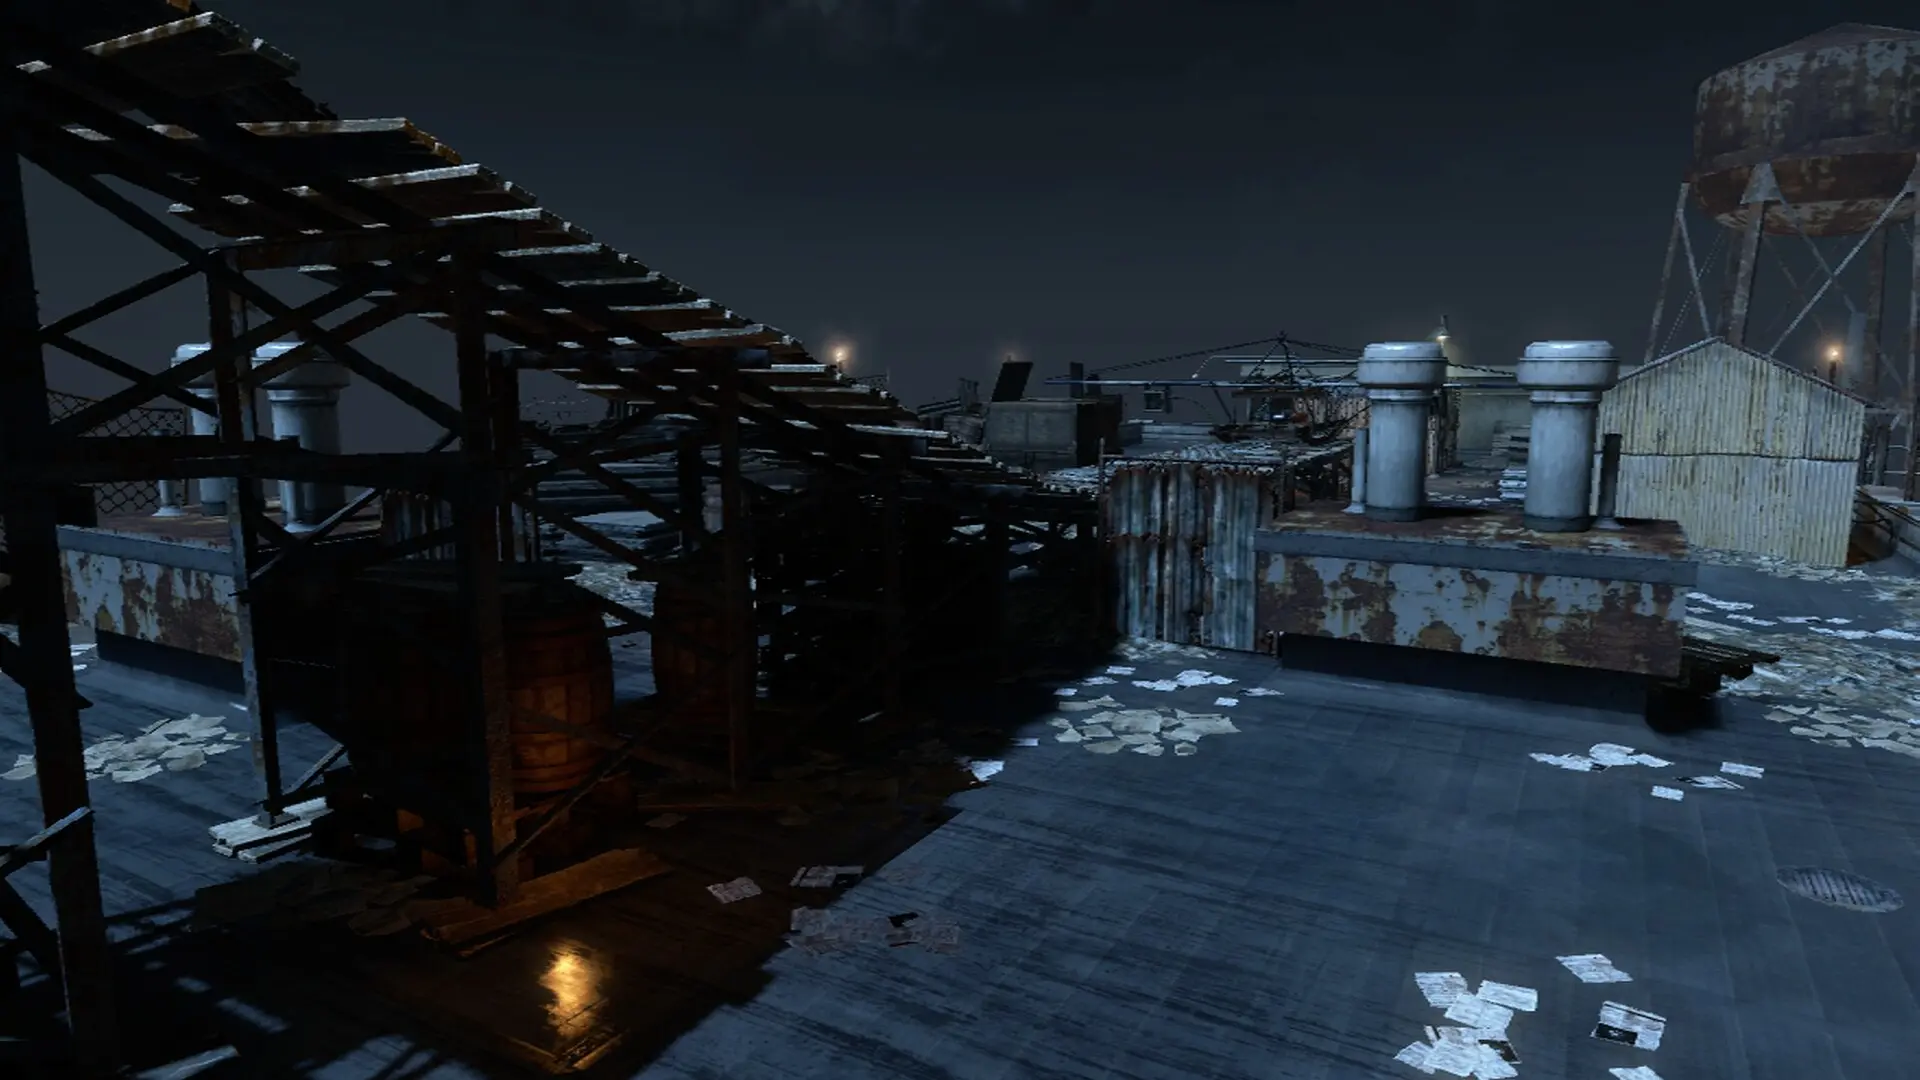
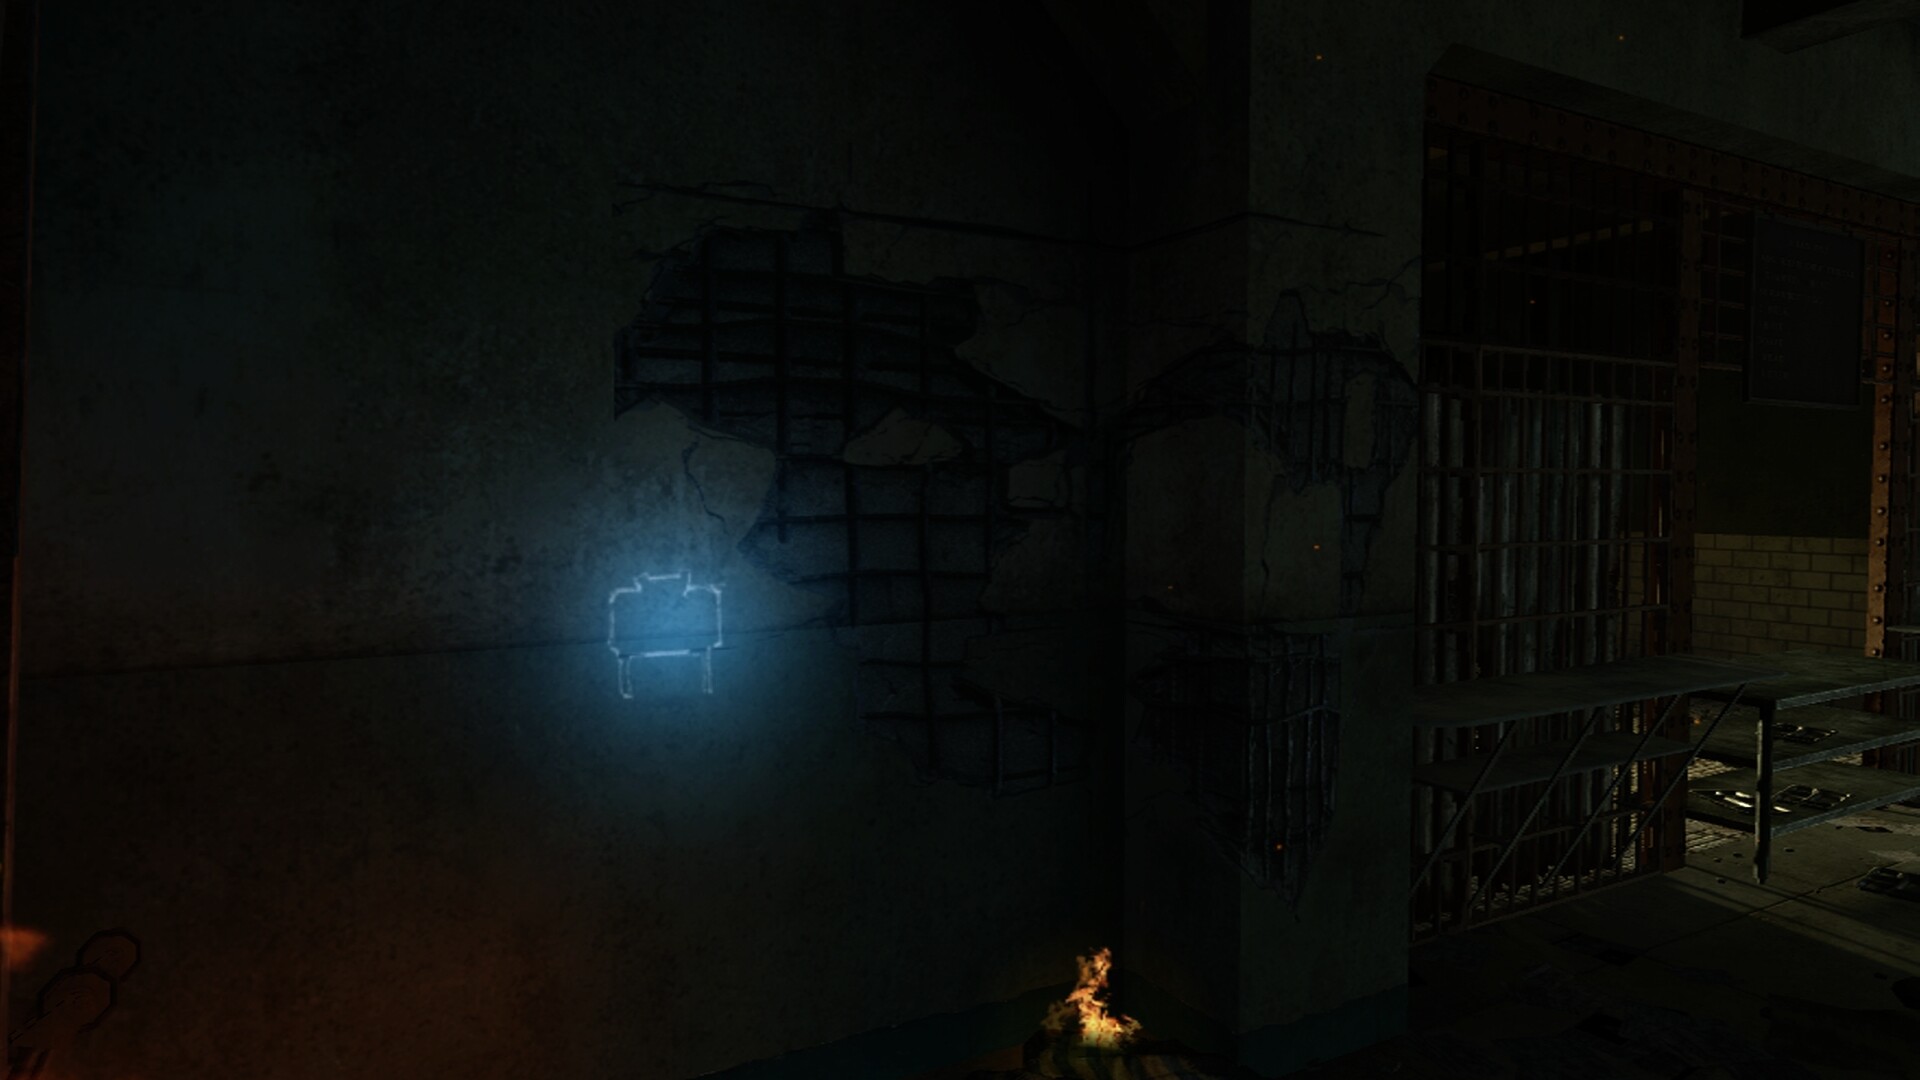
On this map you will need to turn on the Power for each area of the Prison, this is done by going into afterlife mode and going into the blue openings of the walls and shocking the power switches. The perks and other electronics in each area will need the power turned on for that area. Going into the Afterlife can be done by a zombie or flicking the red electric boxes down.

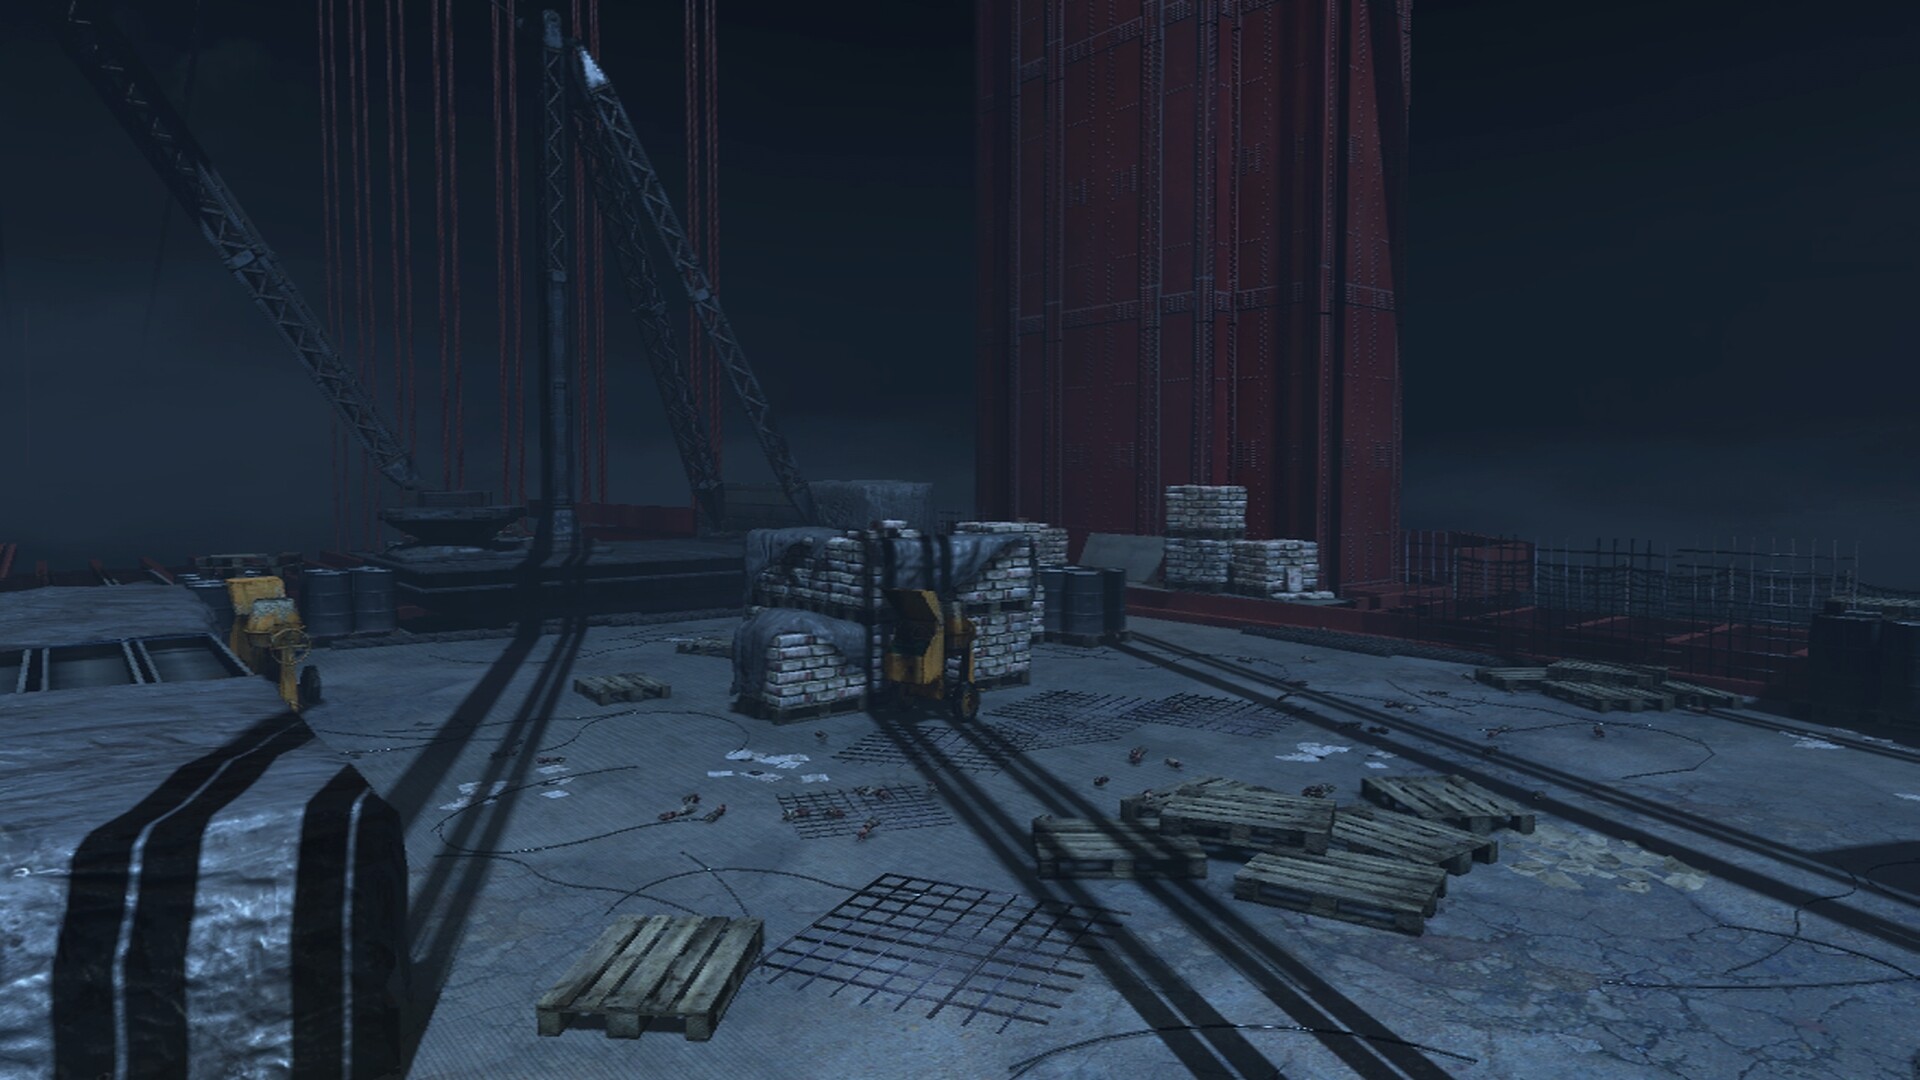
The Pack-A-Punch machine is located on the Golden Gate Bridge and will require the plane to be built to use it, to get back to the island the player will need to sit in the electric chair.
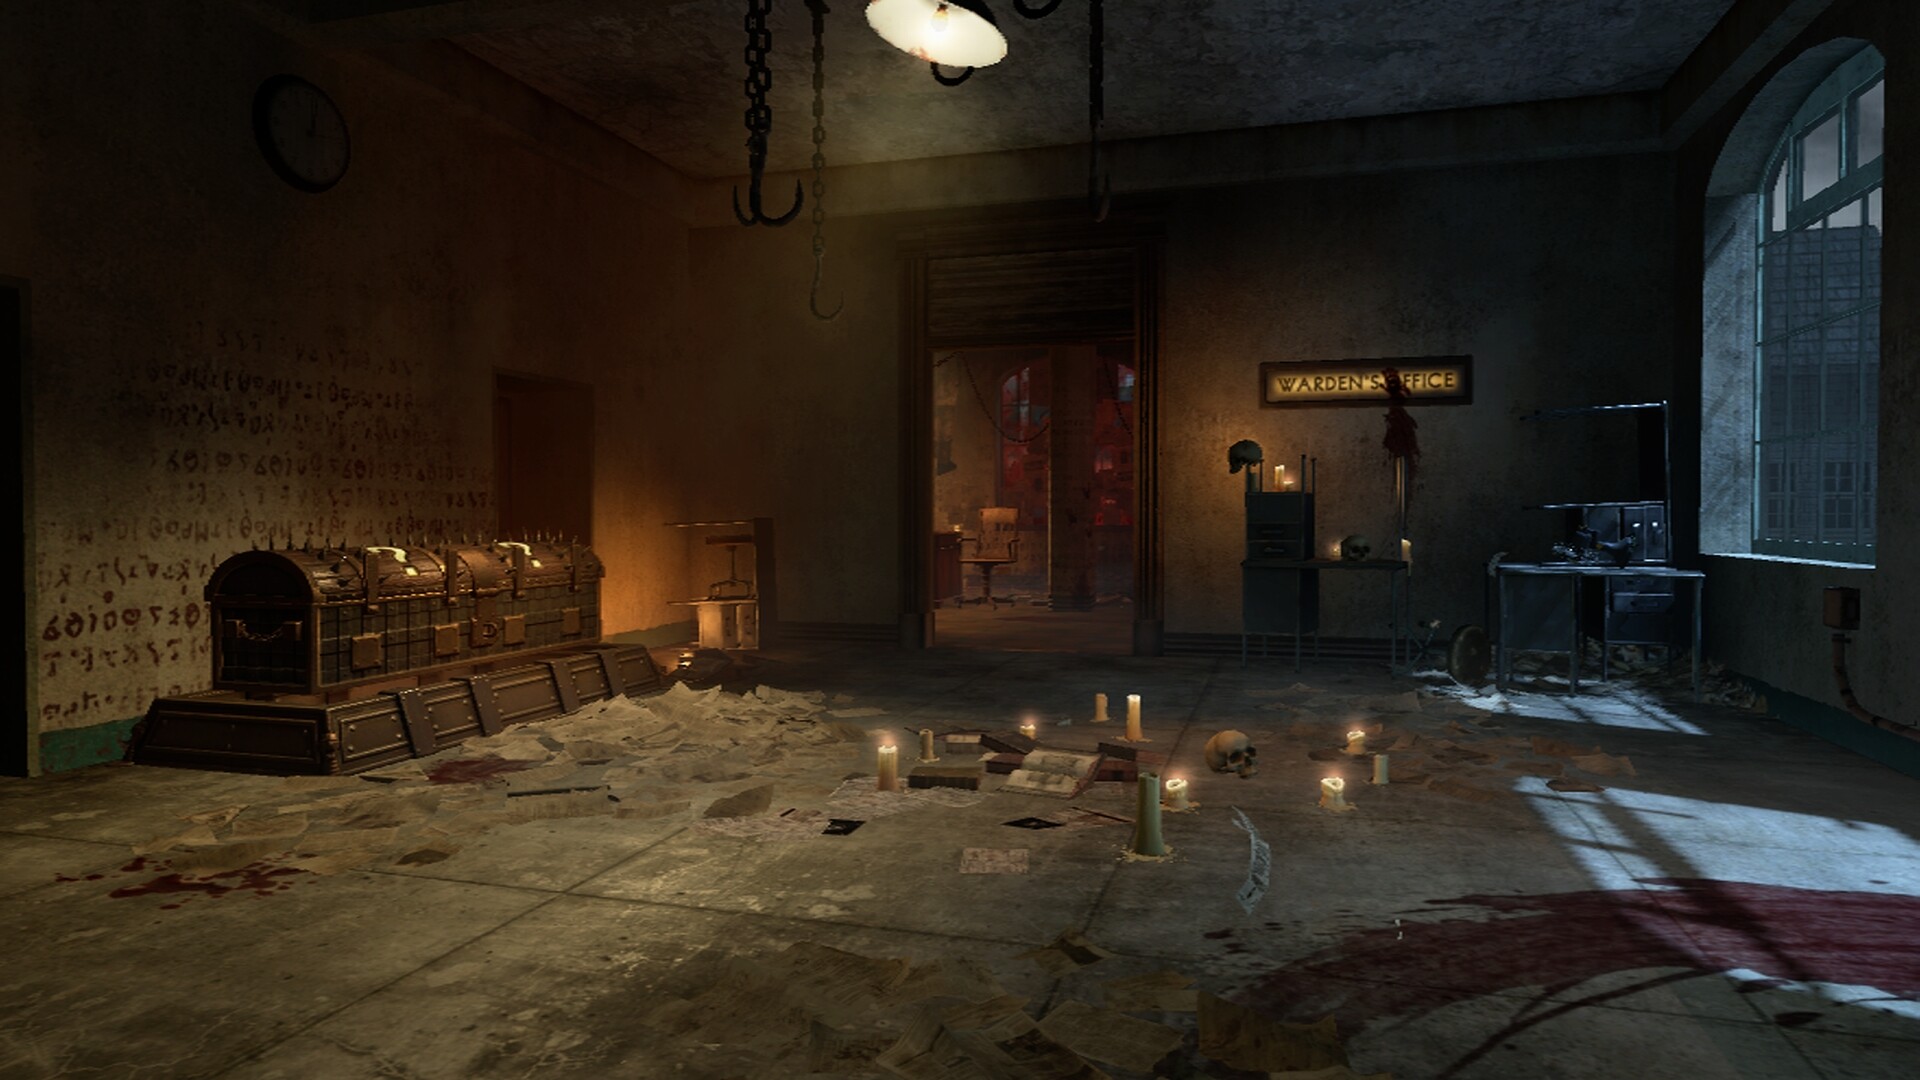
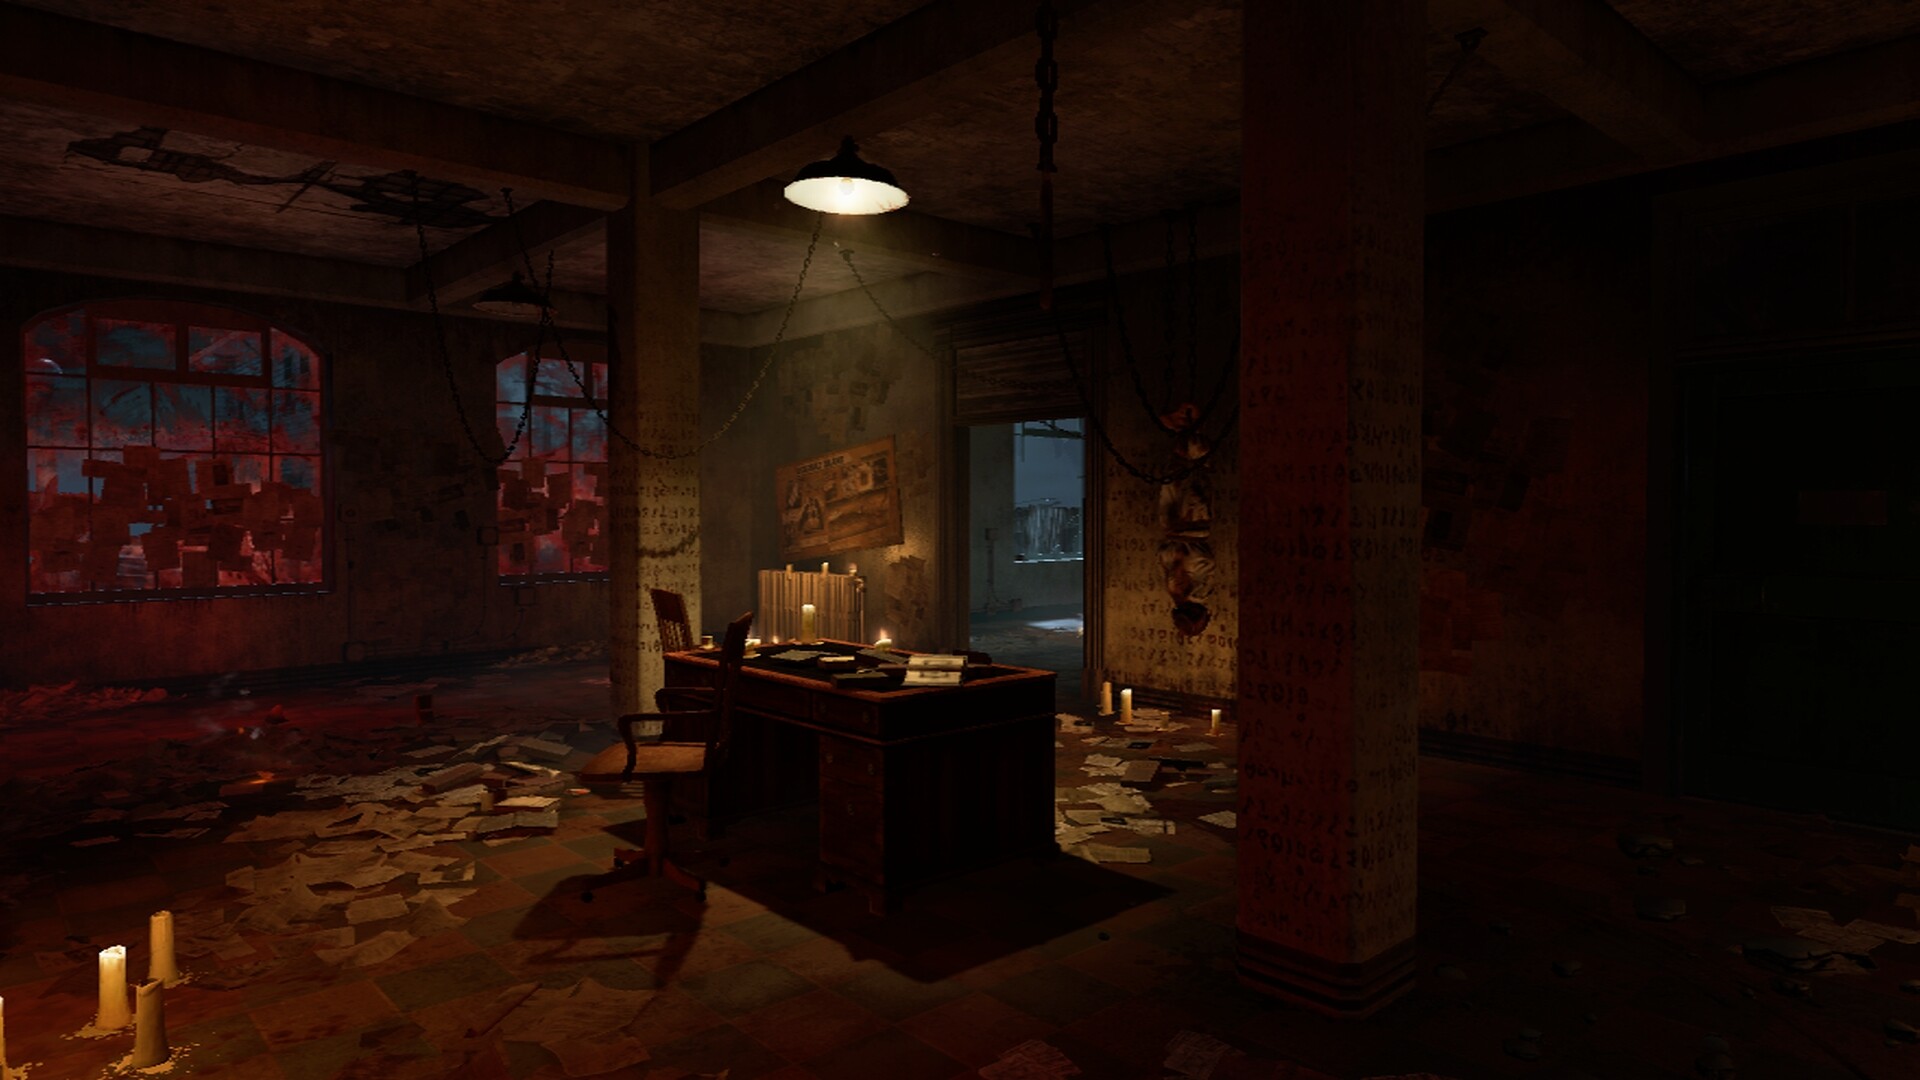
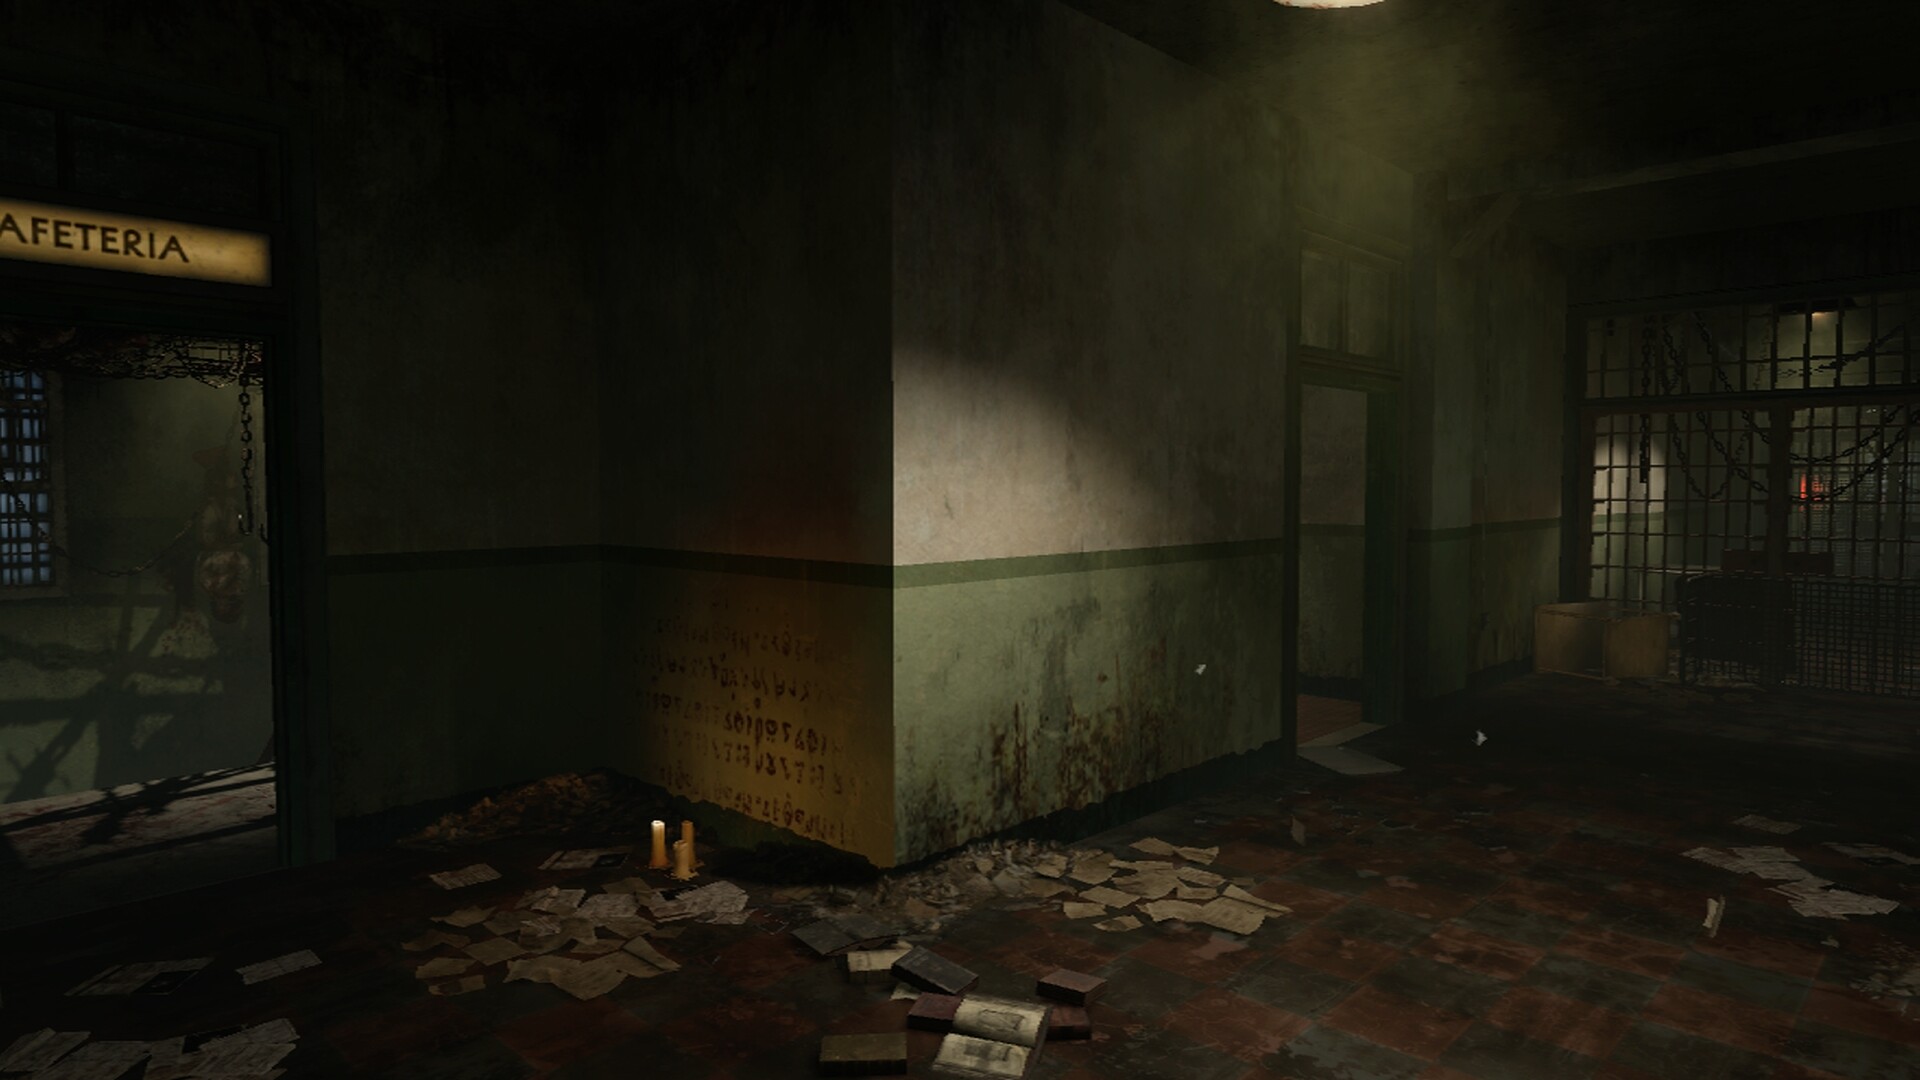
The Acid Gat is the special version of the Blundergat that requires the player to build parts onto it. The first part is a Motor that can be found next to the Uzi or in the Wardens Office, another part is the Case that can be found in the Cafeteria, on top of a table near the spawn or in the Wardens Office, and the last part is the Acid Bottle and can be found near the bloody bathtub or on top of the trolley in the hallway of doors.
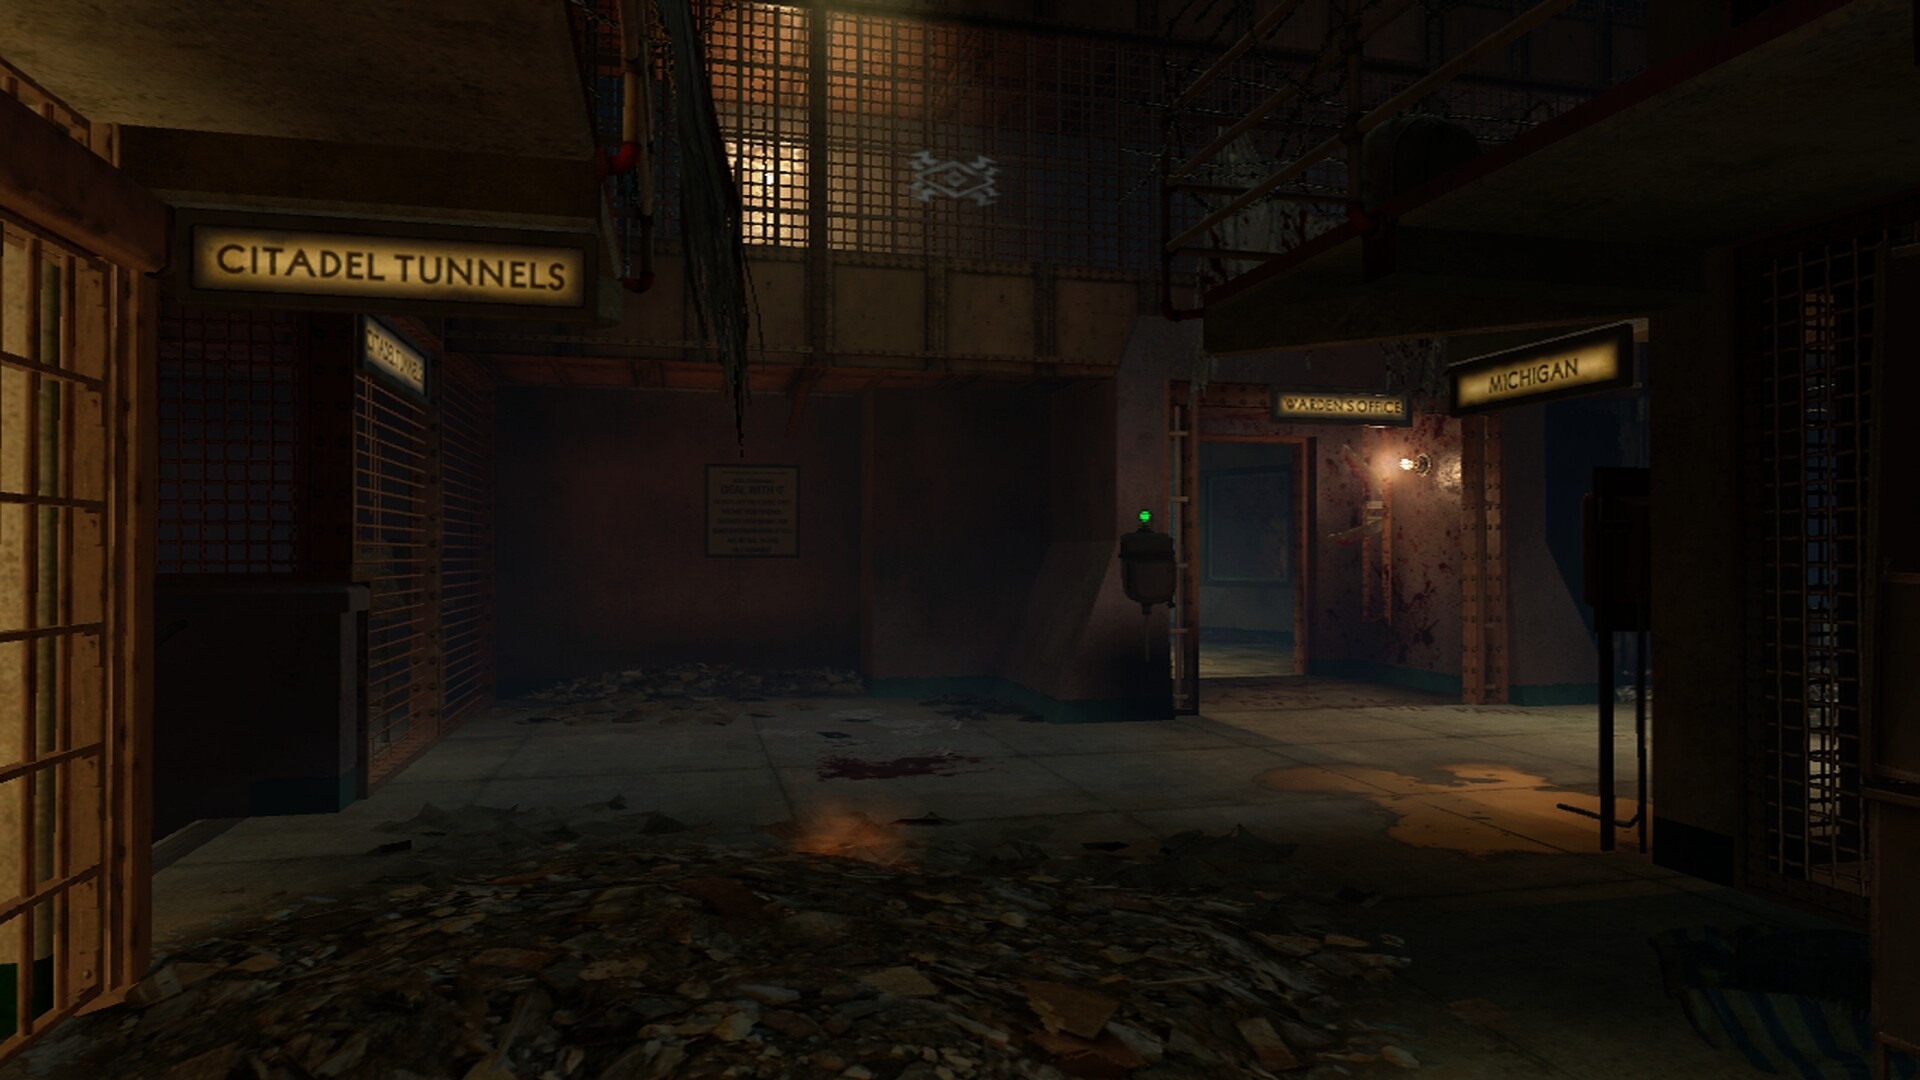
Like many other maps, the player can assemble a Zombies Shield. It’s a great way of killing zombies when low on ammo or using as a back shield and can be built by finding a Han Trolley outside of the docks, finding a Clamp inside the generator room, and finding a Cell Door in the Citadel Tunnels.
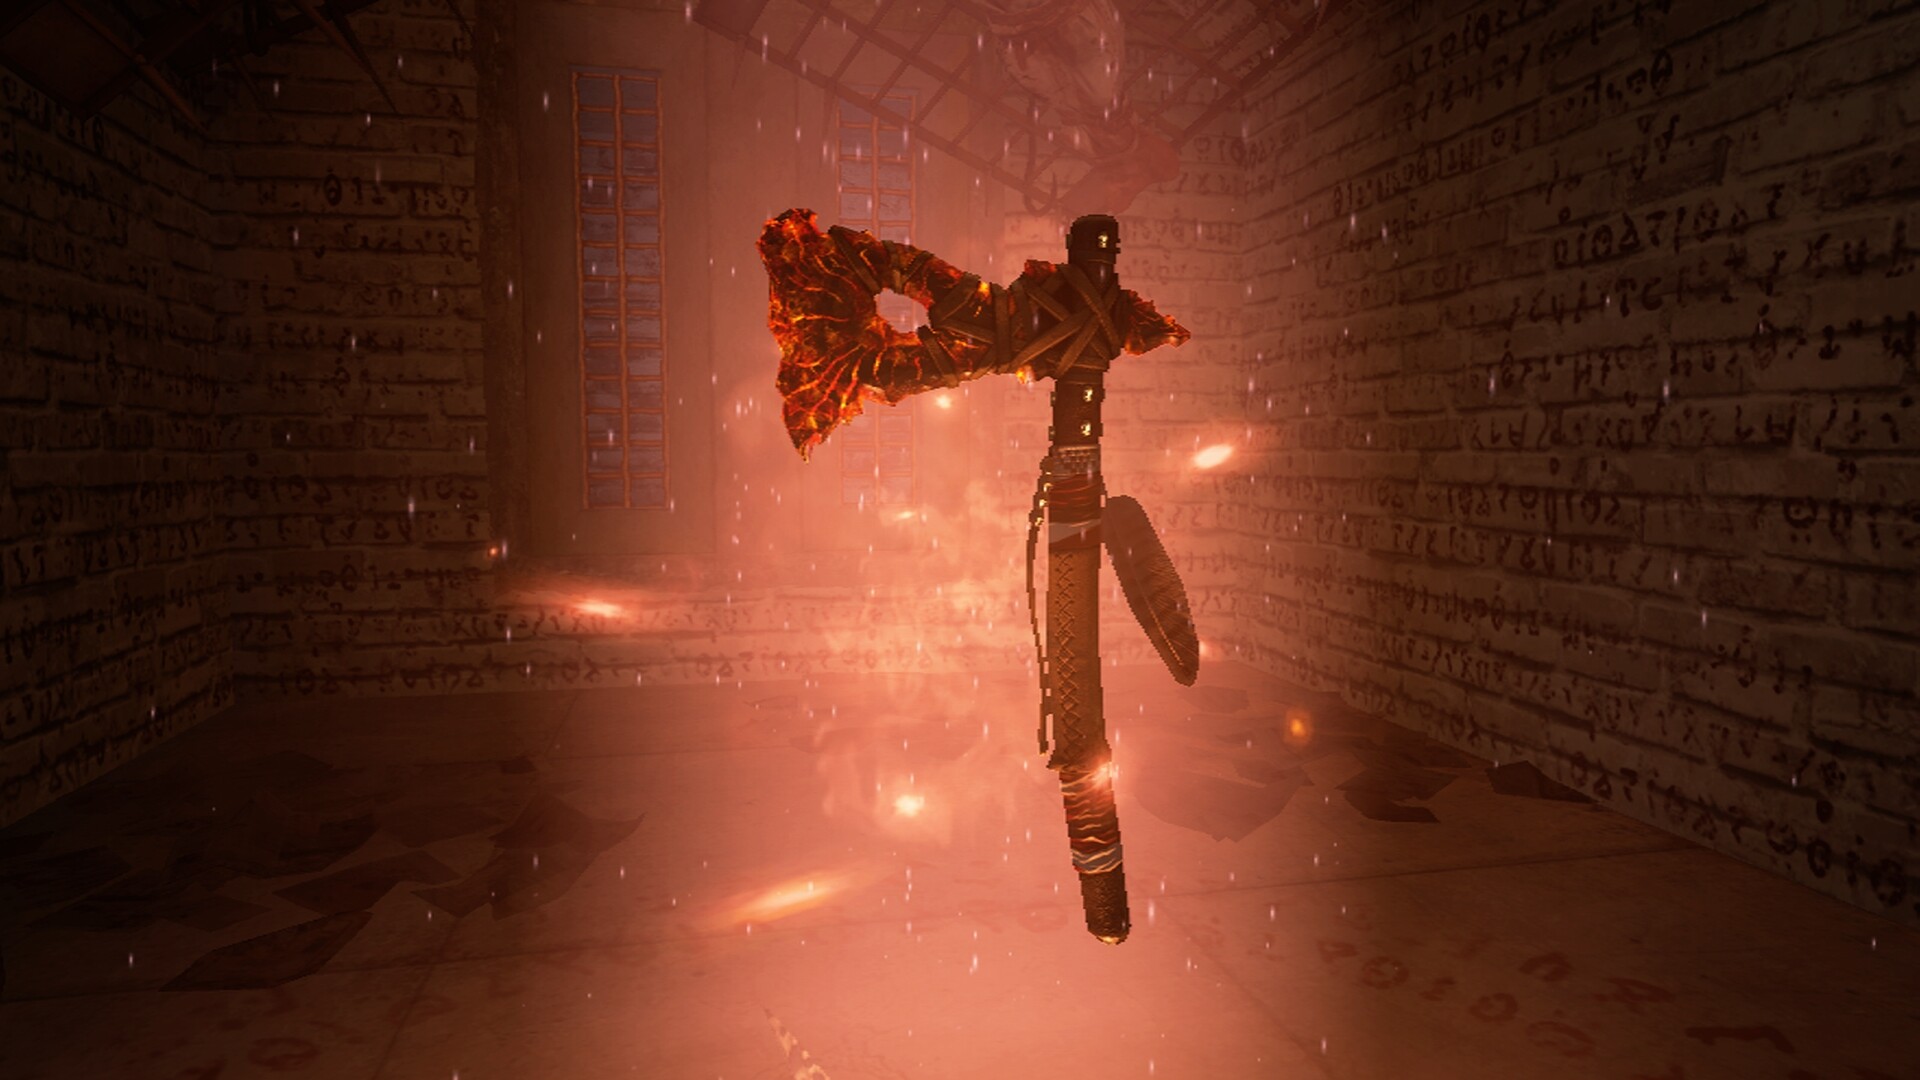
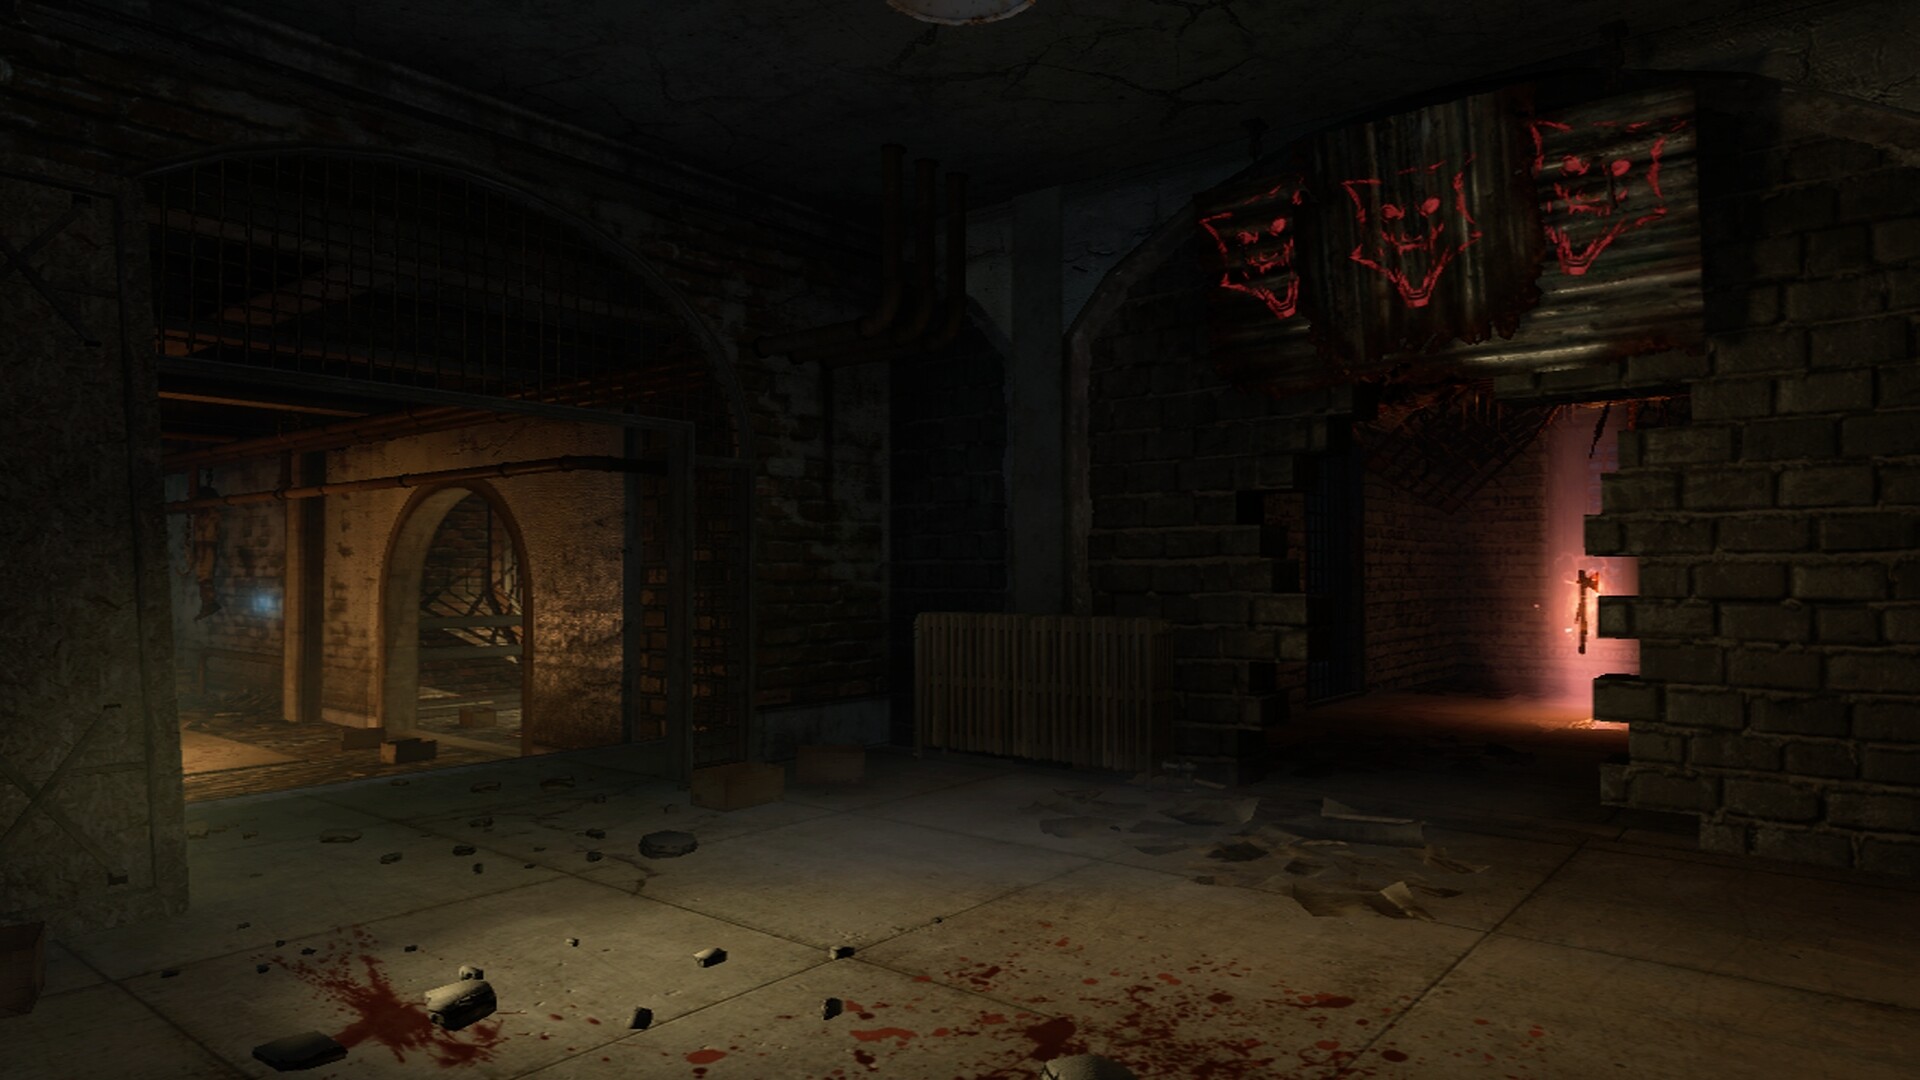
The Hell’s Retriever is a Zombies style Tomahawk that can kill multiple zombies with each throw and always comes back to the player to throw again. To obtain the Retriever the players will need to feed zombies to the three Cerberus heads (Hell hound heads) found around the map. Each one is seen sticking out of the walls. After all three are fed an area will open up beneath the sign of the three dog heads down in the Citadel Tunnels. In this room will be the Hell’s Retriever, waiting to be picked up.
A more powerful version called the Hell’s Redeemer can be obtained by completing 4 steps.
Step 1: killing 10-15 zombies with the Retriever. When done, the sound of entering the Afterlife should be heard.
Step 2: Kill at least one zombie on the Golden Gate Bridge and spend the round on the bridge. The Afterlife sound can be heard again when completed.
Step 3: Throw the Hell’s Retriever into the lava pit underneath Cerberus’ head near the B23R. If done correctly, the Hell’s Retriever will not be returned to the player and the Afterlife sound will be heard once again.
Step 4: After the current round ends, head back to the Citadel Tunnels where the Hell’s Retriever was last obtained. If all was done correctly the Hell’s Redeemer will be ready for pickup. The Retriever glows red and the Redeemer glows blue.
The Golden Spork is a hidden melee weapon on Mob of the dead and will kill zombies with only one hit up to round 34. To obtain the Golden Spork it will require a few steps.
Step 1: Find the jail cell near the warden’s office with the blue and green movie poster hanging on the wall, use the Hell’s Retriever to reveal the hole in the wall behind it.
Step 2: Enter Afterlife Mode, go into the wall at the end of the row of cells near the Warden’s Office and look for a spoon on the floor, zap it and you will hear a Demonic Announcer laugh.
Step 3: At the back of the cafeteria near the barrier is a table against the wall with a Silver Spoon on top of it, each player must throw the Hell’s Retriever at it in order to obtain it. This step will be completed when Brutus is heard.
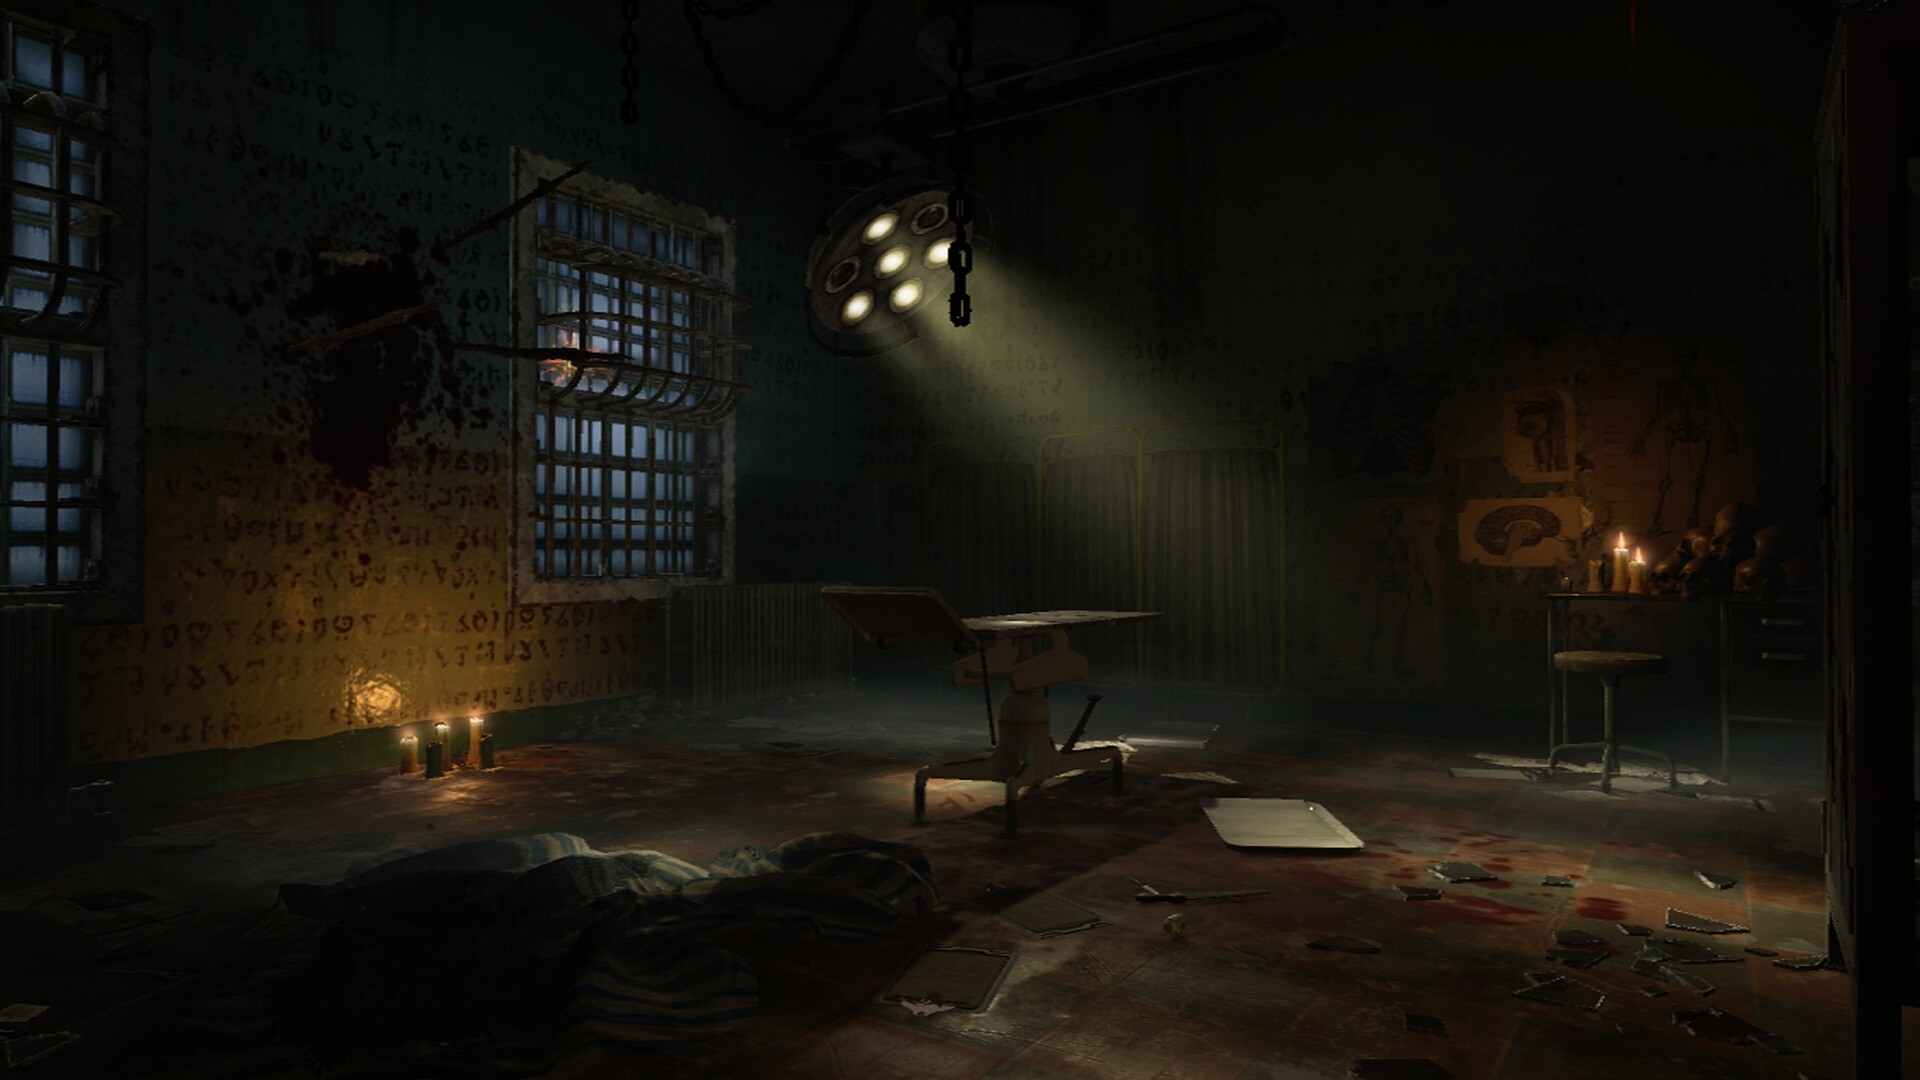
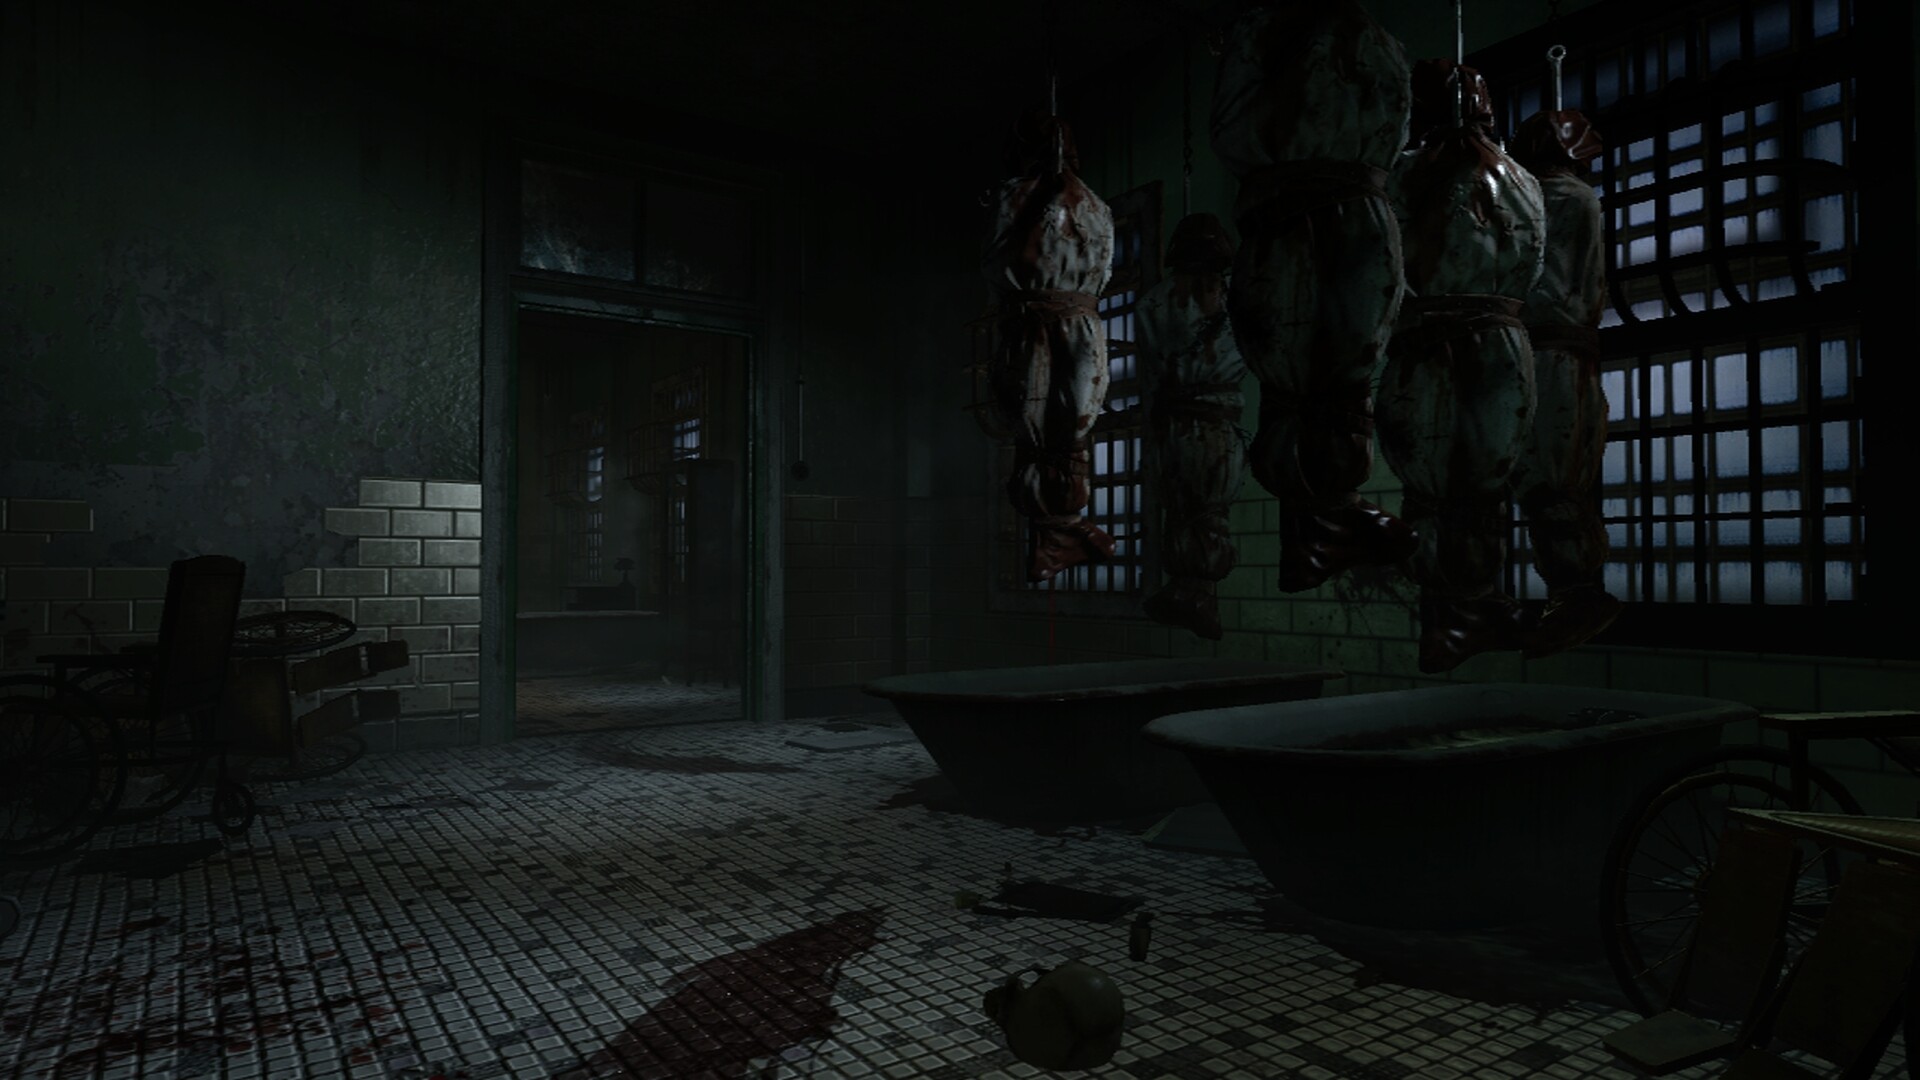
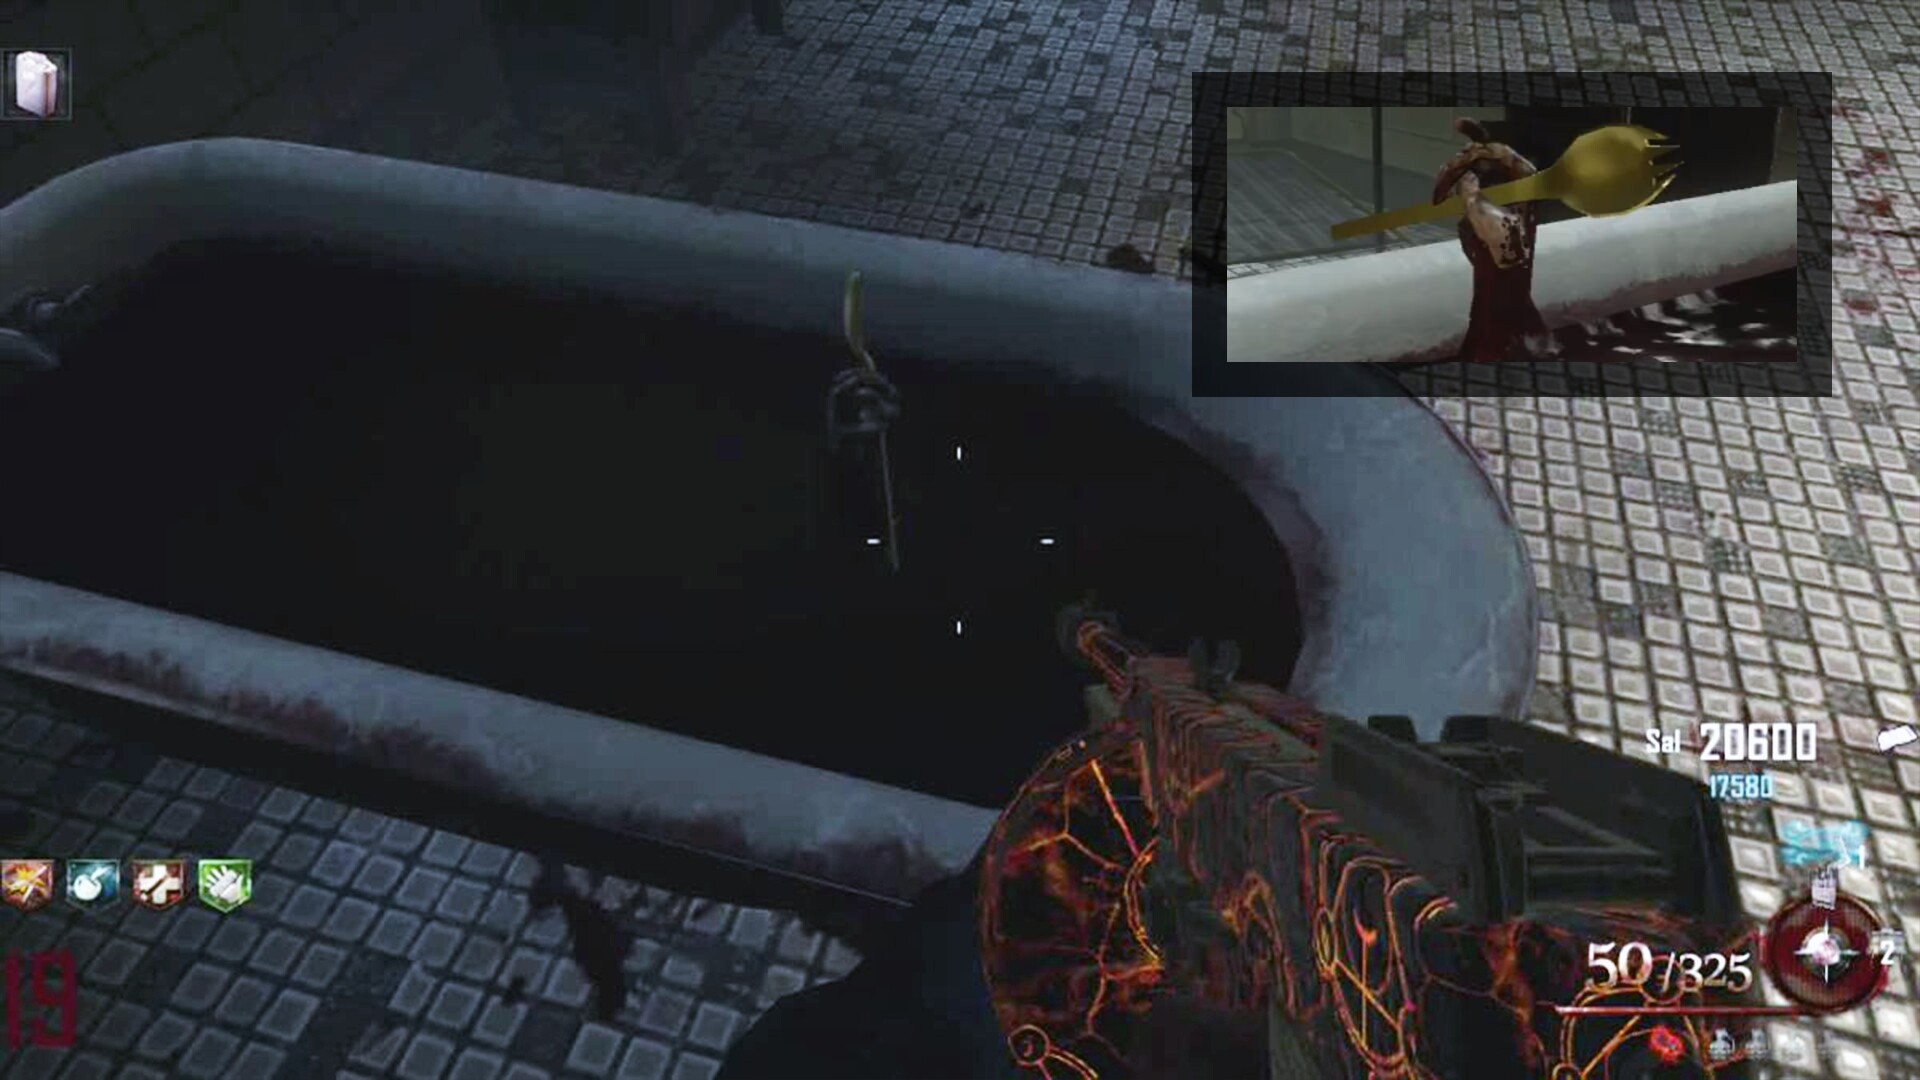
Step 4: Inside the infirmary, you will find a bathtub full of blood that will need to be stirred, each player should use the action button on the bathtub to stir it.
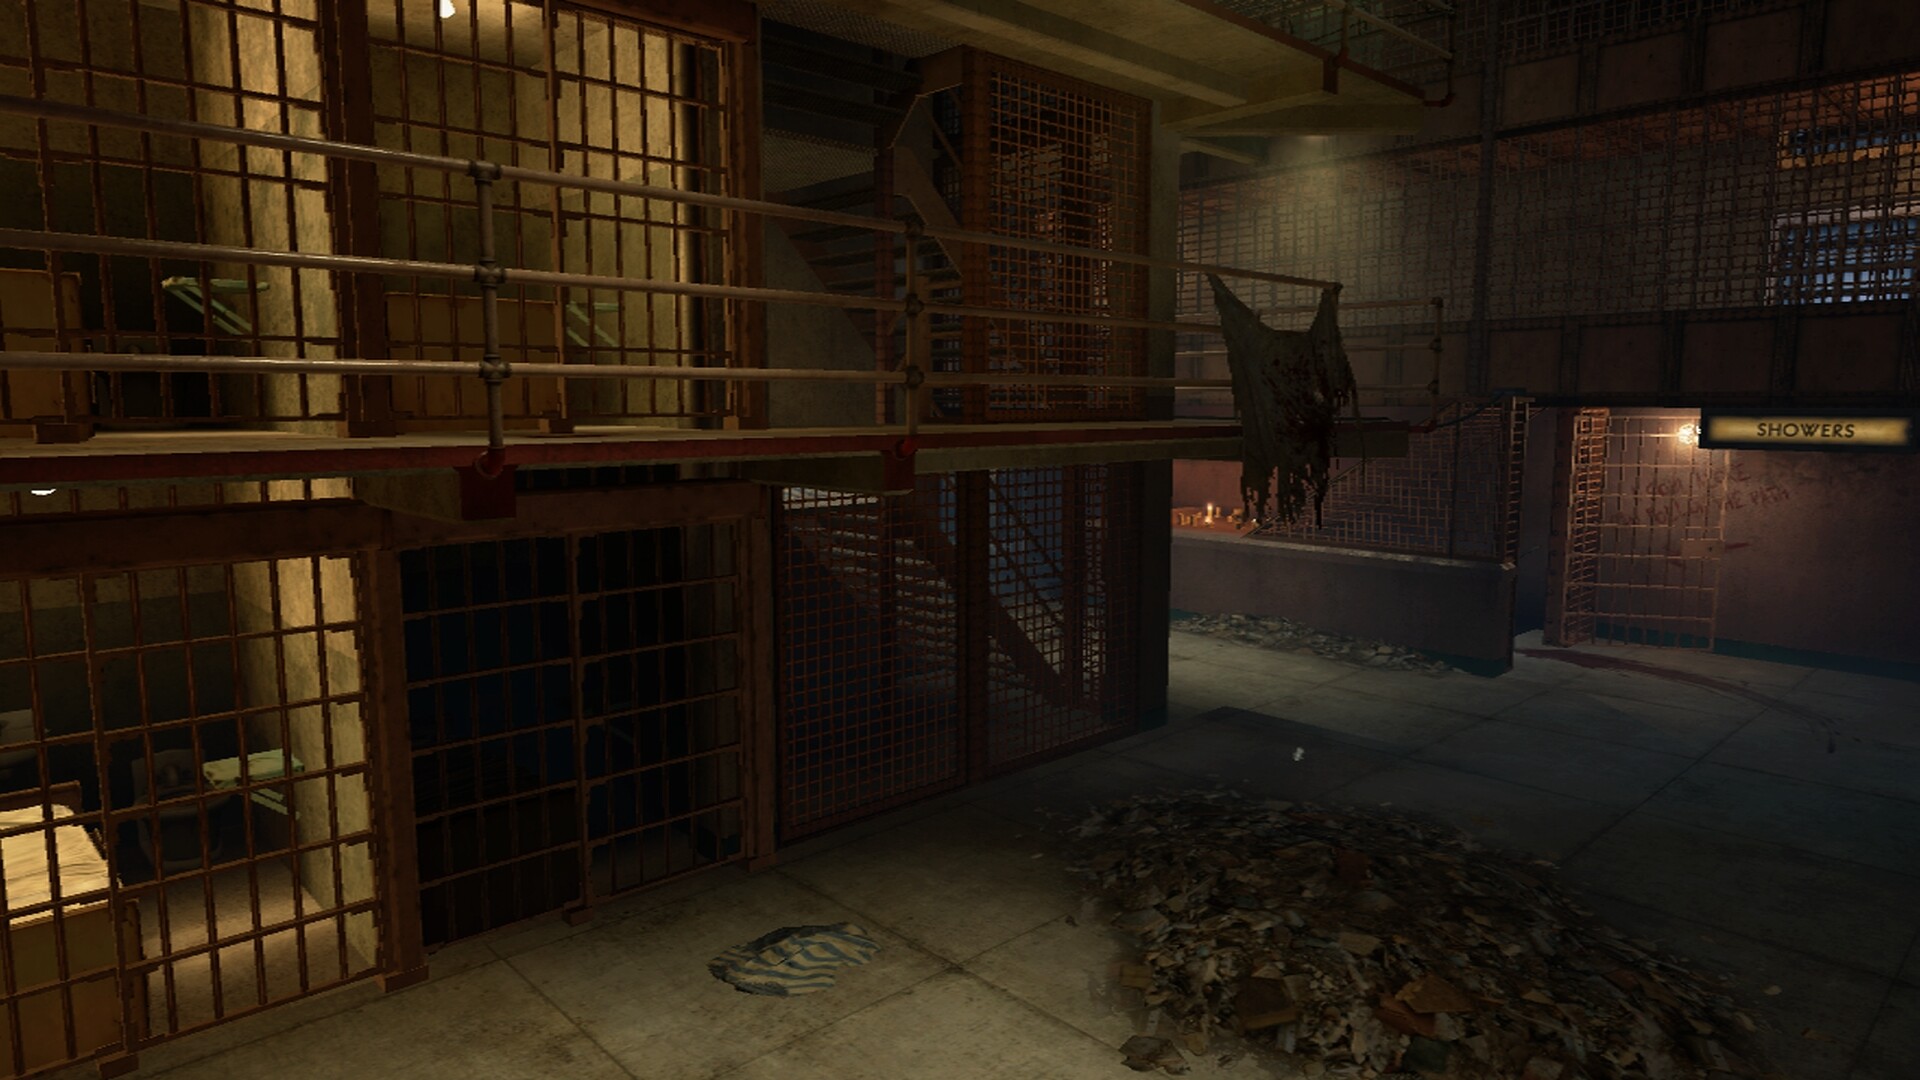
Step 5: Enter the underground showers and kill zombies using the Acid Gat or Vitriolic Withering until the Demonic Announcer is heard, between 50 and 70 zombie kills.
Step 6: Go back to the infirmary and return to the bathtub filled with blood. Hold the action button and a zombified hand will raise out of the blood grasping the Golden Spork. If the Spork is lost it can be obtained again by completing steps 3 and 4 again.

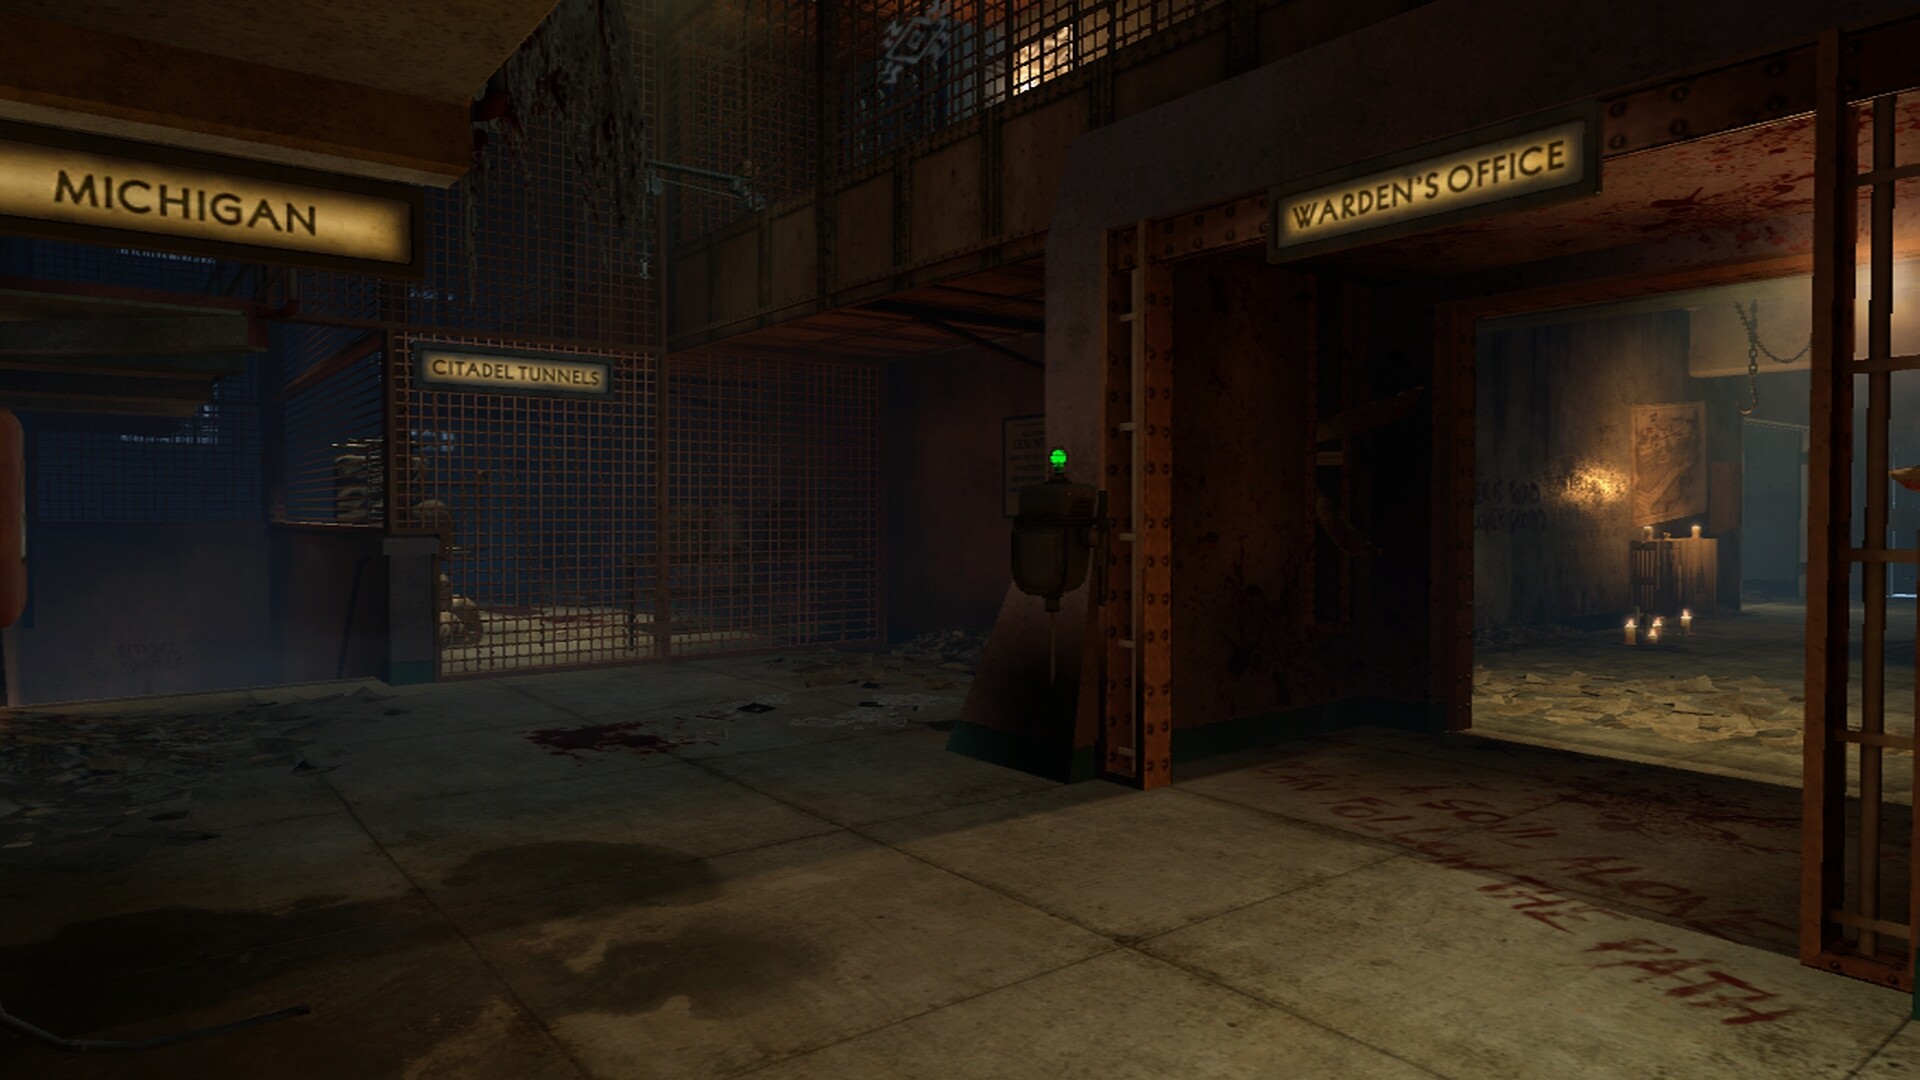
The Warden’s Key is needed for a few different things on the map and can be found either above the Warden’s Office or Cafeteria entrance. Electric sparks can be seen on the wire from which it is hanging. To obtain it, the player must enter the Afterlife, jump through an Afterlife entrance high on the wall and shock the nearby electric panel, which will lower the key and disable the electricity surrounding it. The key can then be grabbed when out of the Afterlife.
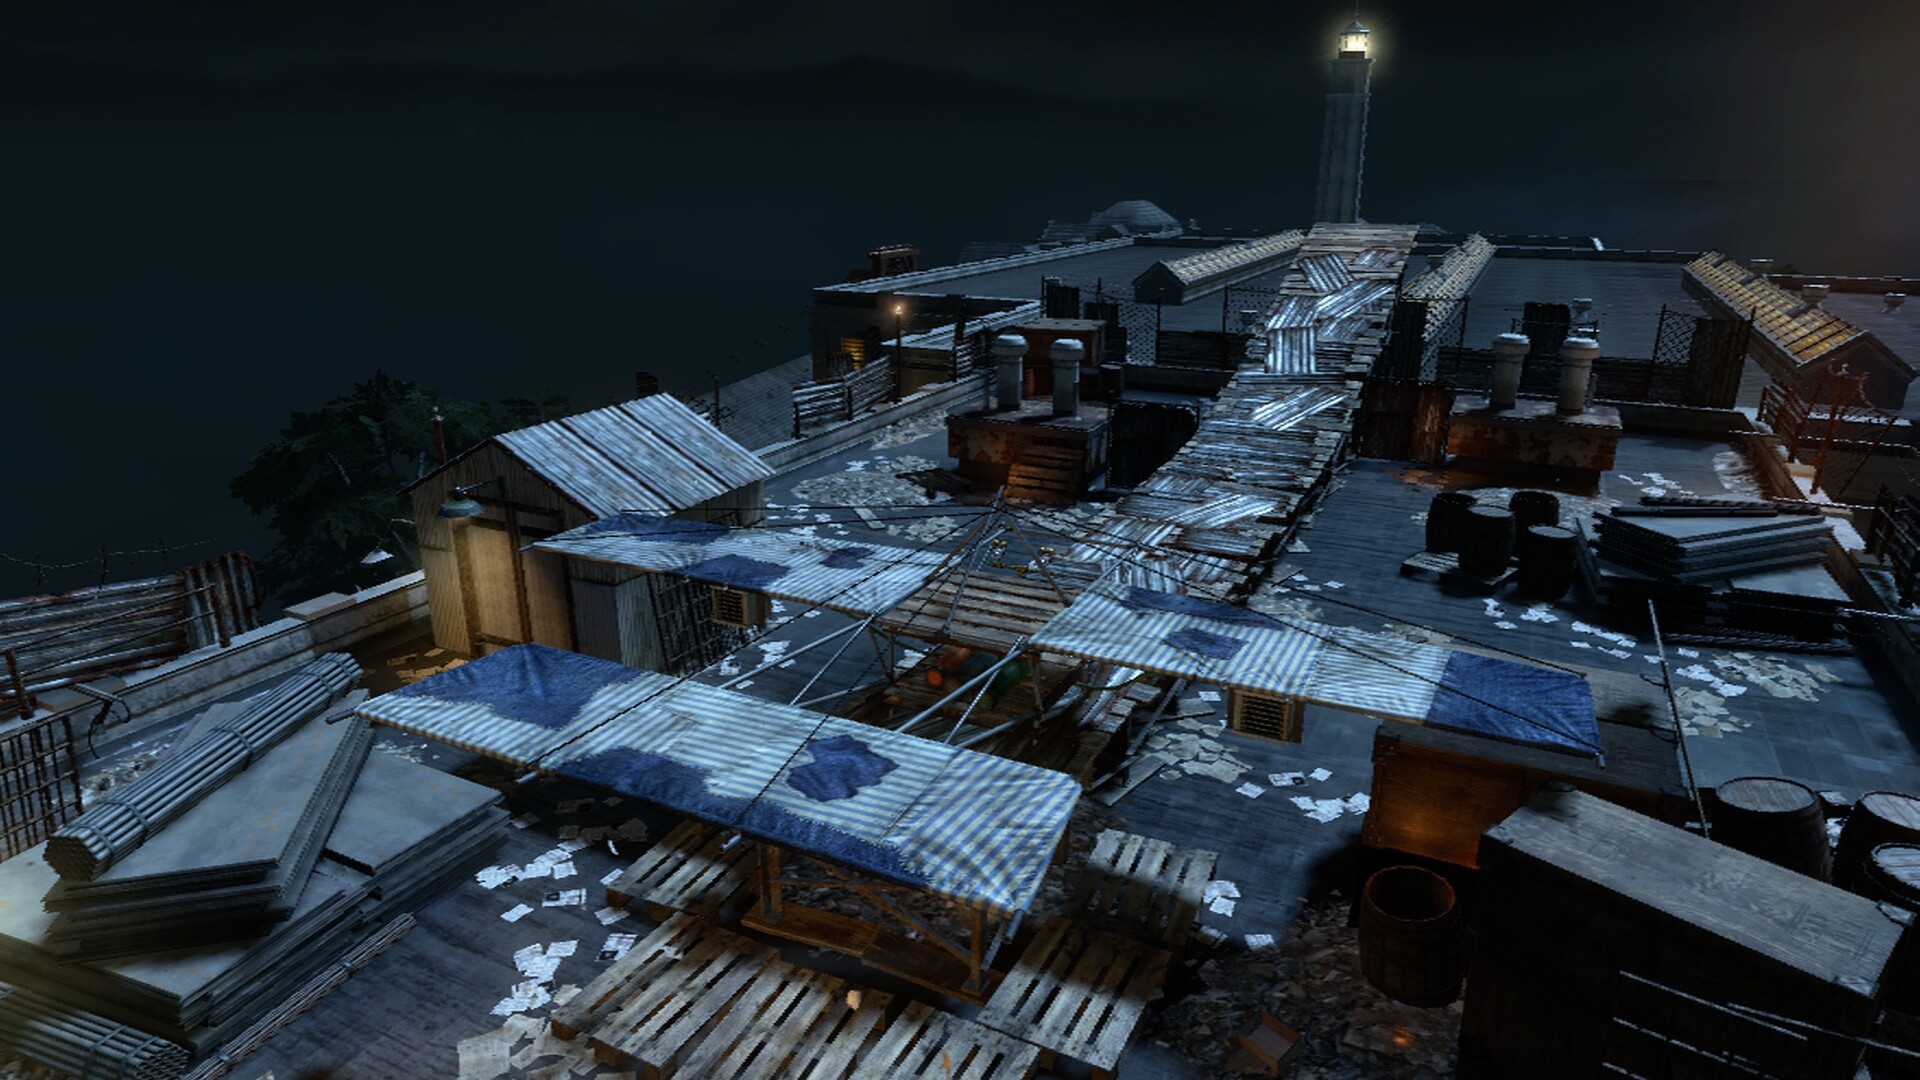
Icarus is a buildable plane that is needed to fly to the Golden Gate Bridge, it can be built by finding 5 different parts. One part can be picked up at a time unless playing in solo.
Part 1: The Uniforms are inside the laundry machine at the back of the shower room, Open the gate with the Warden’s Key and shock the Voltmeter to start the washing machine, after the laundry is done the Uniforms are ready for pickup.
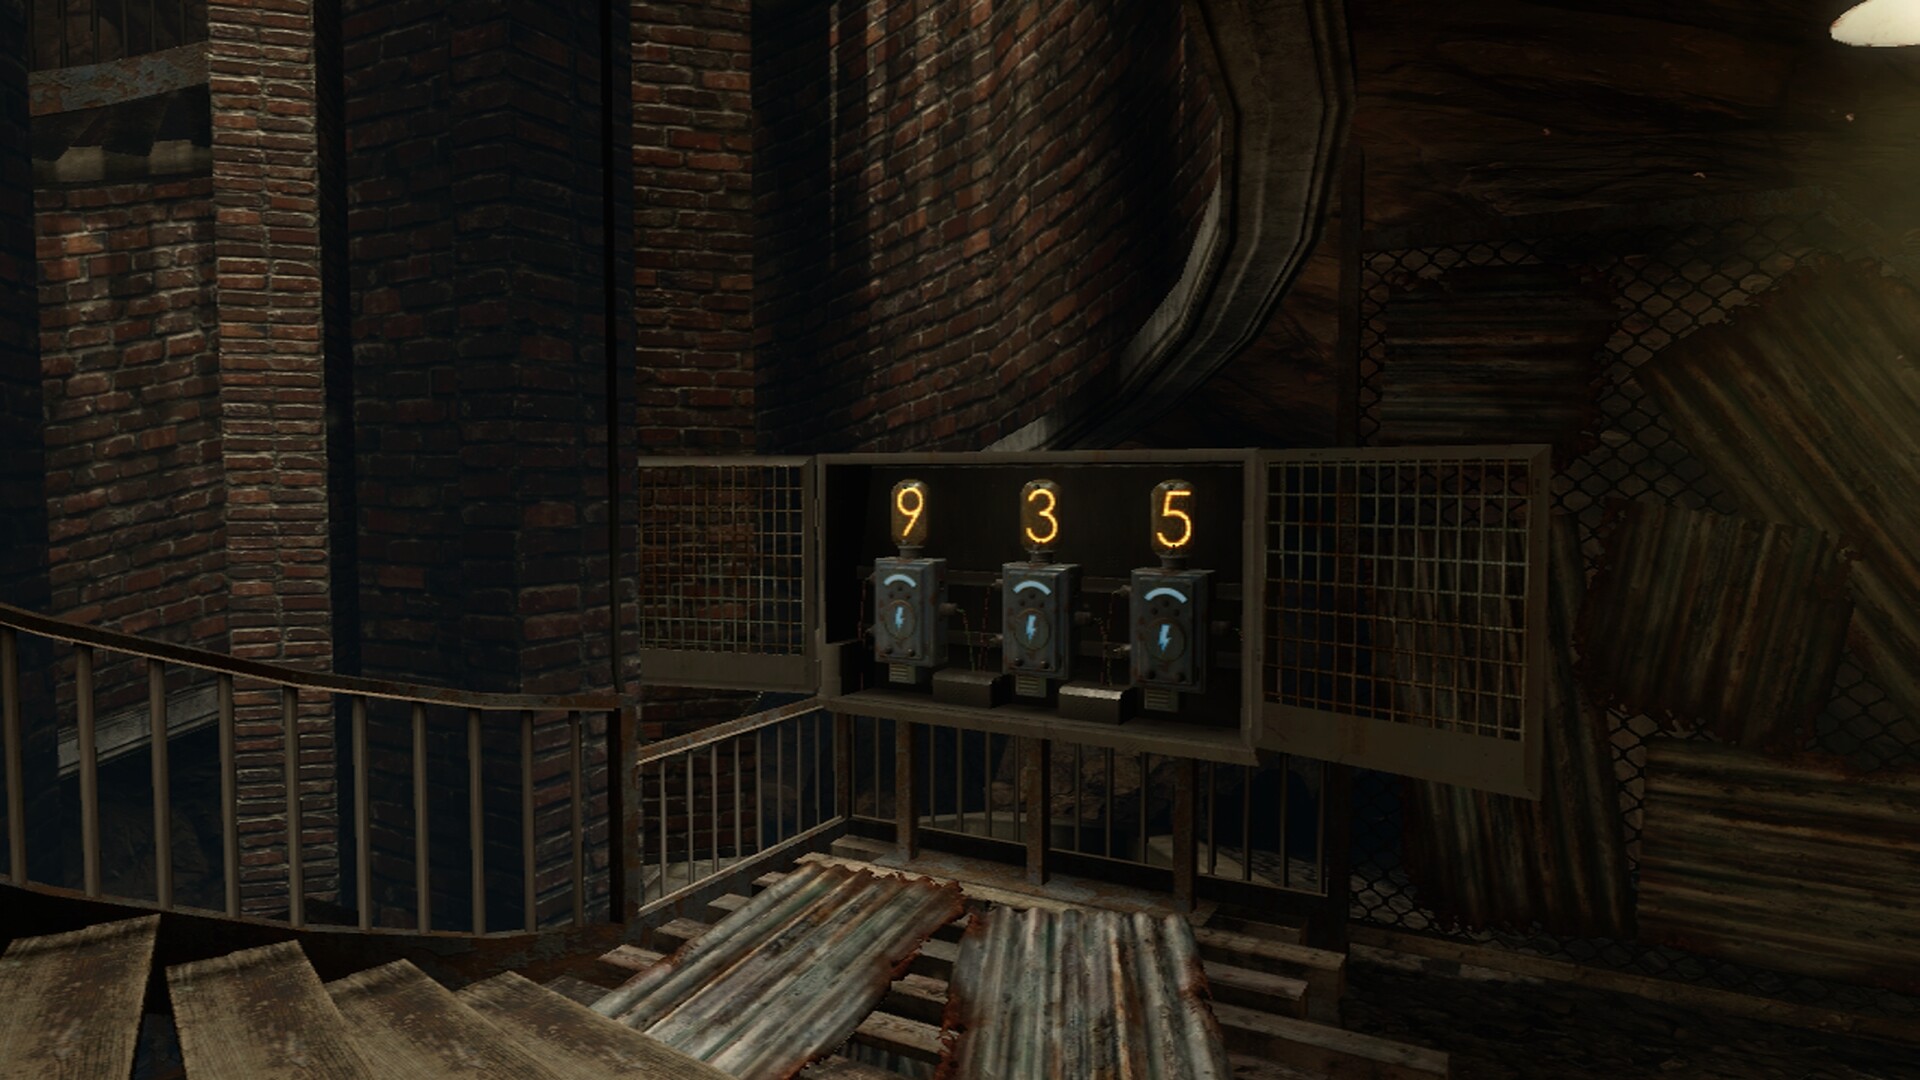
Part 2: The Rigging can be found by going to the spiral staircase in the citadel tunnels and opening a small gate with the Warden’s Key to revival the number dials, going into After Life will show 3 numbers on the wall that will need to match the dials. One complete a 60 second timer will start, open the door next to the number dials and pickup the Rigging.
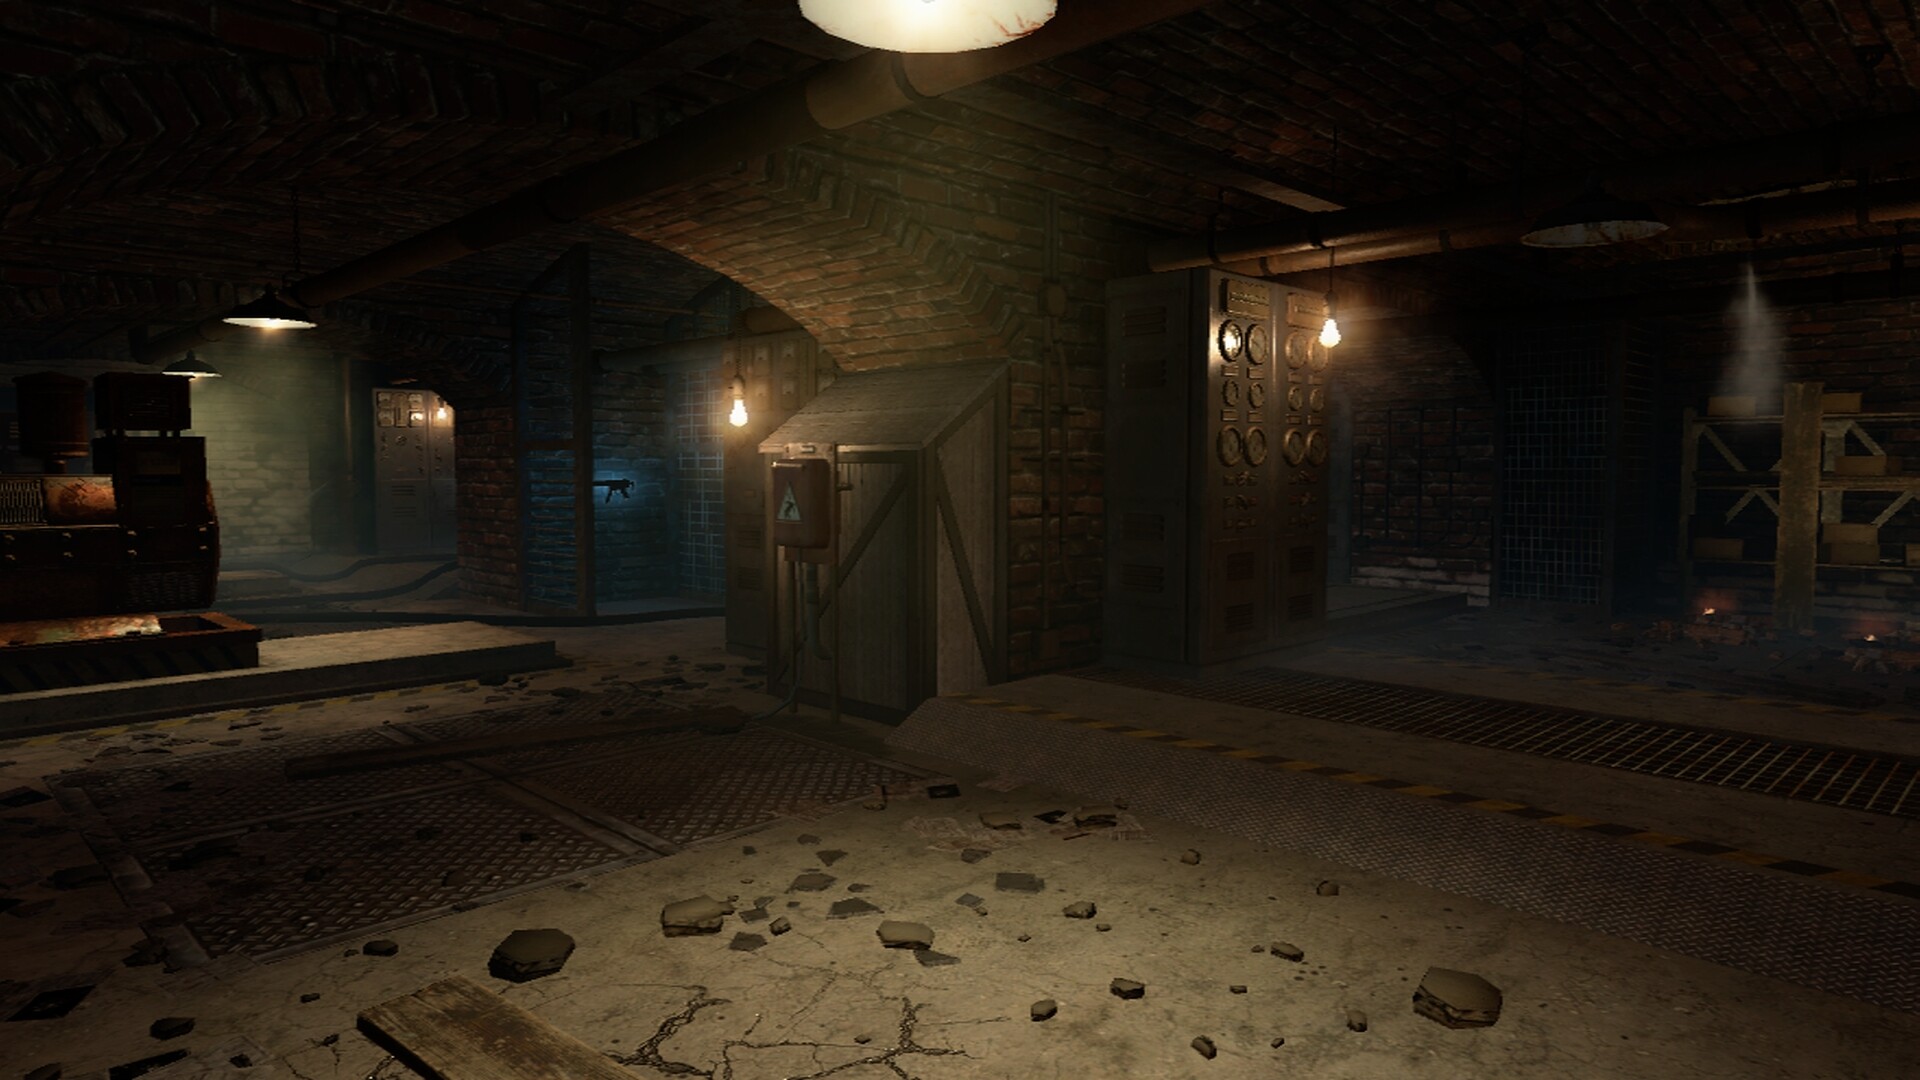
Part 3: The Engine can be found in the Warden’s Office, in a room protected by electrified door. To disable it, the three generators located in a room at the docks must be overloaded by shocking the associated panels in Afterlife (one of the panels is in a room only accessible during Afterlife).
Part 4: The Valves can be found in the infirmary, next to the Cerberus head. They are in a glass case protected by a lock that can simply be opened with the Warden’s key and the valves can be picked up.
Part 5: The Tank can be found at the docks next to the M1927 by opening the gate with the Warden’s Key. The multiple gates will close, and open and multiple players will need to communicate to get to the Tank. In Solo the only thing that will need to be done is opening the first gate.
End: After grabbing all parts the roof of the prison will need to be unlocked, this is done by entering Afterlife in the infirmary and going through a portal in the walkway with many doors, jump up (at the peak of the jump, the ‘jump’ button must be pressed again to vault over to the roof) and shocking a voltmeter next to the roof door. The plane can be refueled by finding 5 fuel tanks located in the same areas as the above parts.
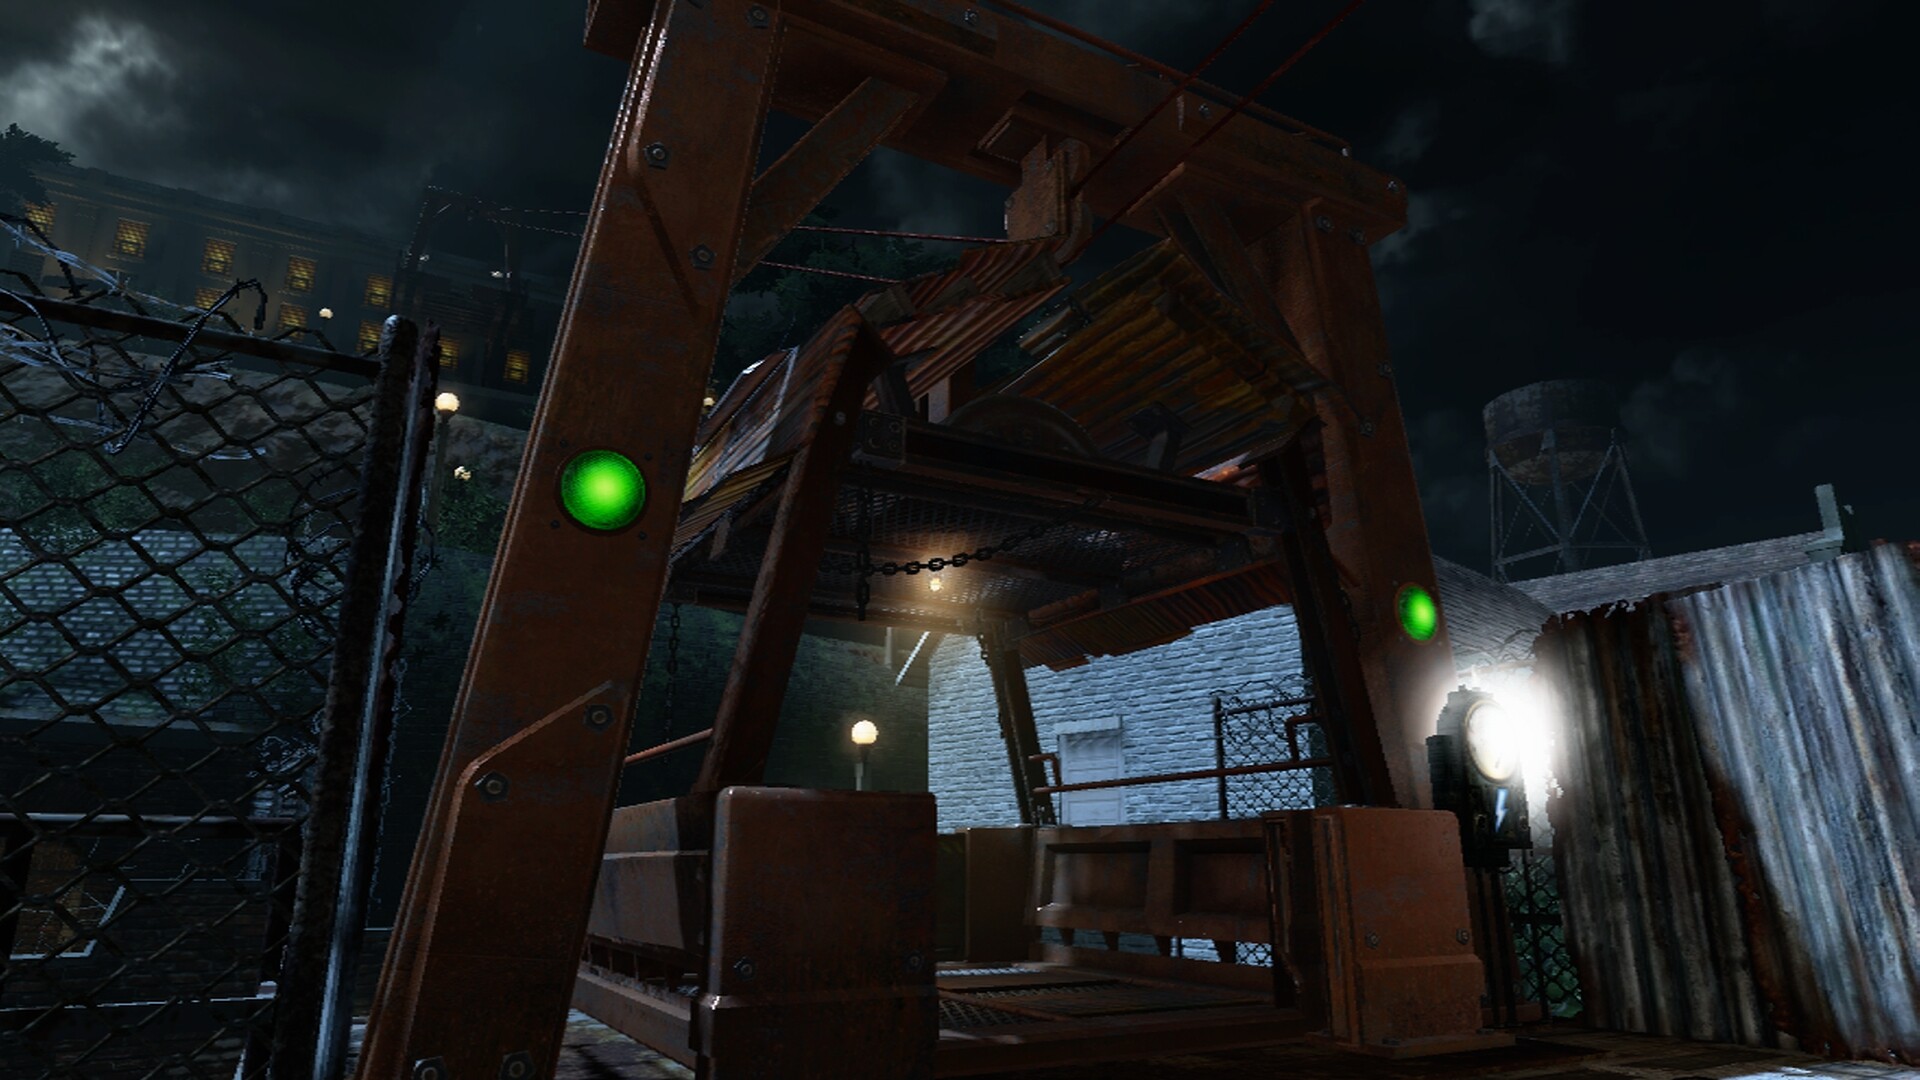
A Gondola transports a player to and from the Cell Block and Dock, and costs 750 points. To use it for the first time, it must be activated via shock from Afterlife.

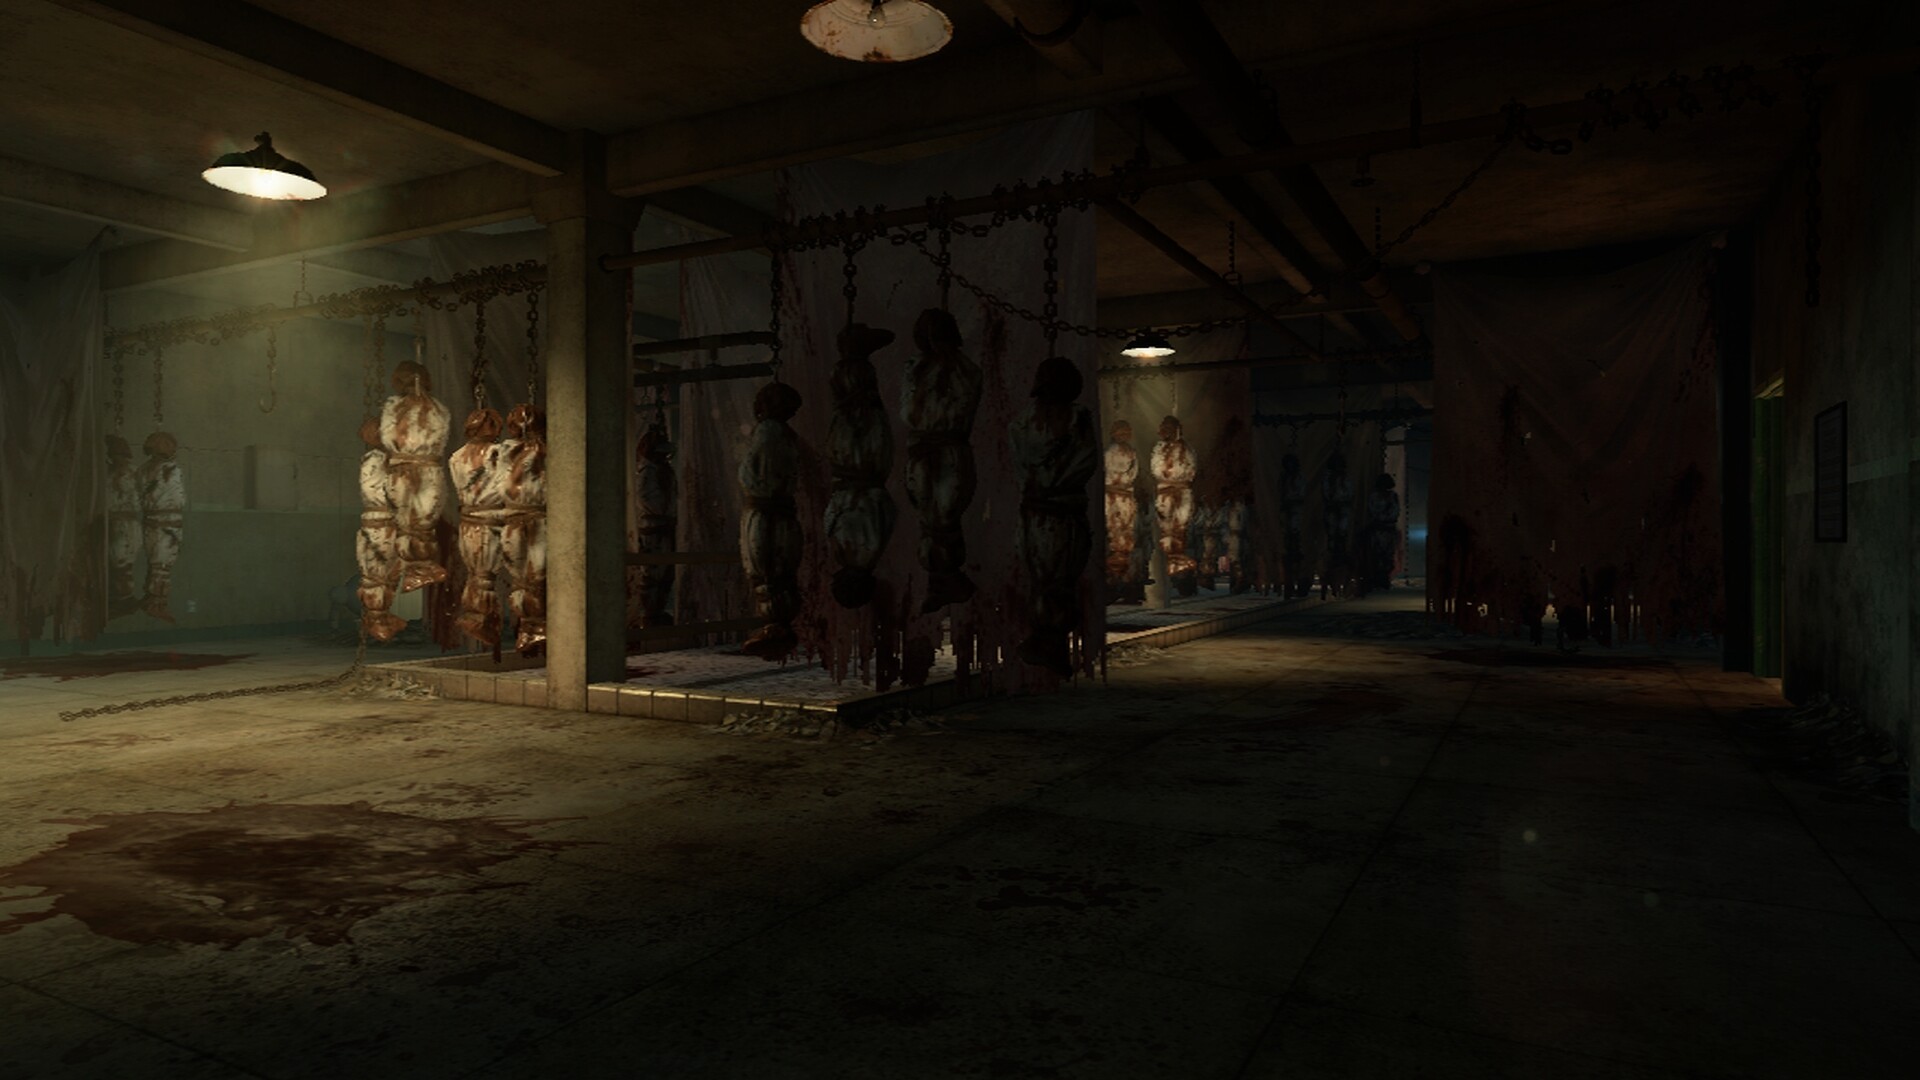
Brutus is a new enemy found on the map, he is very heavy (as the ground shakes when he runs nearby), deals more damage than an average zombie and has a substantially increased amount of health. When a player shoots off his helmet a loud clatter can be heard indicating his helmet is gone.
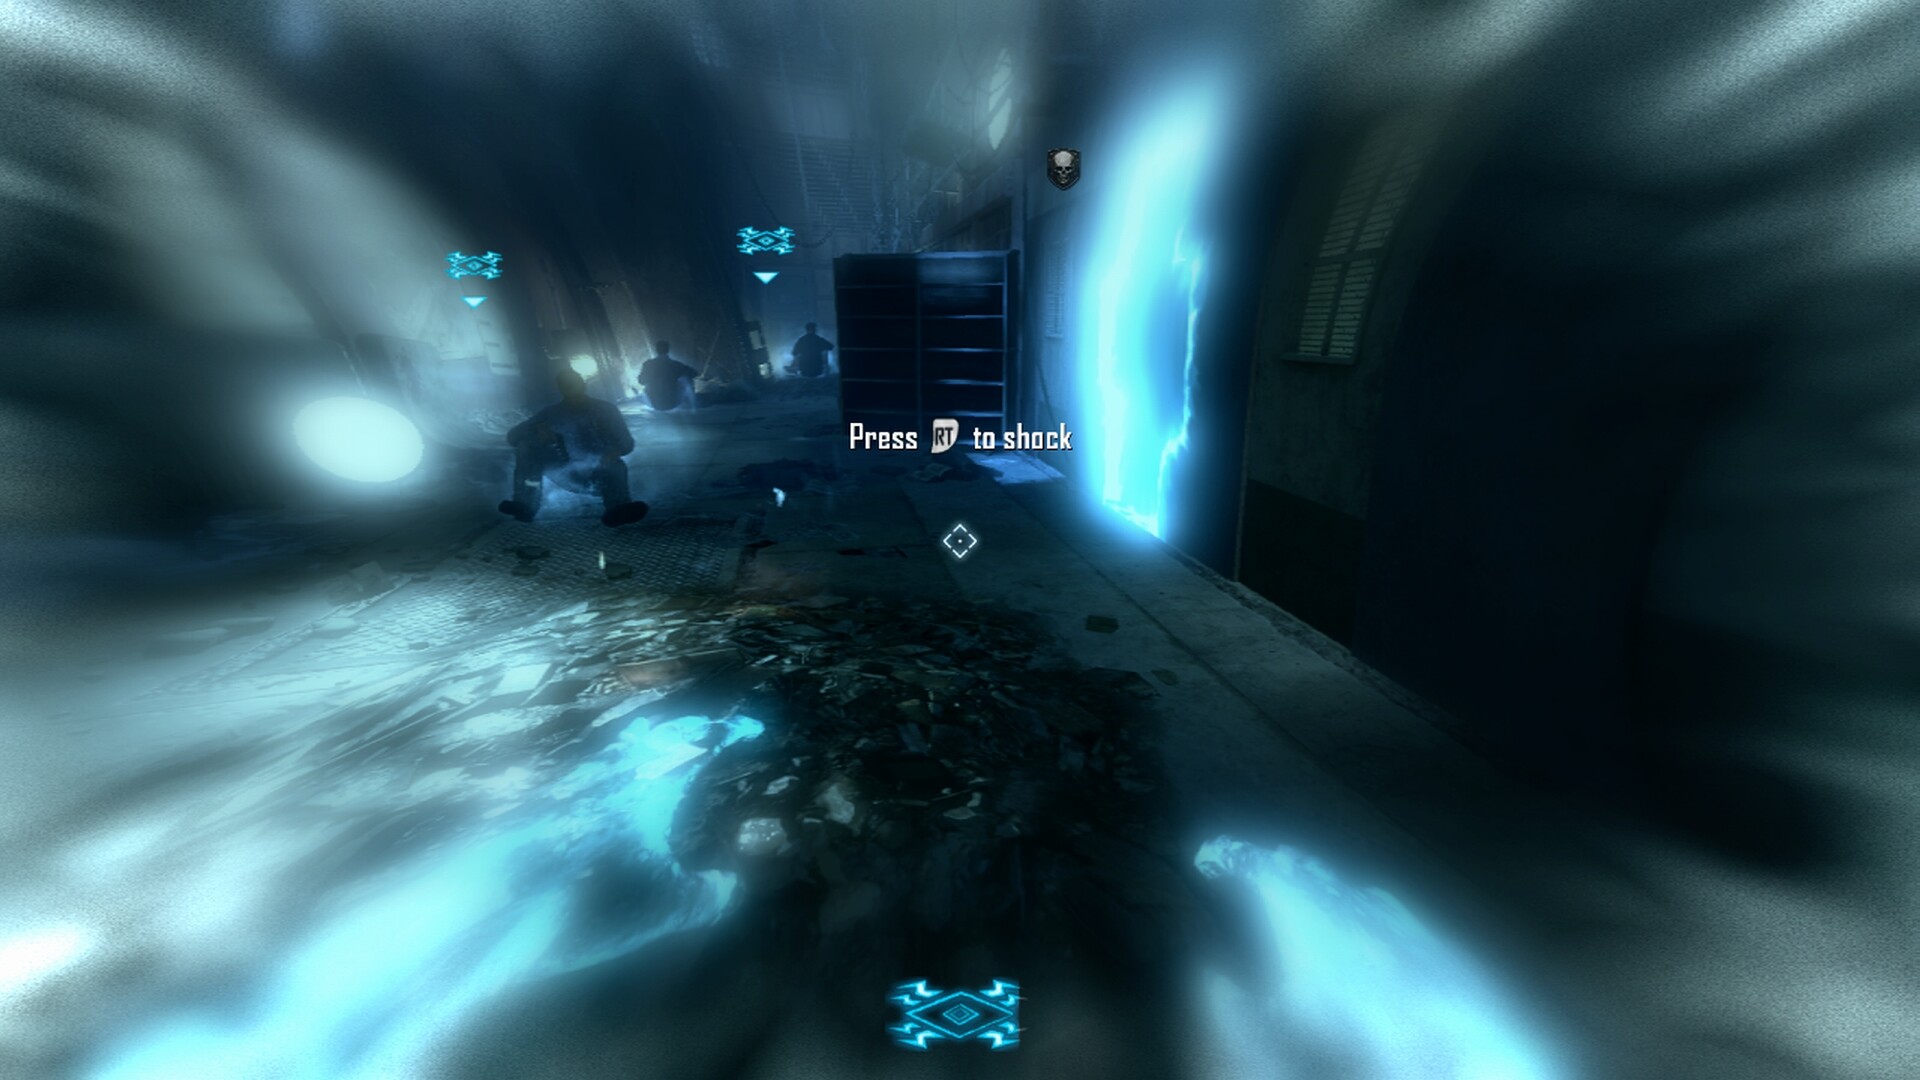
Afterlife is automatically accessed by being downed but can be manually accessed more “safely” via high voltage panels. When using the latter method, the player faces no point or Perk loss. The player can move much faster in Afterlife and jump further and higher, and zombies will not attack the player unless right next to them. The player can also go through doorways only seen in Afterlife and use a short-ranged shock attack to activate Voltmeters to activate objects, as well as shock zombies to teleport them a small distance away. Players leave Afterlife by being revived, whether by themselves or another living player.

The first Musical Easter Egg is Rusty Cage by Johnny Cash and can be activated by finding three whisky bottles scattered around the map. The first one is found on a bookshelf in the library next to the main spawn room, another can be located in the infirmary near one of the baths filled with blood, and the last one is outside on the loading docks between the crates and the fence.
The second Musical Easter Egg is Where Are We Going by Kevin Sherwood. It can be played by finding the warden’s key and unlocking the power switch with the numbers puzzle next to the elevator. Enter the numbers 935 and the song will start to play.
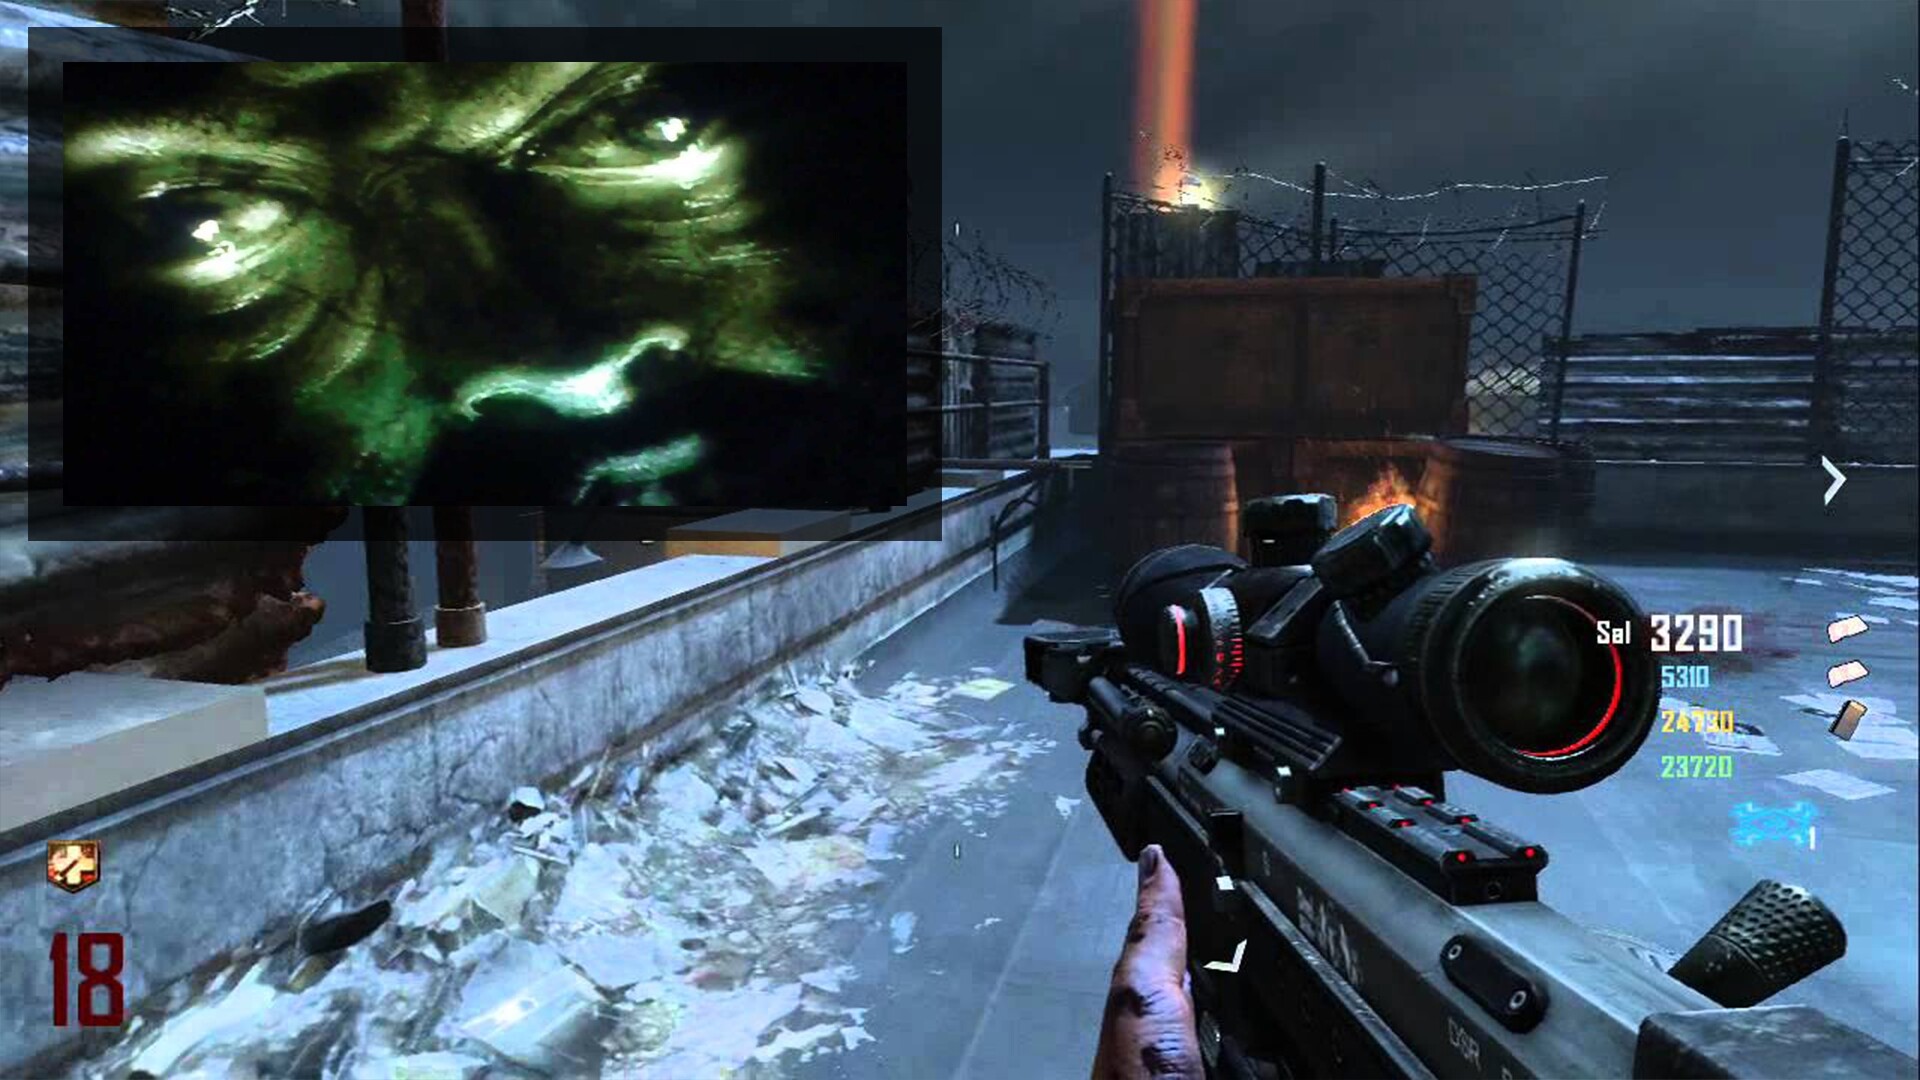
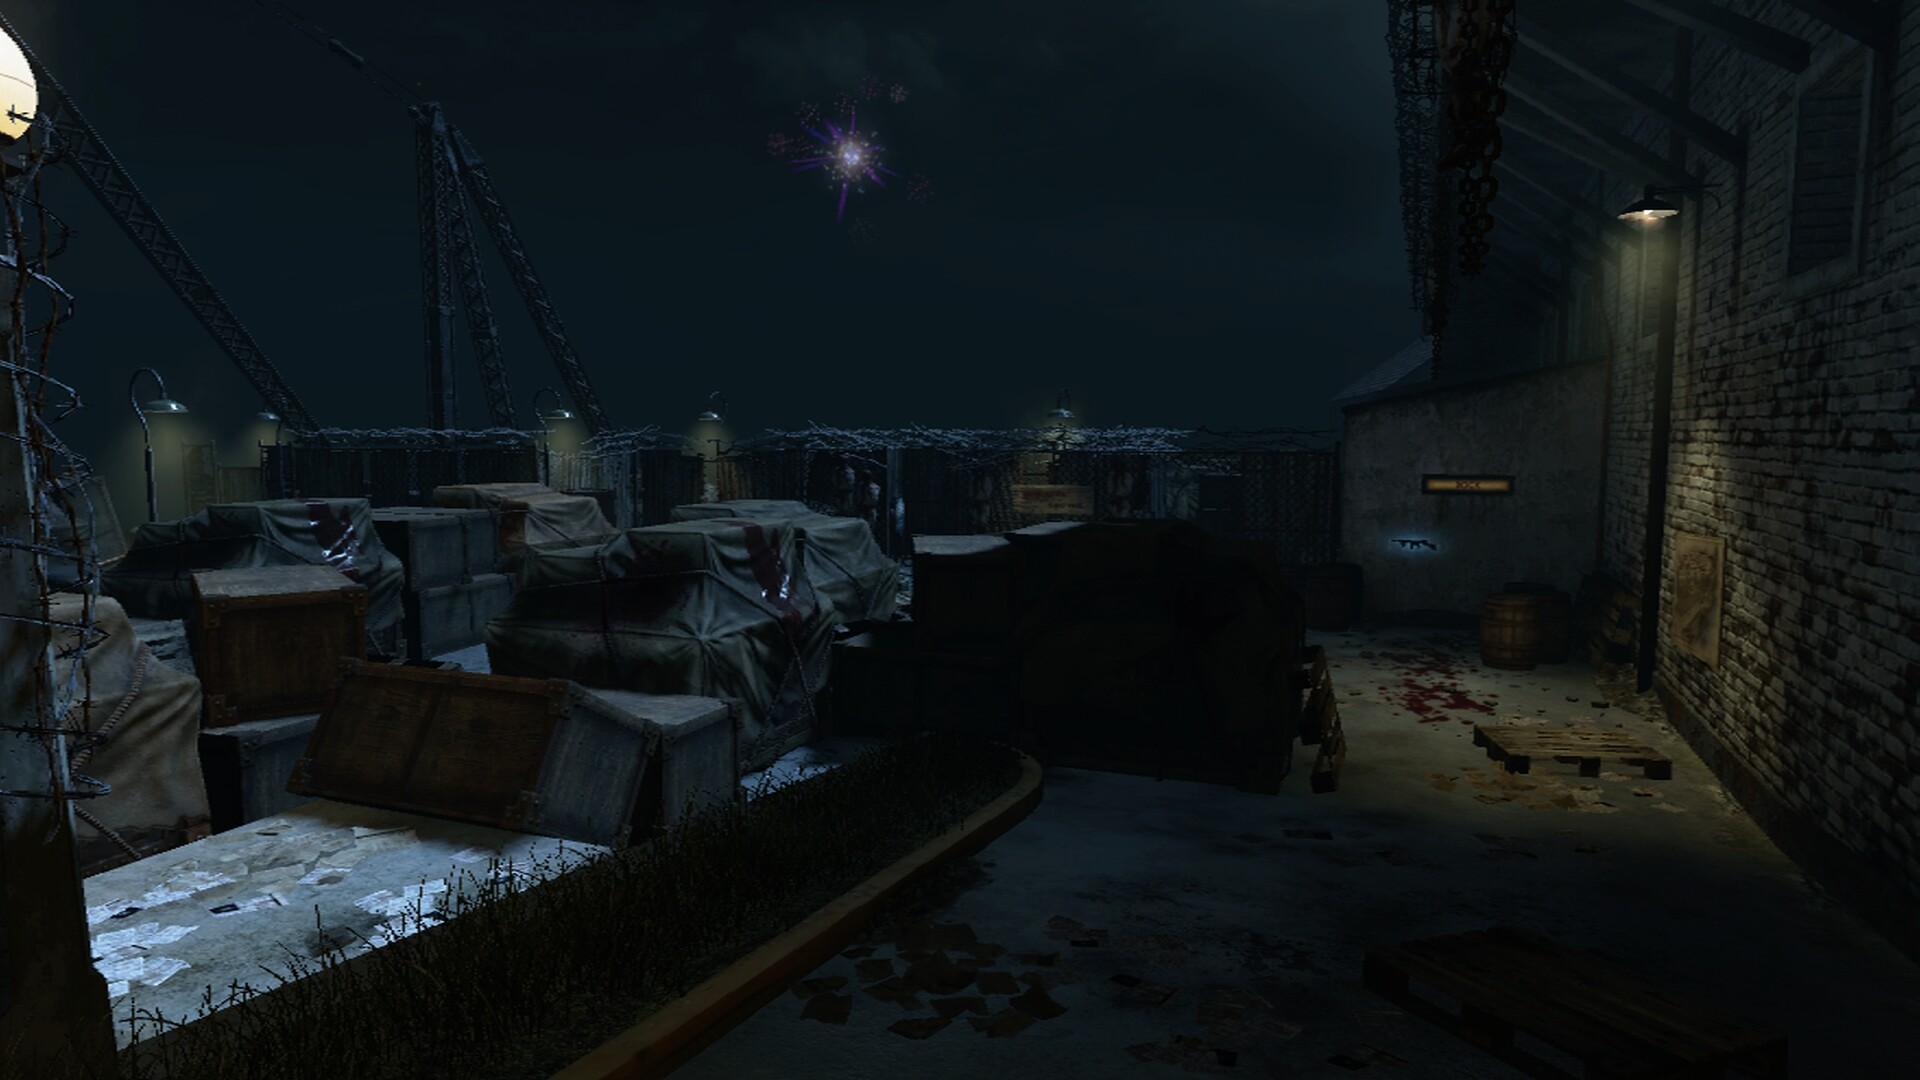
The Jump Scare Easter Egg is a mini Easter Egg that will flash a picture at the players for a split second, to see the Easter Egg the players will need to grab a sniper rifle and go to the far end of the roof and scope in on the fireworks see in the distance.

Pop Goes the Weasel is the main Easter Egg on Mob of the Dead, it requires one to three players to die and the game will end.
Step 1: After visiting the Golden Gate Bridge at least once the players must use the Hell’s Retriever to collect five blue skulls found around the map. First on can be found on a lamp post near Juggernog, another at the docks on the third pillar, next one on the roof sitting on an edge, another next to the starting room inside a lit up jail cell and the last one outside of the Warden’s Office on a utility pole. After collecting all five a Demonic Announcer is heard laughing, and a Blundergat can now be picked up from the table by Speed Cola in the Warden’s Office for free.
Step 2: The electric chairs at the Golden Gate bridge should be used before this step, a player must obtain a spoon by throwing a grenade or Hell’s Retriever at the poster in the jail cell next to the Warden’s Office, after uncovering the Afterlife symbol a player will need to enter Afterlife and go through the newly appeared Afterlife doorway in the wall opposite of the Warden’s Office, next to the high voltage panel and zap at a spoon on the ground next to the crack. The spoon should disappear, and the Demonic Announcer is heard laughing.
Step 3: The number pad between the Citadel Tunnels and the docks, in the spiral staircase can be seen changing rapidly, the numbers will need to be changed by going into the Afterlife, each of the mobsters’ prison numbers: 101, 386, 872 and 481 will need to be entered. When done, the screen will turn black and white and Stanley Ferguson starts narrating the events of the mobsters’ escape plan. After the narration ends, pairs of headphones resembling a power-up appear around the map, each one will need to be picked up and fully listened to before another one will spawn. After listening through each recording, the Demonic Announcer’s laugh is heard again.
Step4: One player will need to enter the Afterlife and board the plane, all other players will automatically go into Afterlife and be on the plane, after reaching the Golden Gate Bridge all of the players bodies are seen in the electric chairs and will need to be revived. At this point the player playing as Weasel will appear as an enemy, he will have extra health and zombies will not attack him, the goal is for Weasel to kill the other players or the other players to kill Weasel, after Weasel or the other players are killed the game will end and the Easter Egg will be complete.